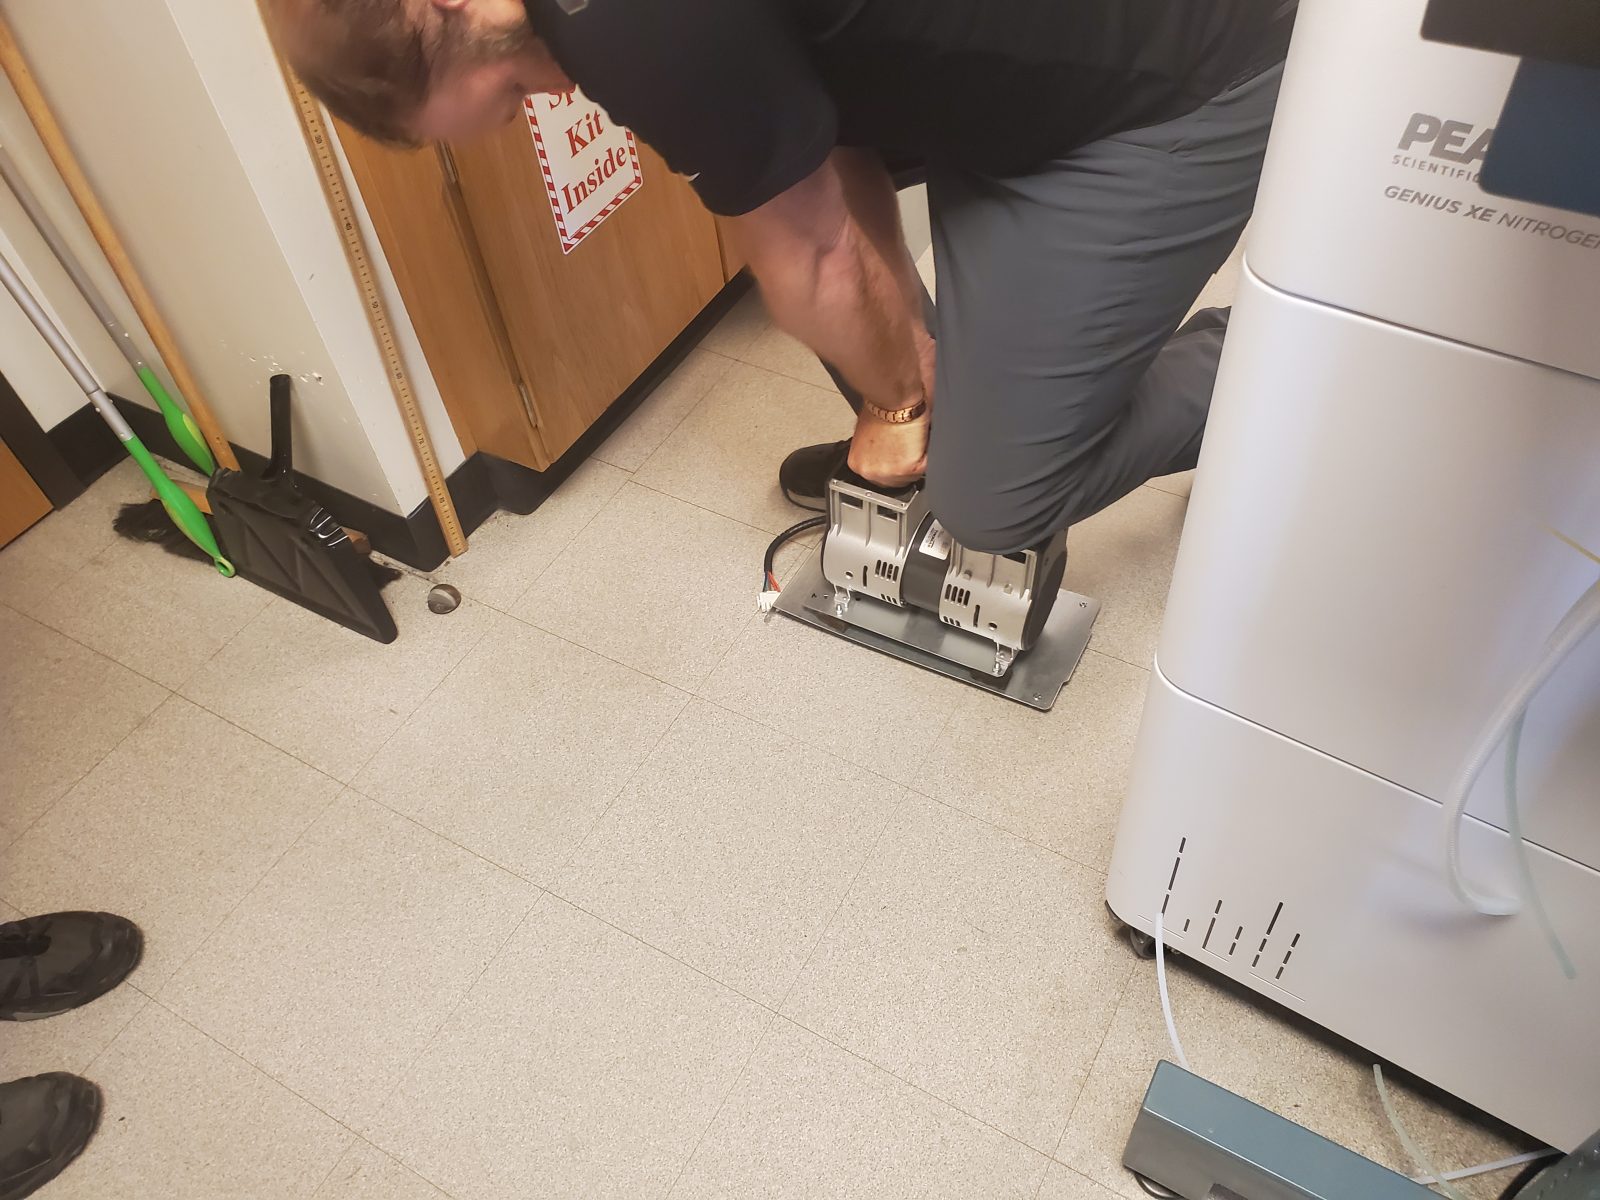
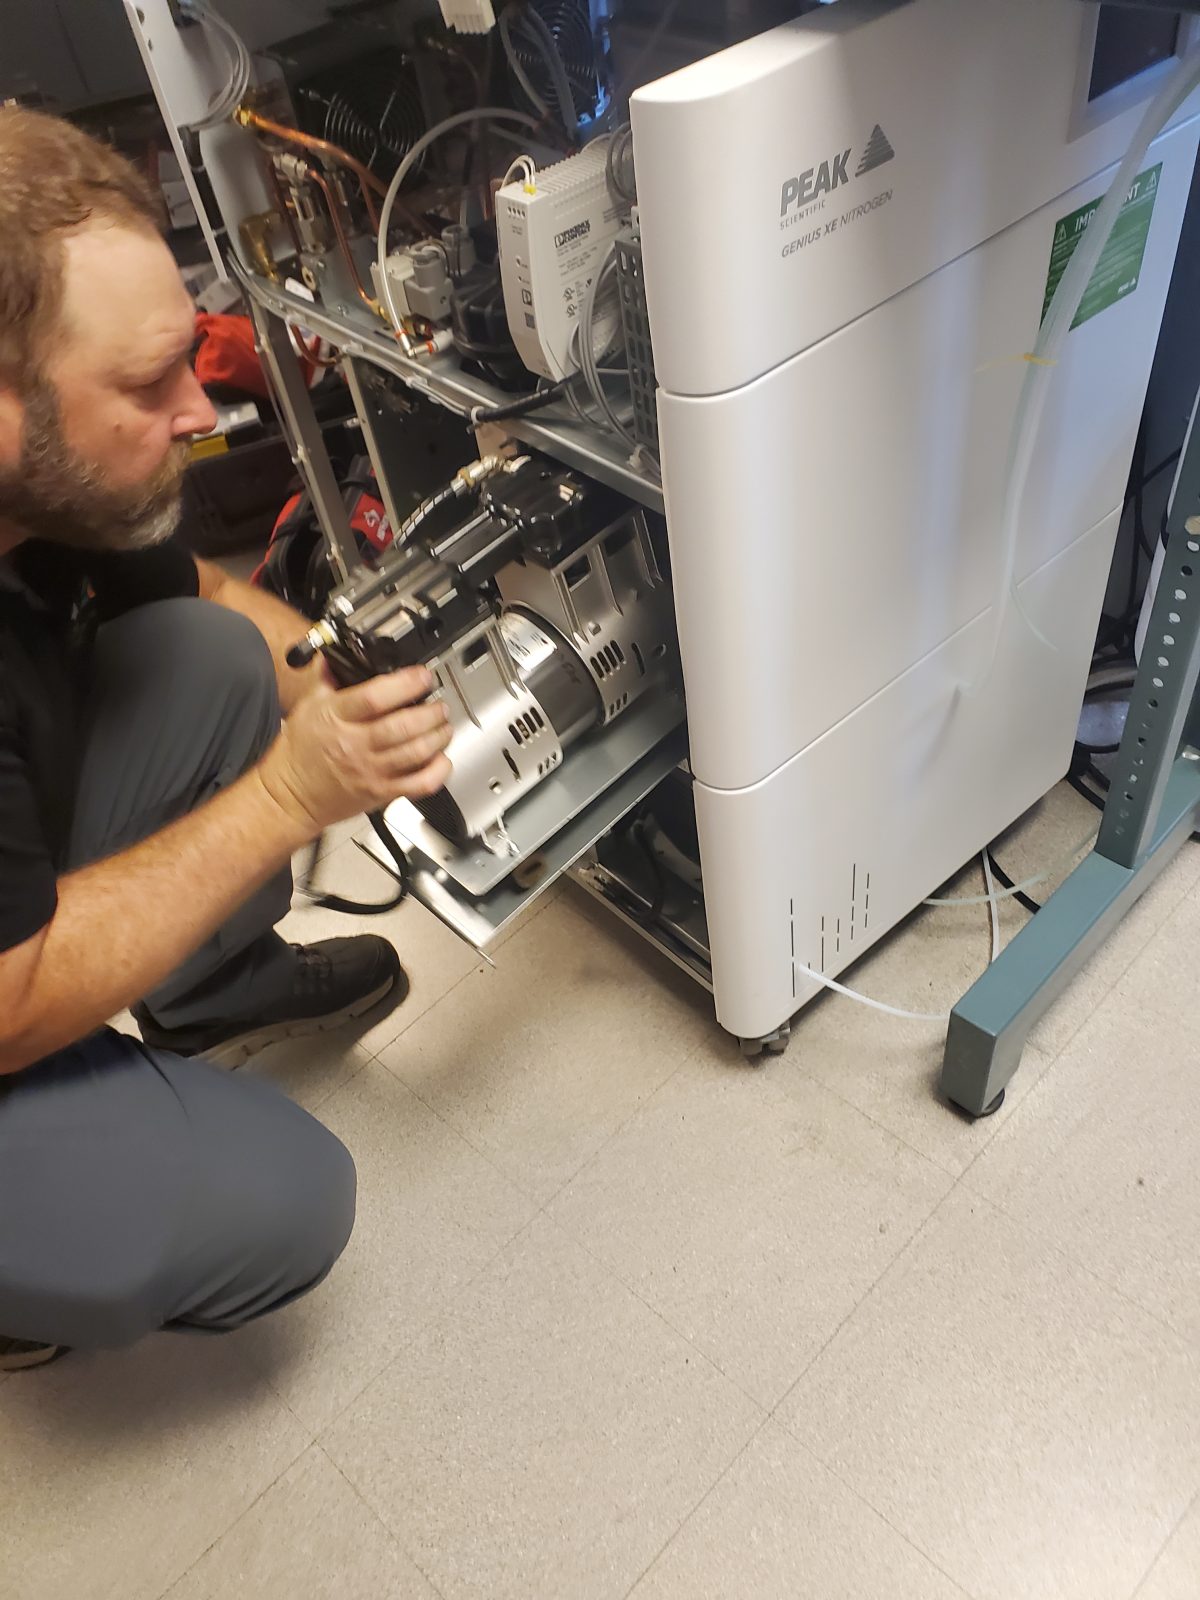
This page describes what we witnessed as our Peak Scientific Genius XE70 Nitrogen Generator was receiving its first annual maintenance on May 20, 2025. Here is a copy of Becky's original Word document created shortly after the May 20th maintenance. All original photos can be found here. Pics of Ursula's notes taken in the notebook are here:
Click on the thumbnail photos below to see a high-resolution original.
WARNING - screw heads and threads can strip easily throughout this maintenance. Take care to use the correct size screw driver head and make sure you are applying a good deal of force straight down into the screws as you attempt to first loosen them.
Step-by-step instructions:
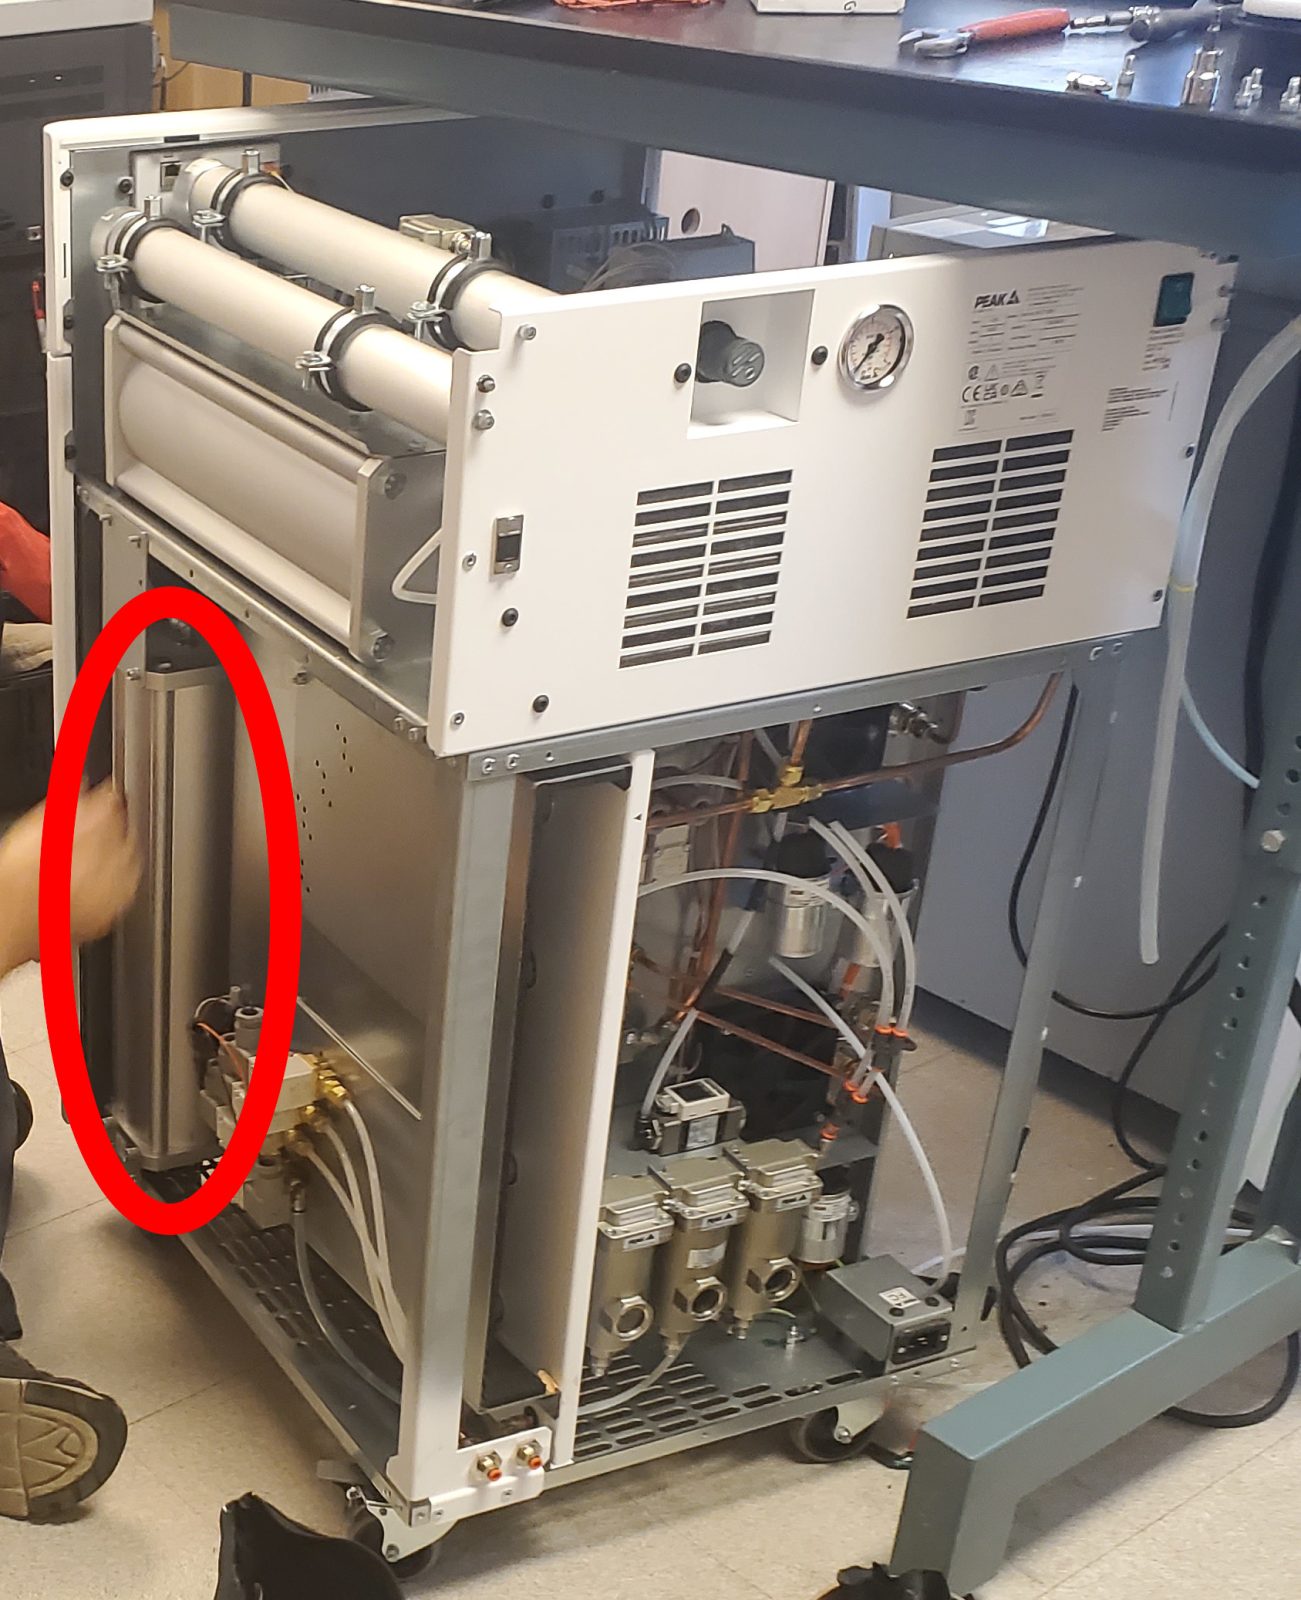
Remove top, side, then back panels
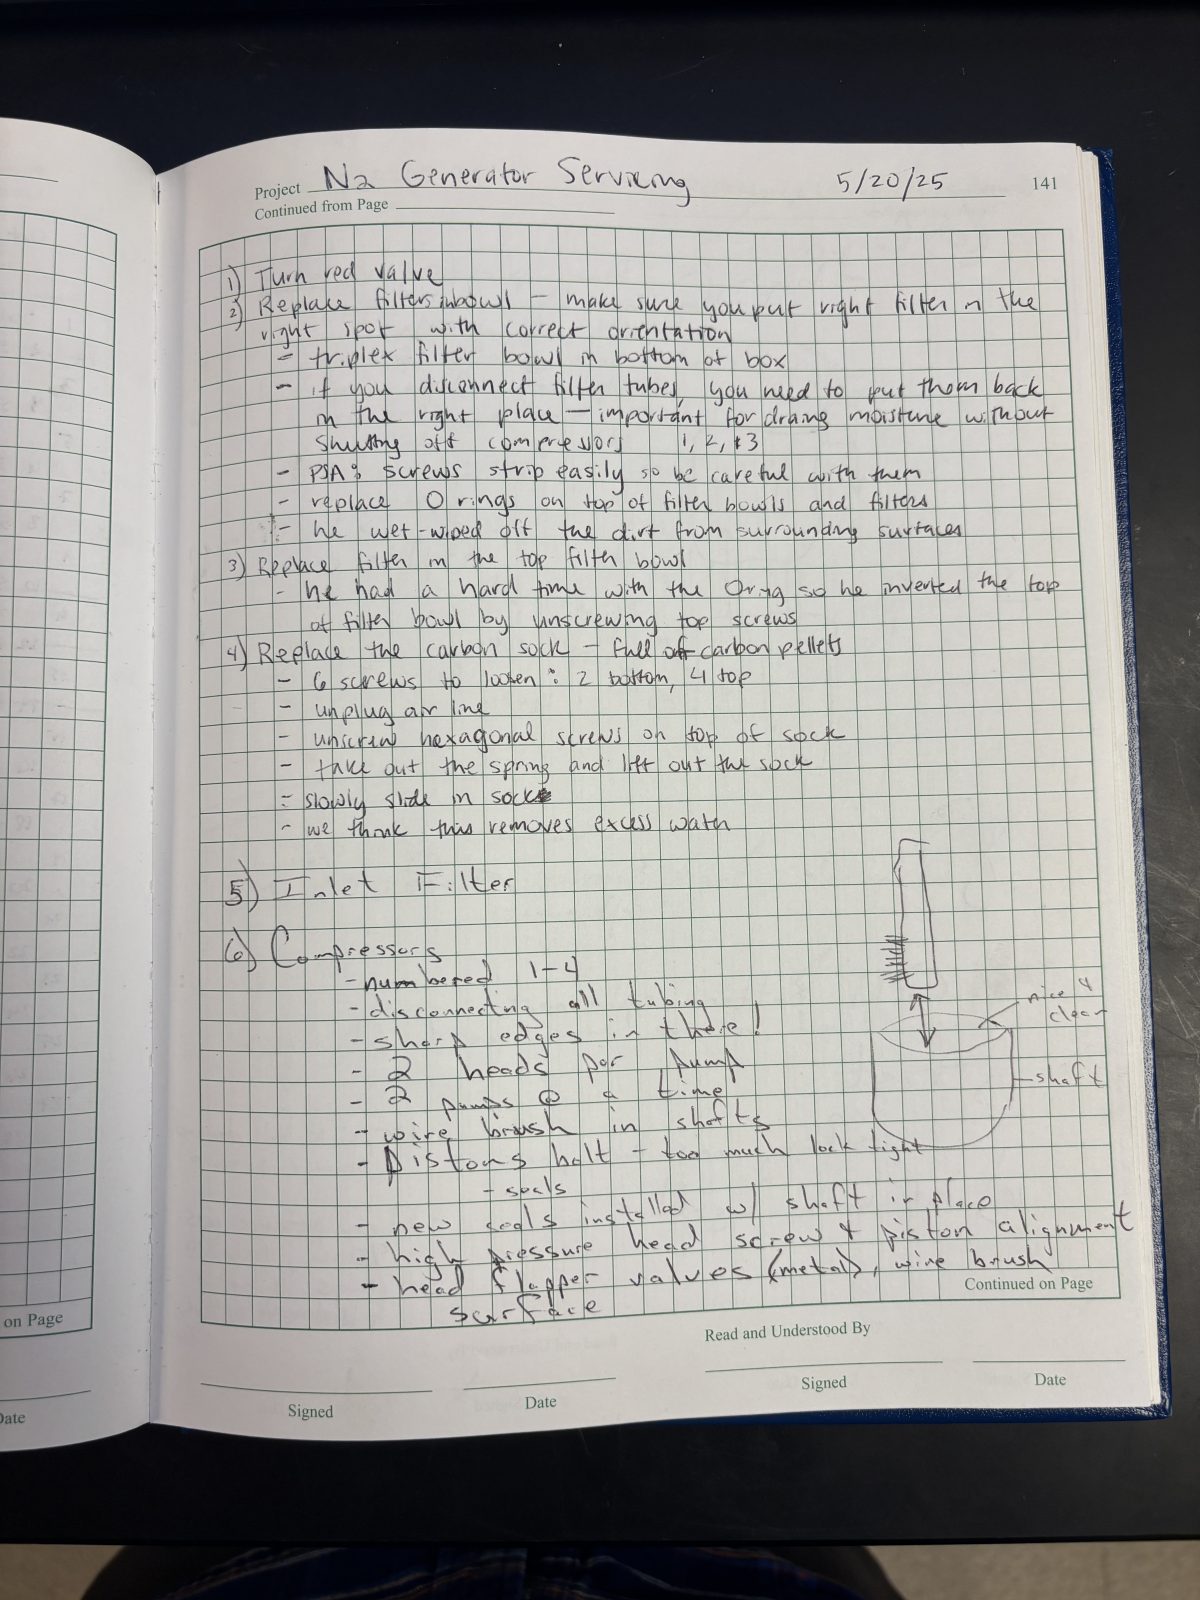
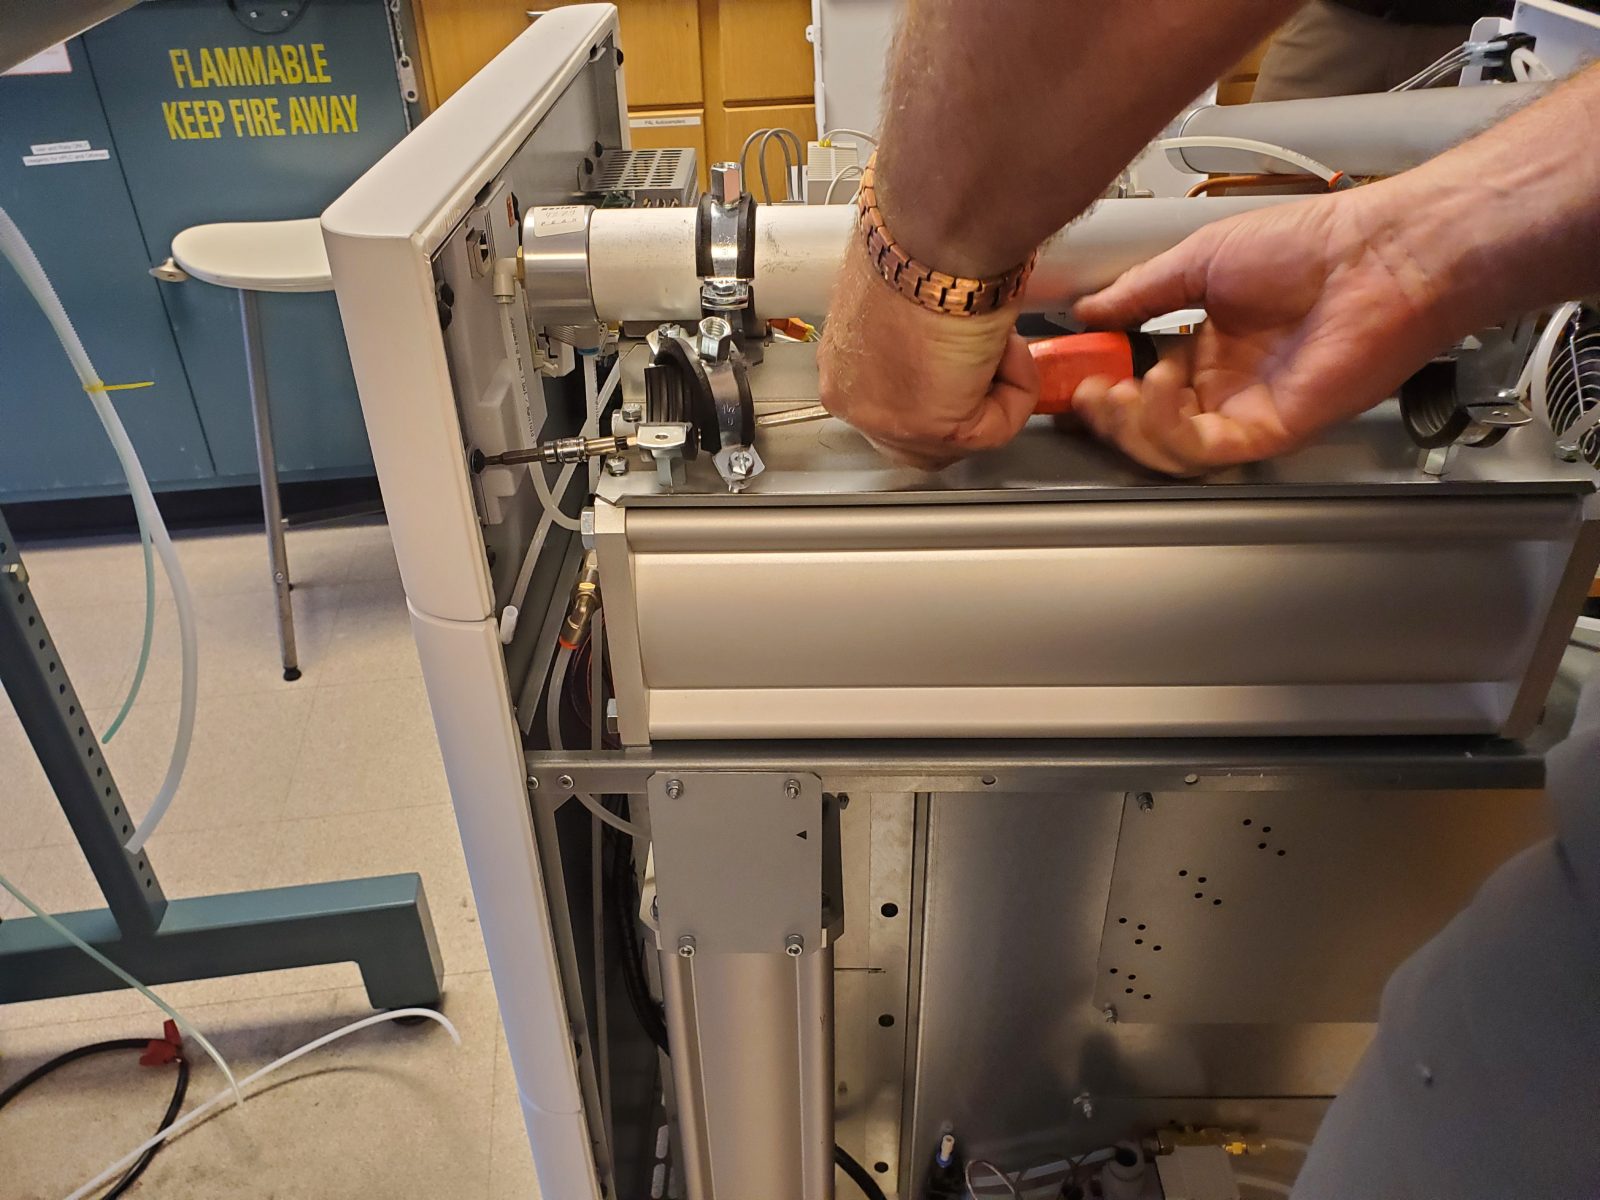
Vent by turning red valve 90 degrees in top center
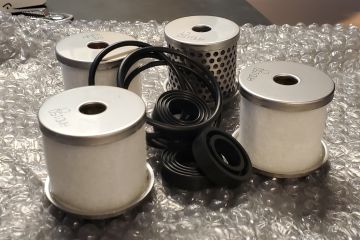
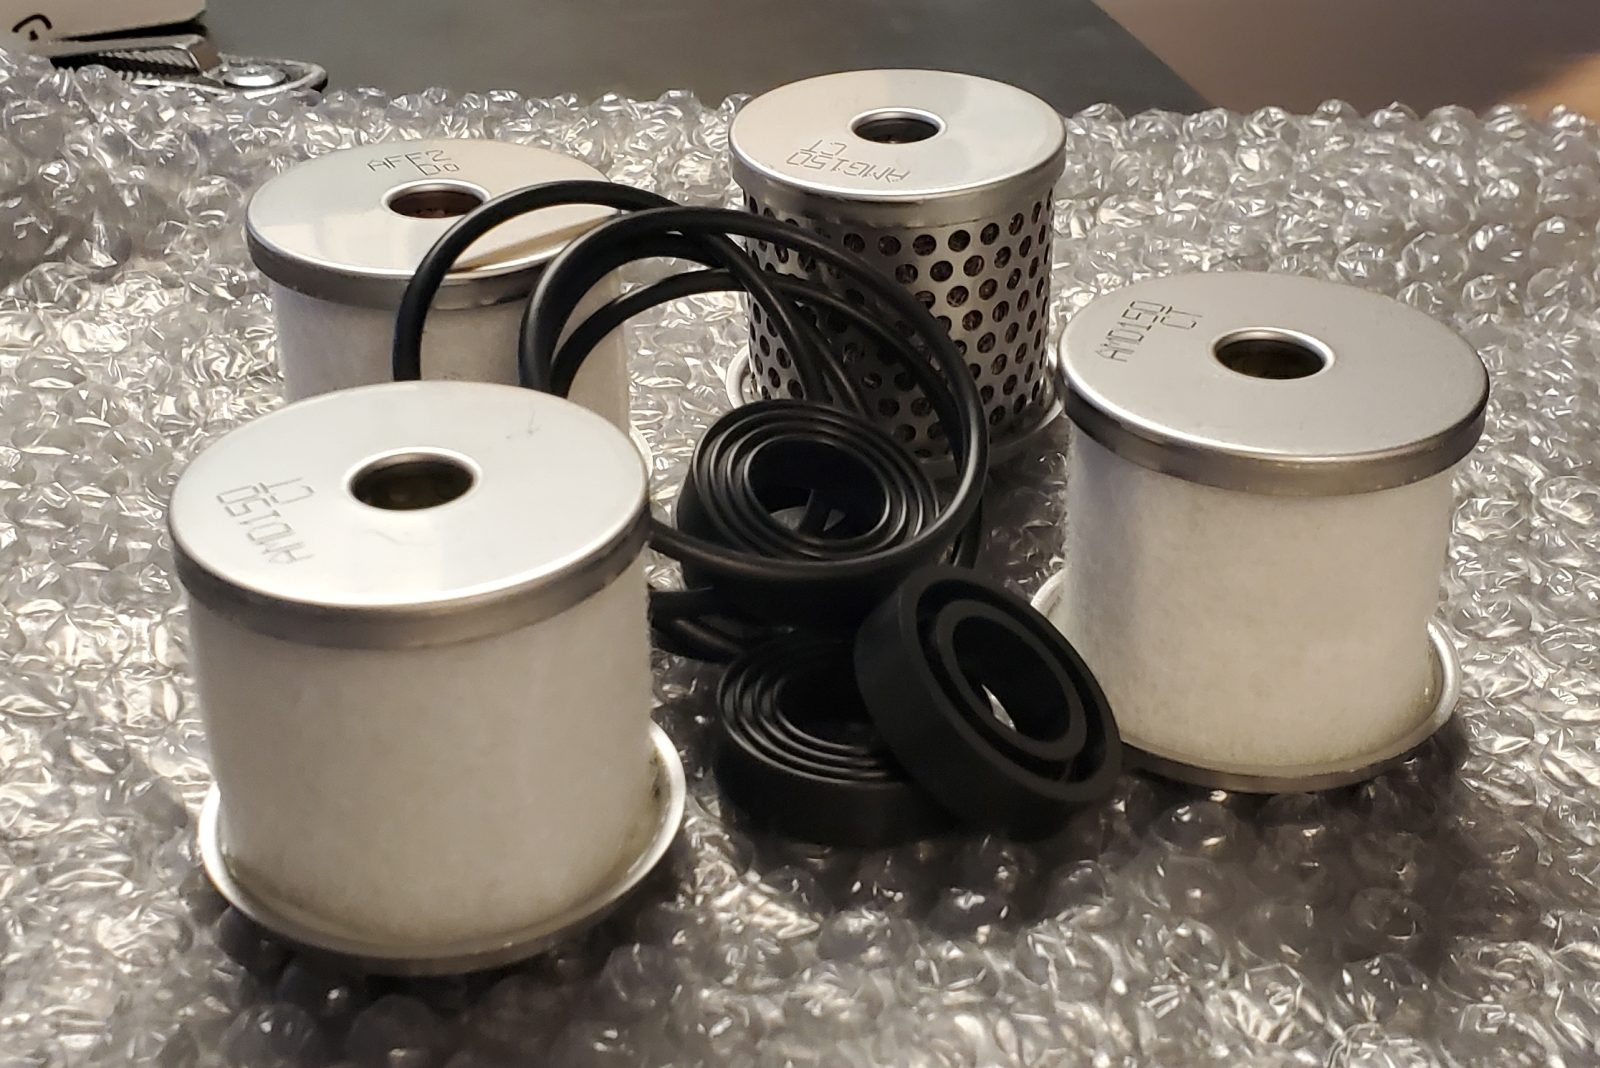
Replace filters and o-rings in the 3 filter bowls located in bottom front of the generator. Make sure to use the correct filter in the correct bowl. WARNING, strip easily. Make sure lined up properly.
Replace filter and o-rings in 4th filter bowl located on top center, just above the red valve.
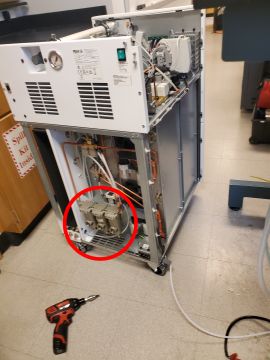
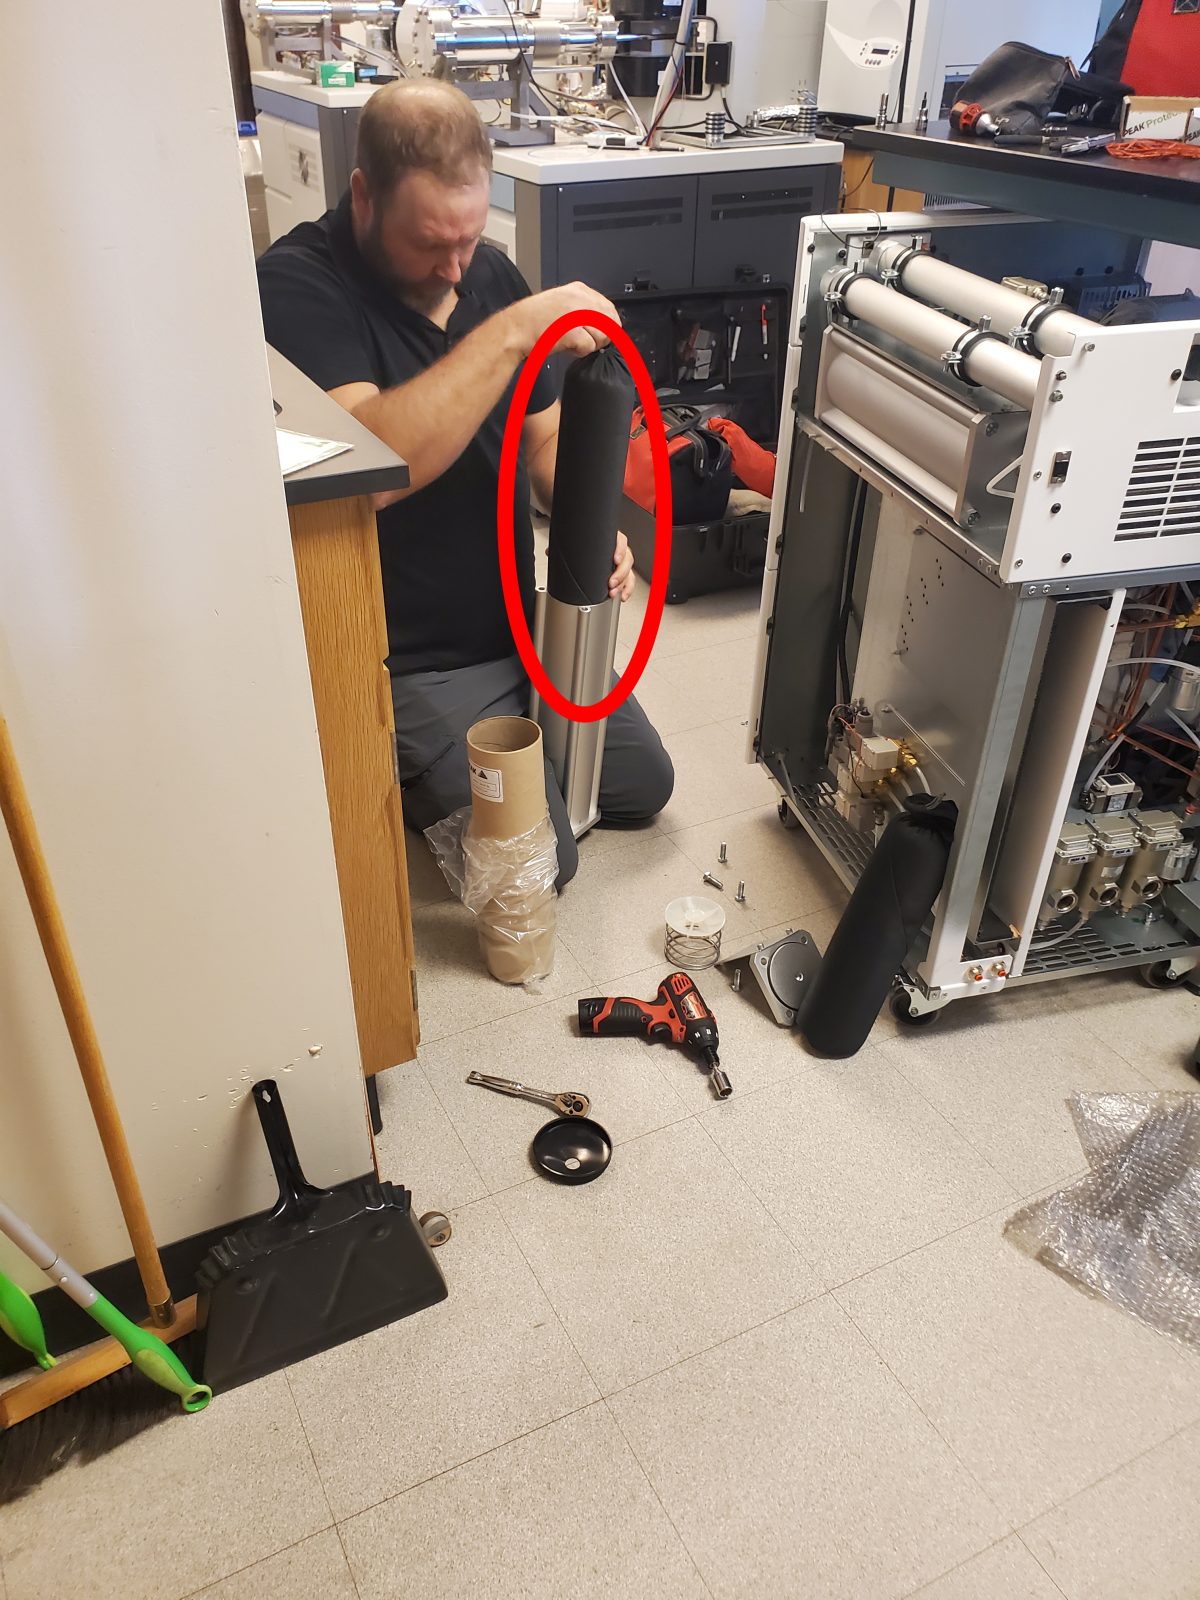
Replace carbon sock on side, and o ring, reattach
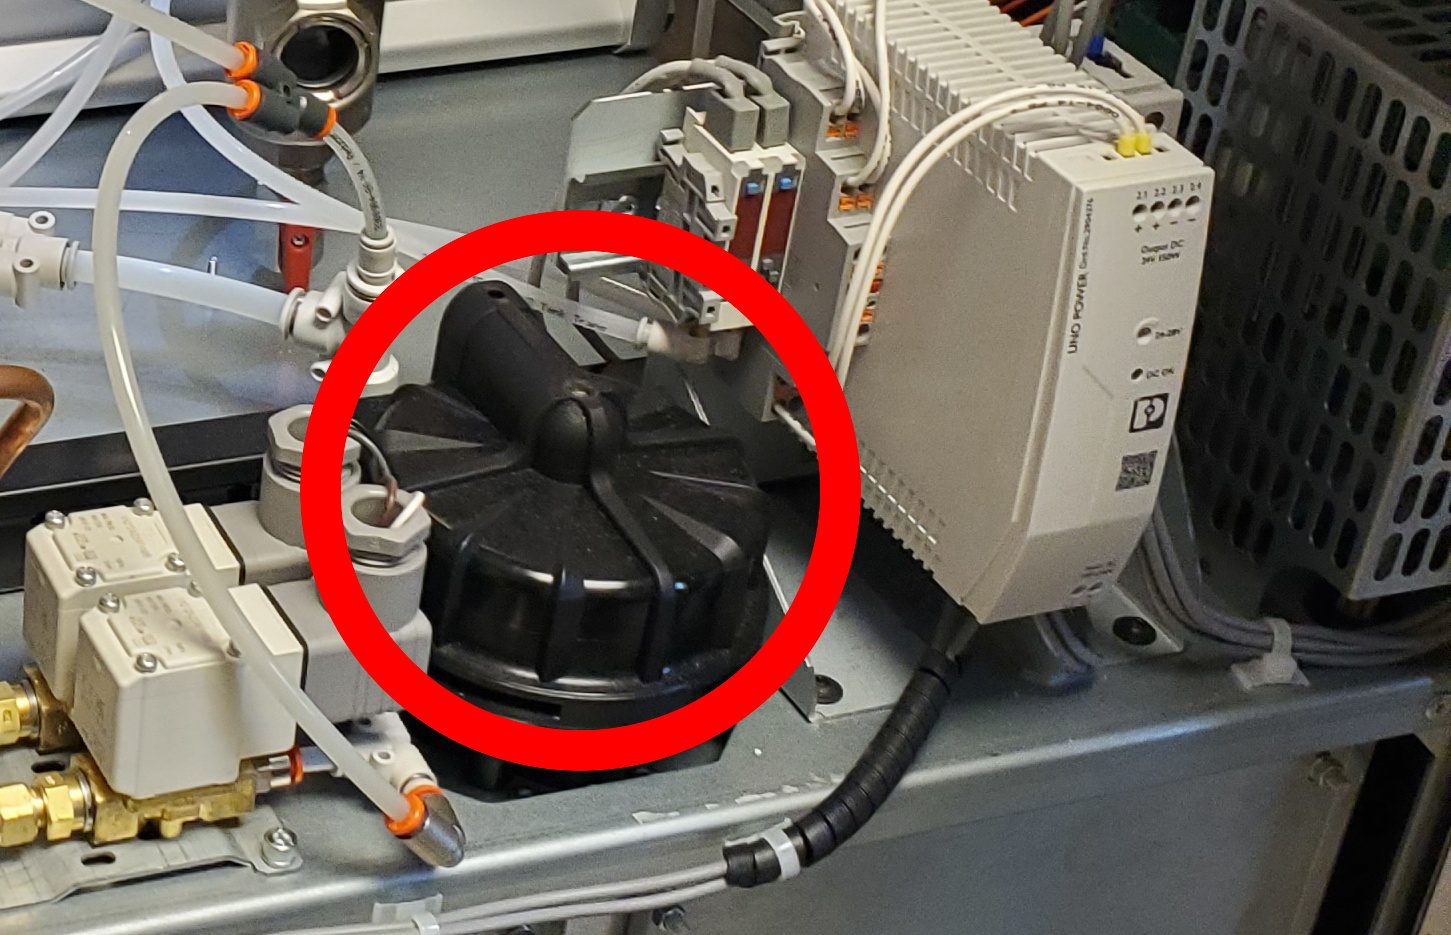
Replace inlet filter on top (black container)
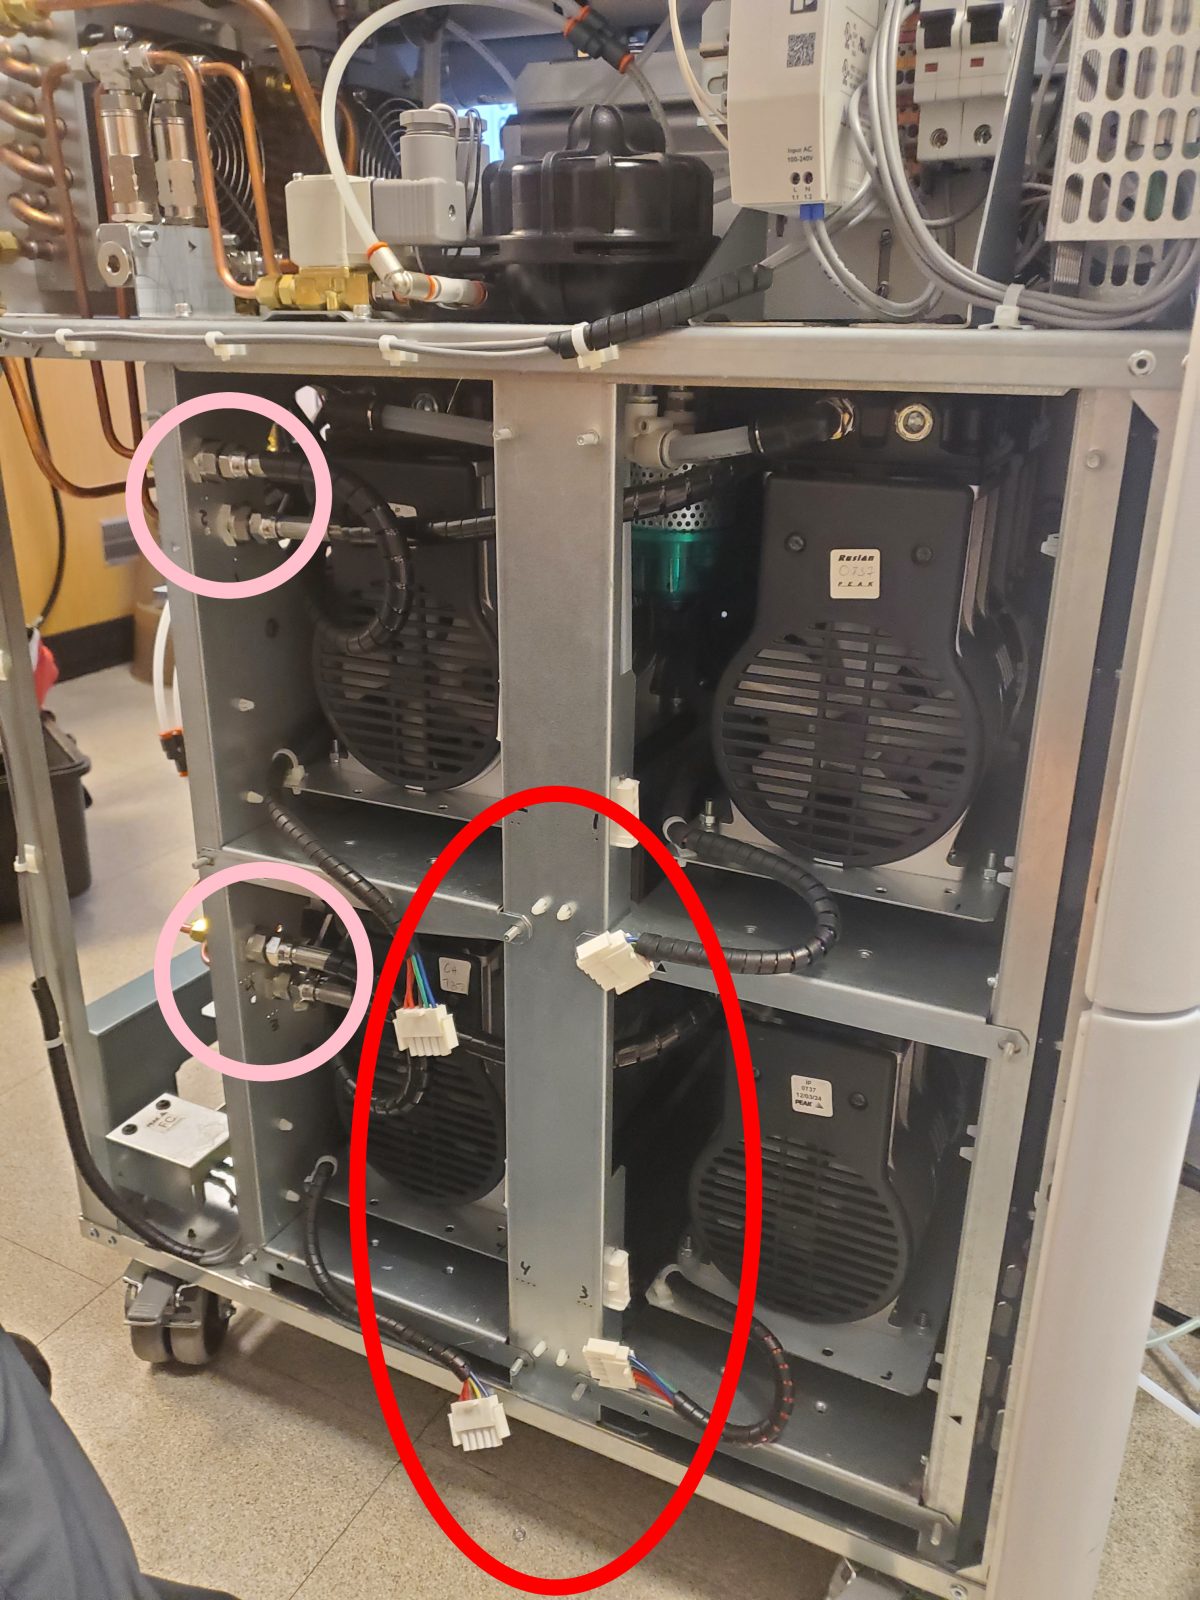
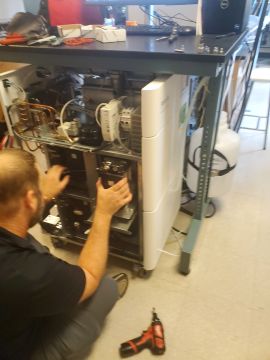
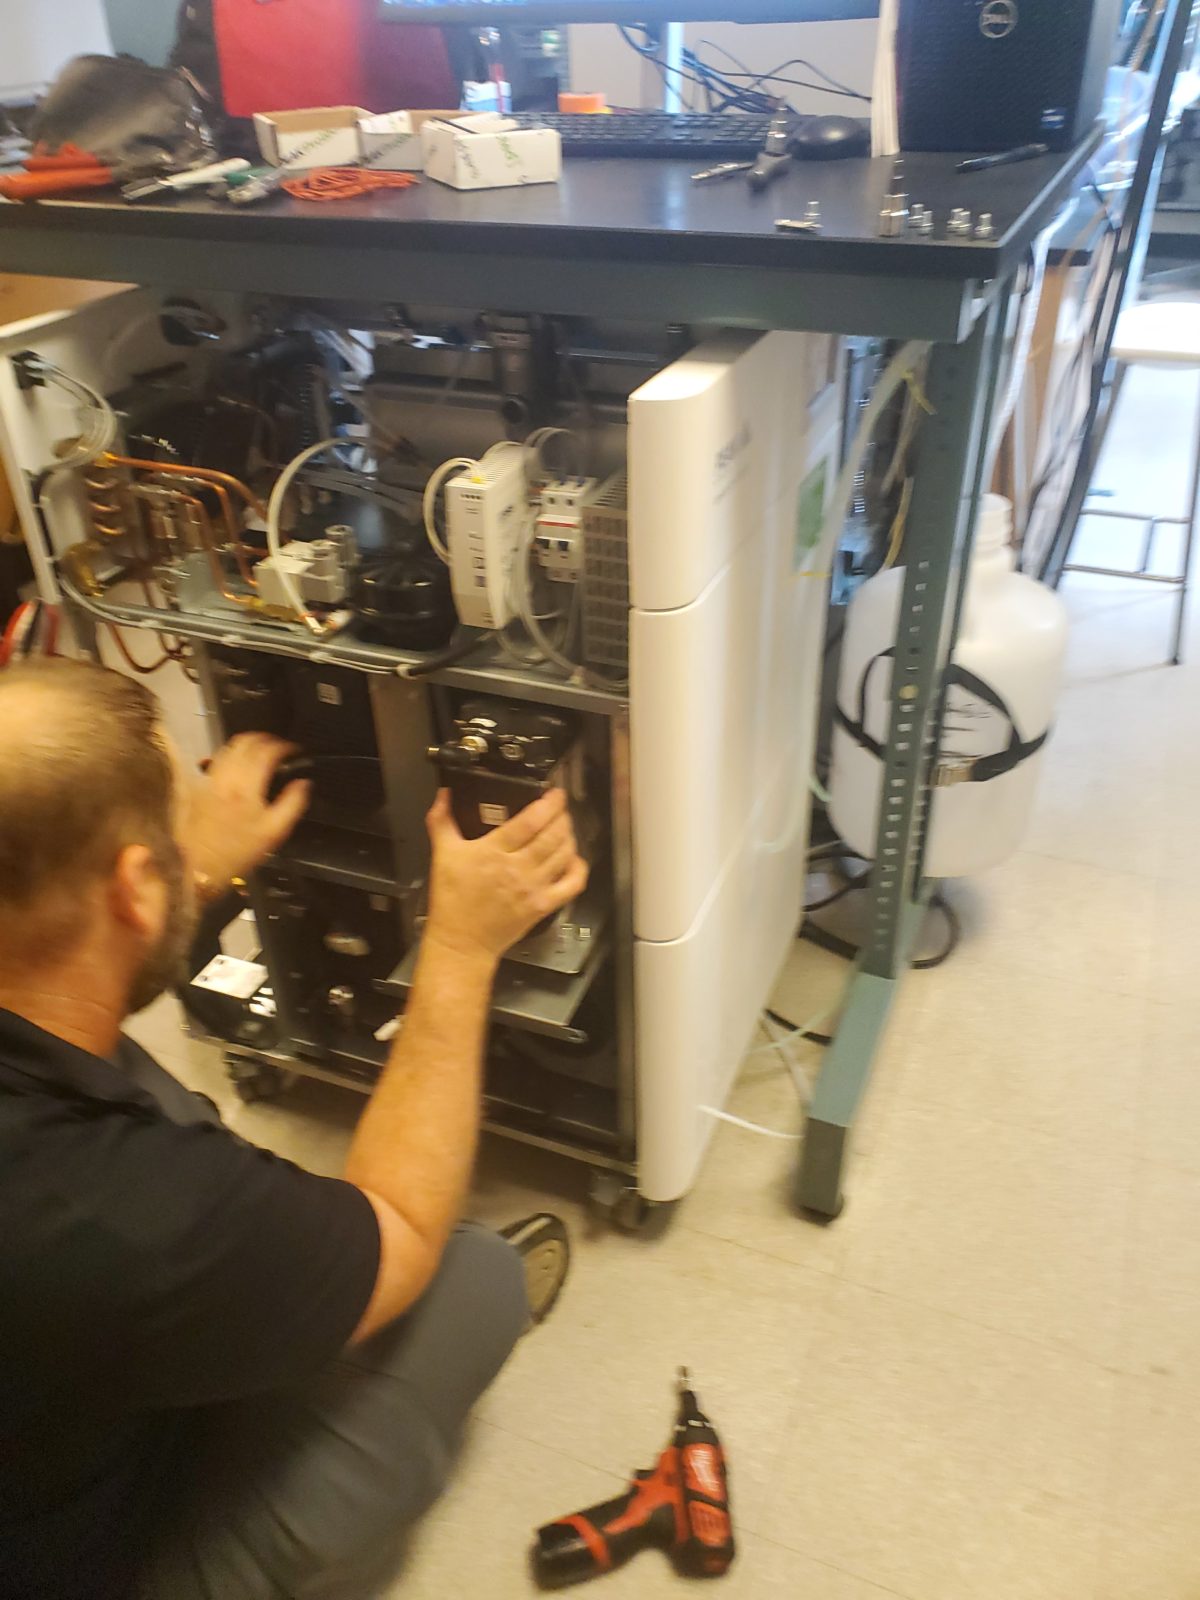
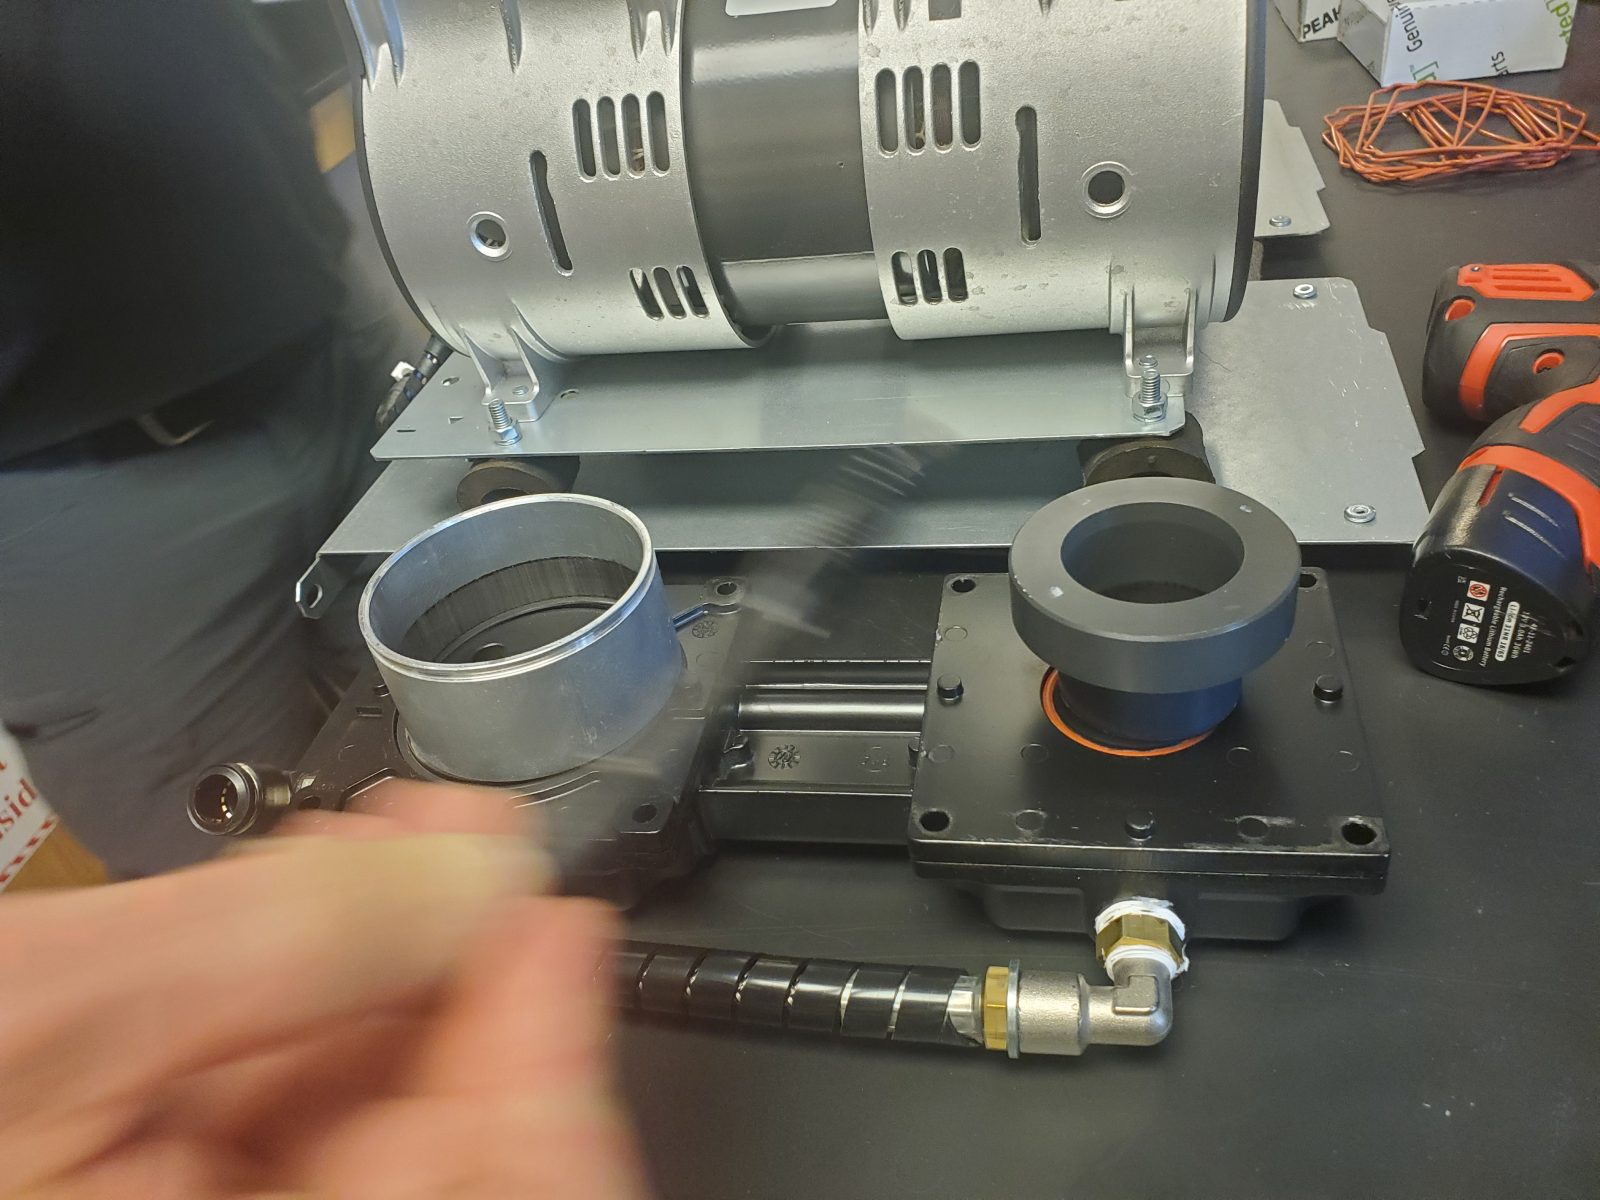
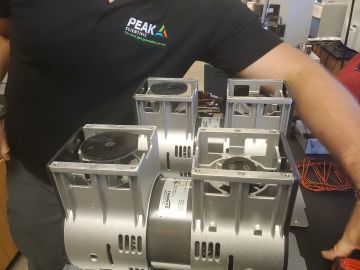
Remove 2 silver panels on side to access compressors
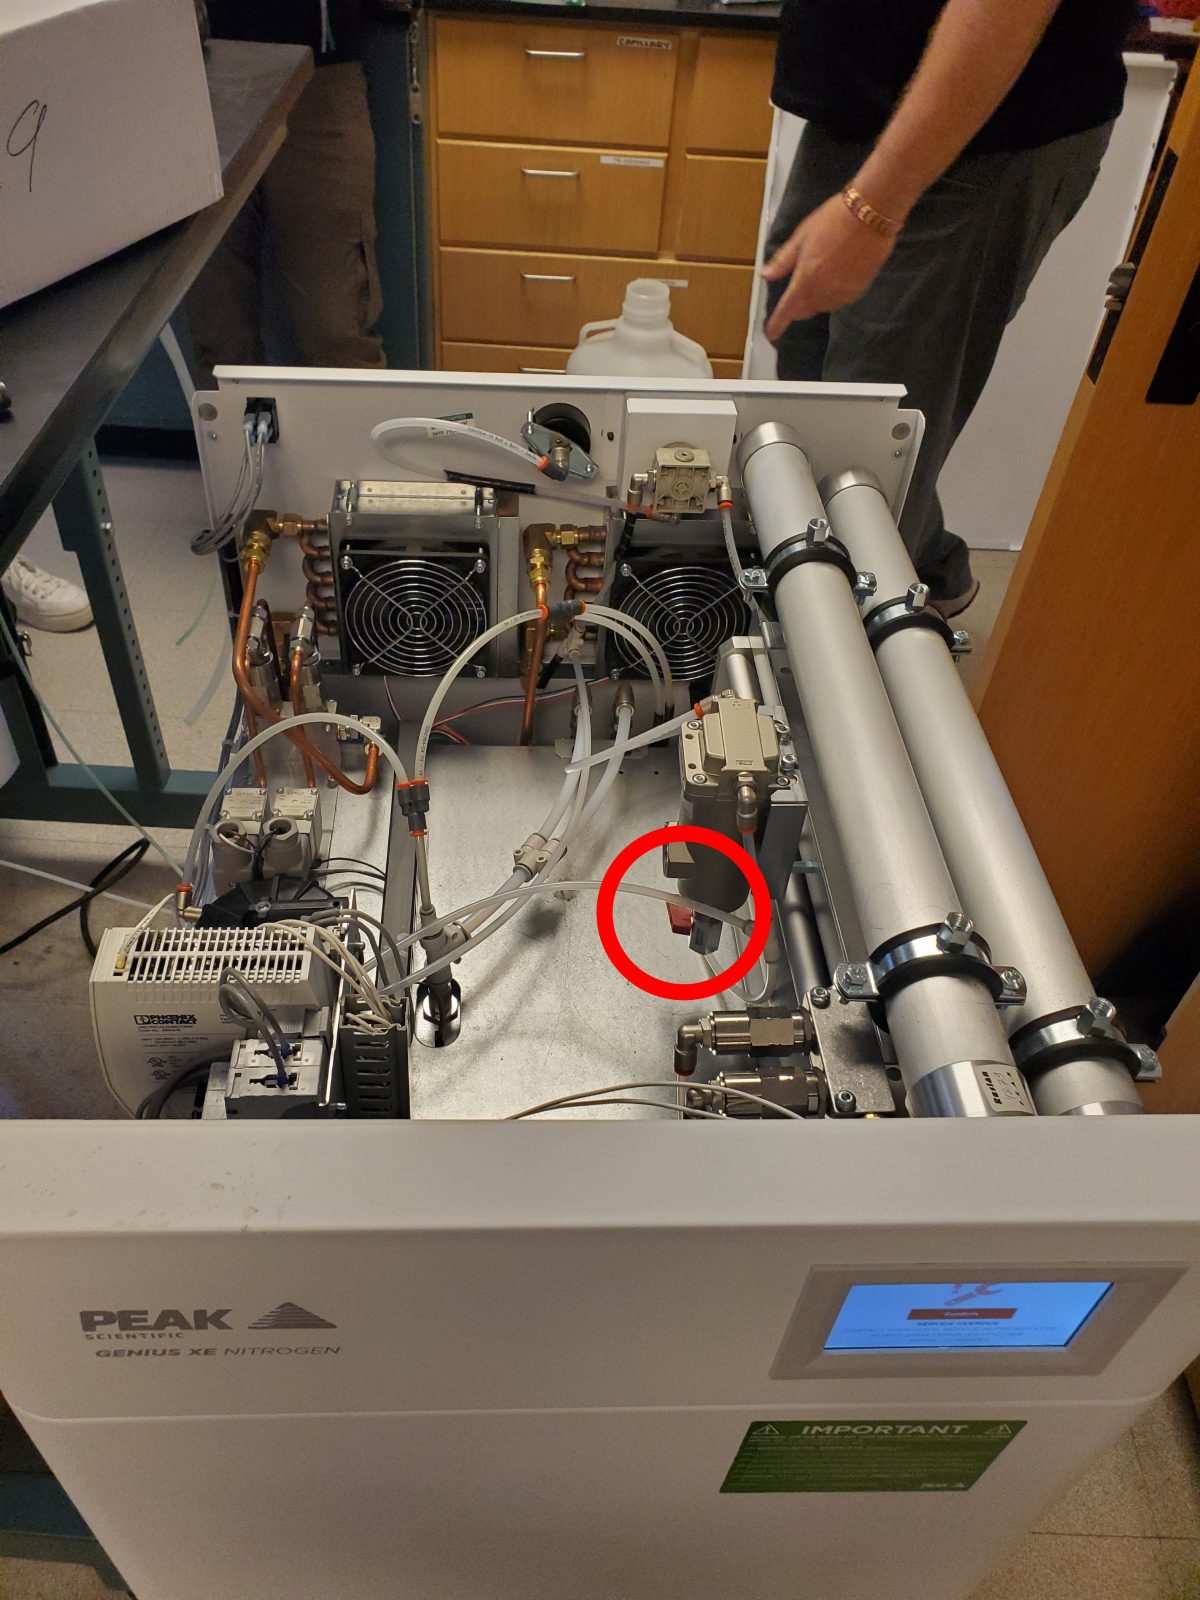
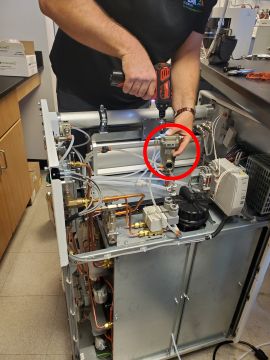
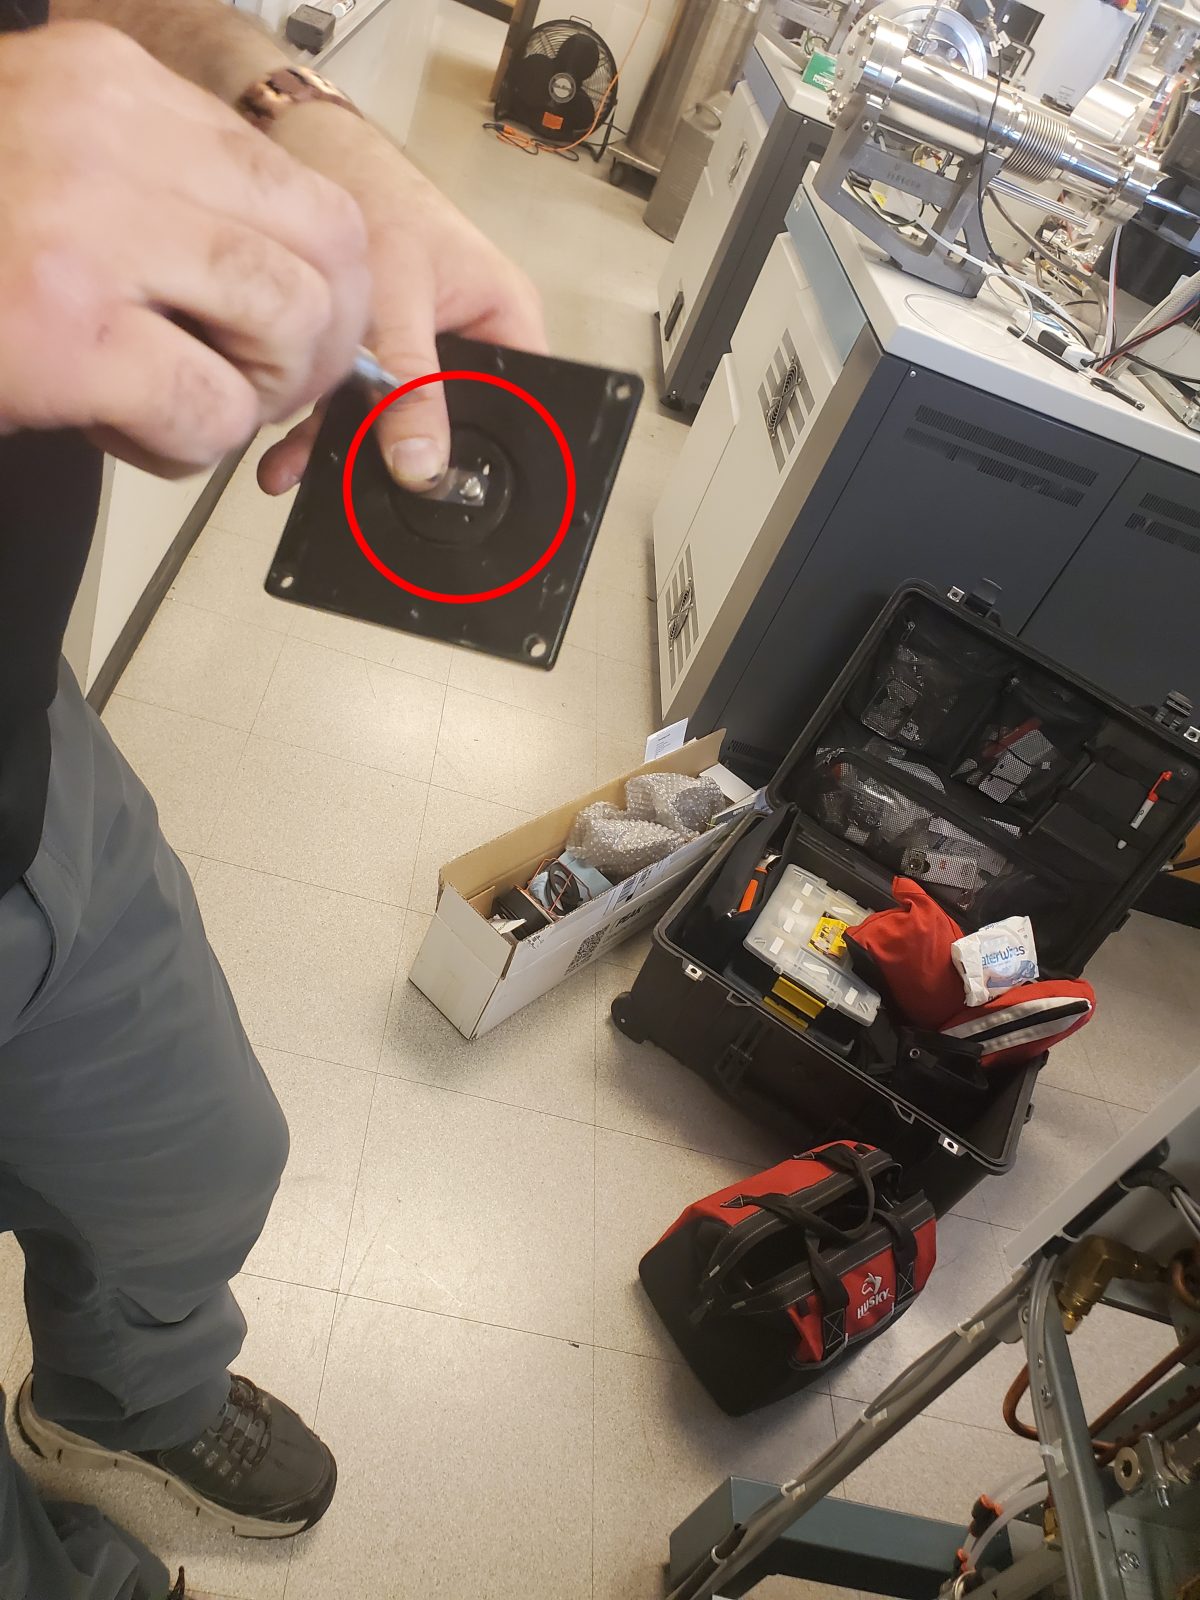
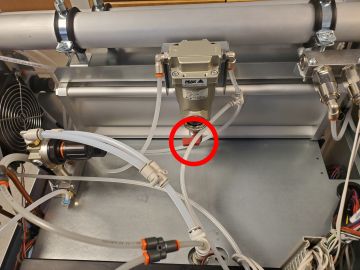
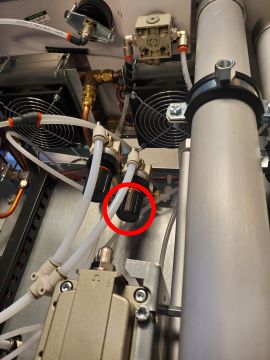
Unplug white plugs (4) - red circle; unscrew black hoses on left (4) - pink circles. Wear gloves, sheet metal is sharp
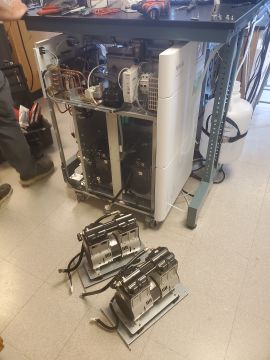
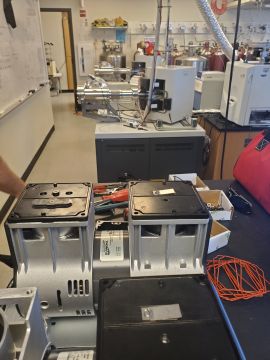
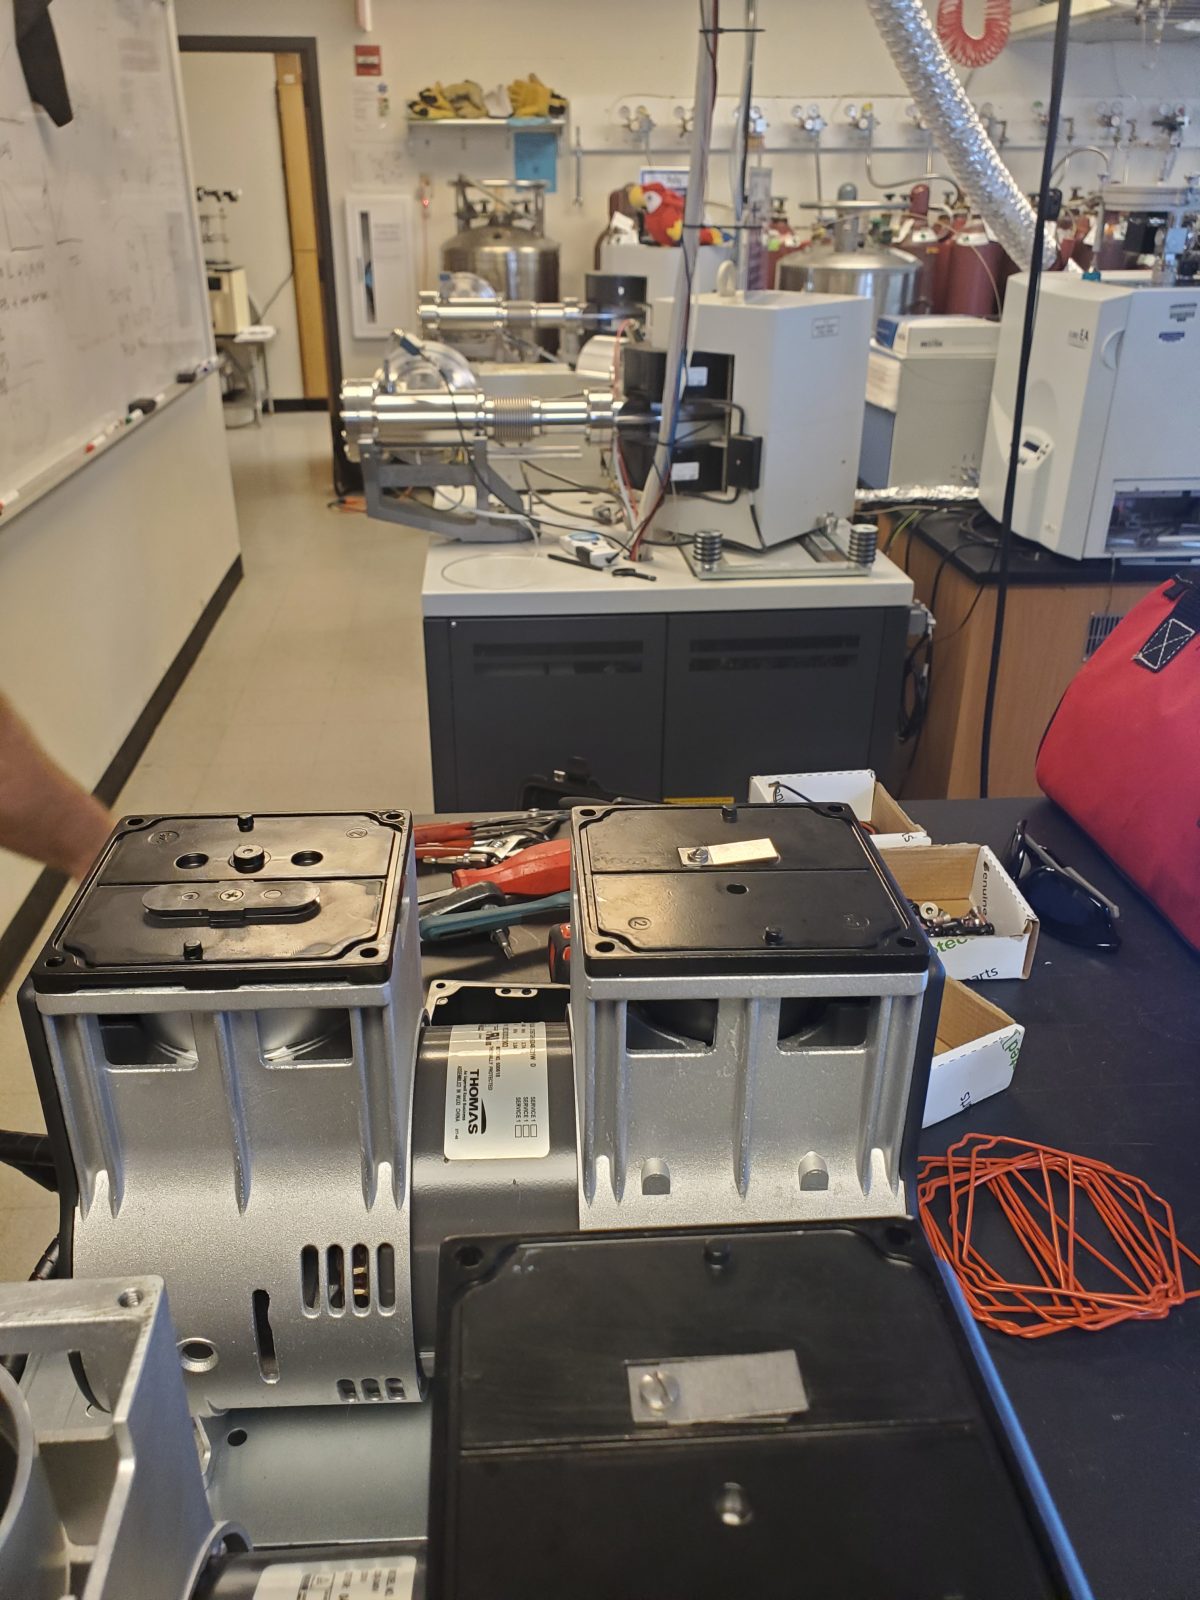
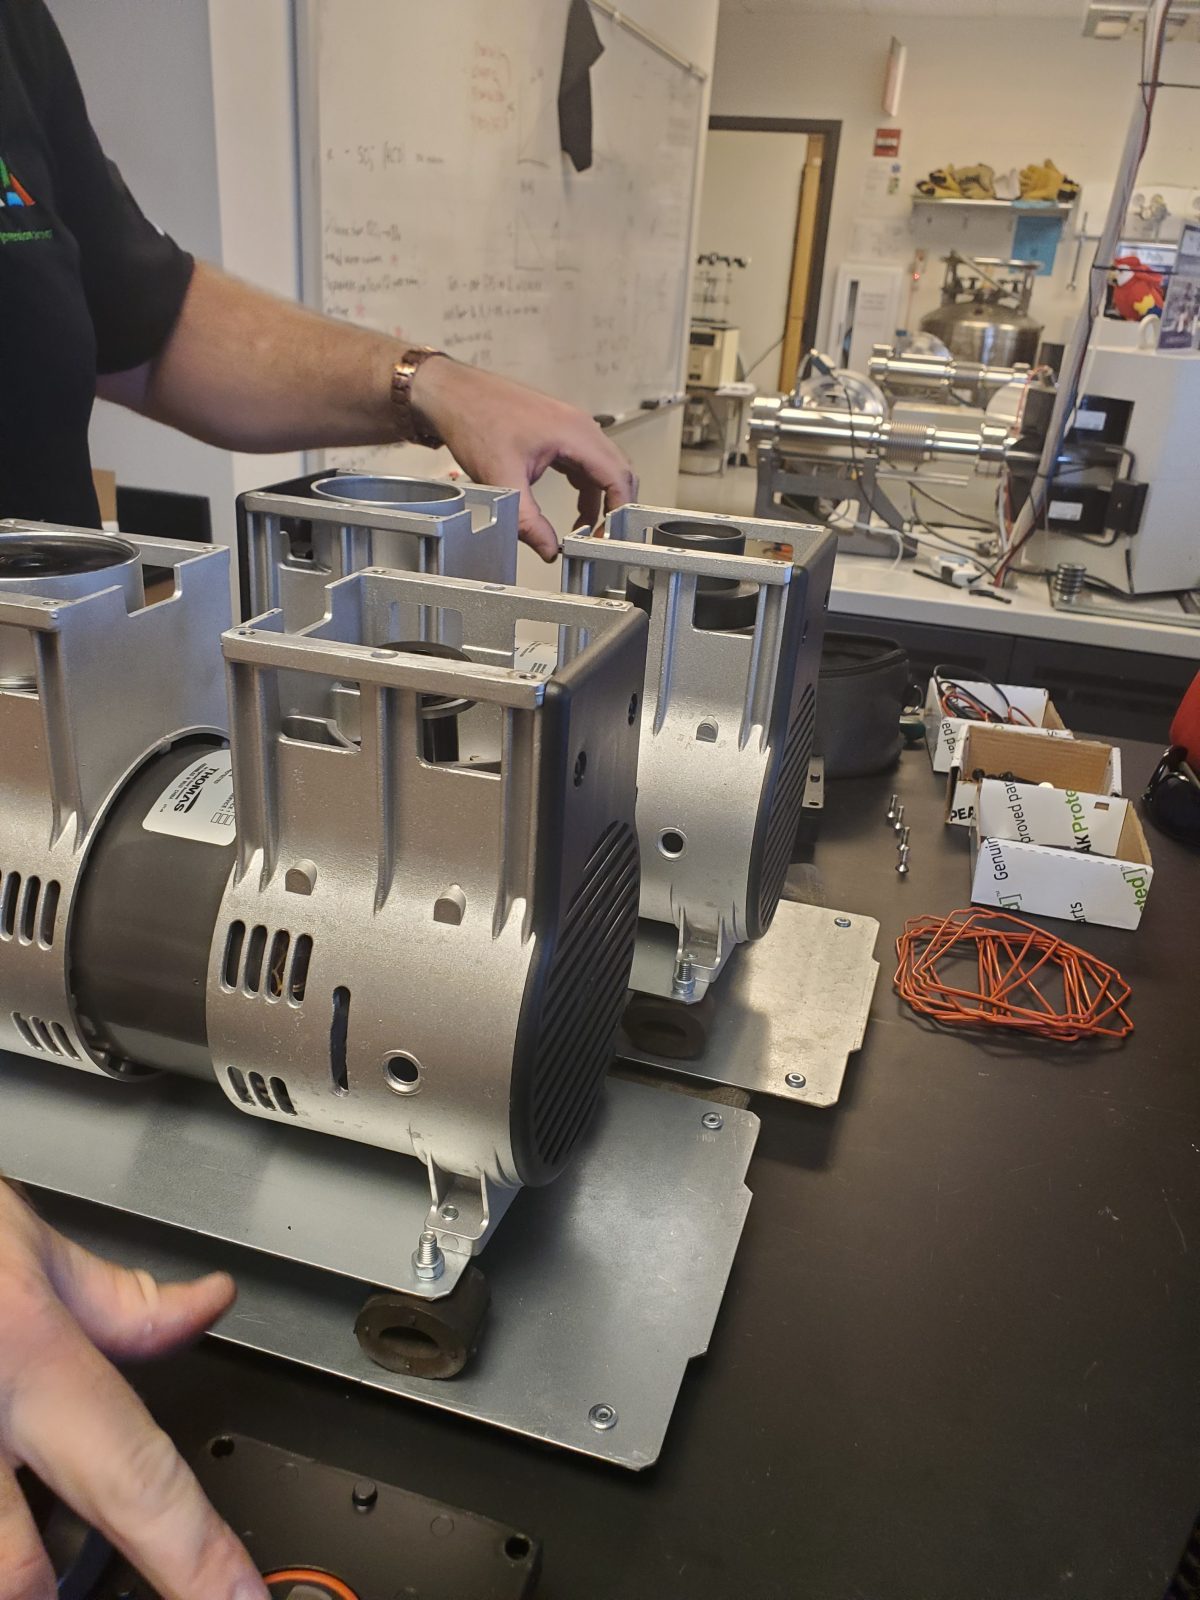
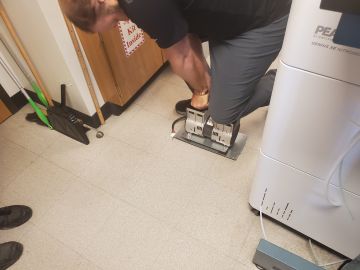
Remove compressors, 2 at a time (total of 4); continue with steps below for each of the first two compressors, then repeat for each of the second two.
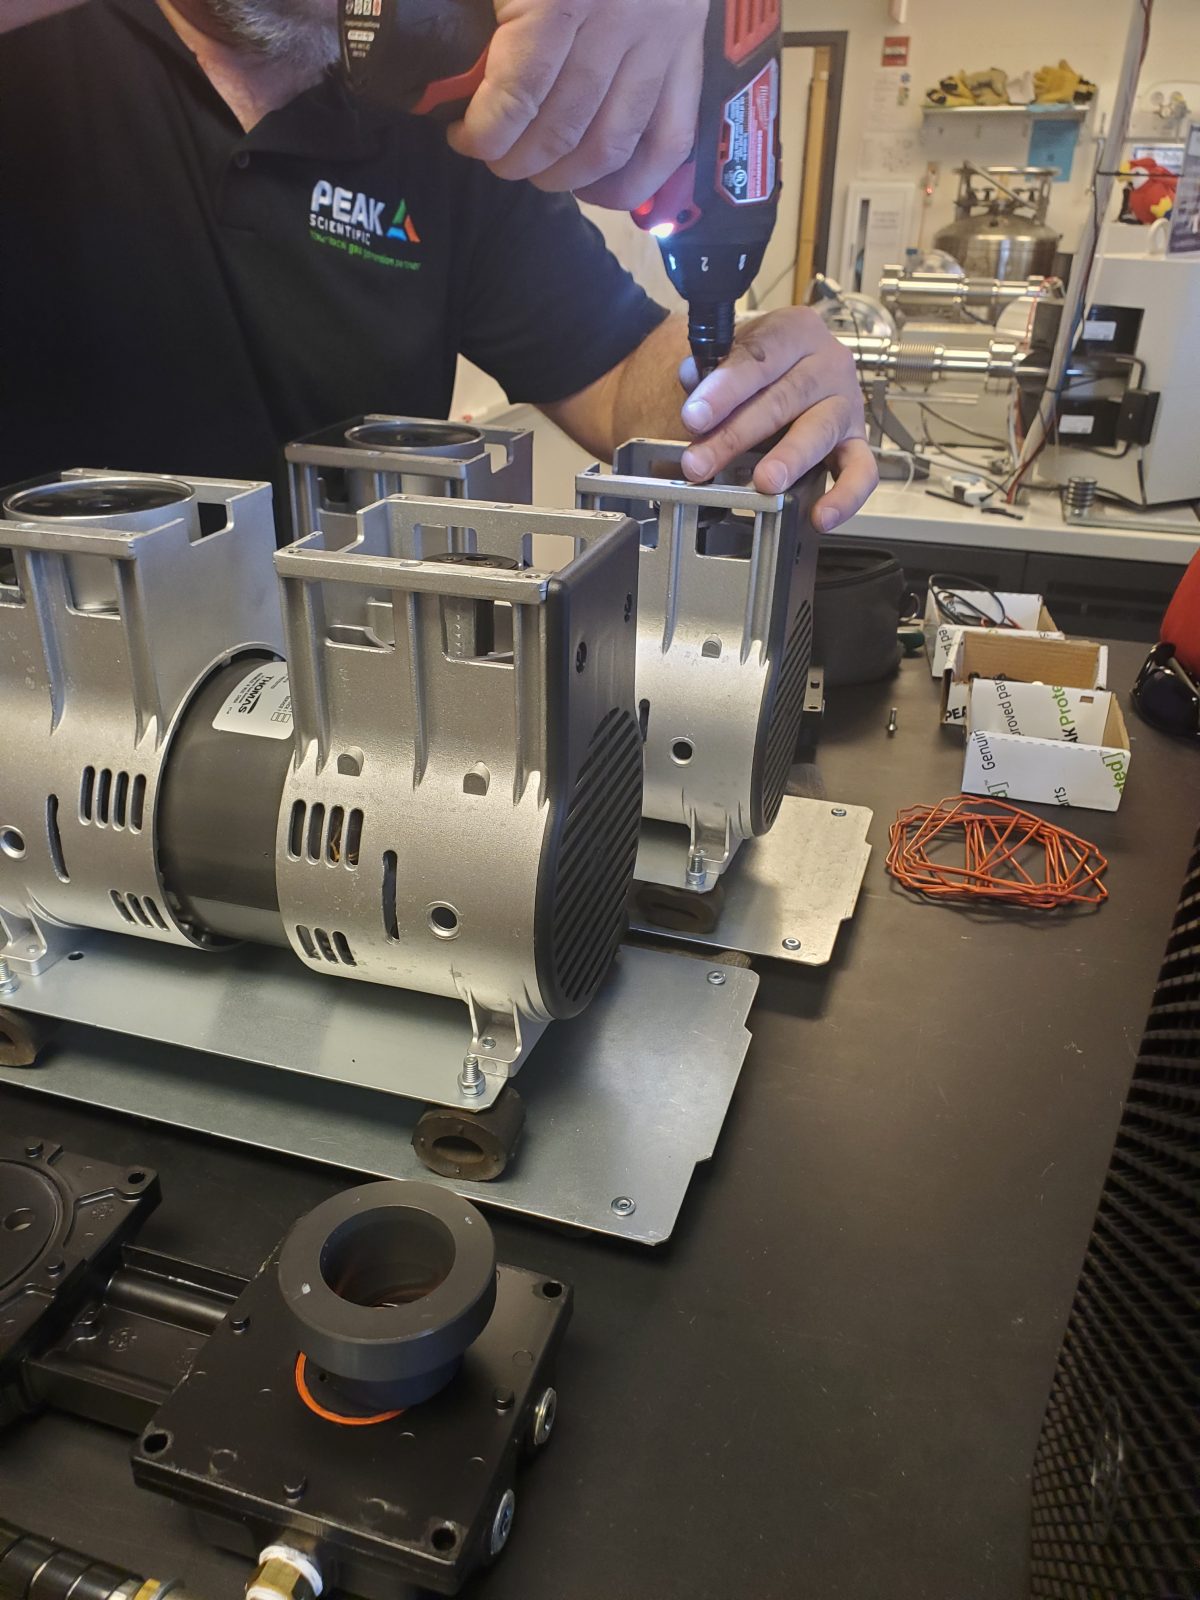
Remove top black covers on compressors. Screws are tight (8 on each top)
Unscrew shafts (black and silver)
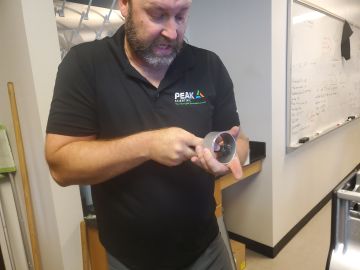
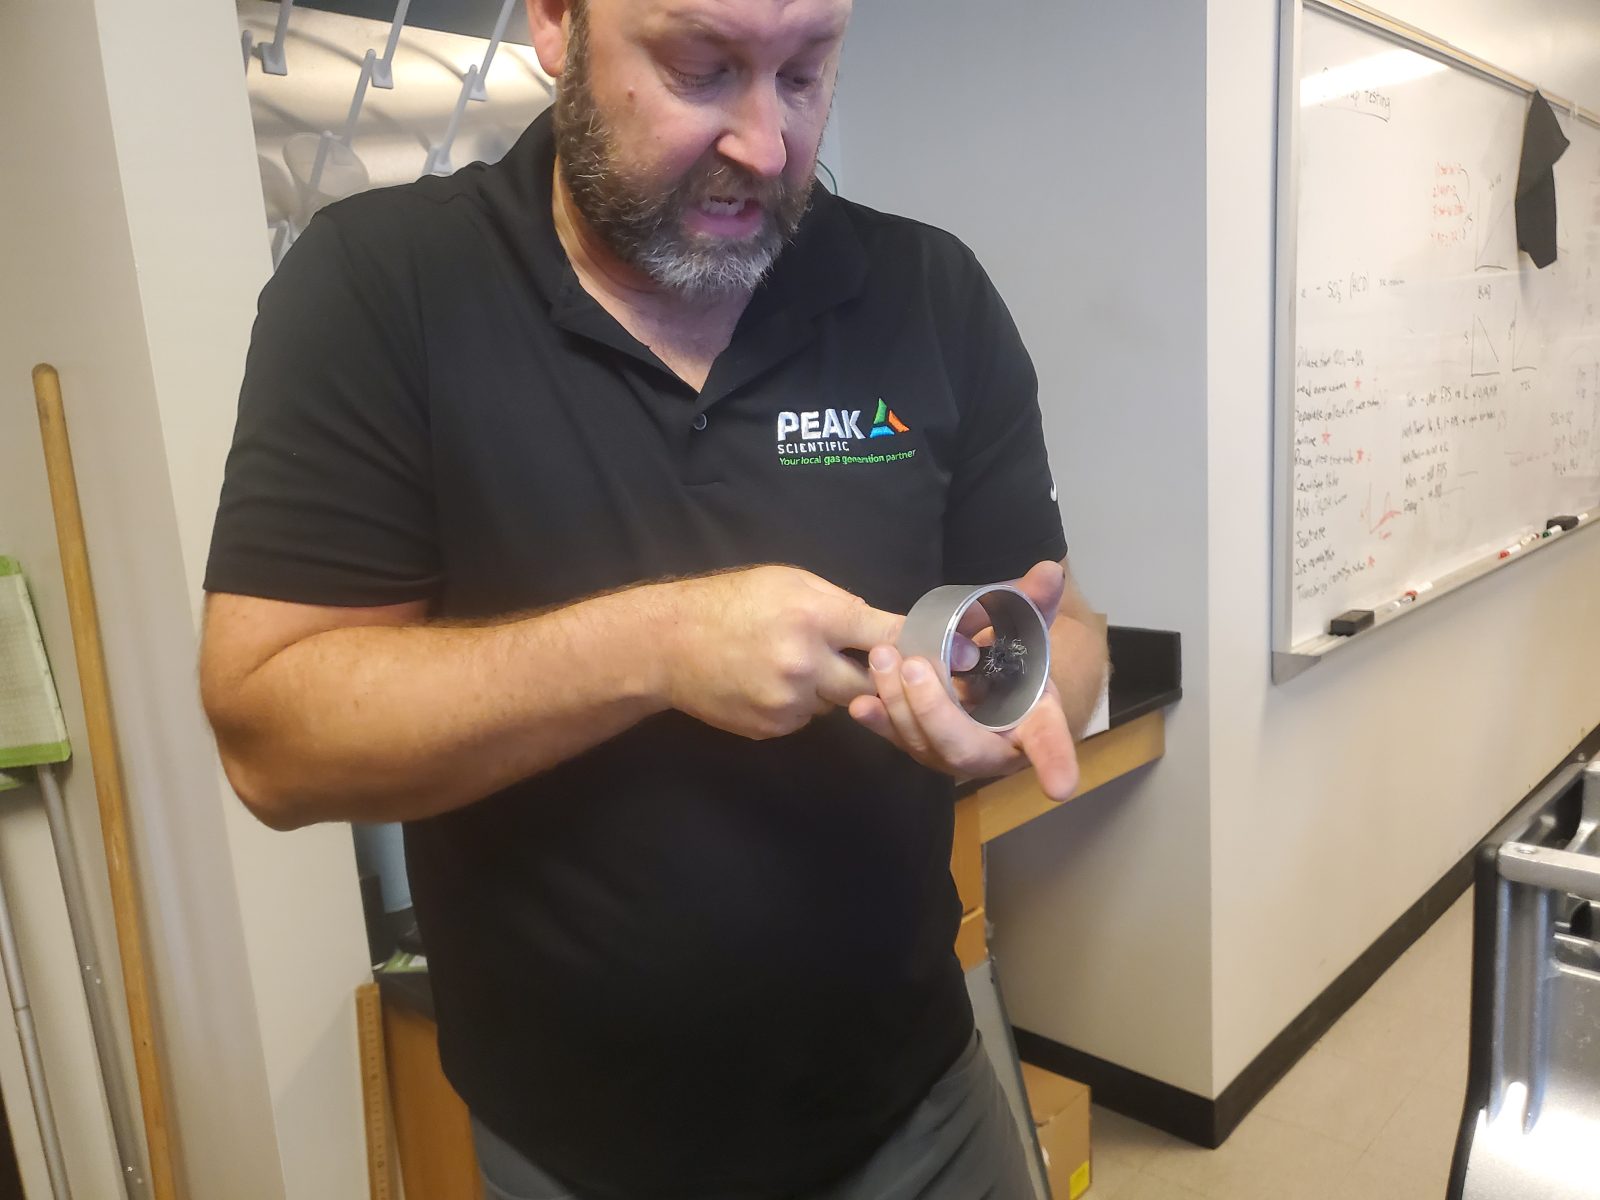
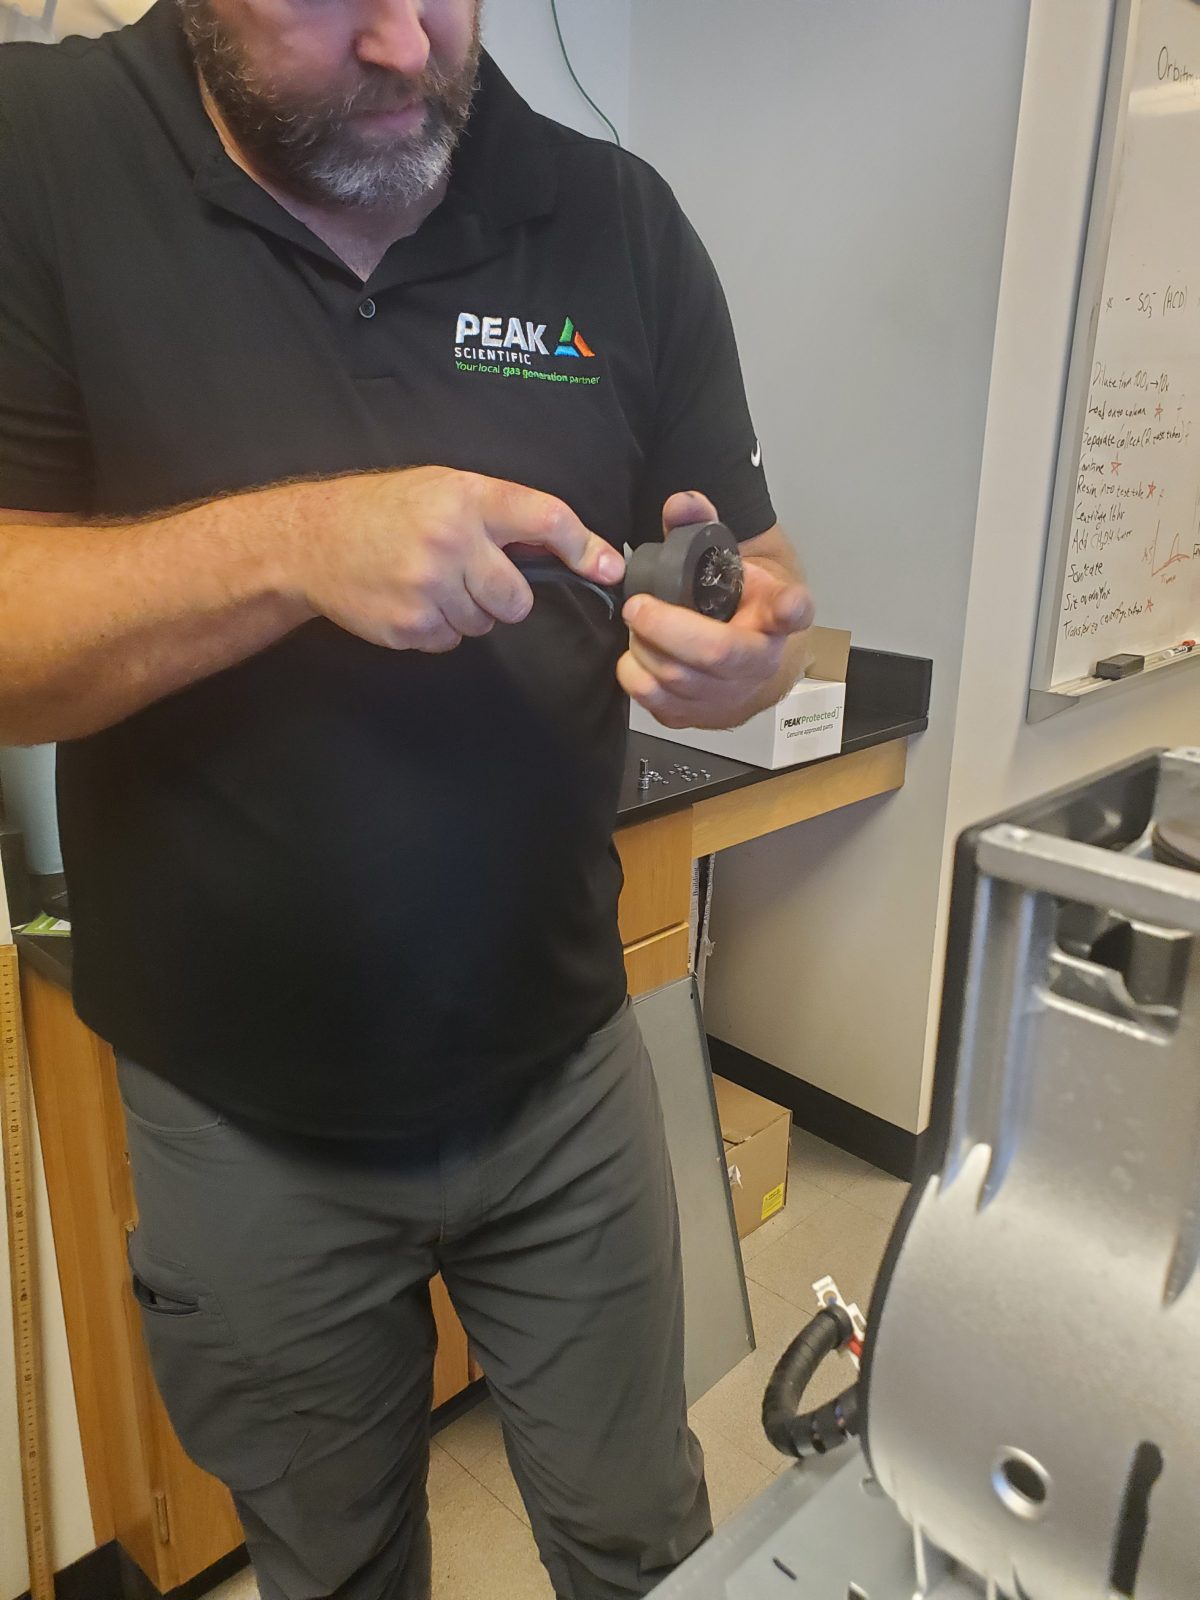
Scrub inside of shafts (one silver, one black) with wire brush
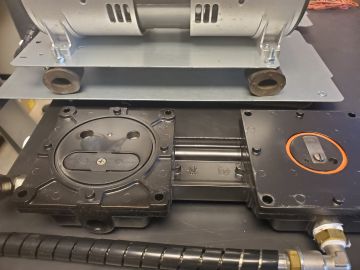
Unscrew piston bolt heads (2 on each). Replace black o ring. If use new bolts Scrub off lock tight first. Be sure to lone up bolt with hole on low pressure side (small black). Push down on high pressure side (silver) to get low pressure side to come up for easier access.
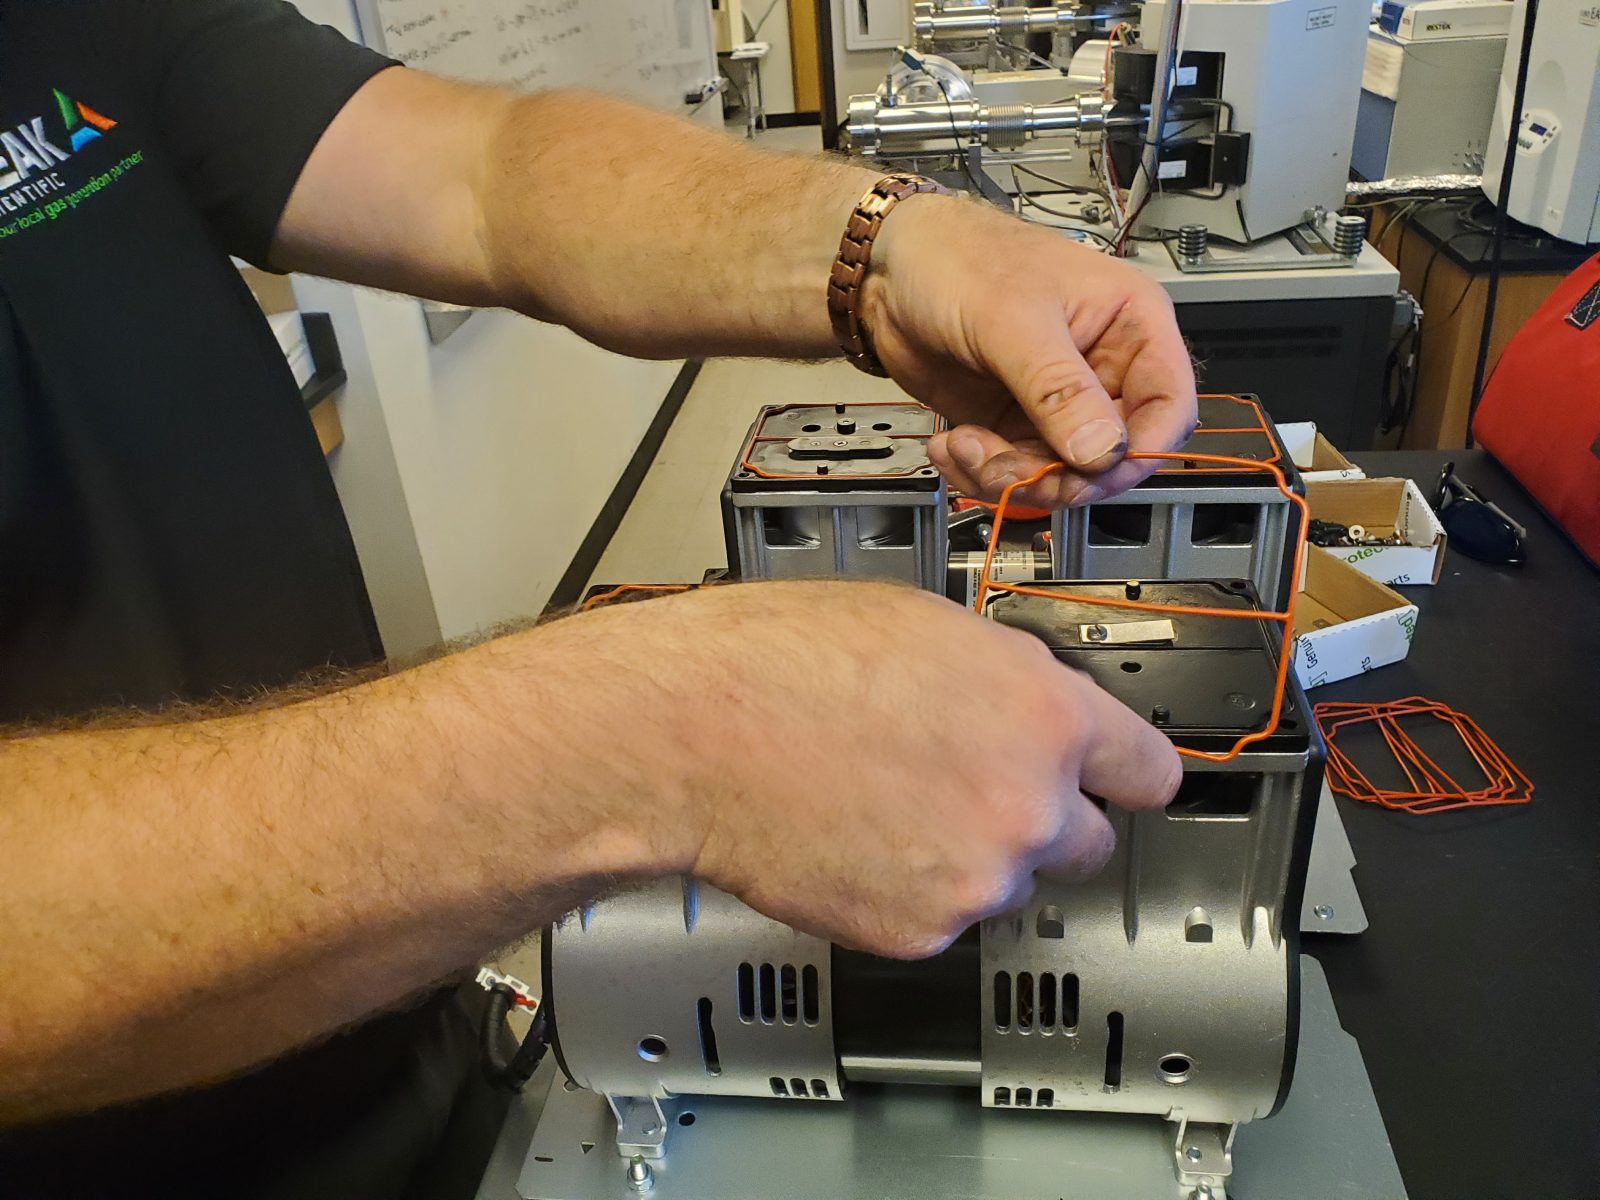
Pop open plate with hammer and screw driver with to access o ring underneath (oddly shaped orange o ring).
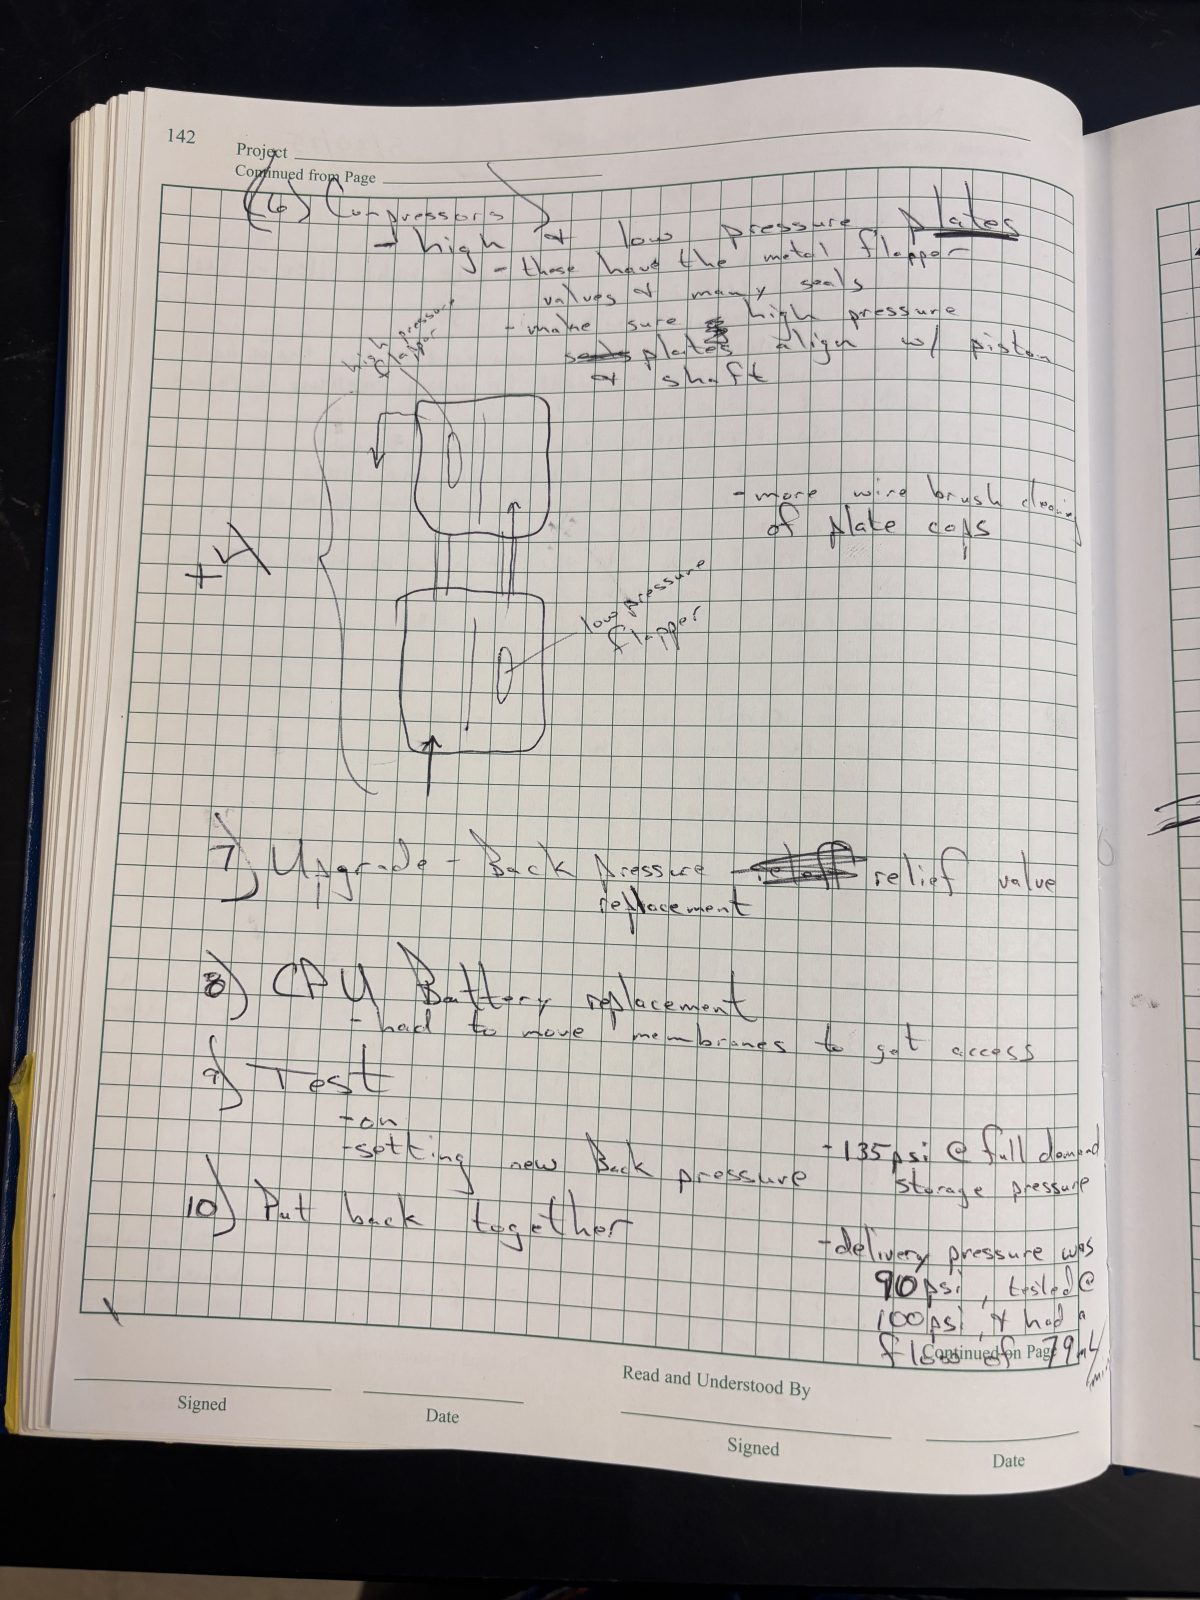
Replace silver flapper valves on inside of plates just removed. The flapper valves are different on each side (high and low pressure sides)
Replace o rings (black and orange) on black plates
Replace plates on top. Replace oddly shaped orange o rings
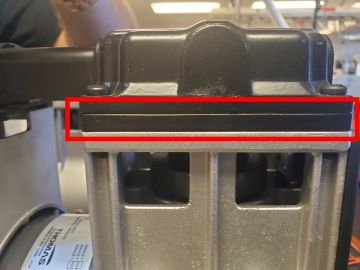
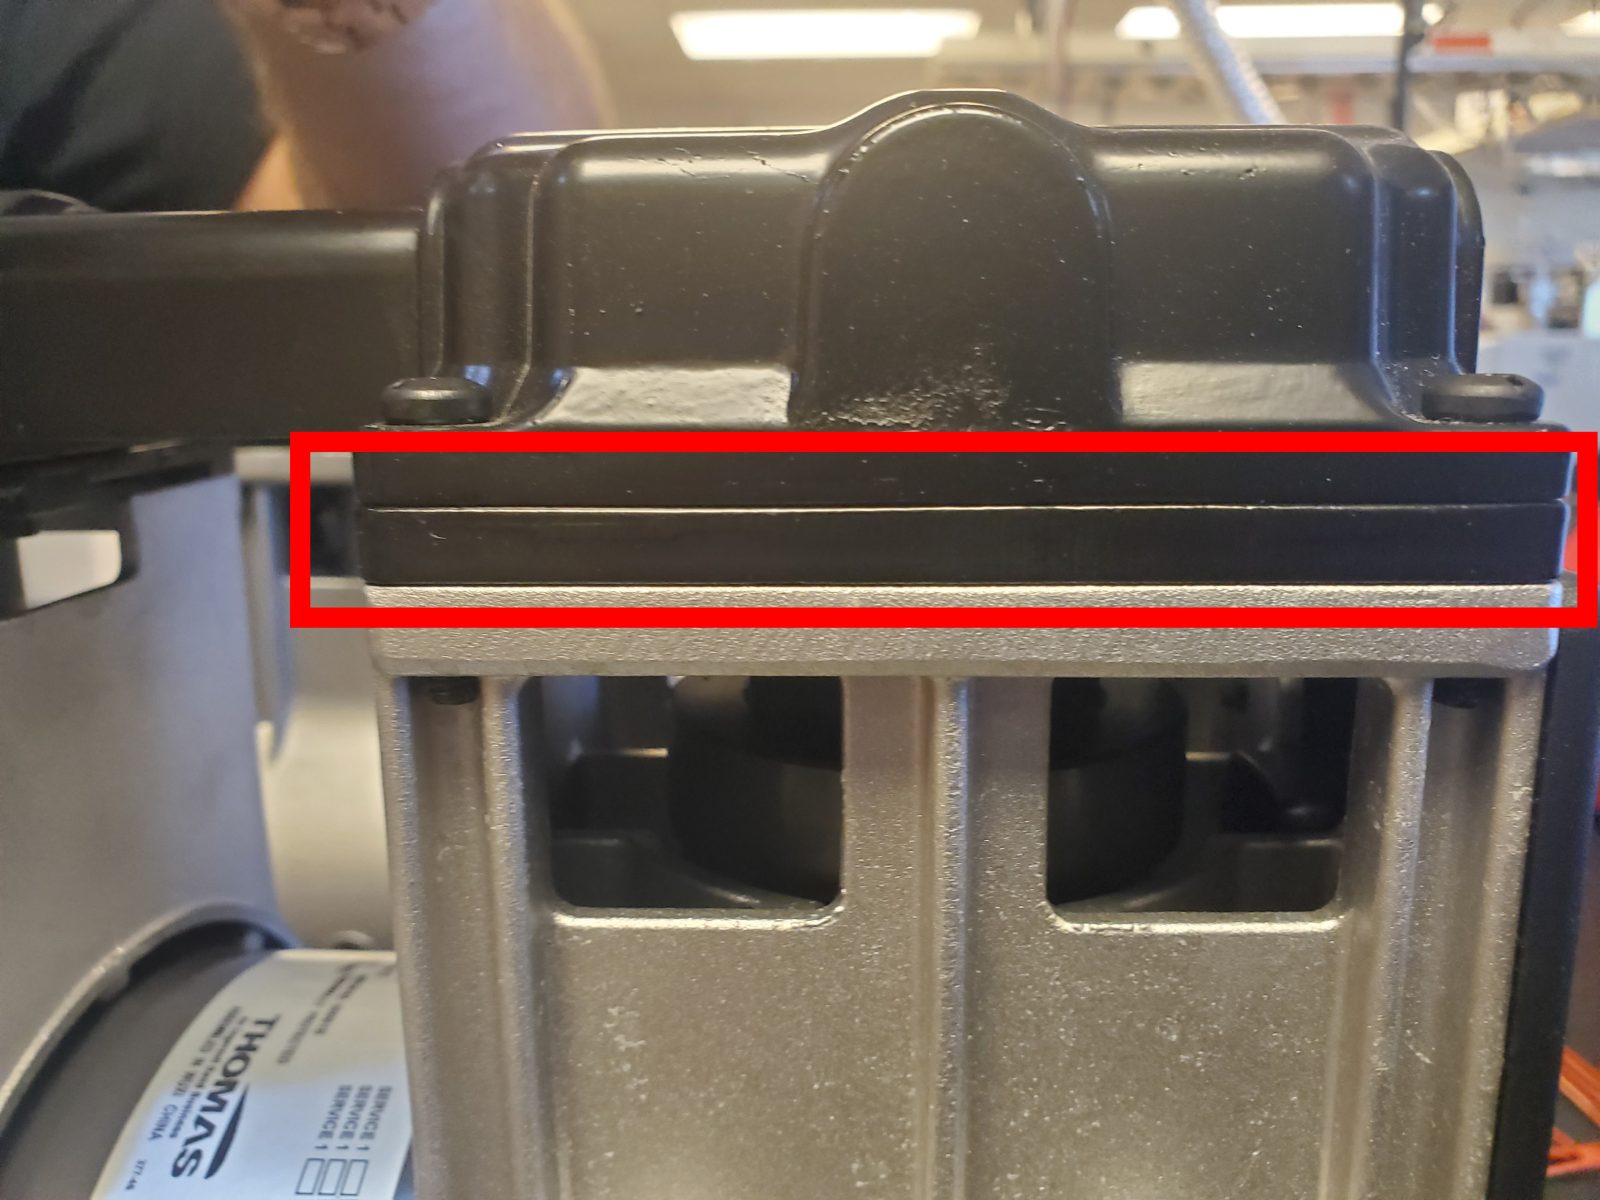
Replace lid. There should be no gap if lined up correctly
Slide compressors back in. Line up notch in back with slit. This can be difficult
Plug in white plugs. Reconnect black hoses
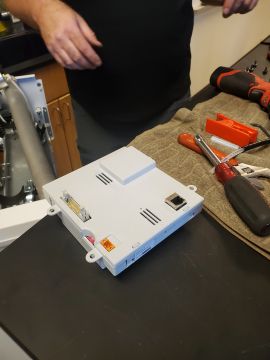
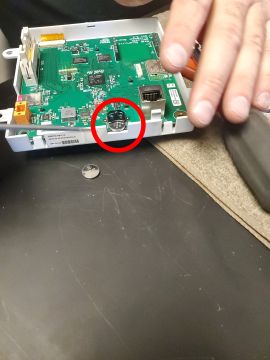
Replace battery. To access, remove nitrogen membranes (they last 5-10 years). Then remove plastic box. Replace battery. Don't touch circuit board. Probably not necessary to replace battery every year.
Turn red valve 90 degrees
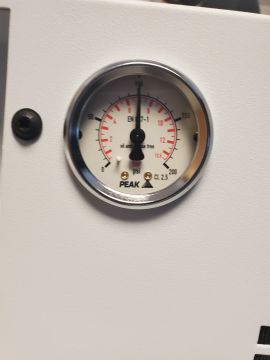
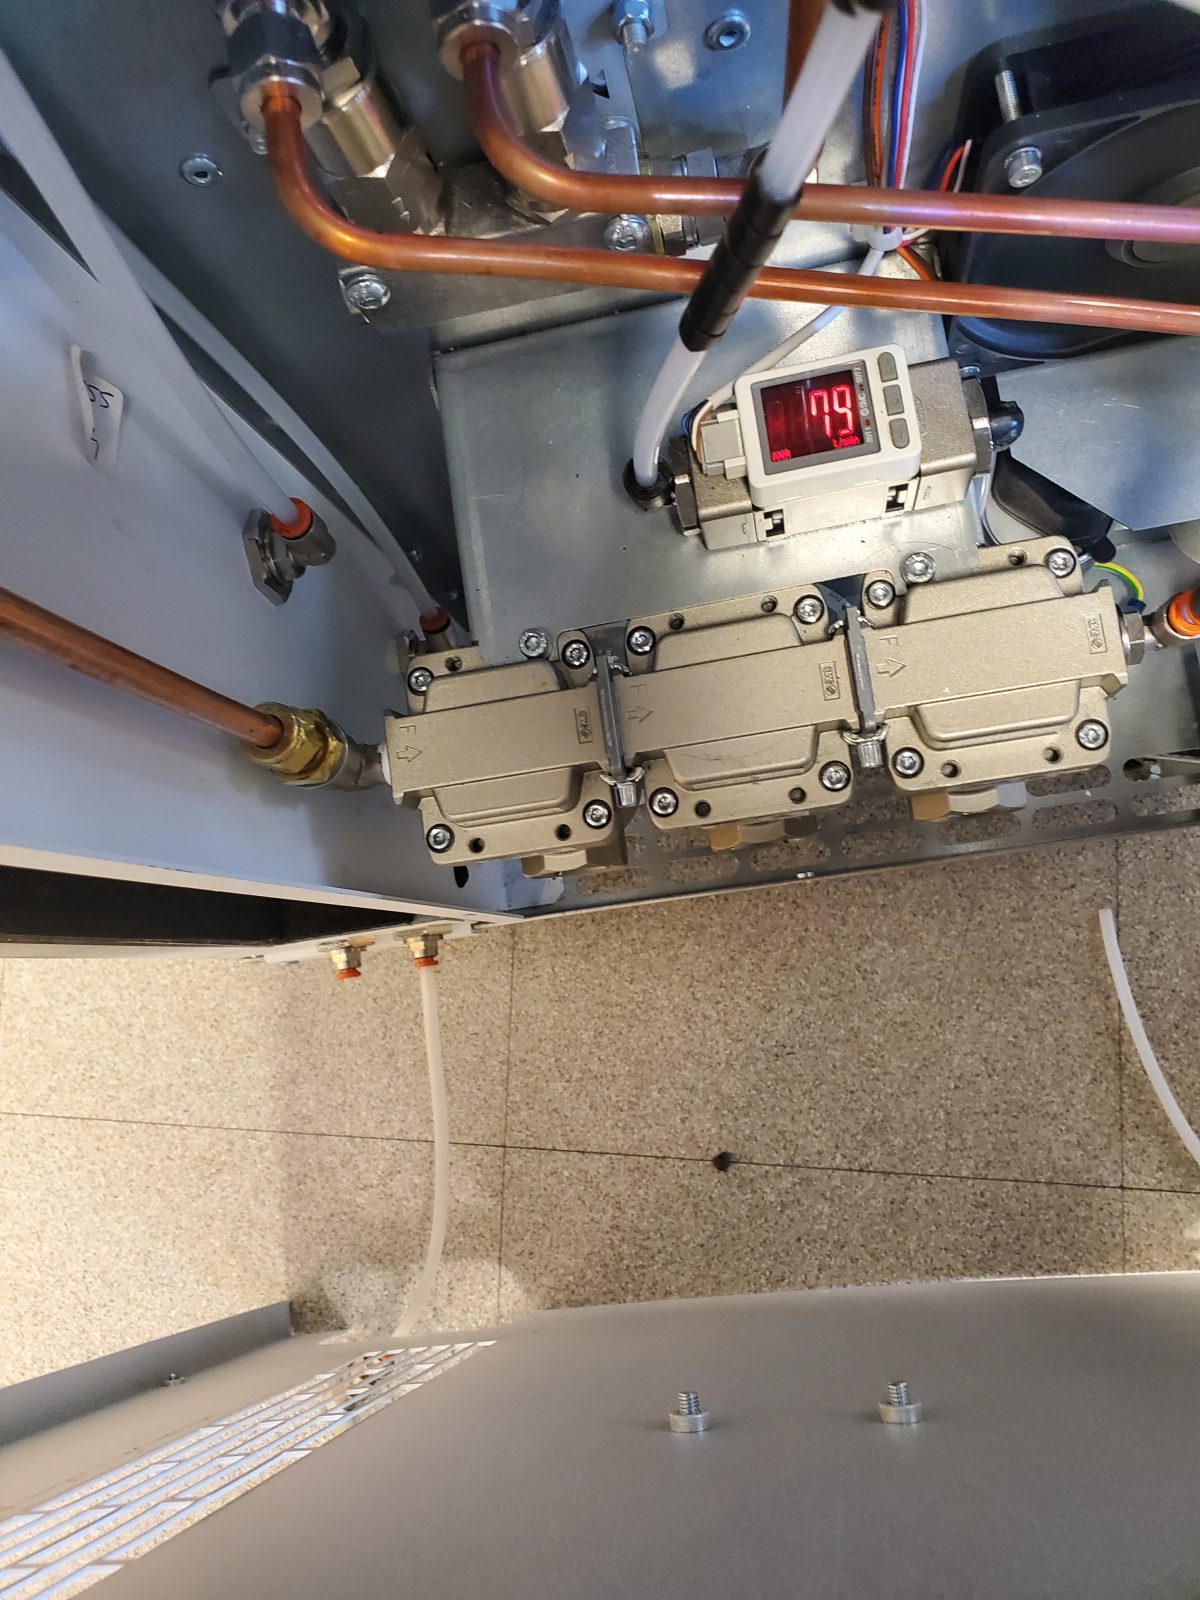
Test before putting panels back on. Plug in. Reconnect drain hose. Turn on..Set to 100 psi (analogue) should read 70-80 on digital red number.
Need a pass code to reset timer. Passcode changes every time. Call to ask Dave for the code.
After testing, turn off, release pressure with red valve, Unplug, replace panels. Start with back panel. Then silver panels that cover compressors. Then side panels. Then top panel.
Plug in. Connect drain hose.
To reset timer, press lock image on screen and enter code. Push settings (gear image) to reset timer. Resets date to Jan after changing battery so reset date on screen.
Author: Becky Alexander, Ursula Jongebloed, Andy Schauer - Last updated: 2025-11-19 19:00:18