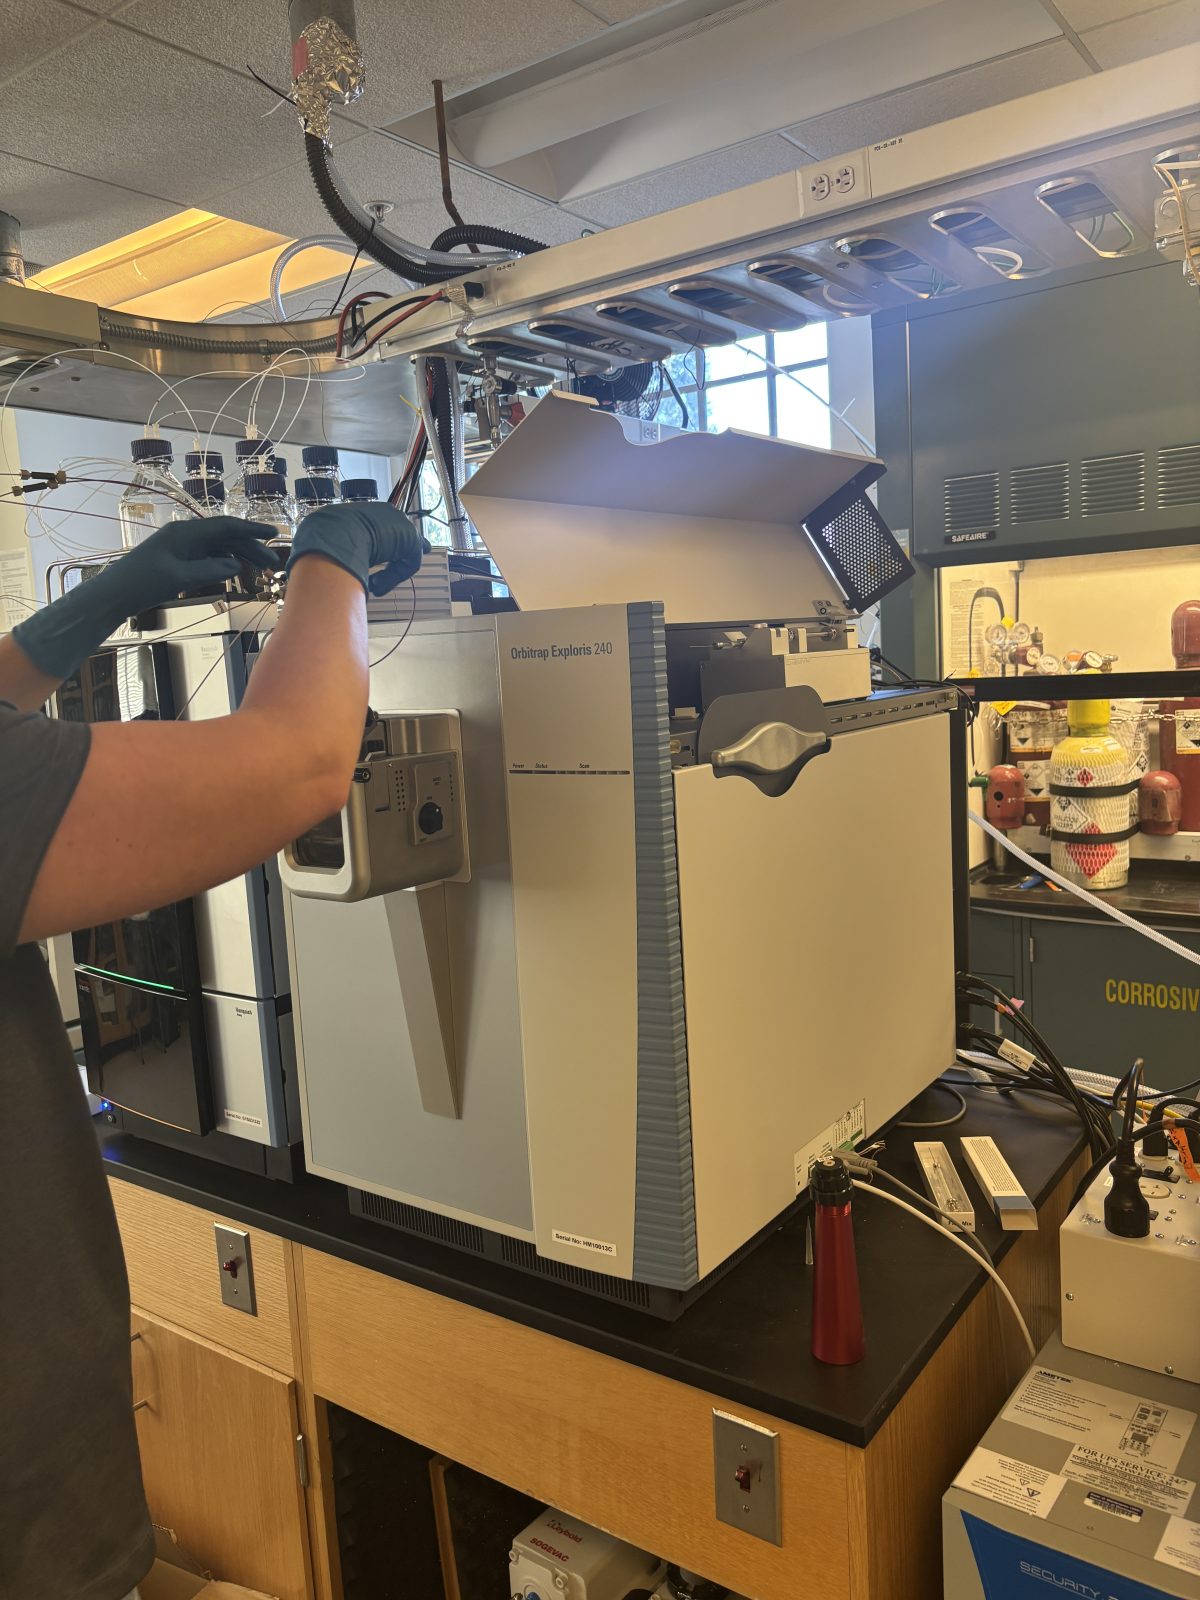
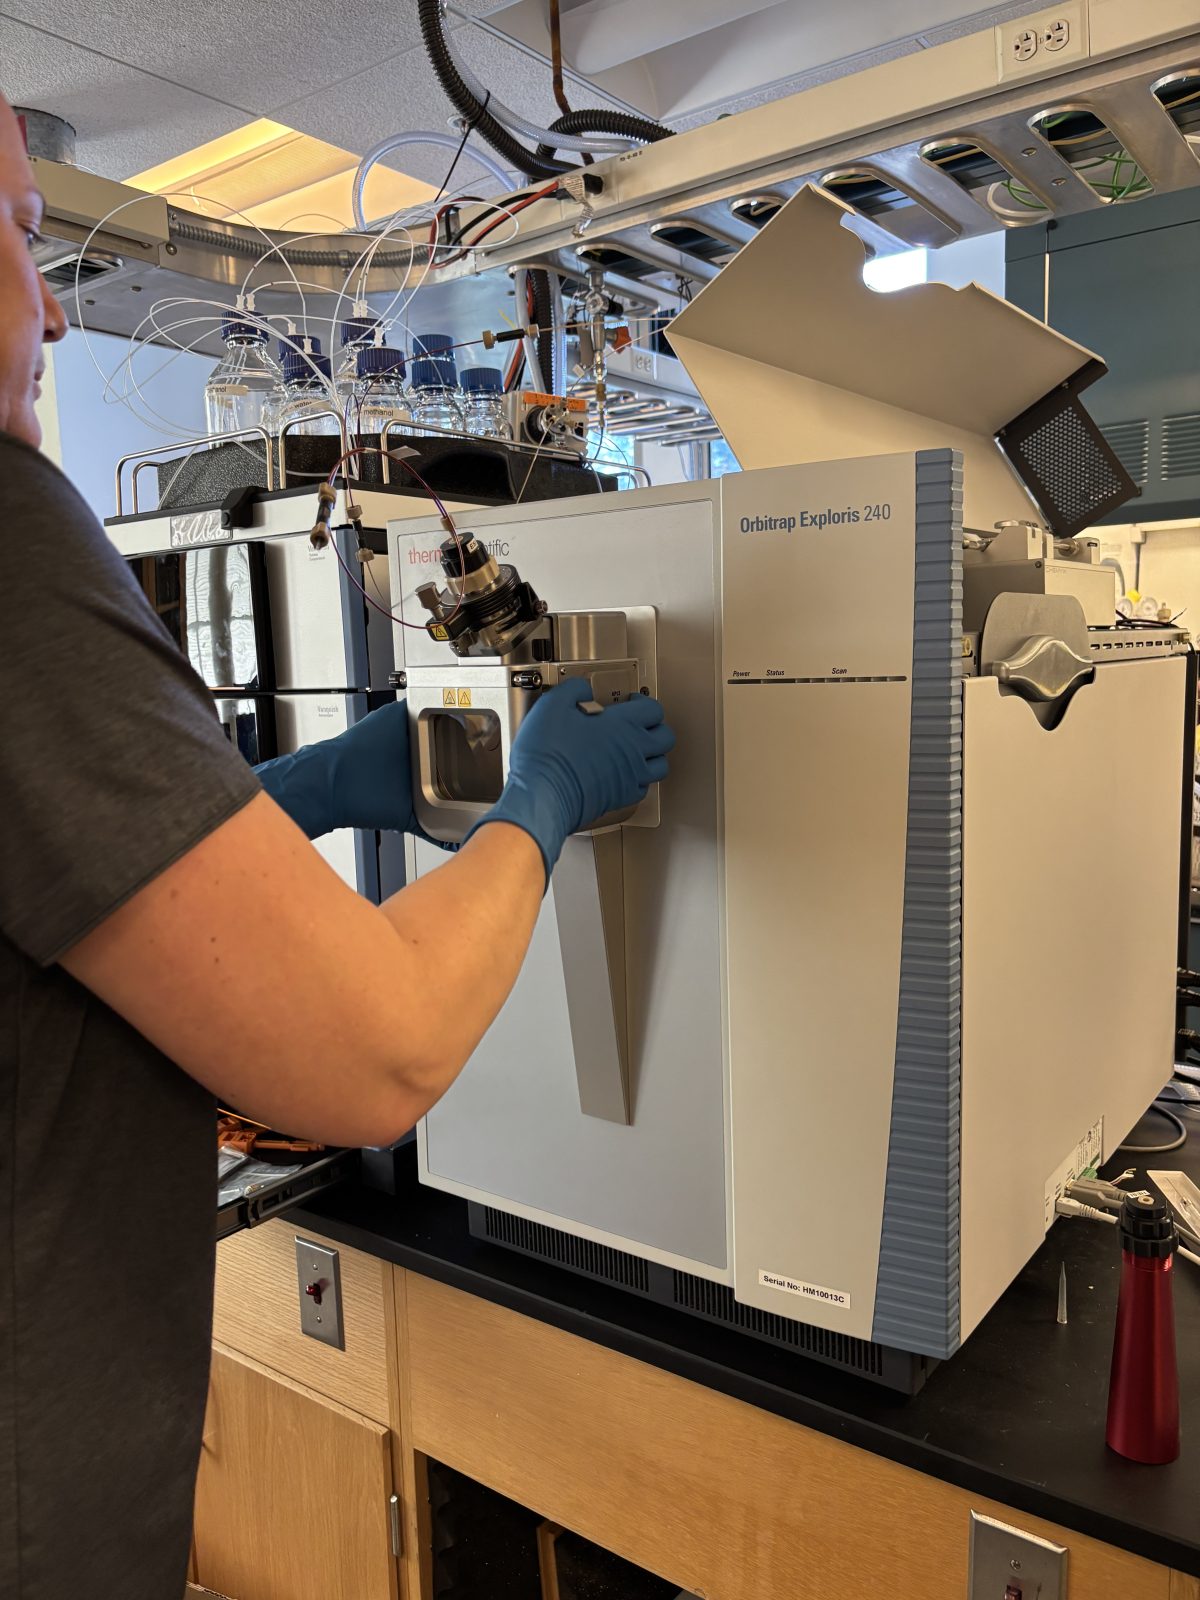
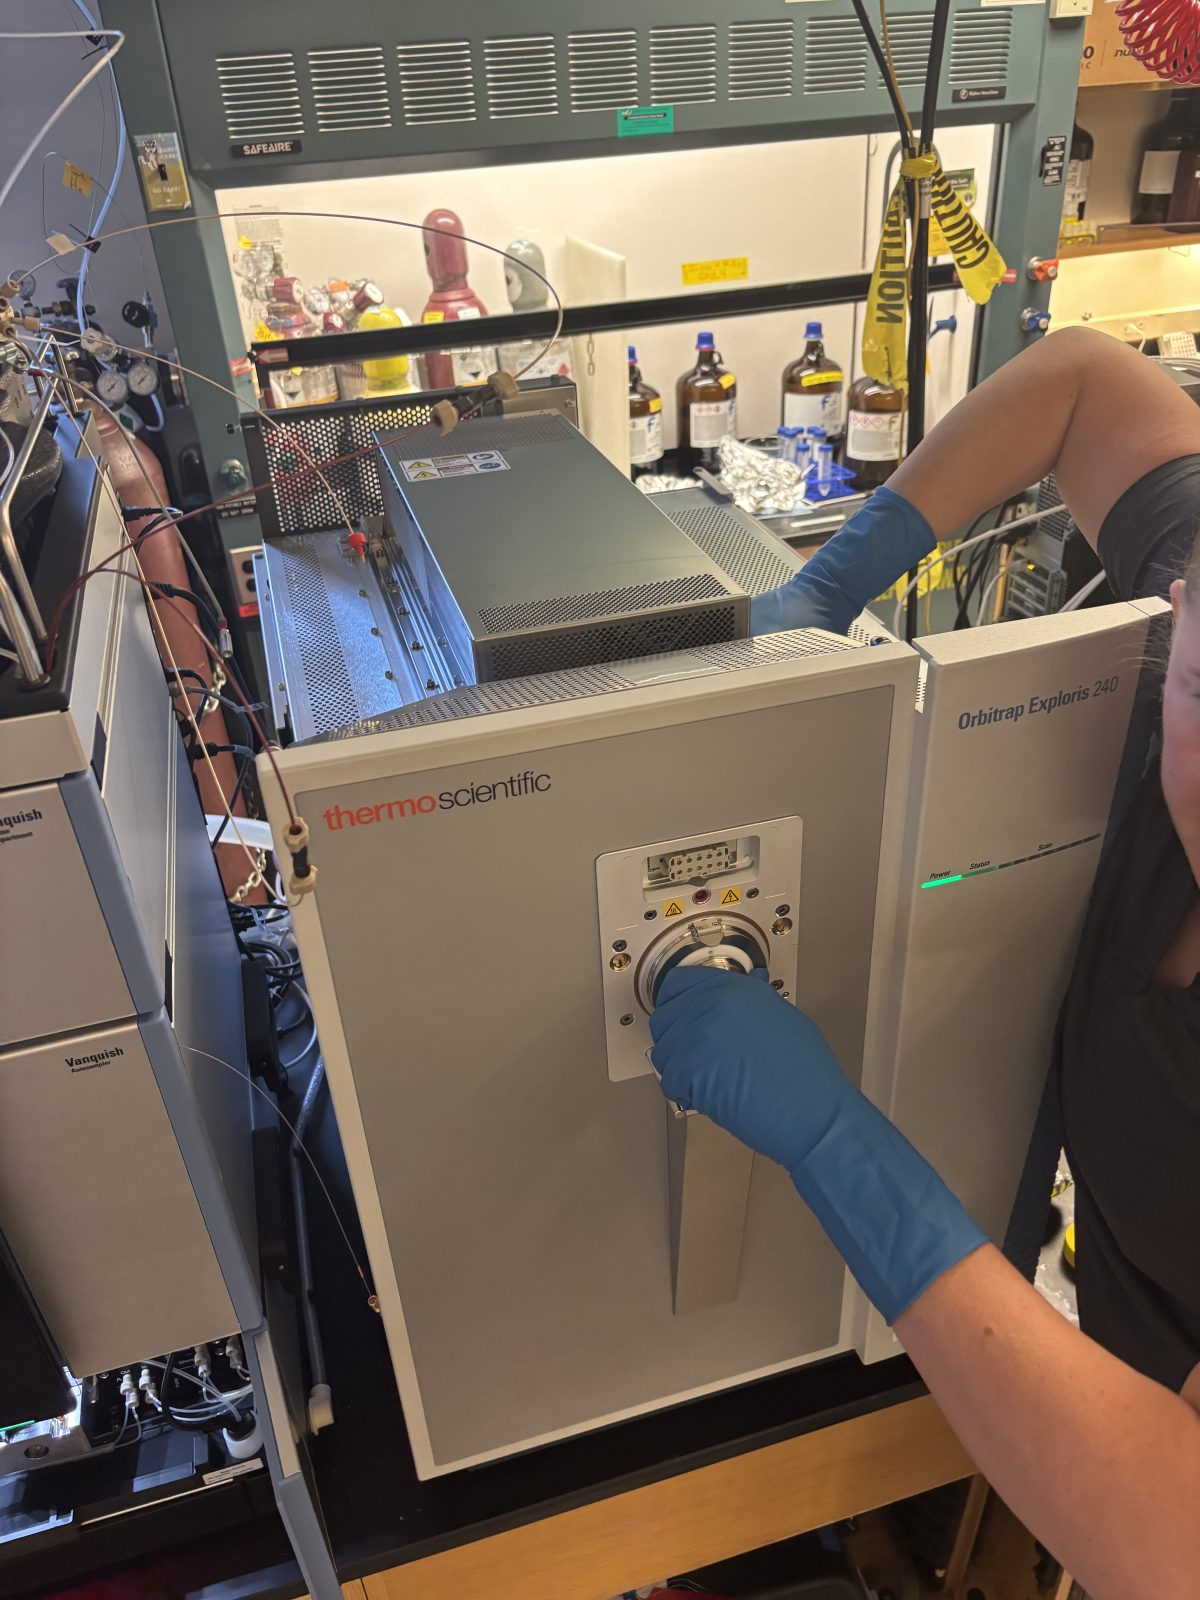
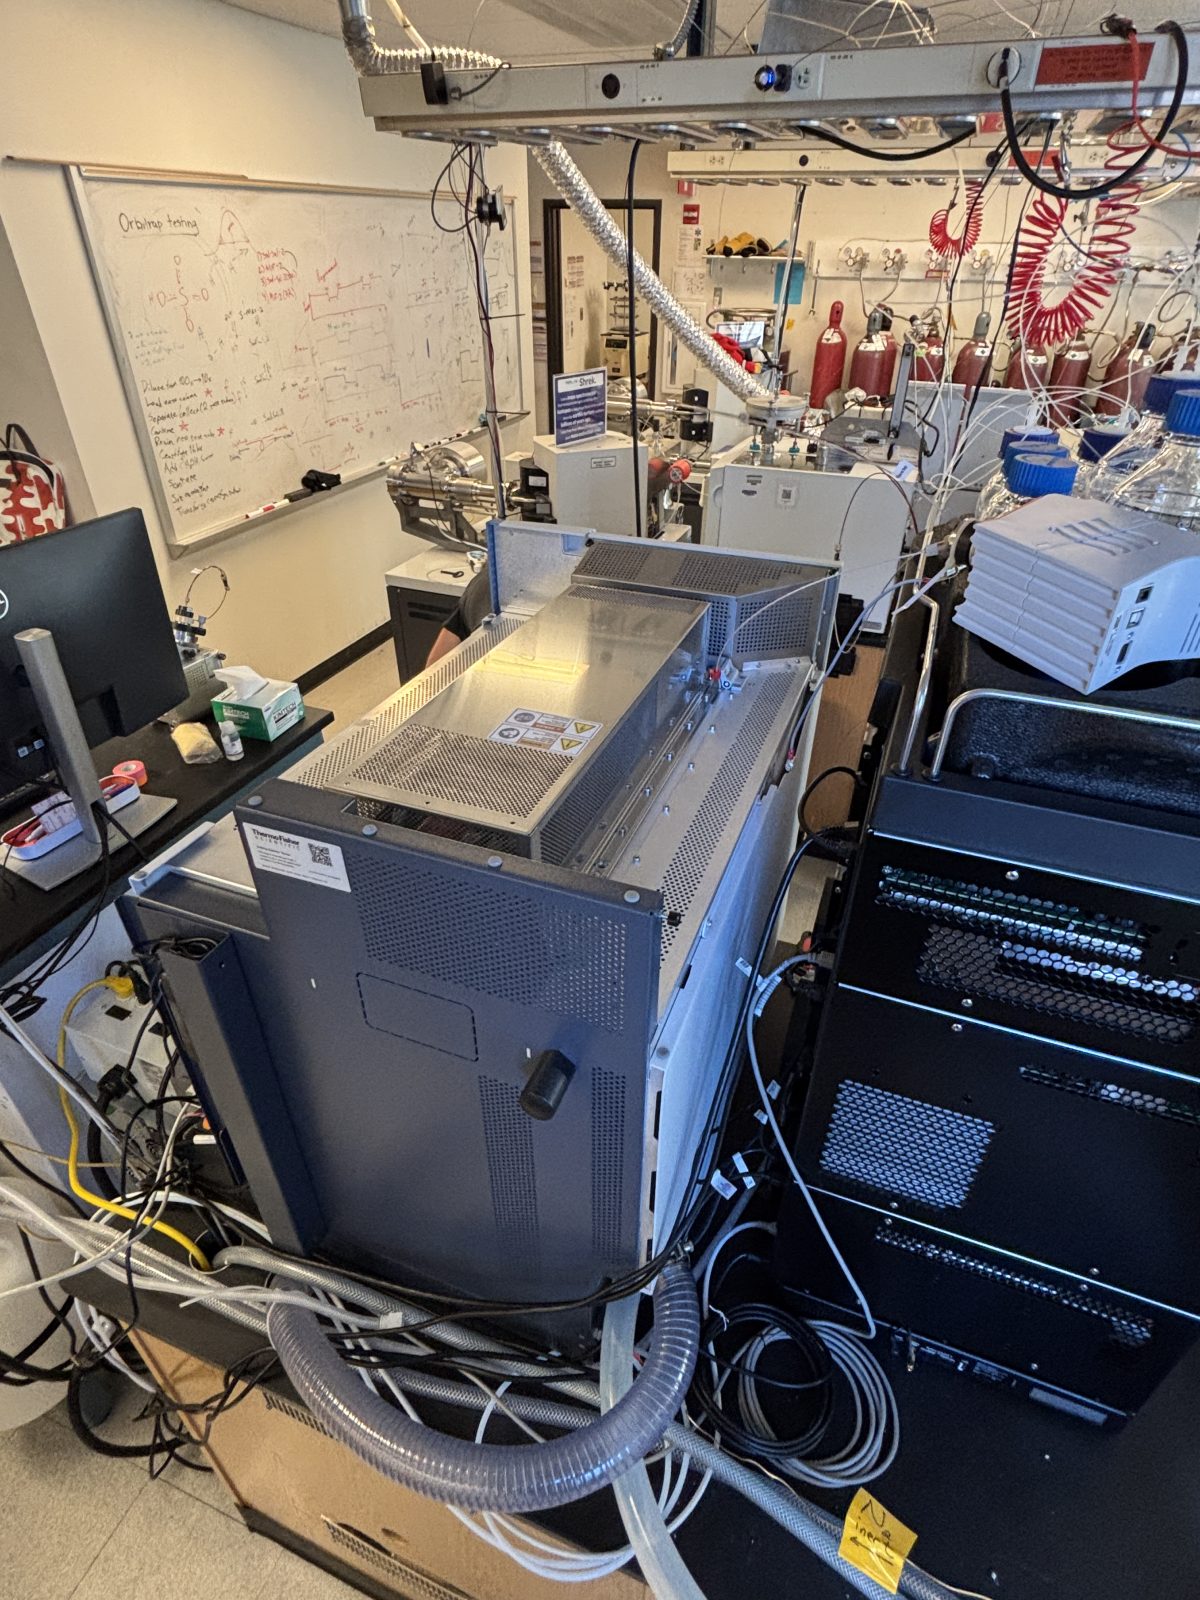
This page describes what we witnessed as our HPLC (Thermo Neo; aka Ruby) and our Orbitrap (Thermo Exploris; aka Ivan) received their first annual maintenance on Nov 19 and 20, 2025.
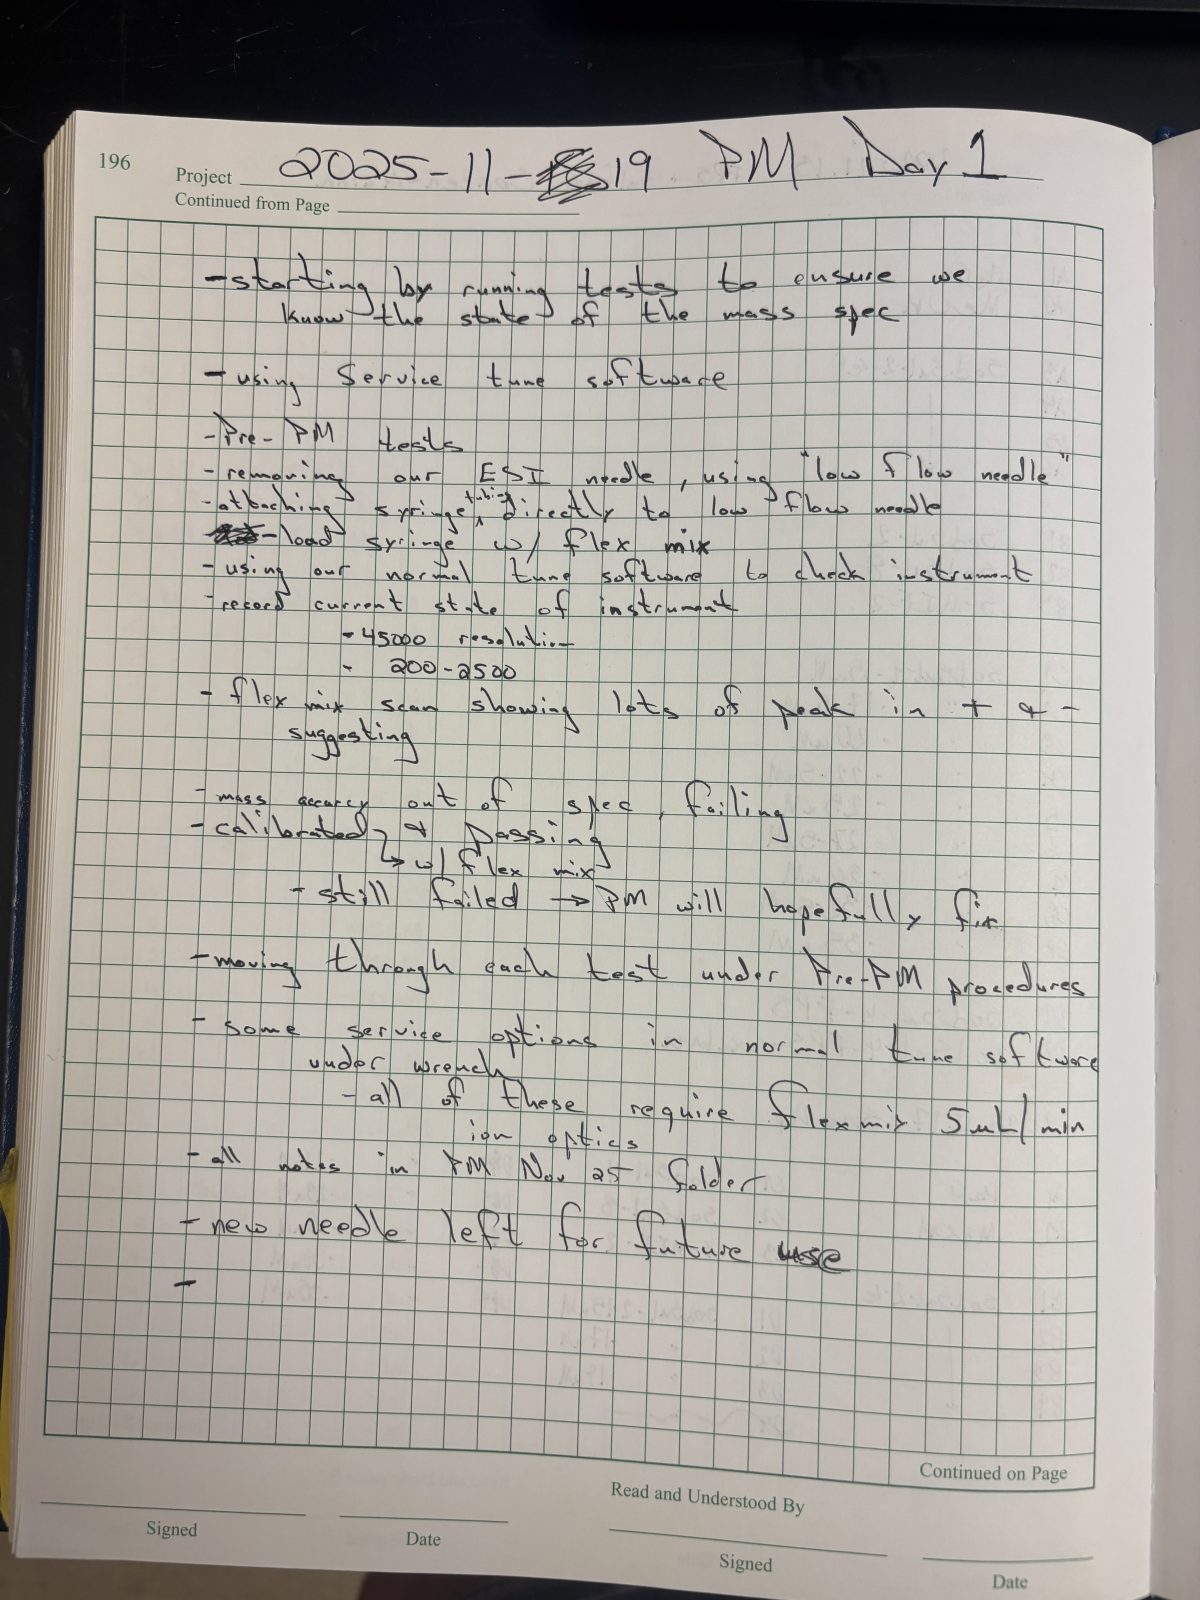
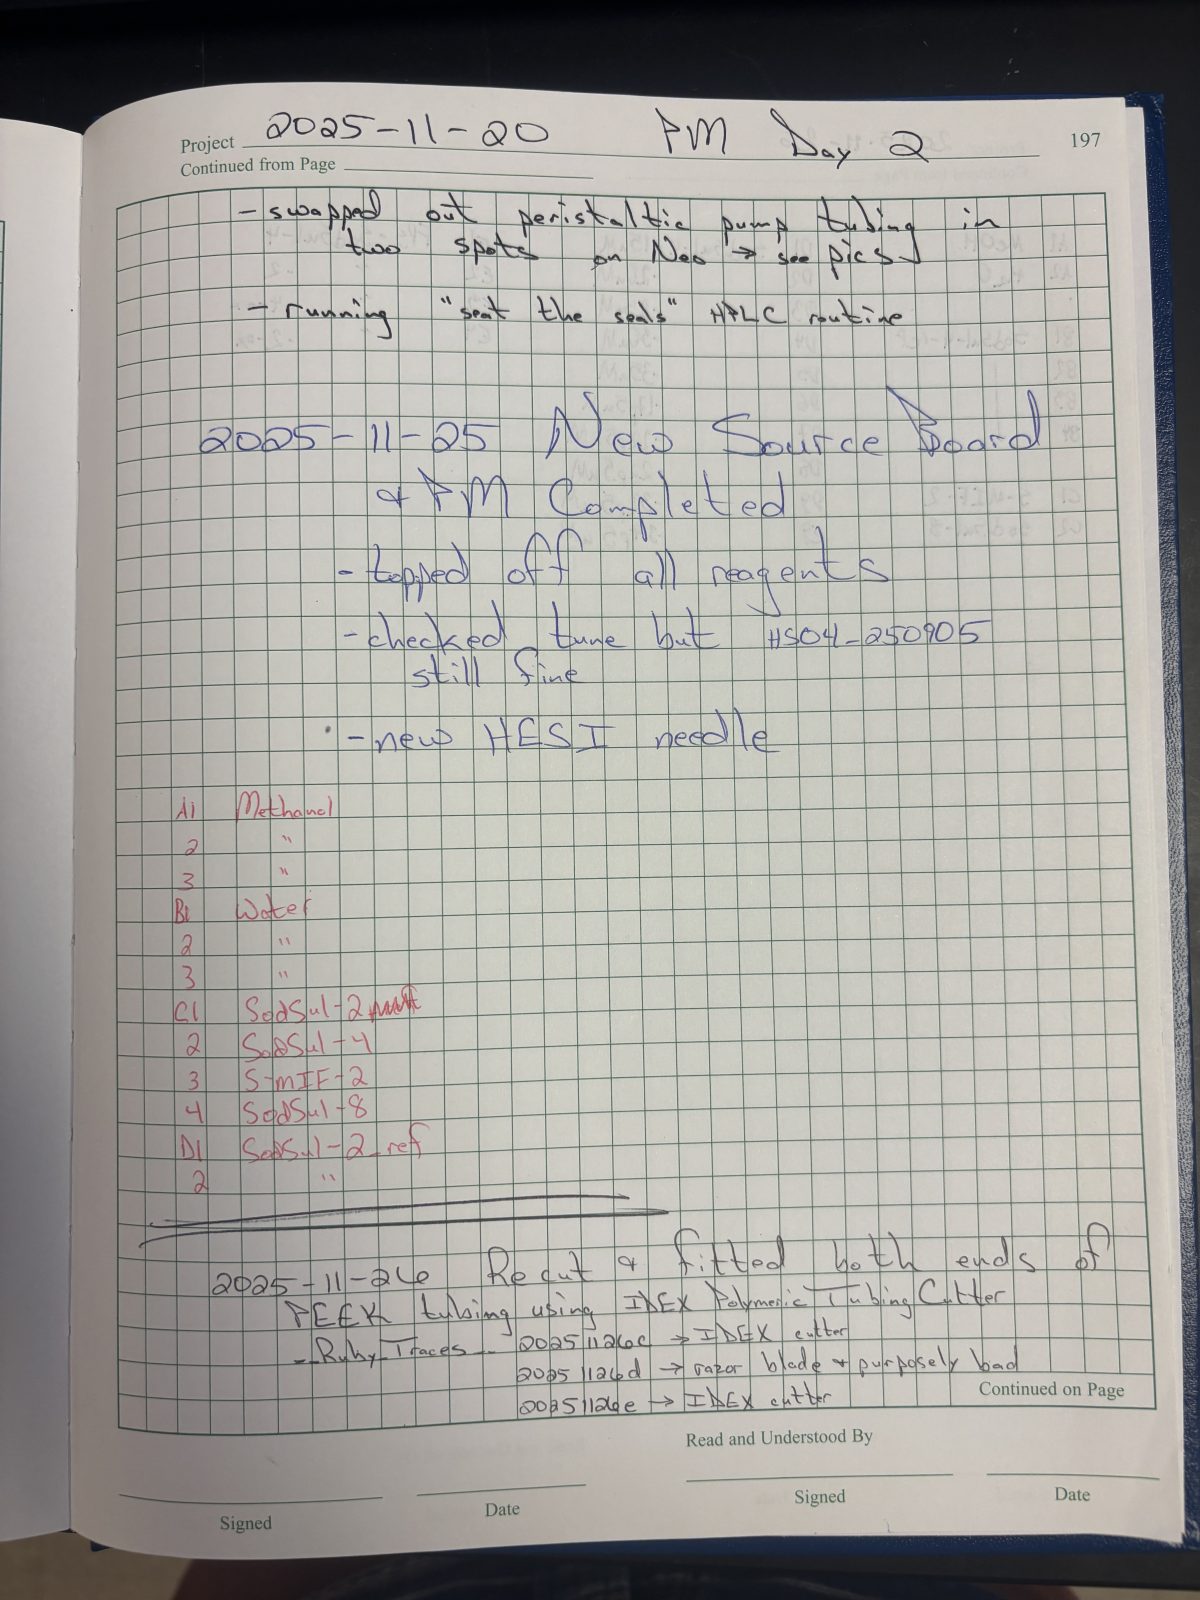
Becky's original notes .docx document is here. Images of some handwritten notes from the notebook are here and here. All photos in chronological order are here.
Note the order of these instructions is based on the parts being worked on which is different from the actual order. The Thermo Engineer used waiting times (e.g., sonication) to work on other parts. Furthermore, the actual order is apparent when looking at the companion page showing all photos taken for this effort in chronological order. Lastly, not all photos taken on are this present page; go look at all the photos in something is not clear.
Click on the thumbnail photos below to see a high-resolution original.
Pre-maintenance system check:
Do mass calibration – passed
C:/Thermo/Service/November2025 – lots of info on the checks below are here
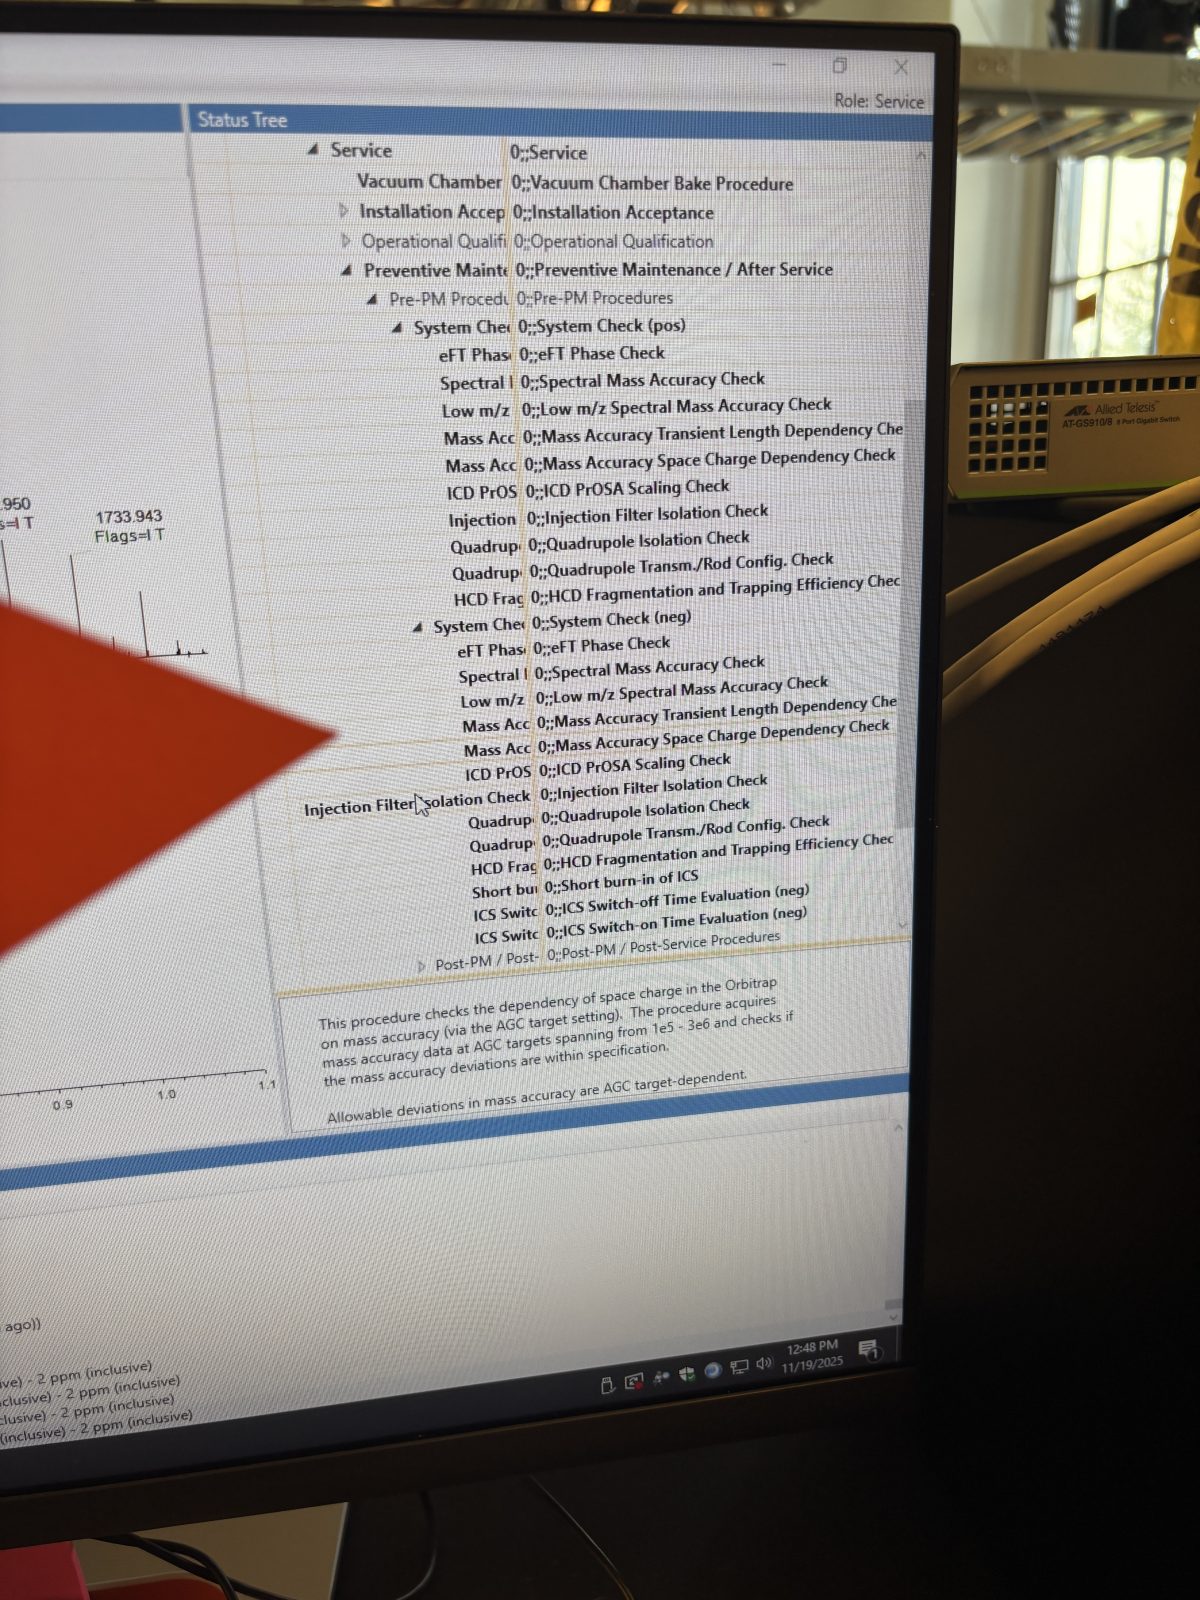
On service software, under PrePM procedures:
2025-11-19 12:48:25
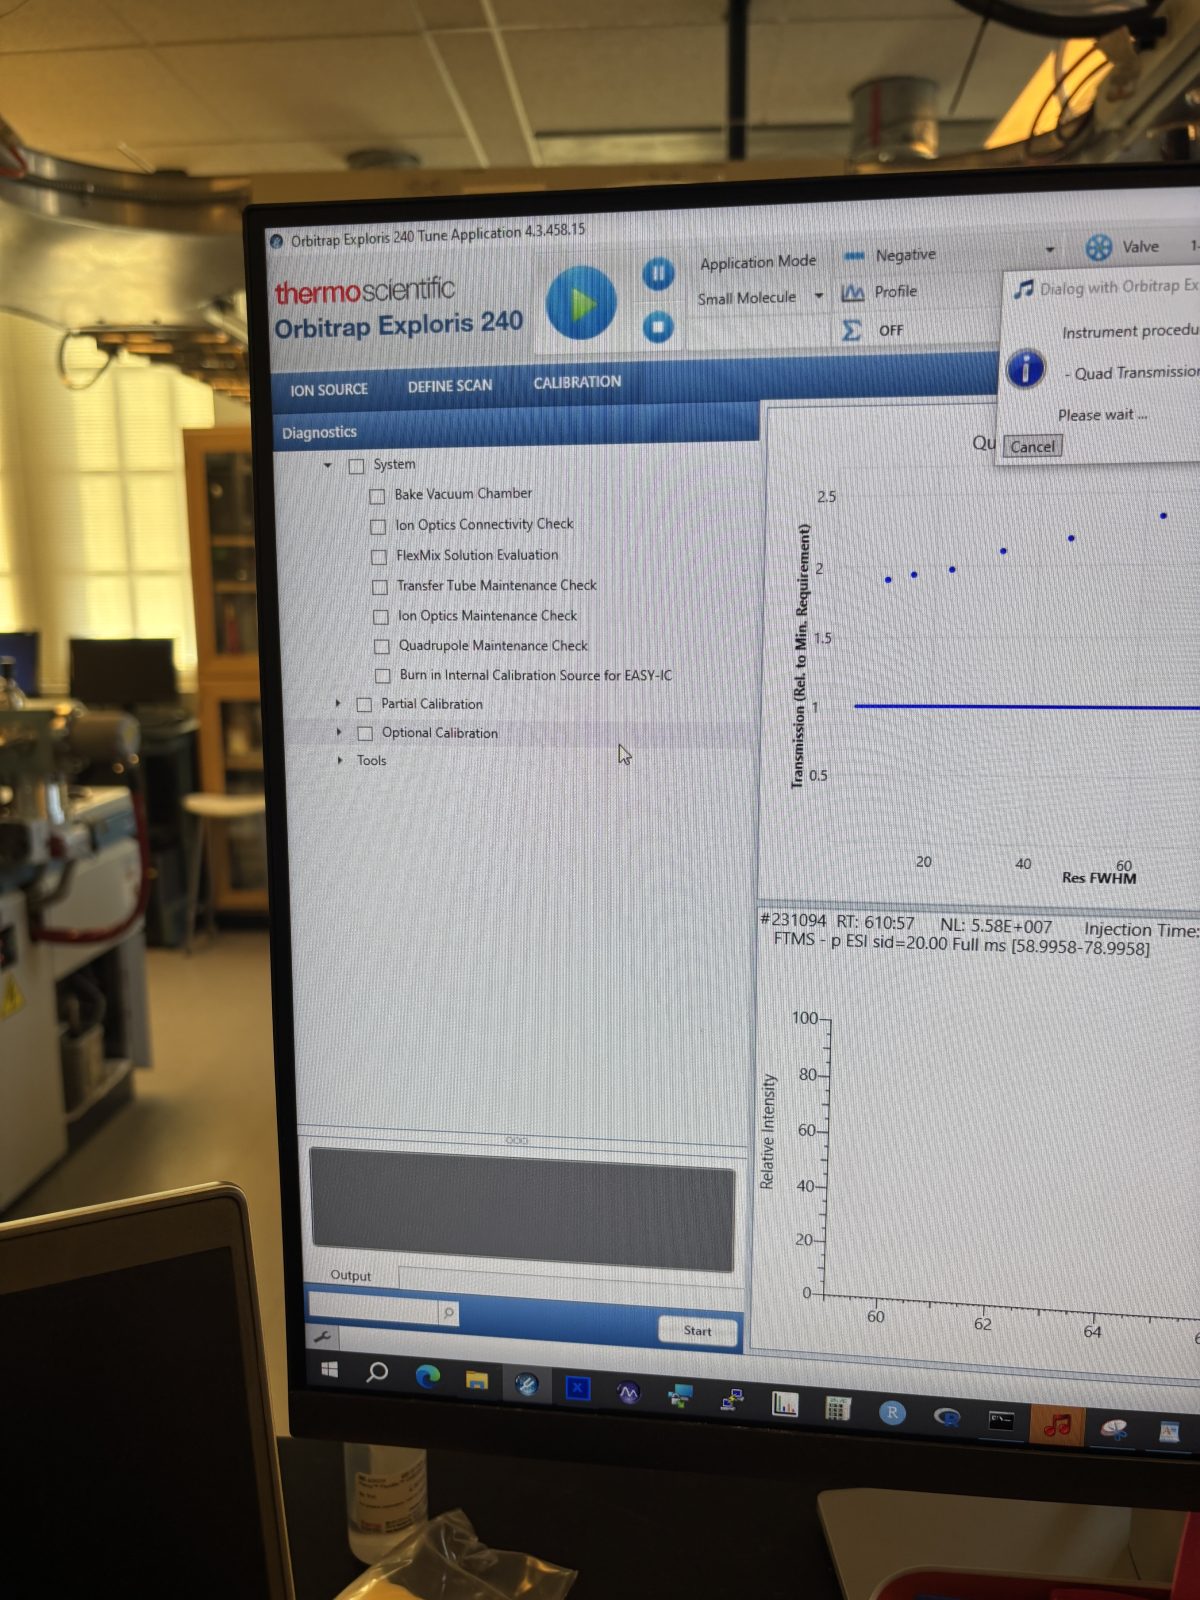
Cannot use the service software. But on tune software can do maintenance procedure (gear on bottom left). You have to be using flexmix @ 5 uL/min to use these checks.
2025-11-19 12:58:17
Do spectral mass accuracy check – failed. (all others below passed unless otherwise indicated)
We should be doing a regular mass calibration with flex mix (once per month)
We’ll do a full flex mix calibration tomorrow after taking it apart and cleaning it.
Mass accuracy transient length accuracy check
Scaling check (evaluating PrOSA scaling)
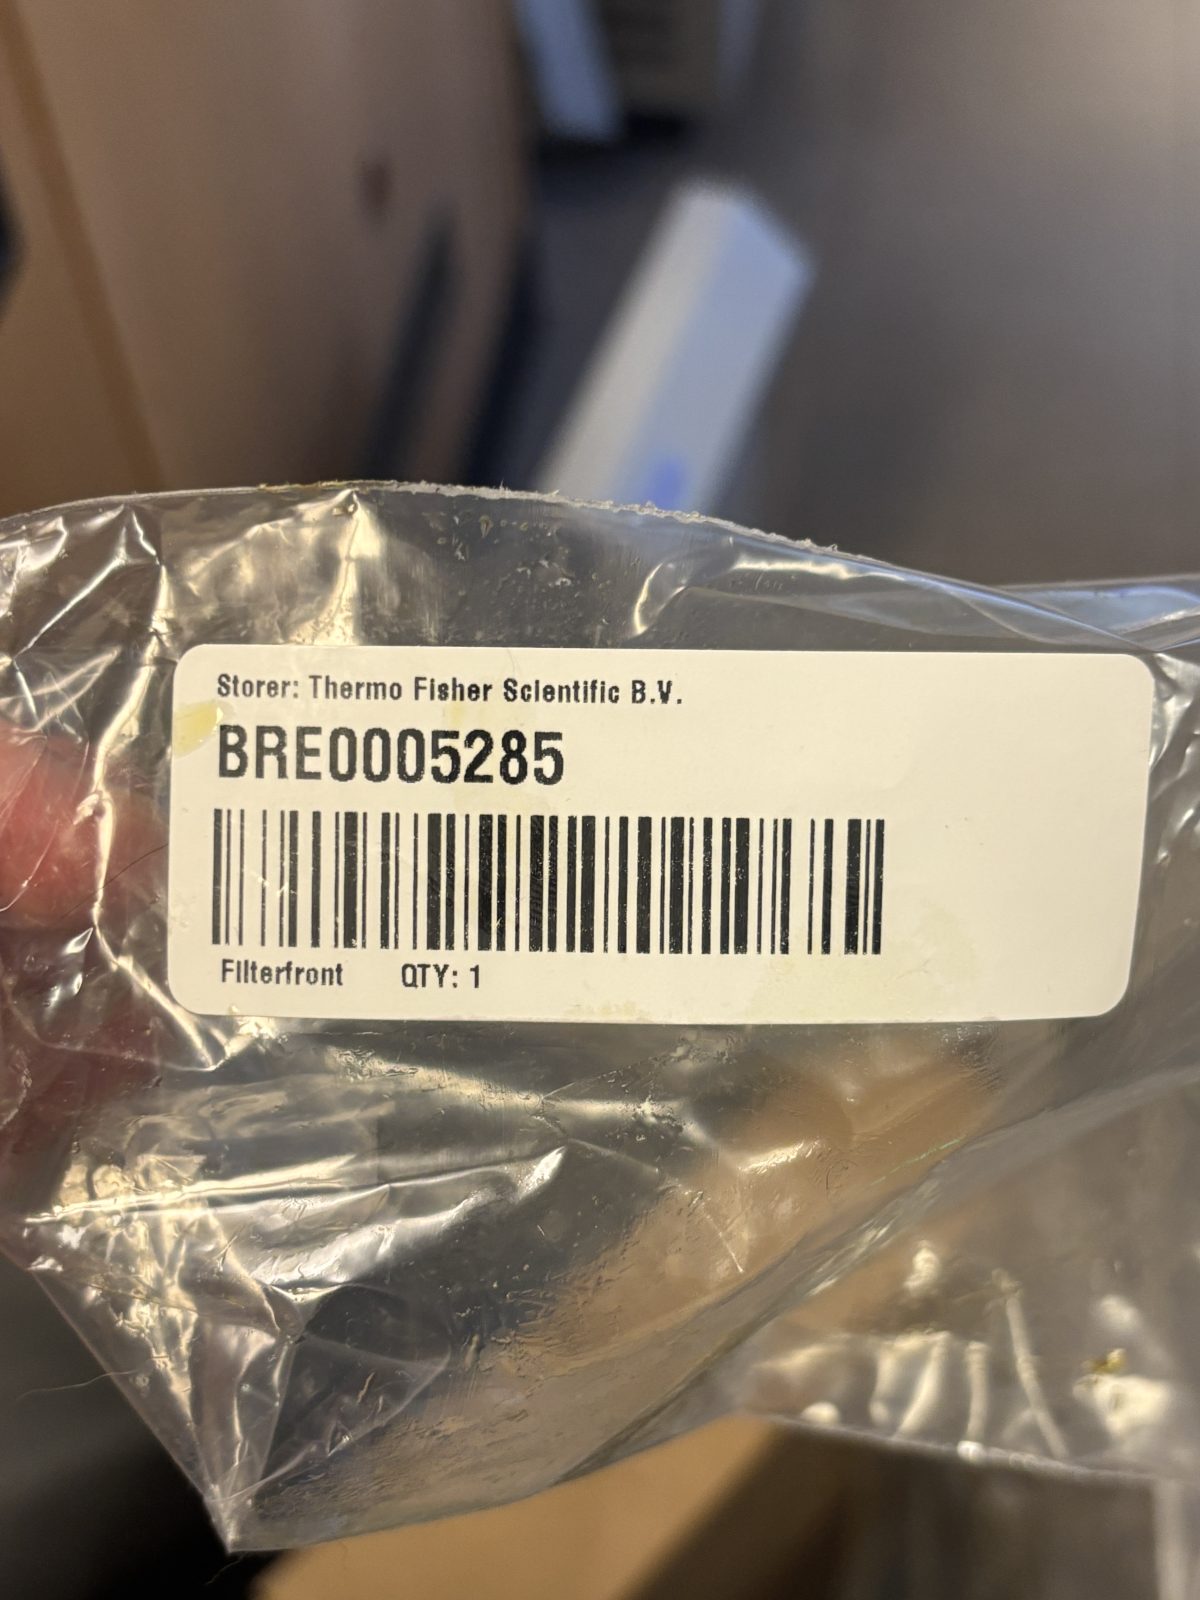
Injection filter isolation check
Quadrupole isolation check
Quad transmission/rod configuration
HCD Fragmentation and trapping
Burn in ICS source (internal calibration – should last about 5 years)
Switch on time evaluation – failed
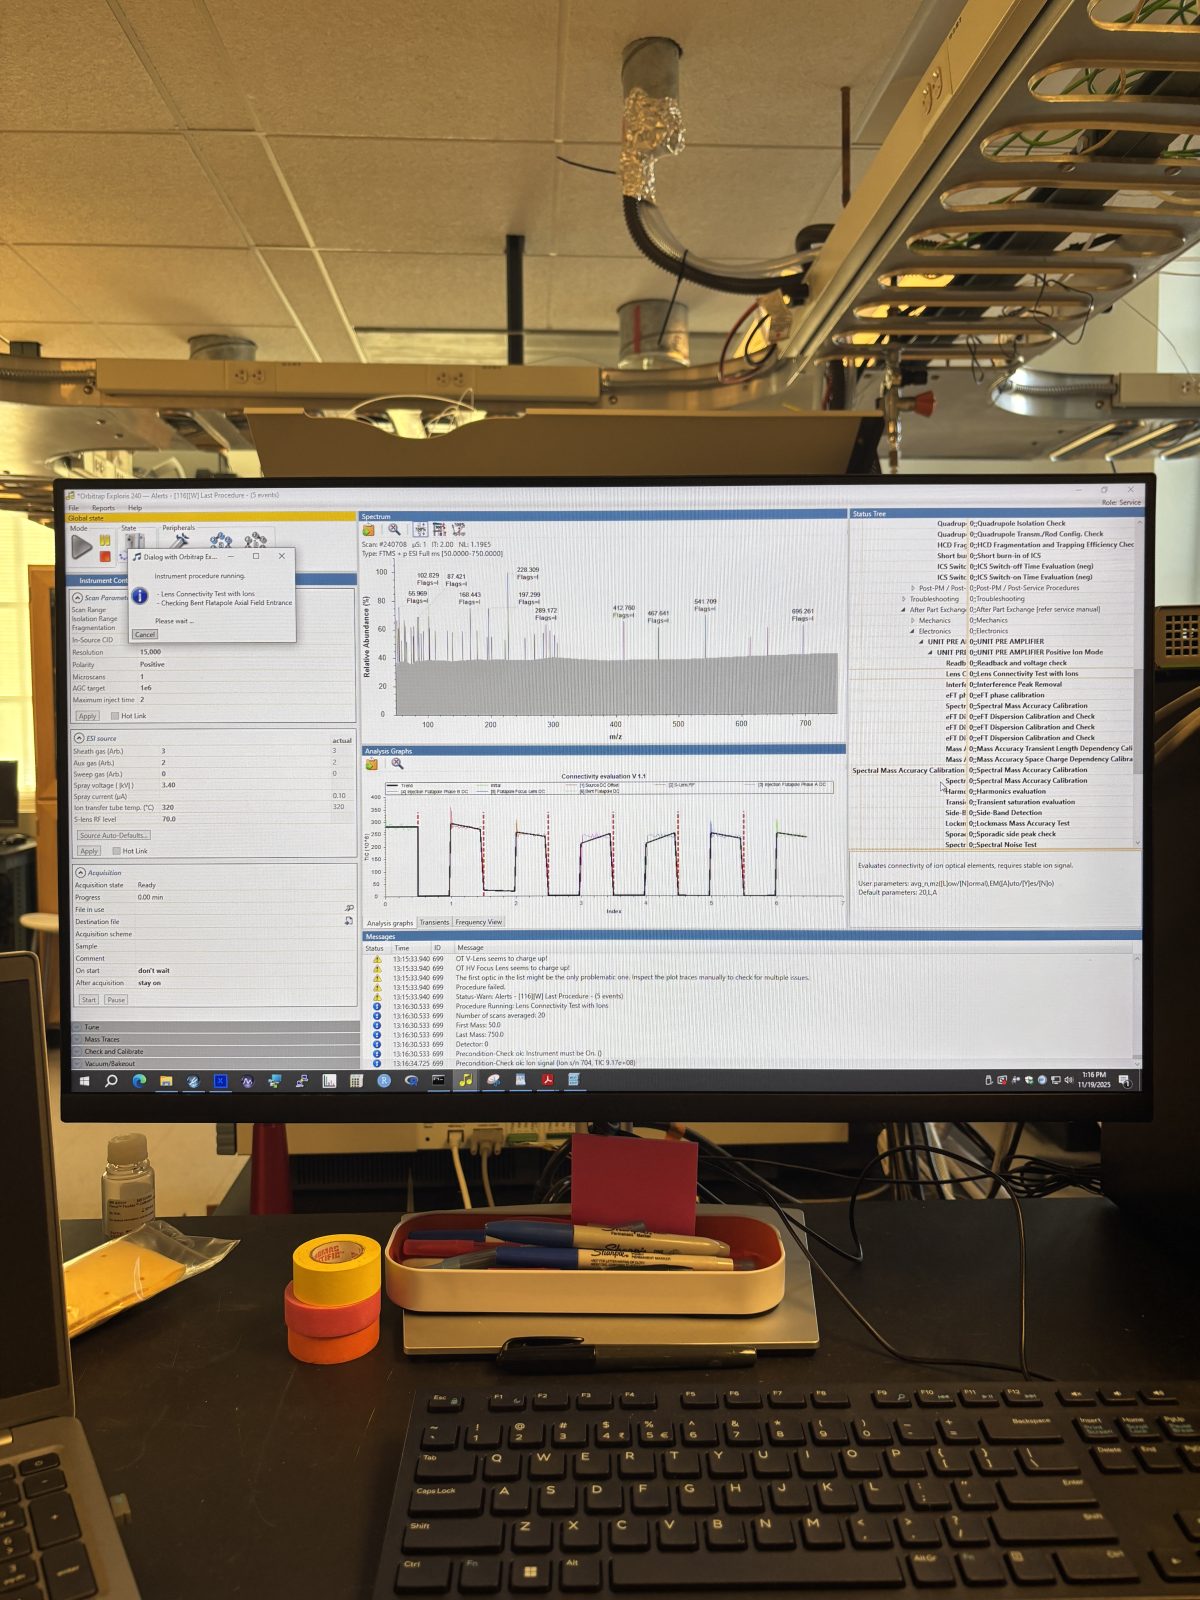
Lens connectivity ions (correctly passing through lenses) – failed in negative mode
2025-11-19 13:16:53
Do above but in positive mode – failed. This and above is same as ion checks in tune software
Cleaning the source: (Instructions for this are in the operating manual)
Cooled down ion transfer tube
2025-11-19 13:43:33
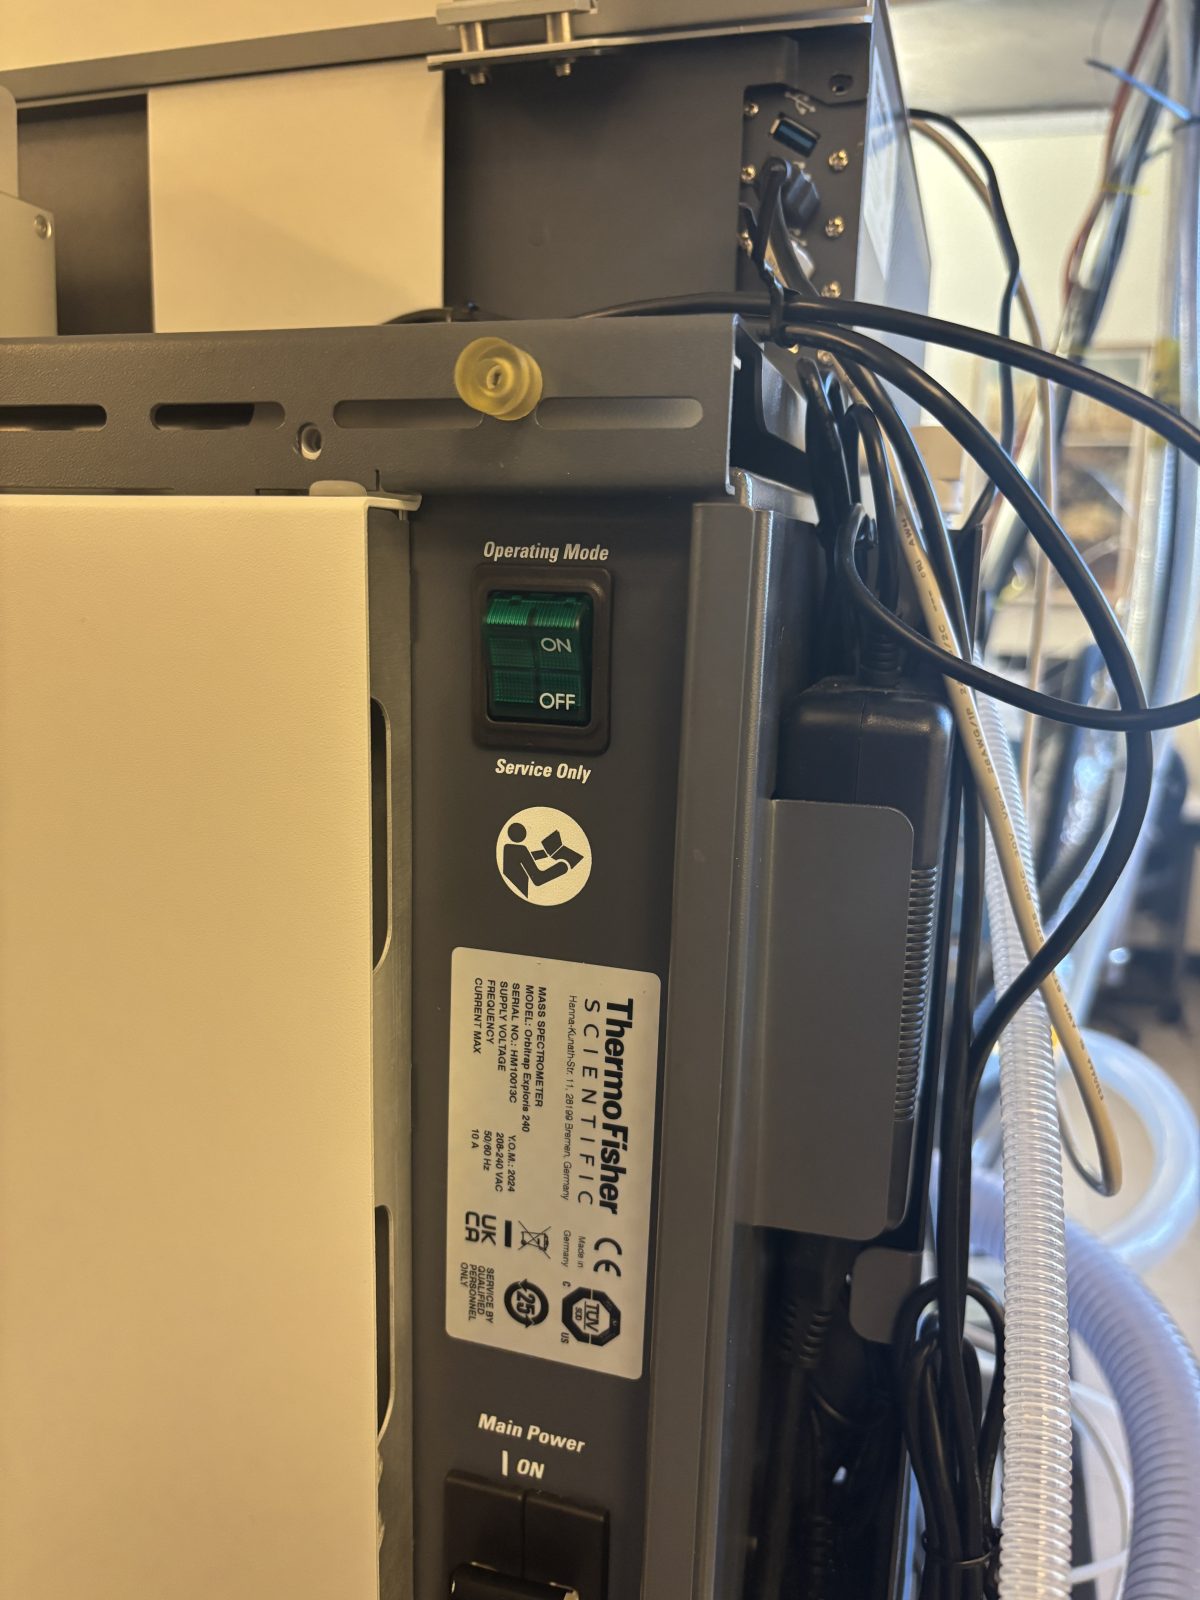
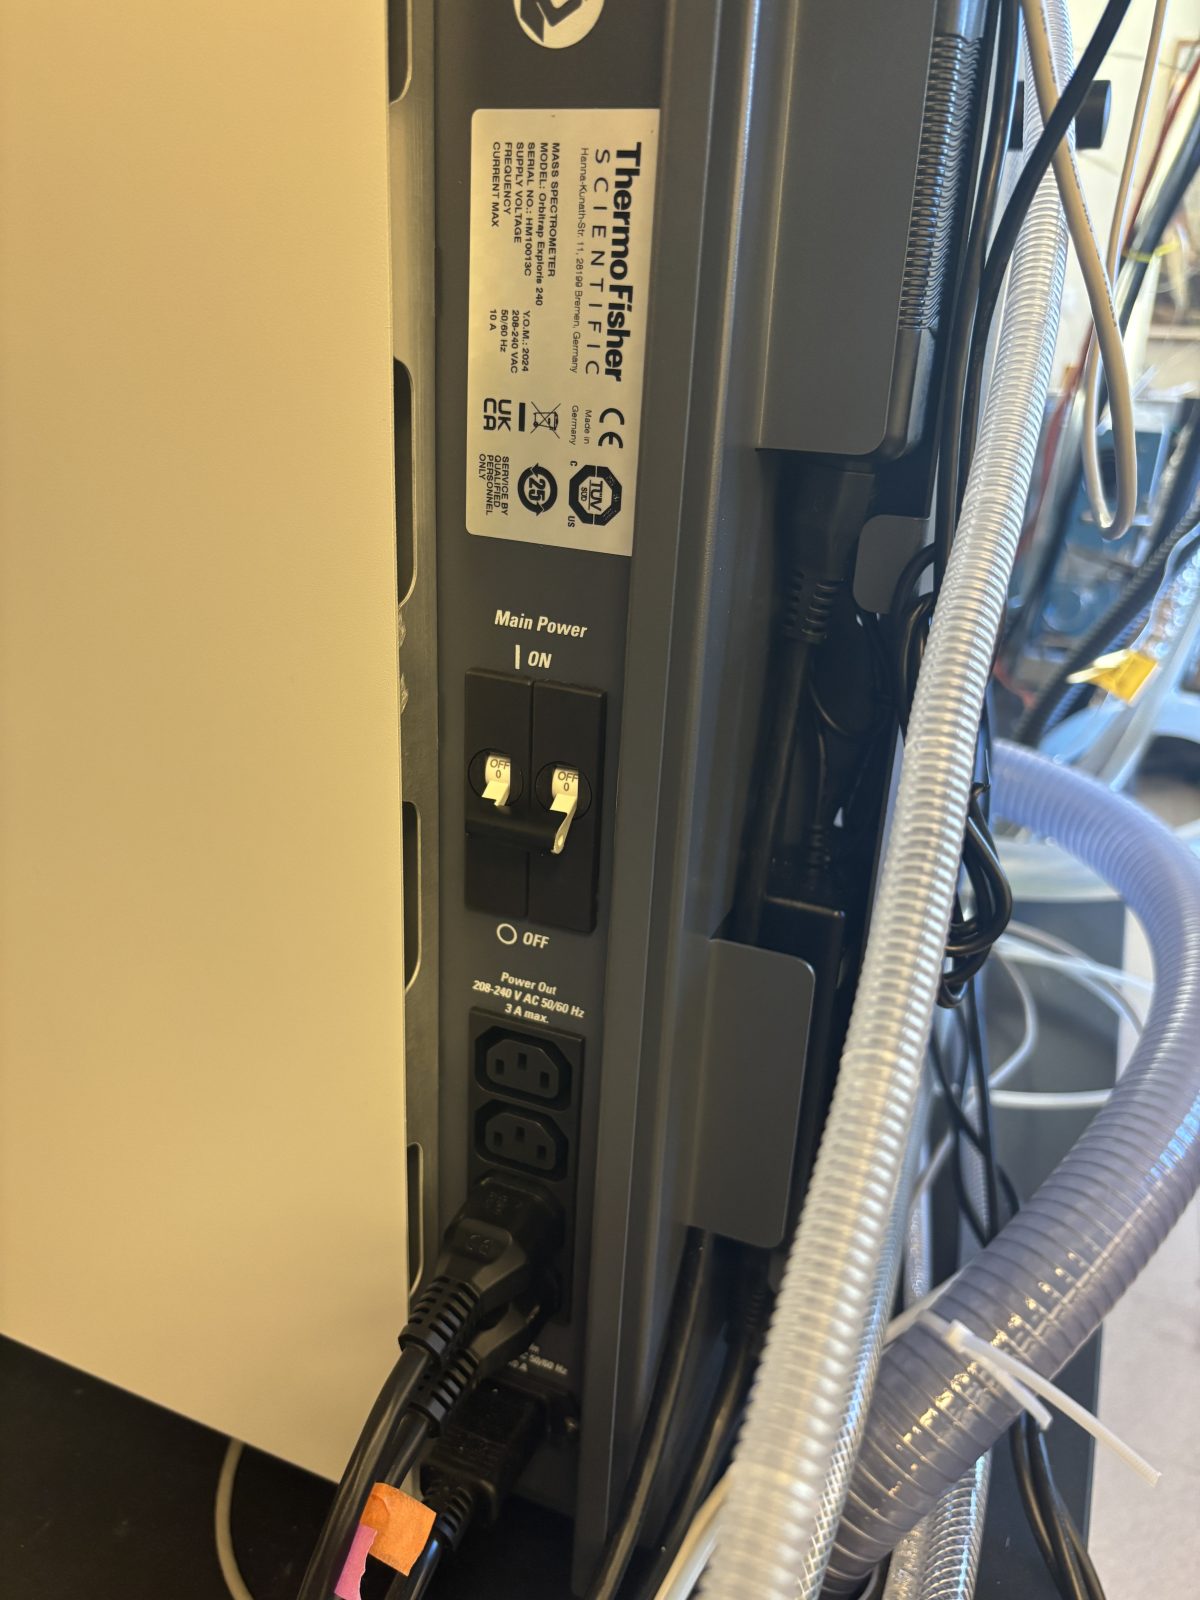
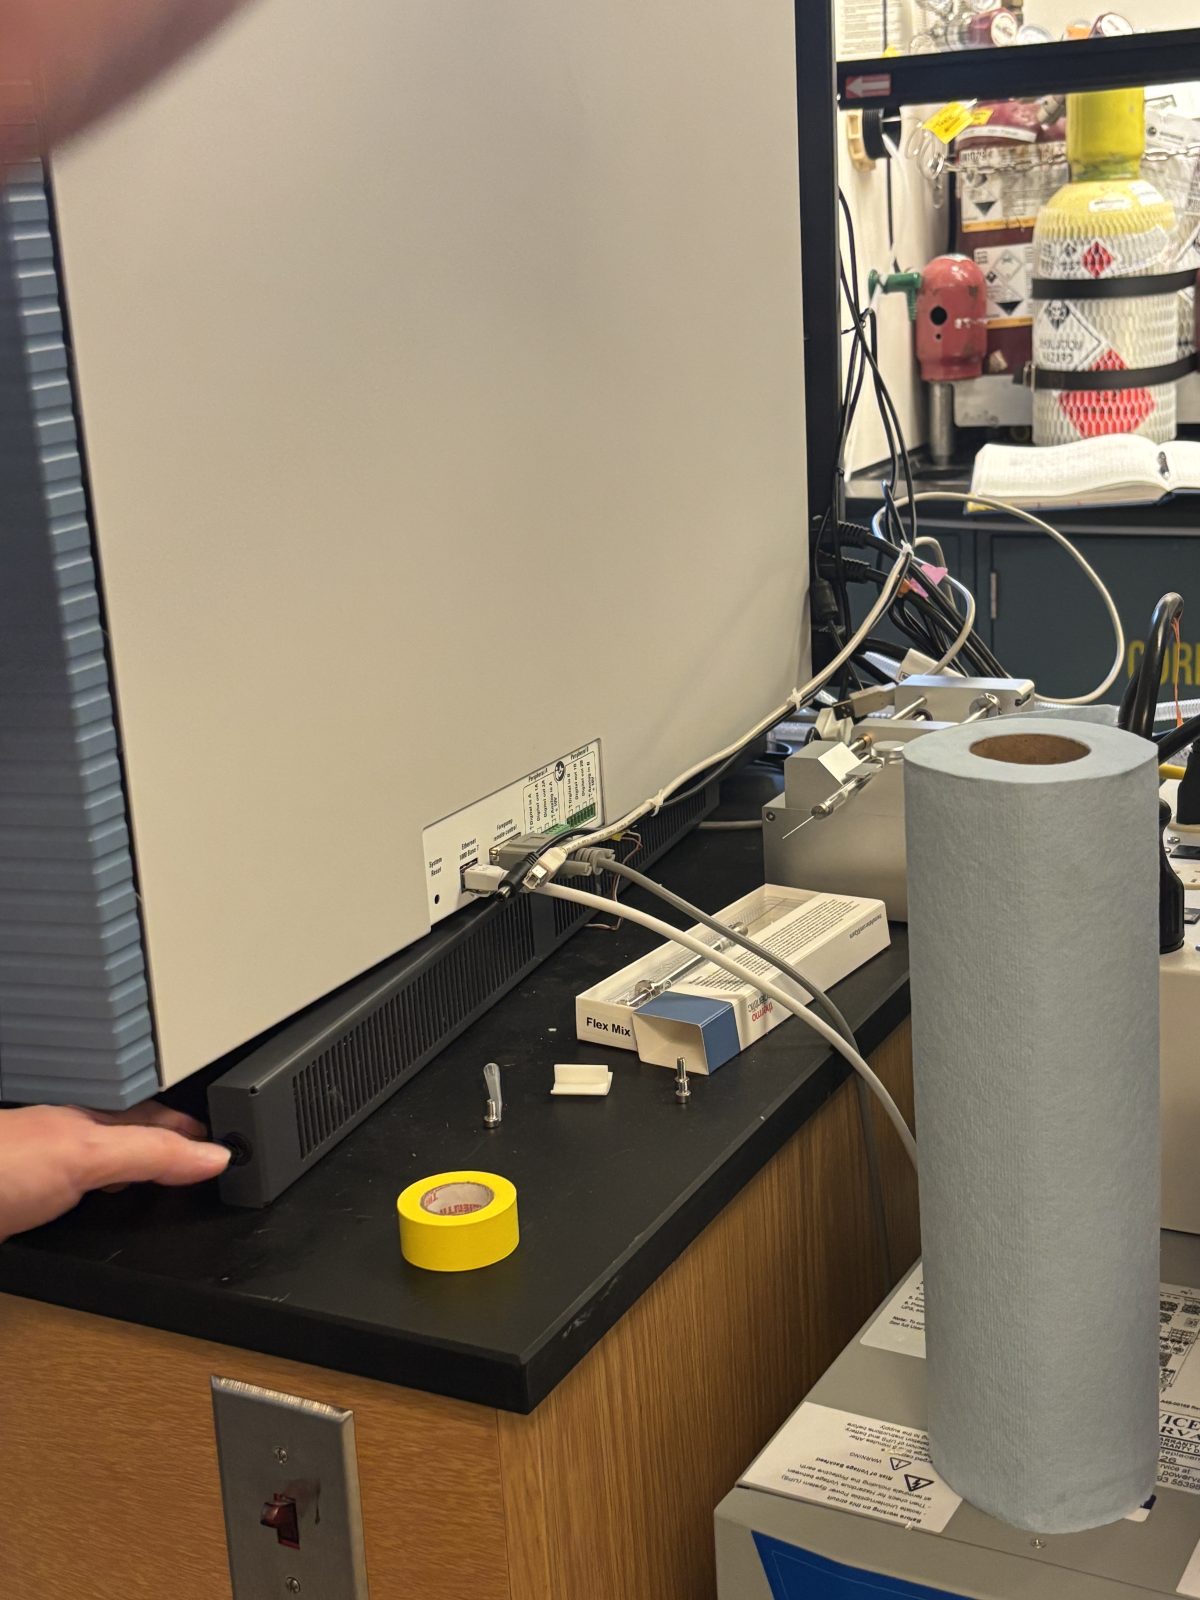
Turn off service switch and main power
2025-11-19 13:43:512025-11-19 13:44:08
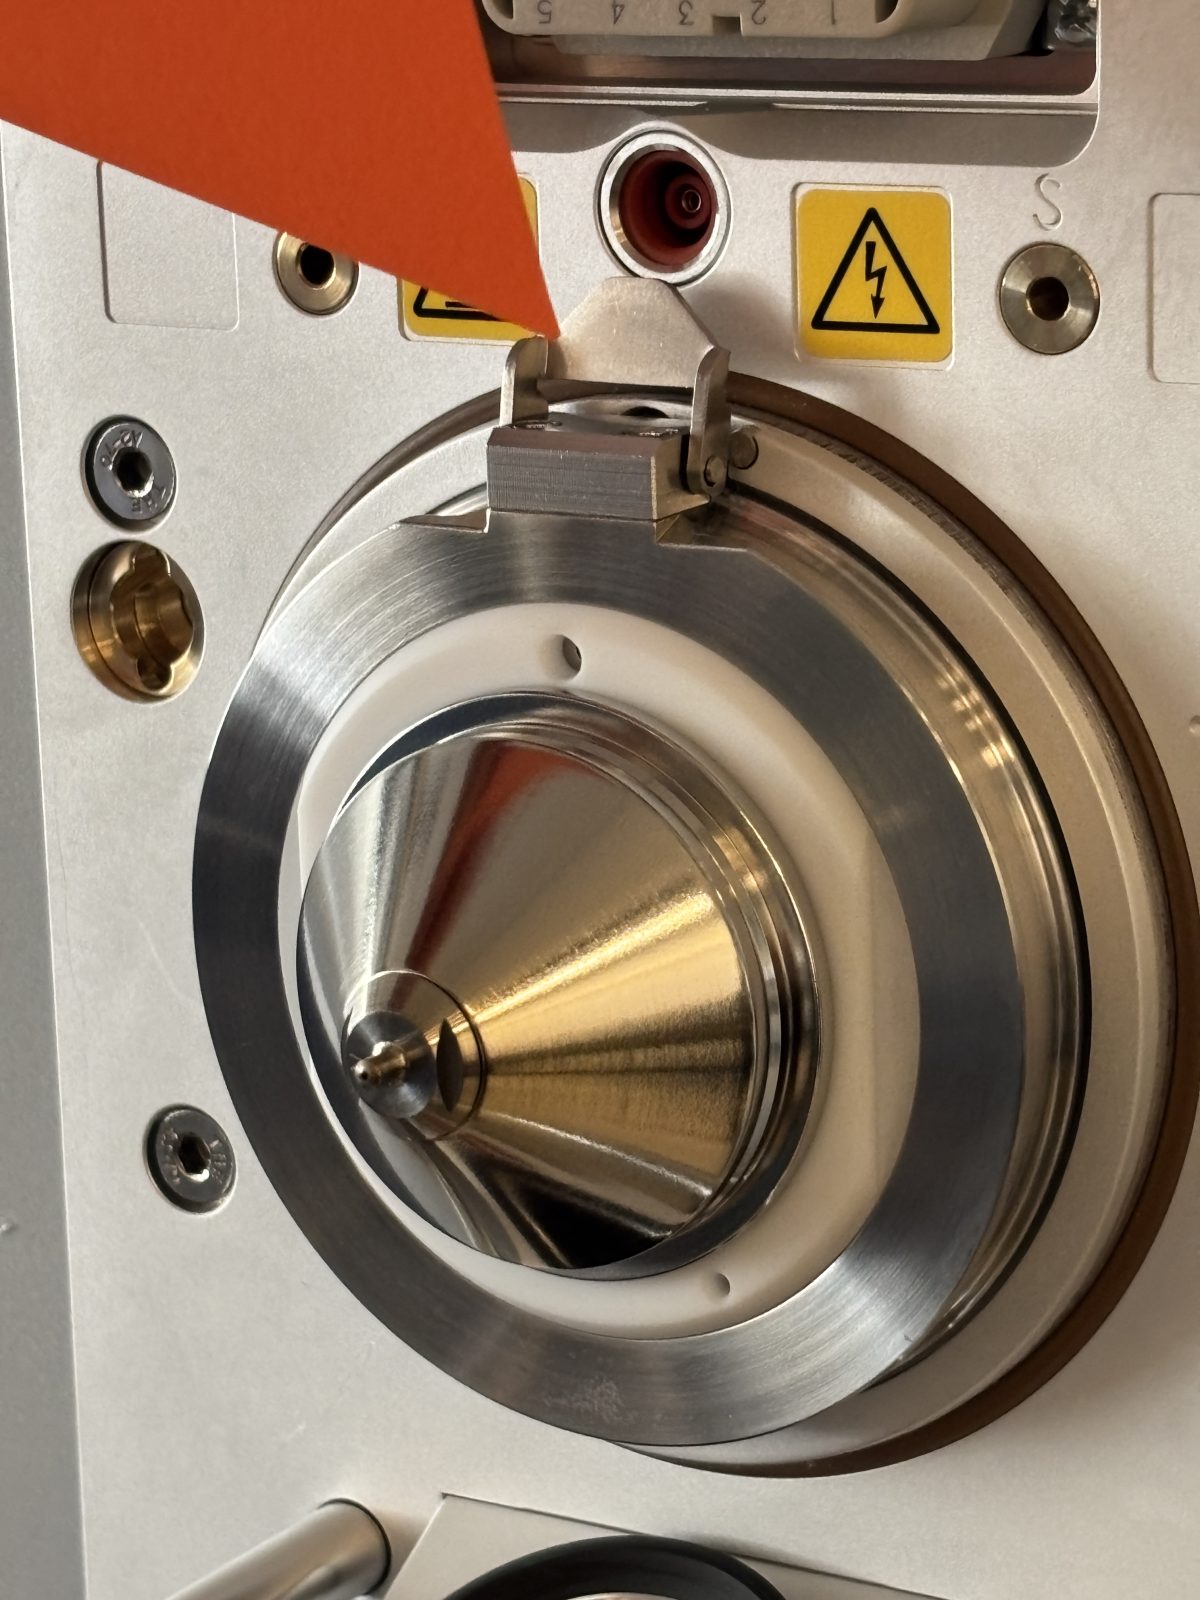
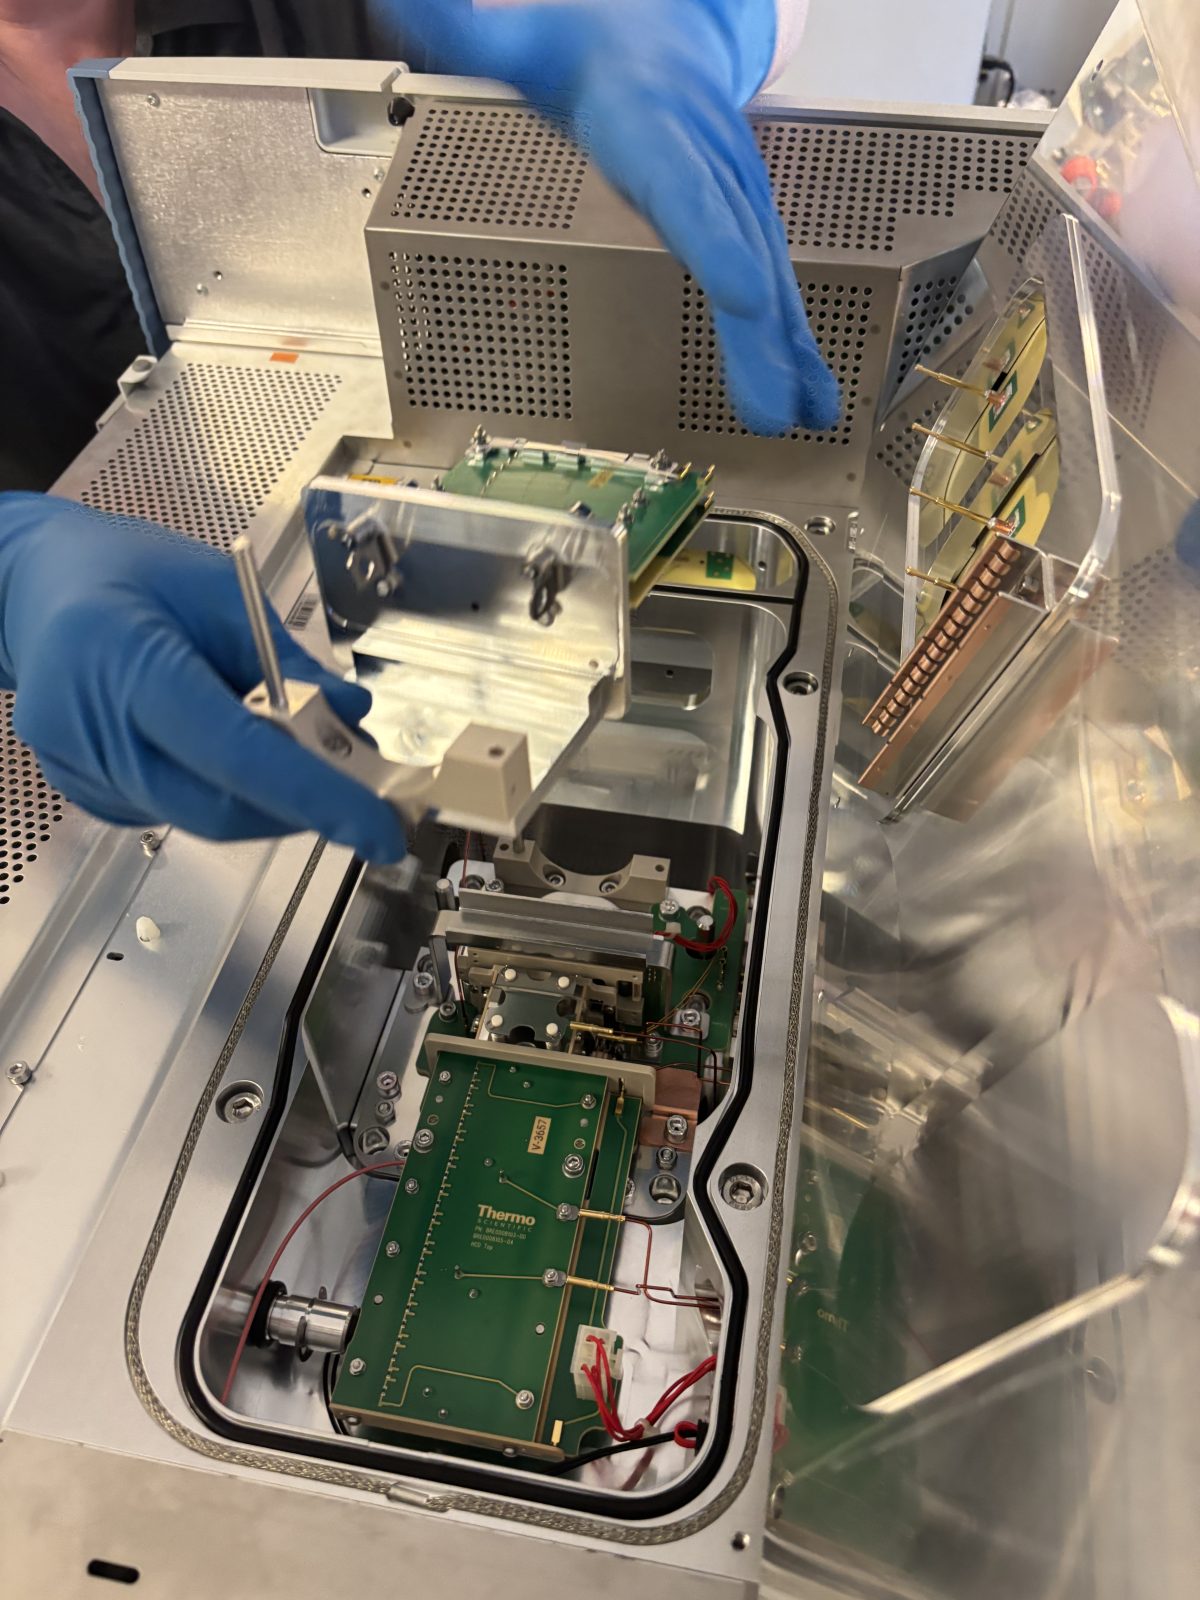
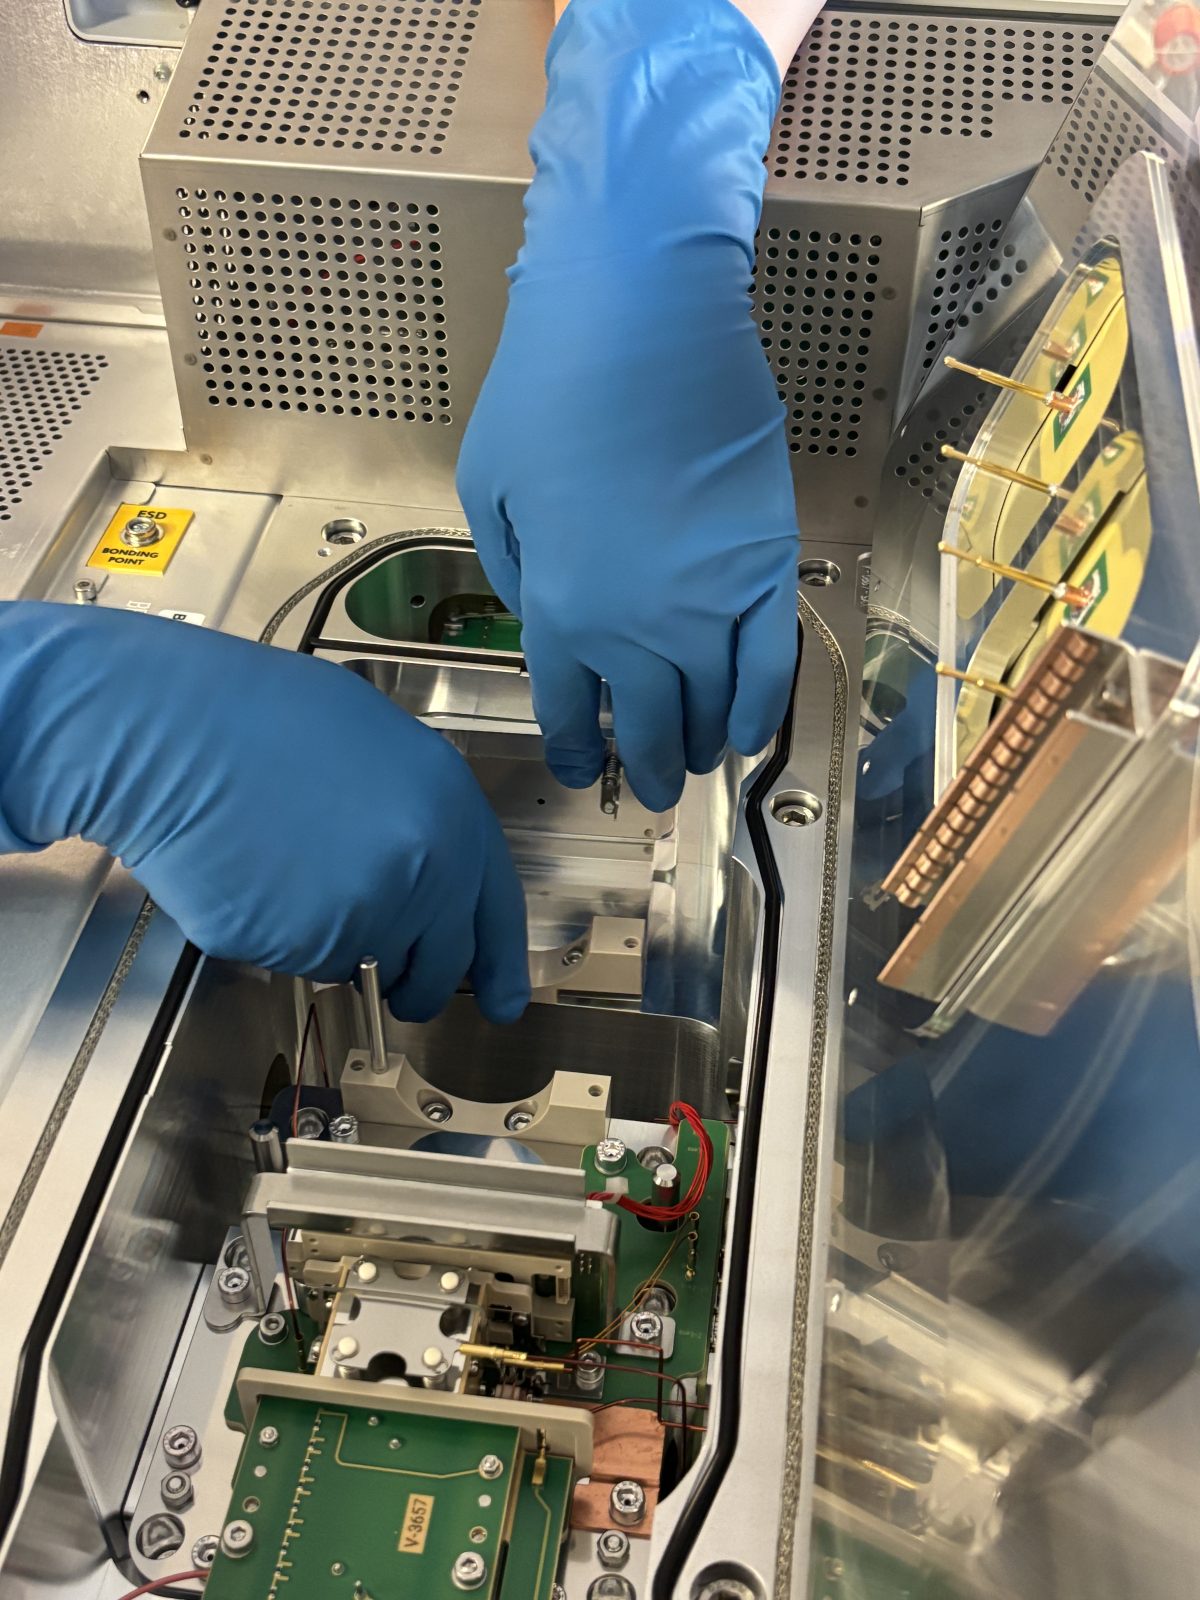
Move 6 way valve and source cover out of the way
2025-11-19 13:44:21
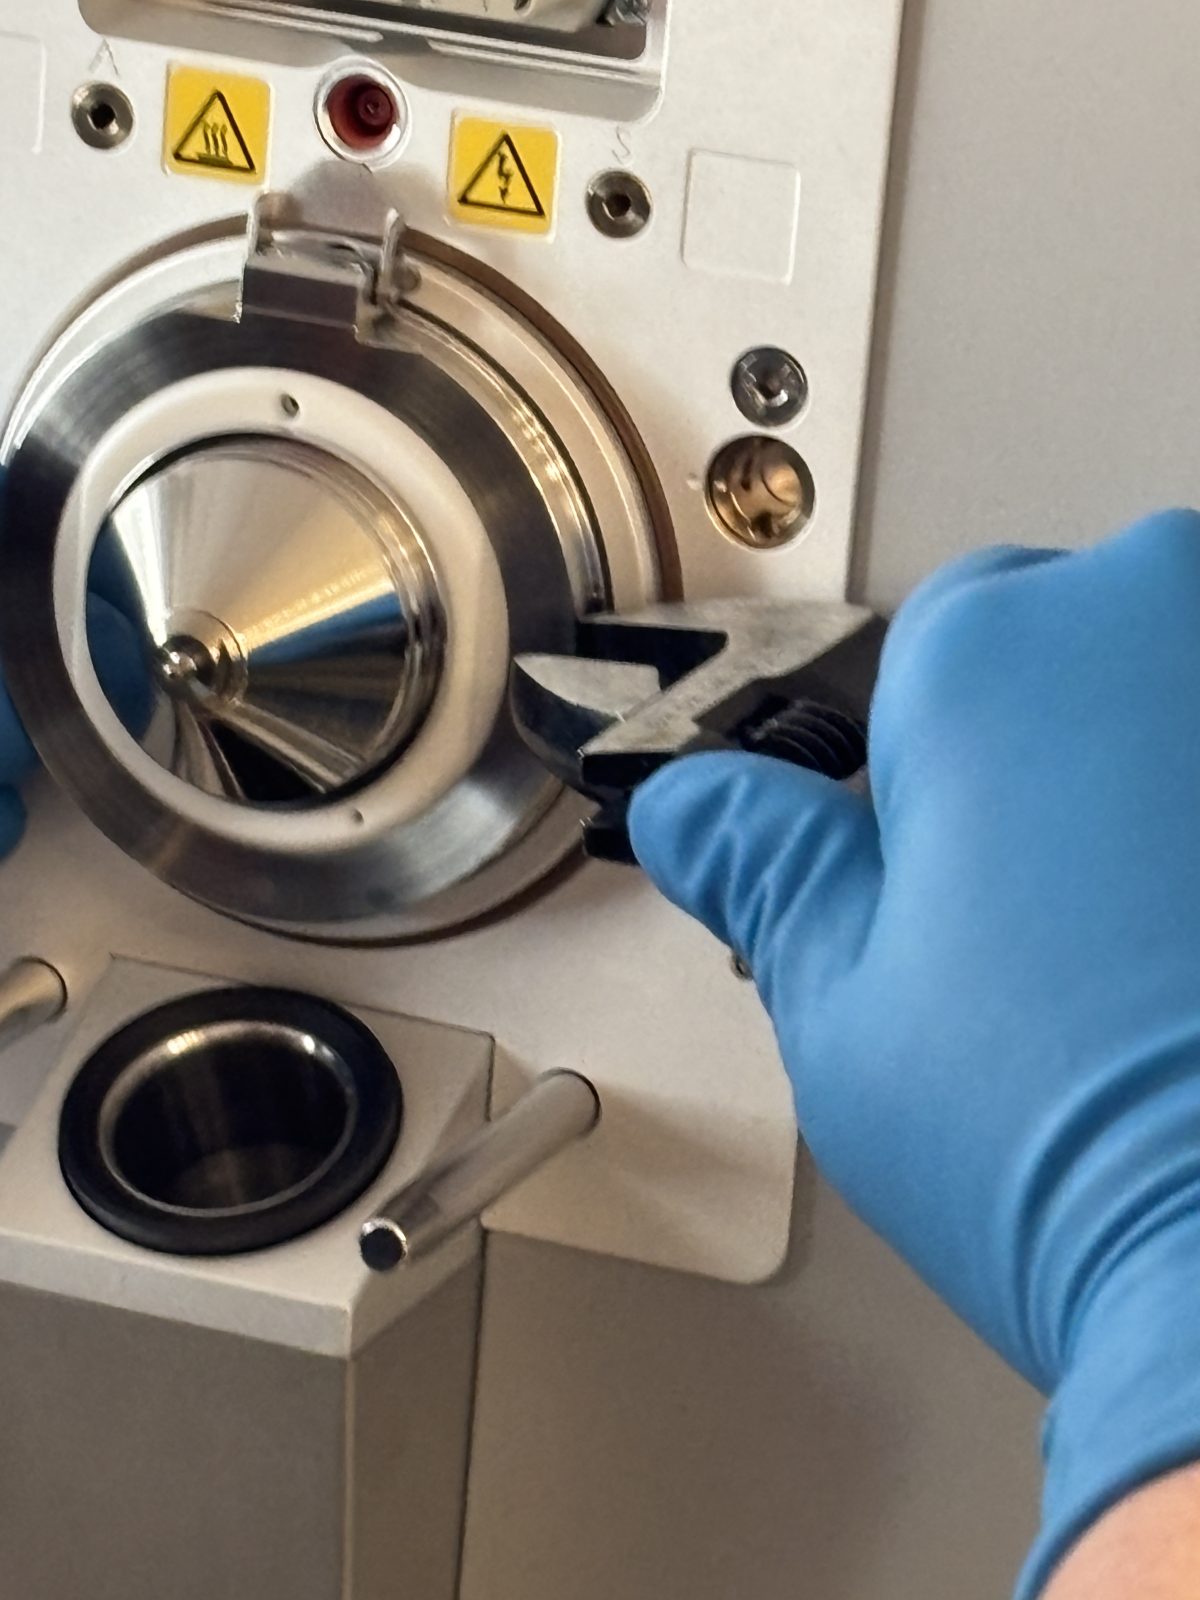
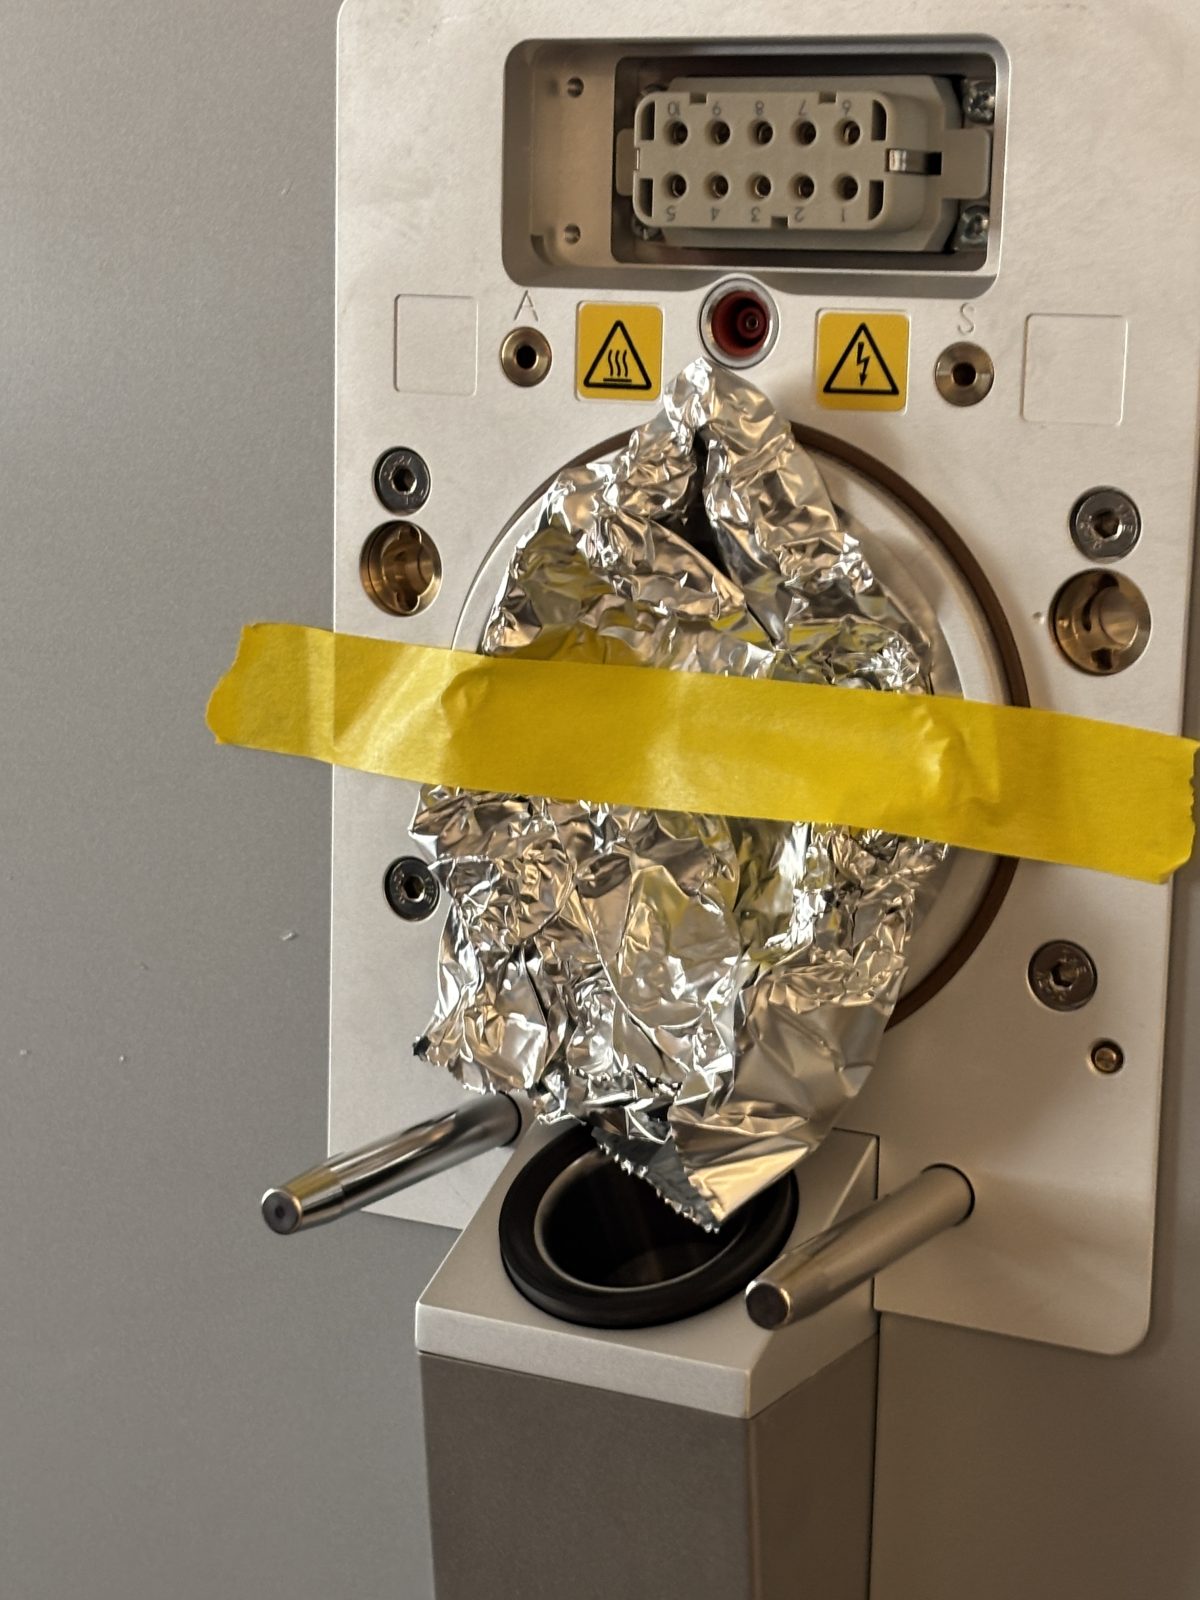
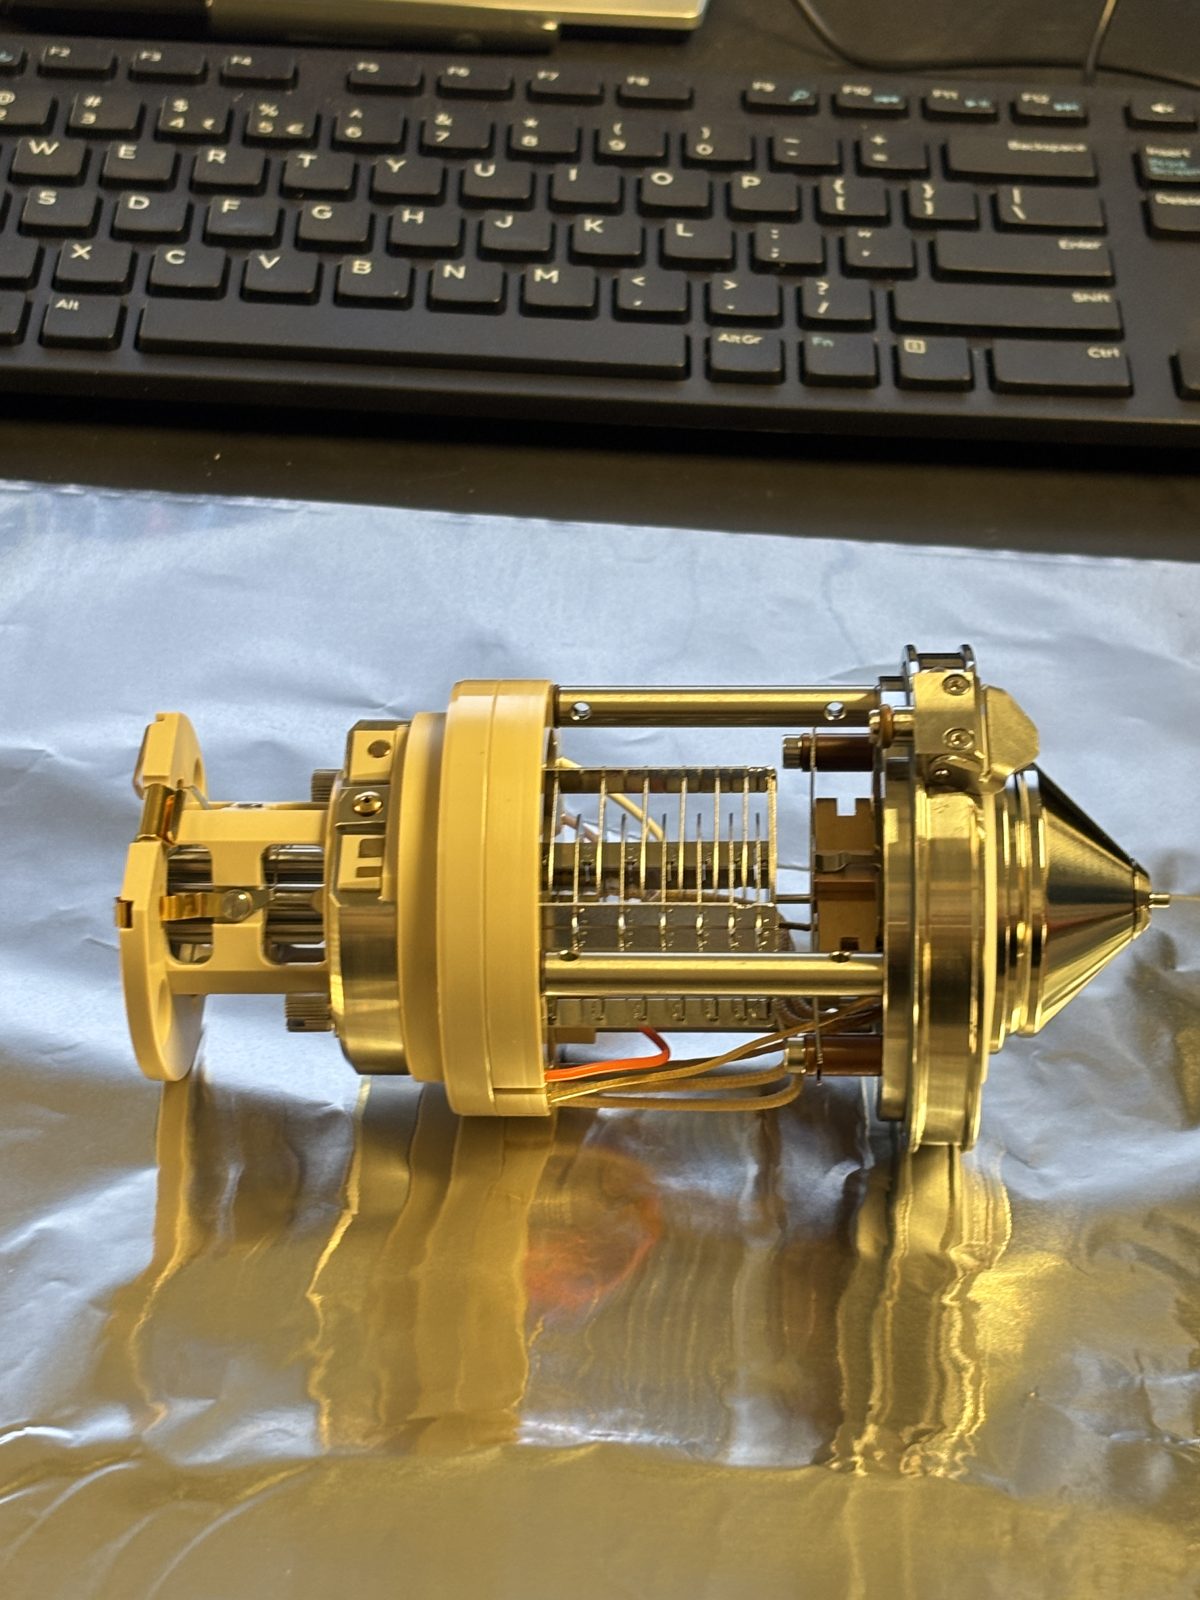
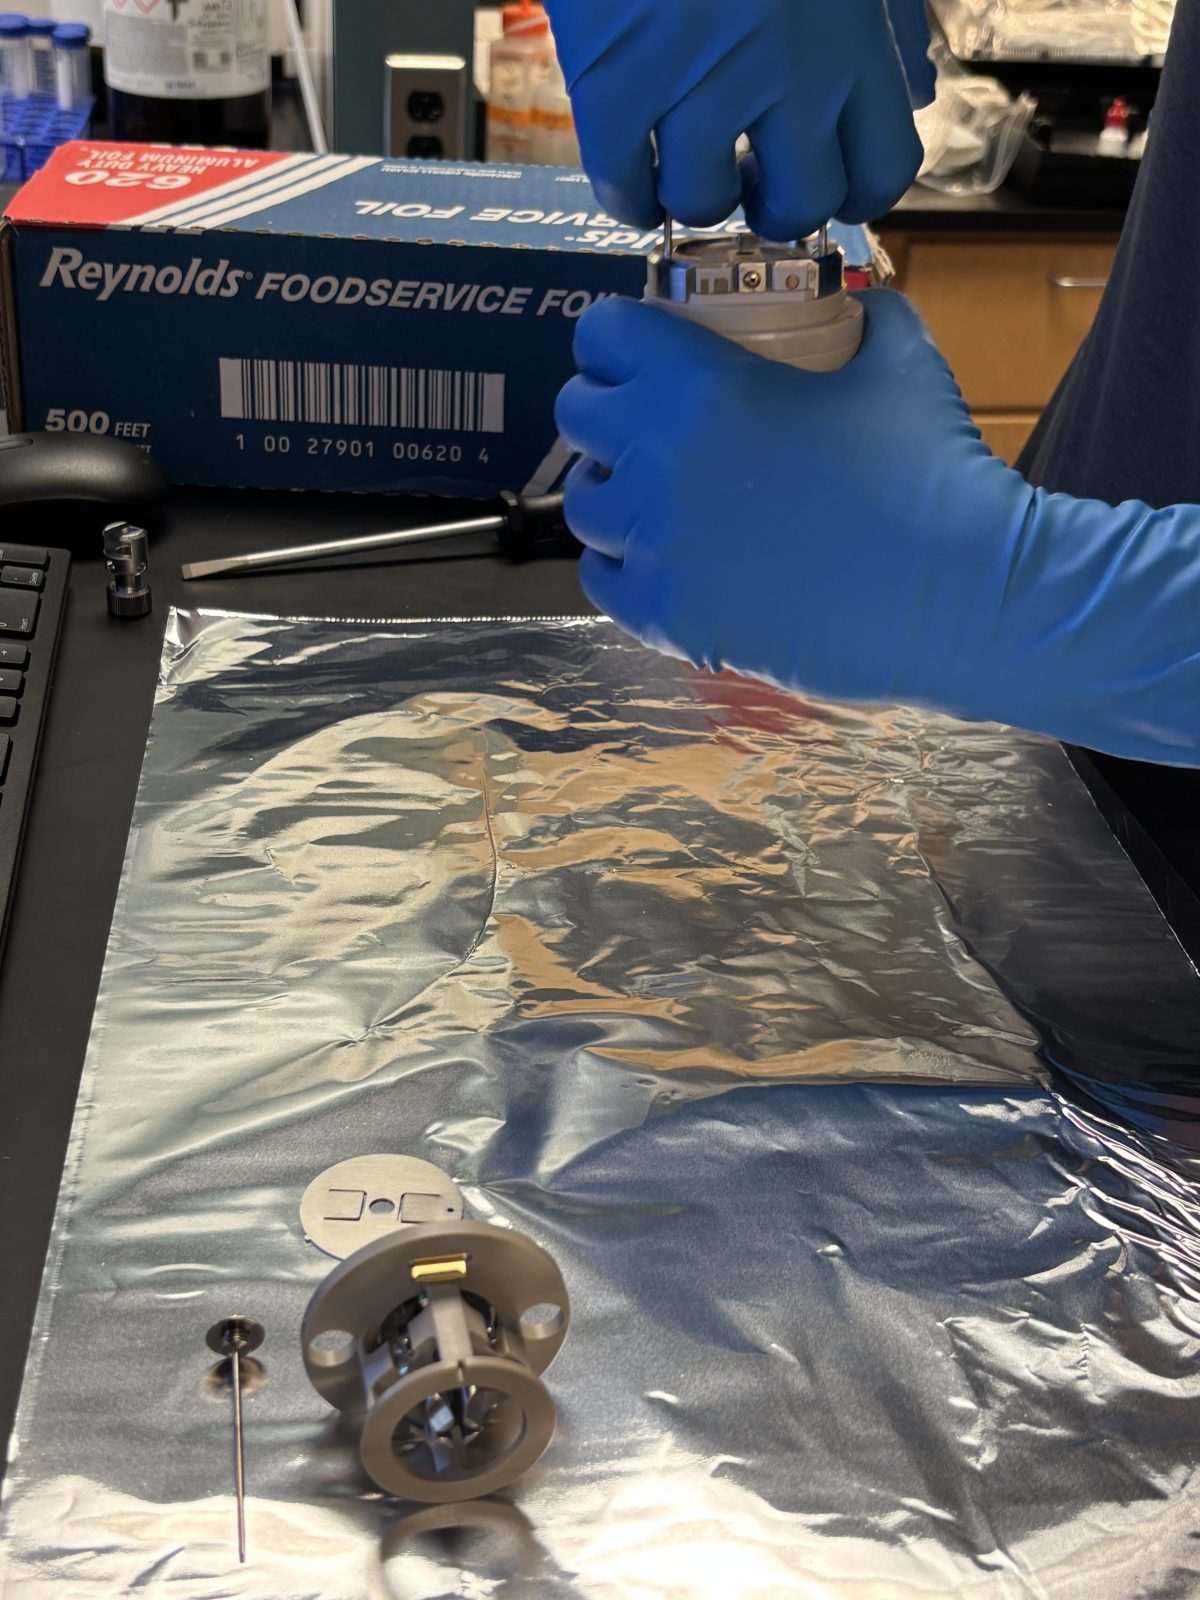
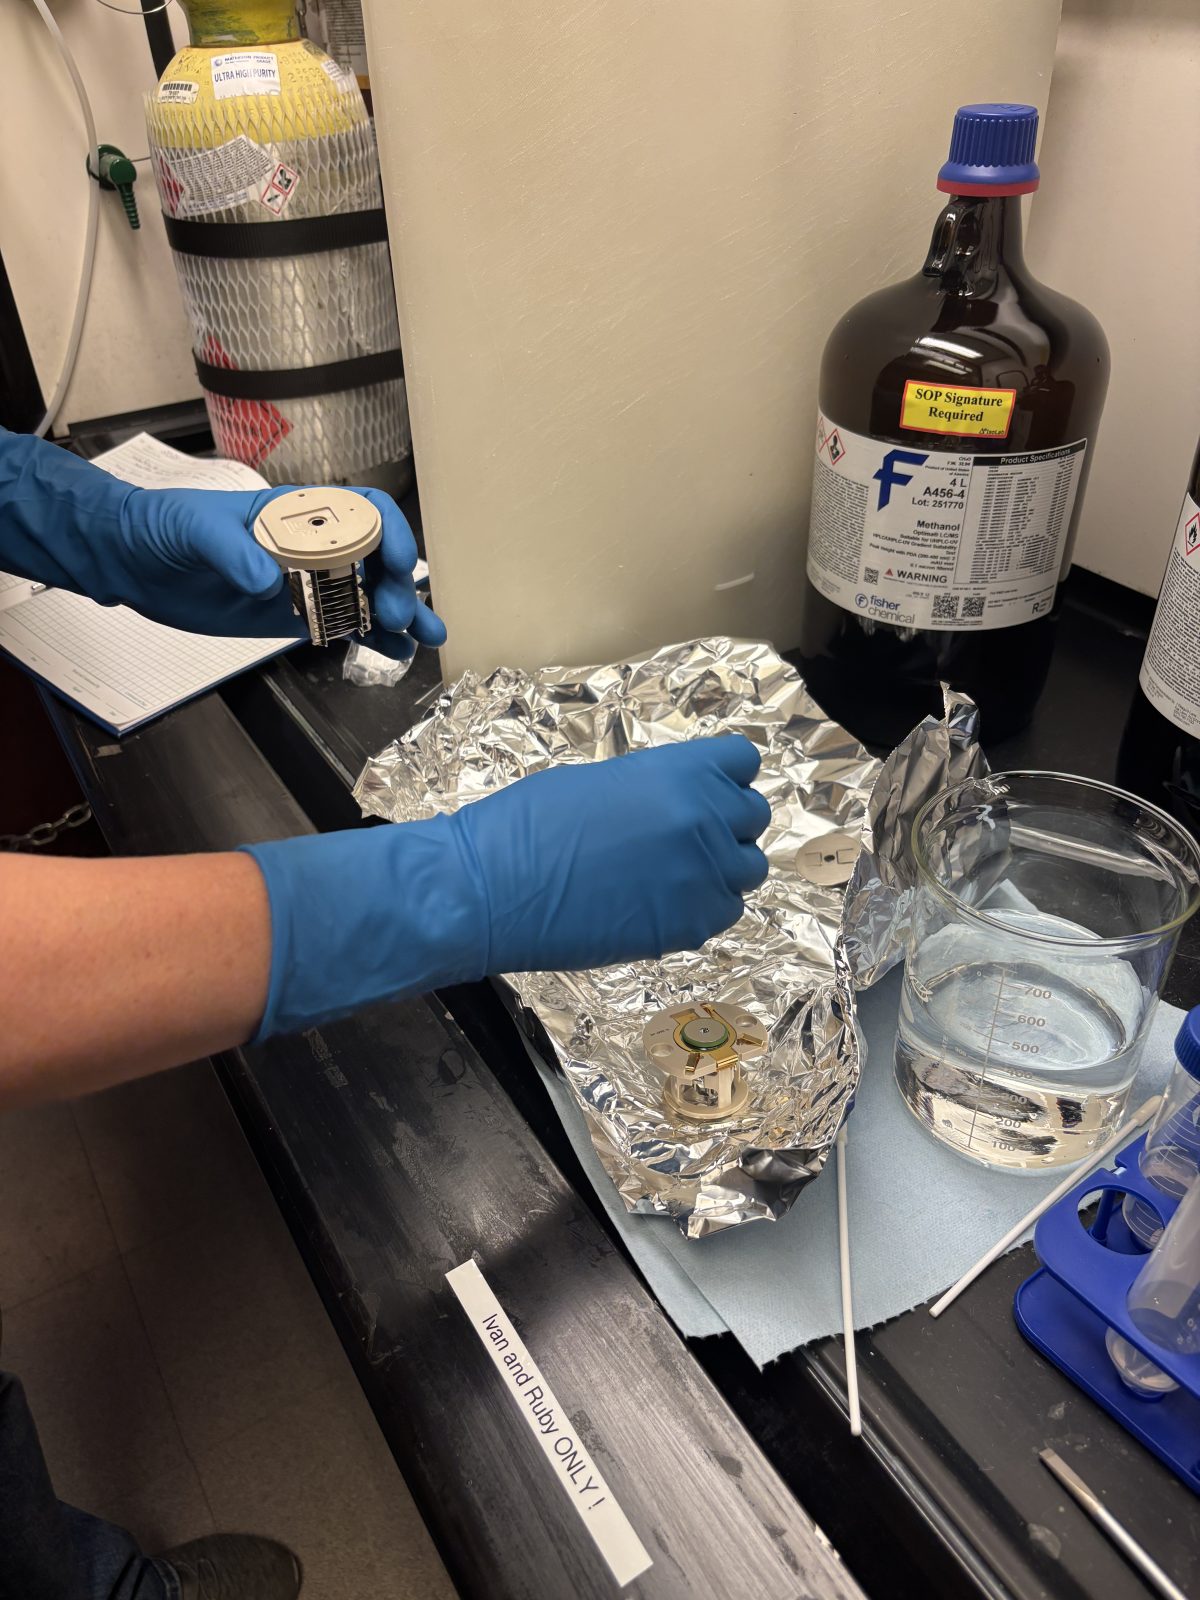
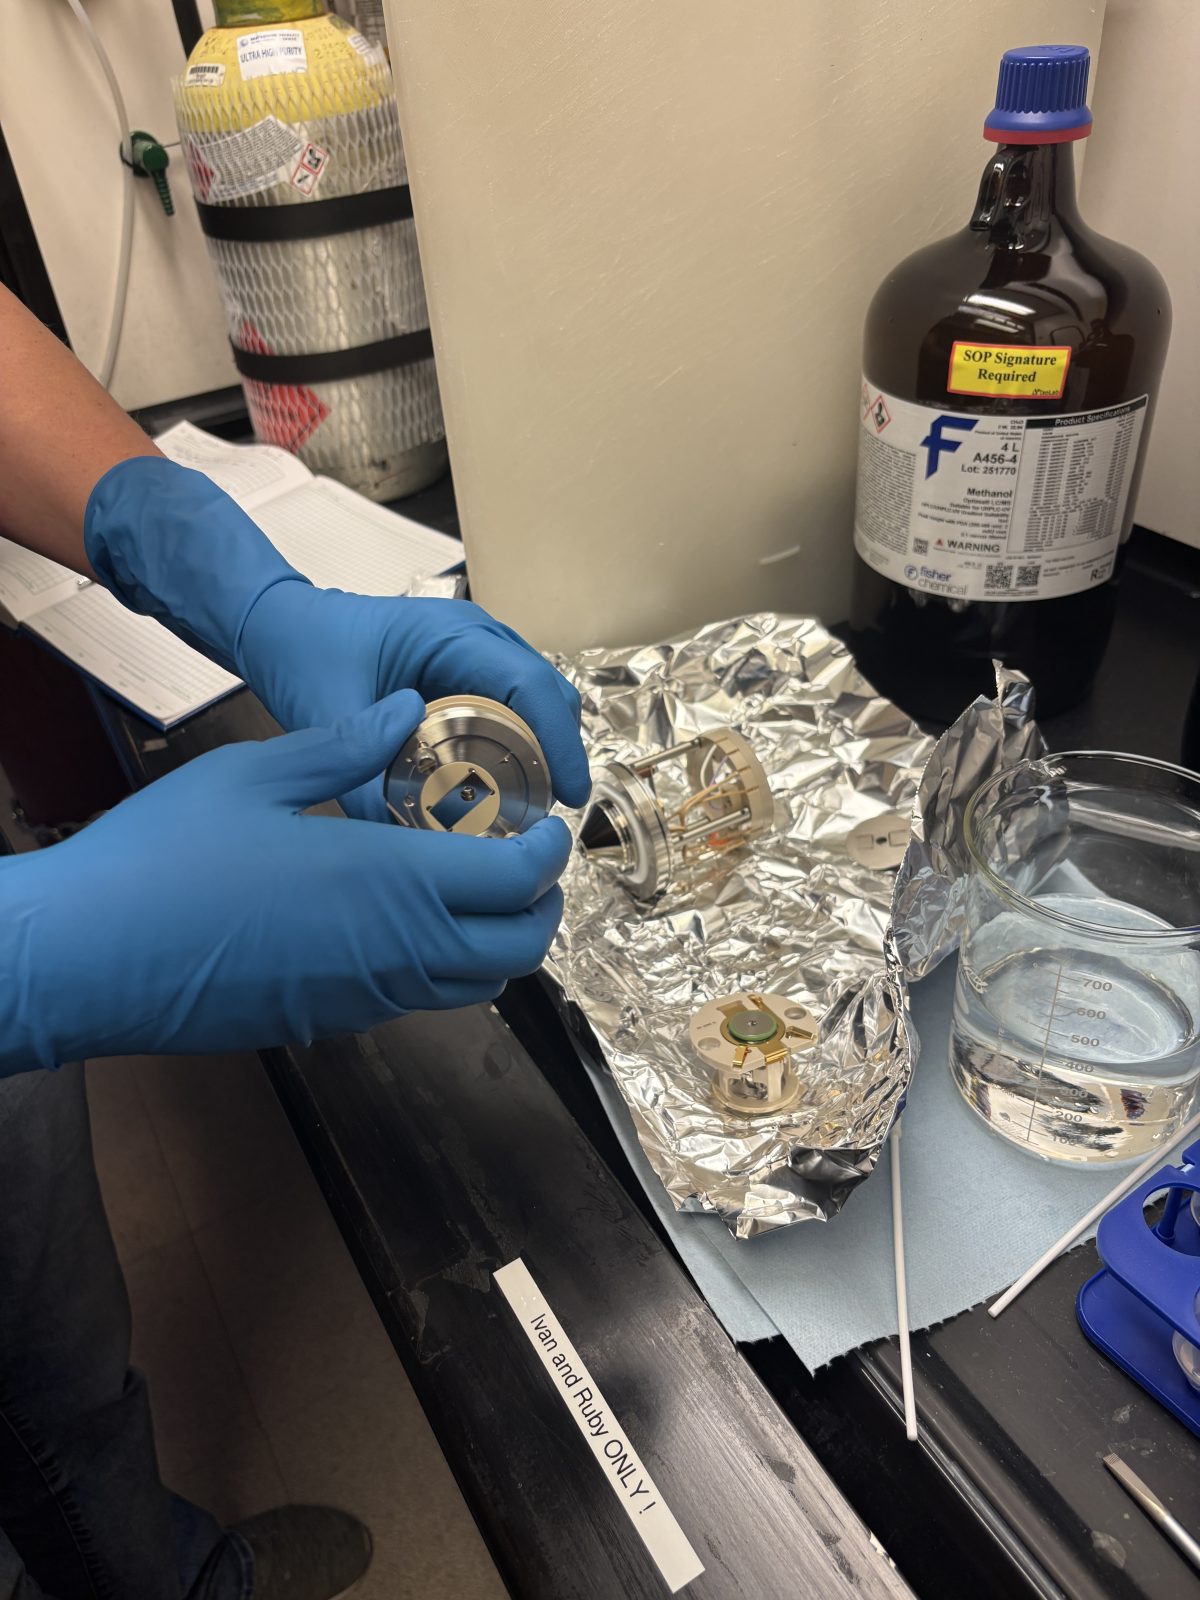
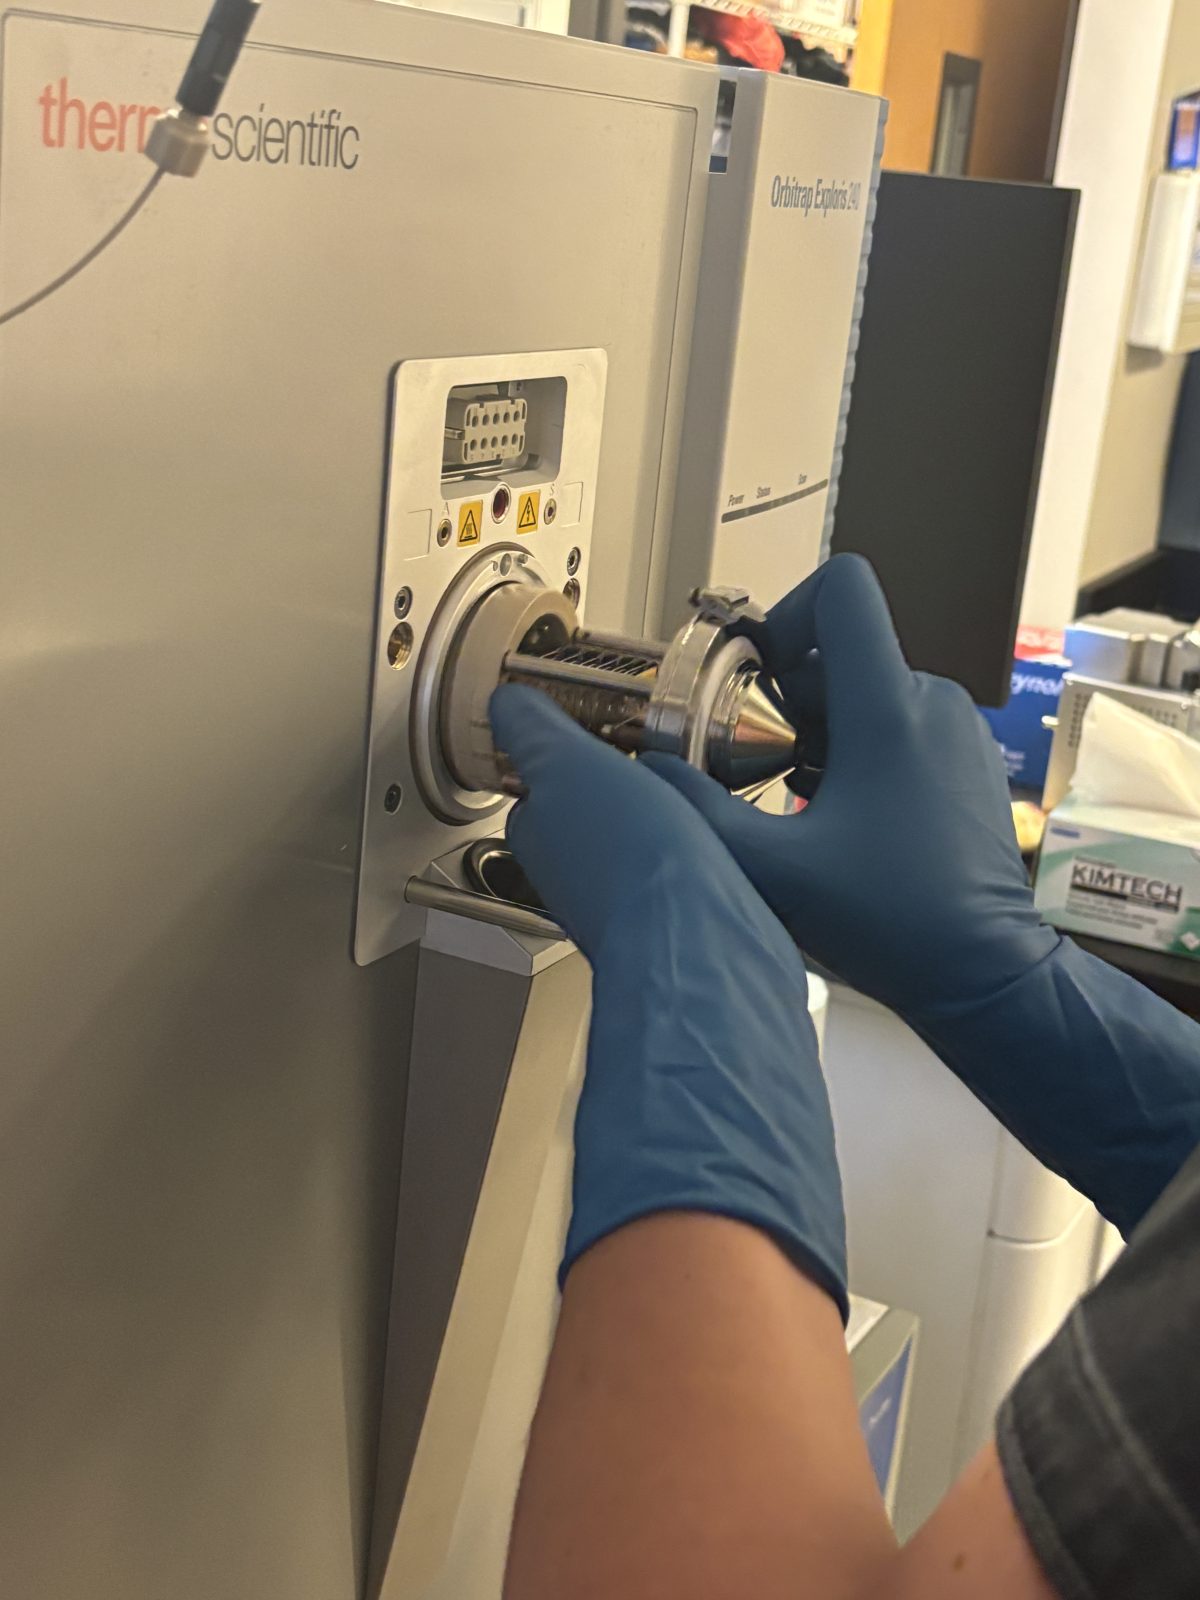
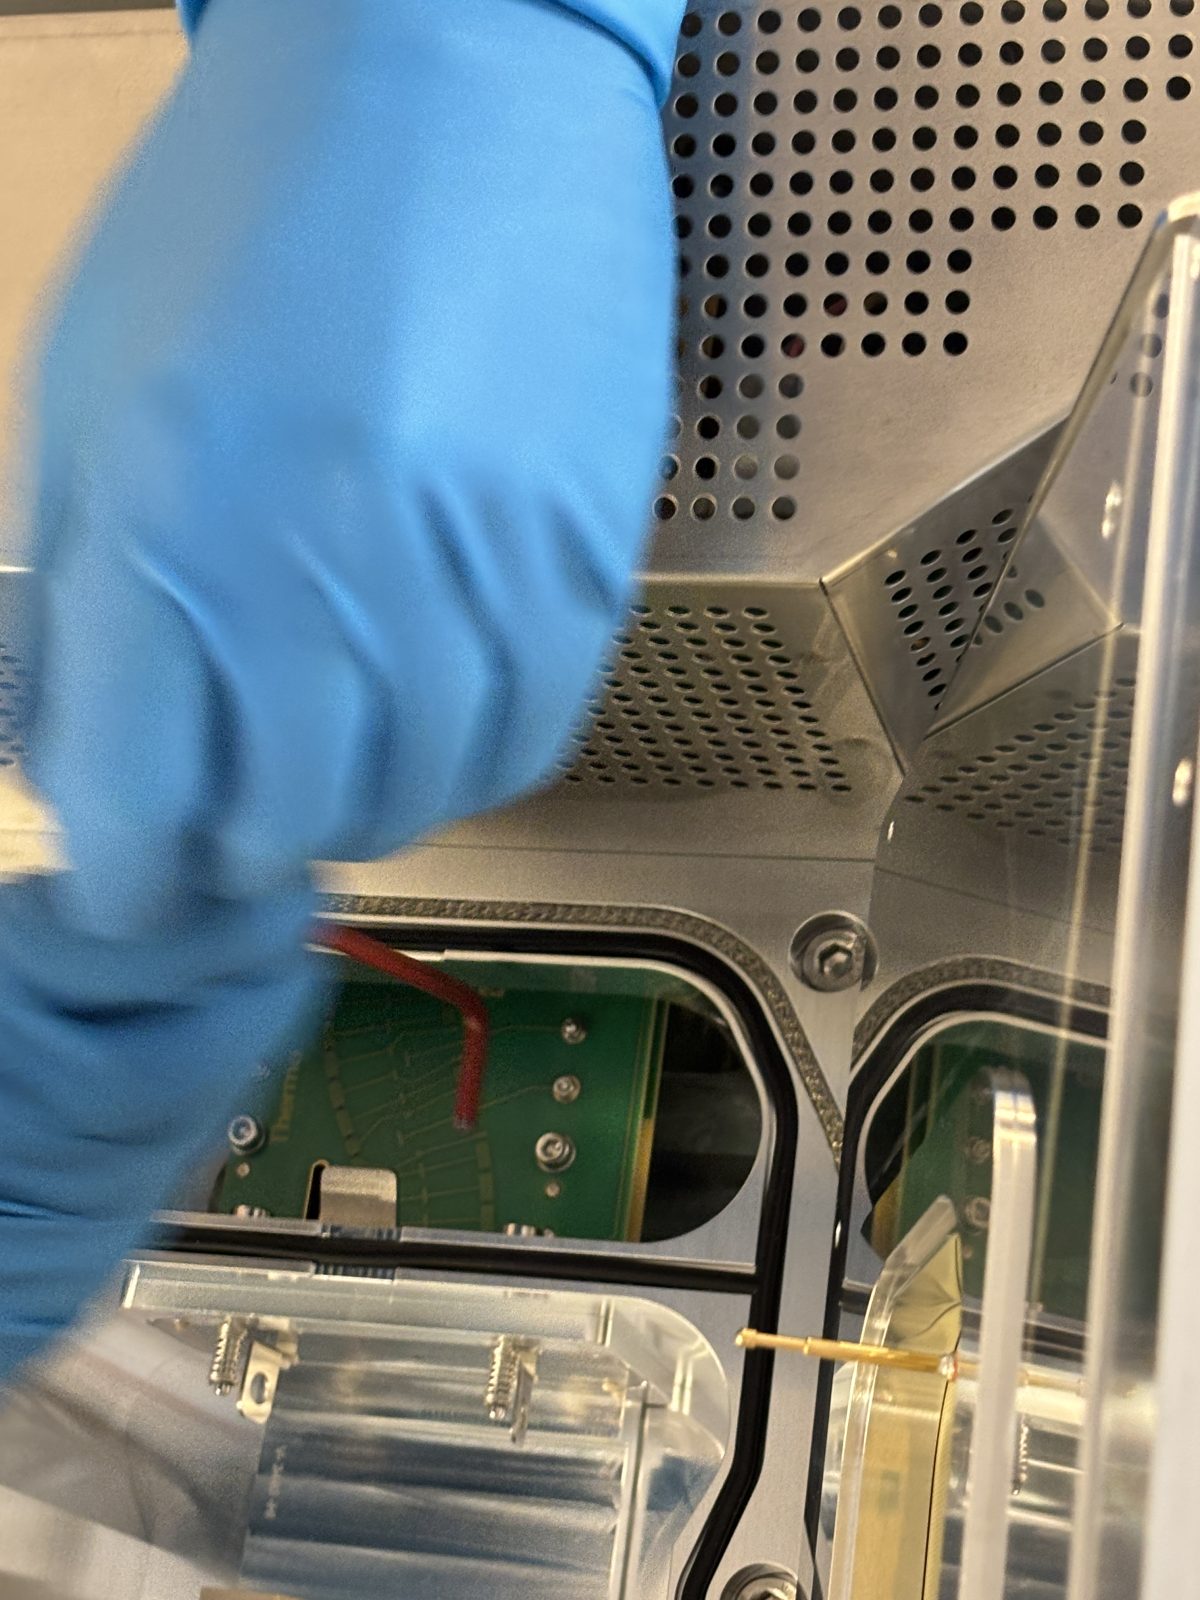
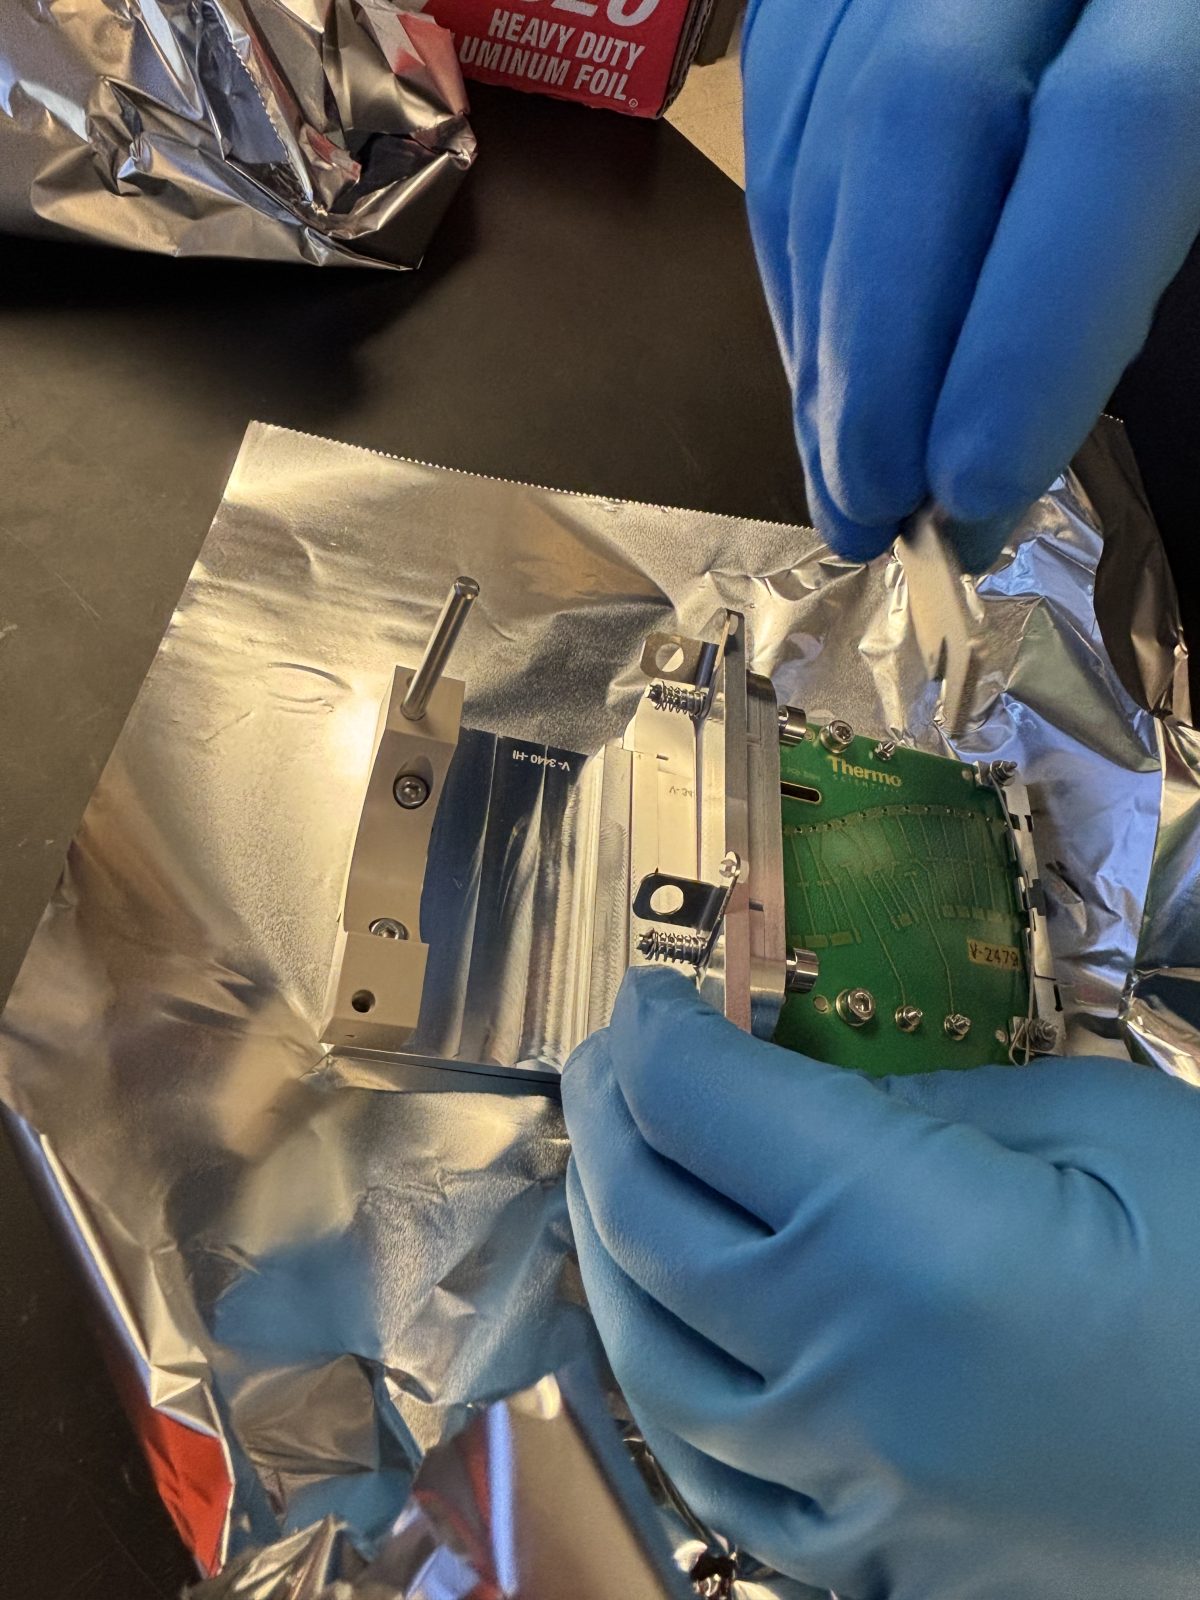
Pull out source and housing after shutting off vacuum (by turning off switch). Flange at top move 90 deg to help to release source from vacuum. Orange arrow She used an adjustable wrench to pry it off. Can hear nitrogen flowing after removal (leave it on to keep clean). Cover opening with Al foil to keep it clean.
2025-11-19 13:45:582025-11-19 13:45:592025-11-19 13:47:342025-11-19 13:47:492025-11-19 13:48:052025-11-19 13:49:40
After the inlet, remove the ion transfer tube with special wrench and replace it with a clean one.
2025-11-19 13:49:48
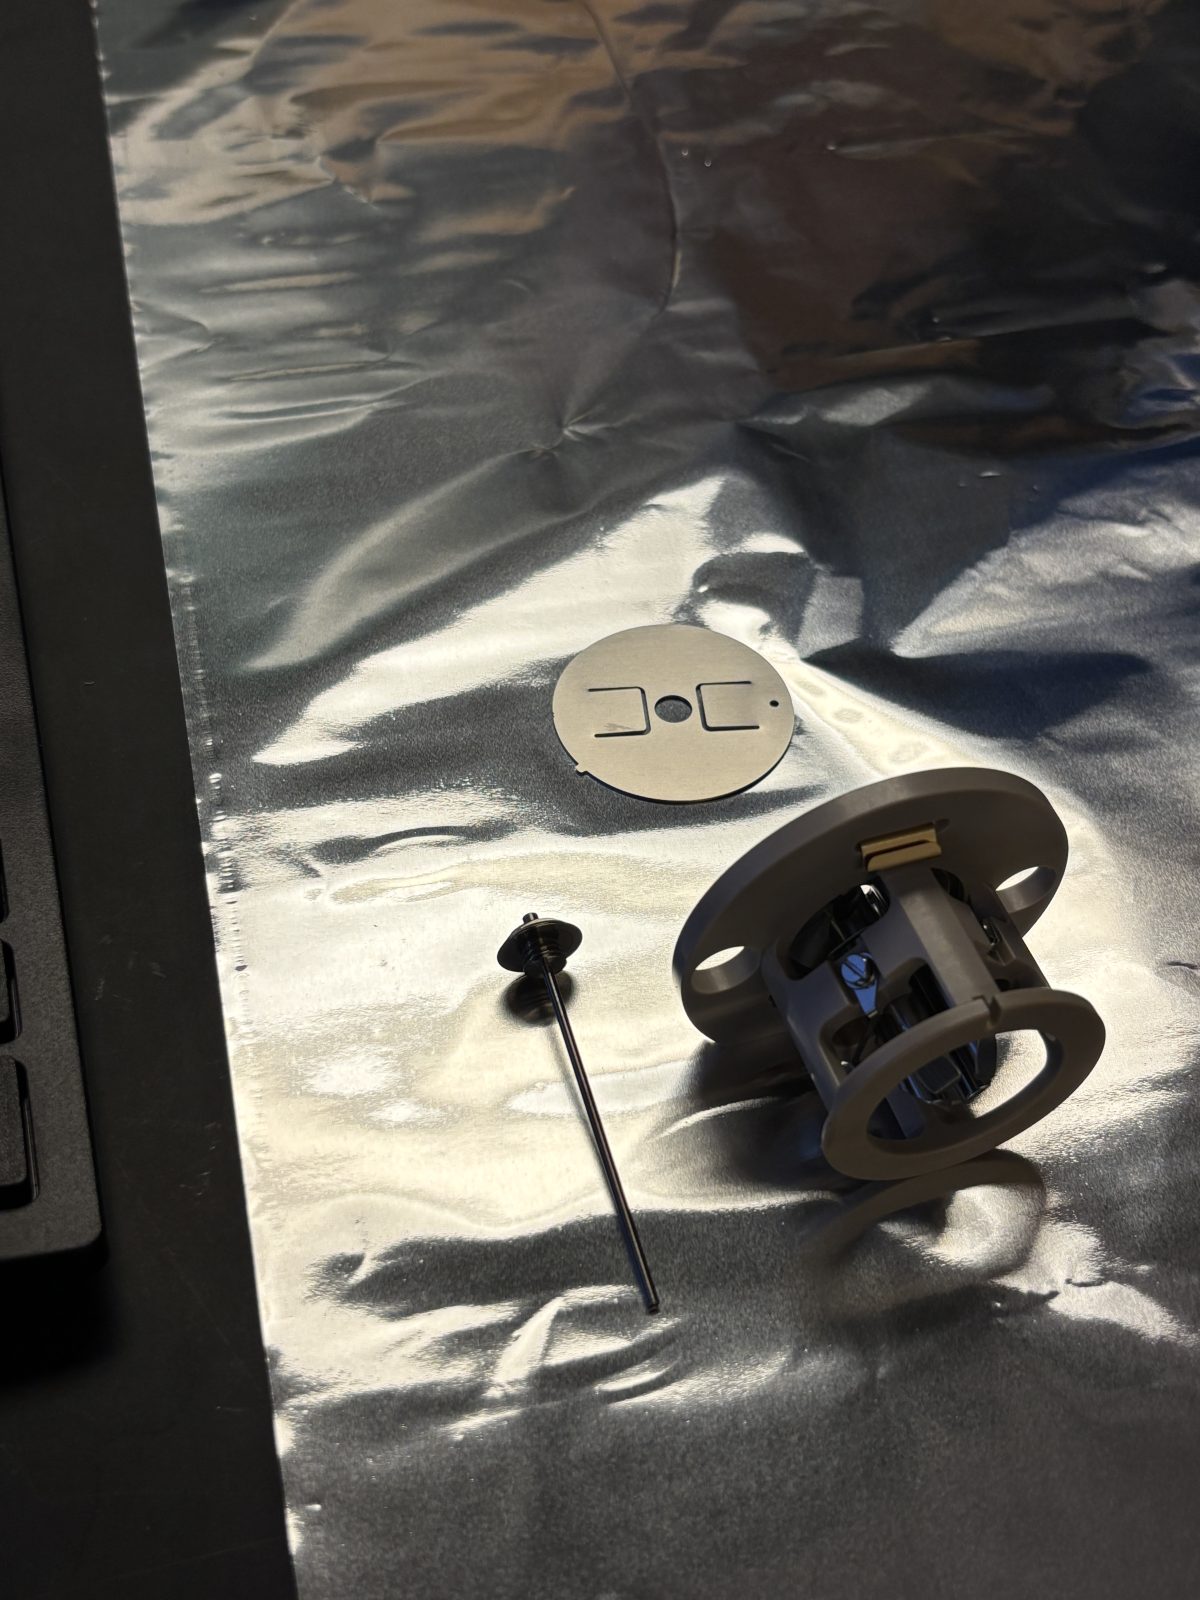
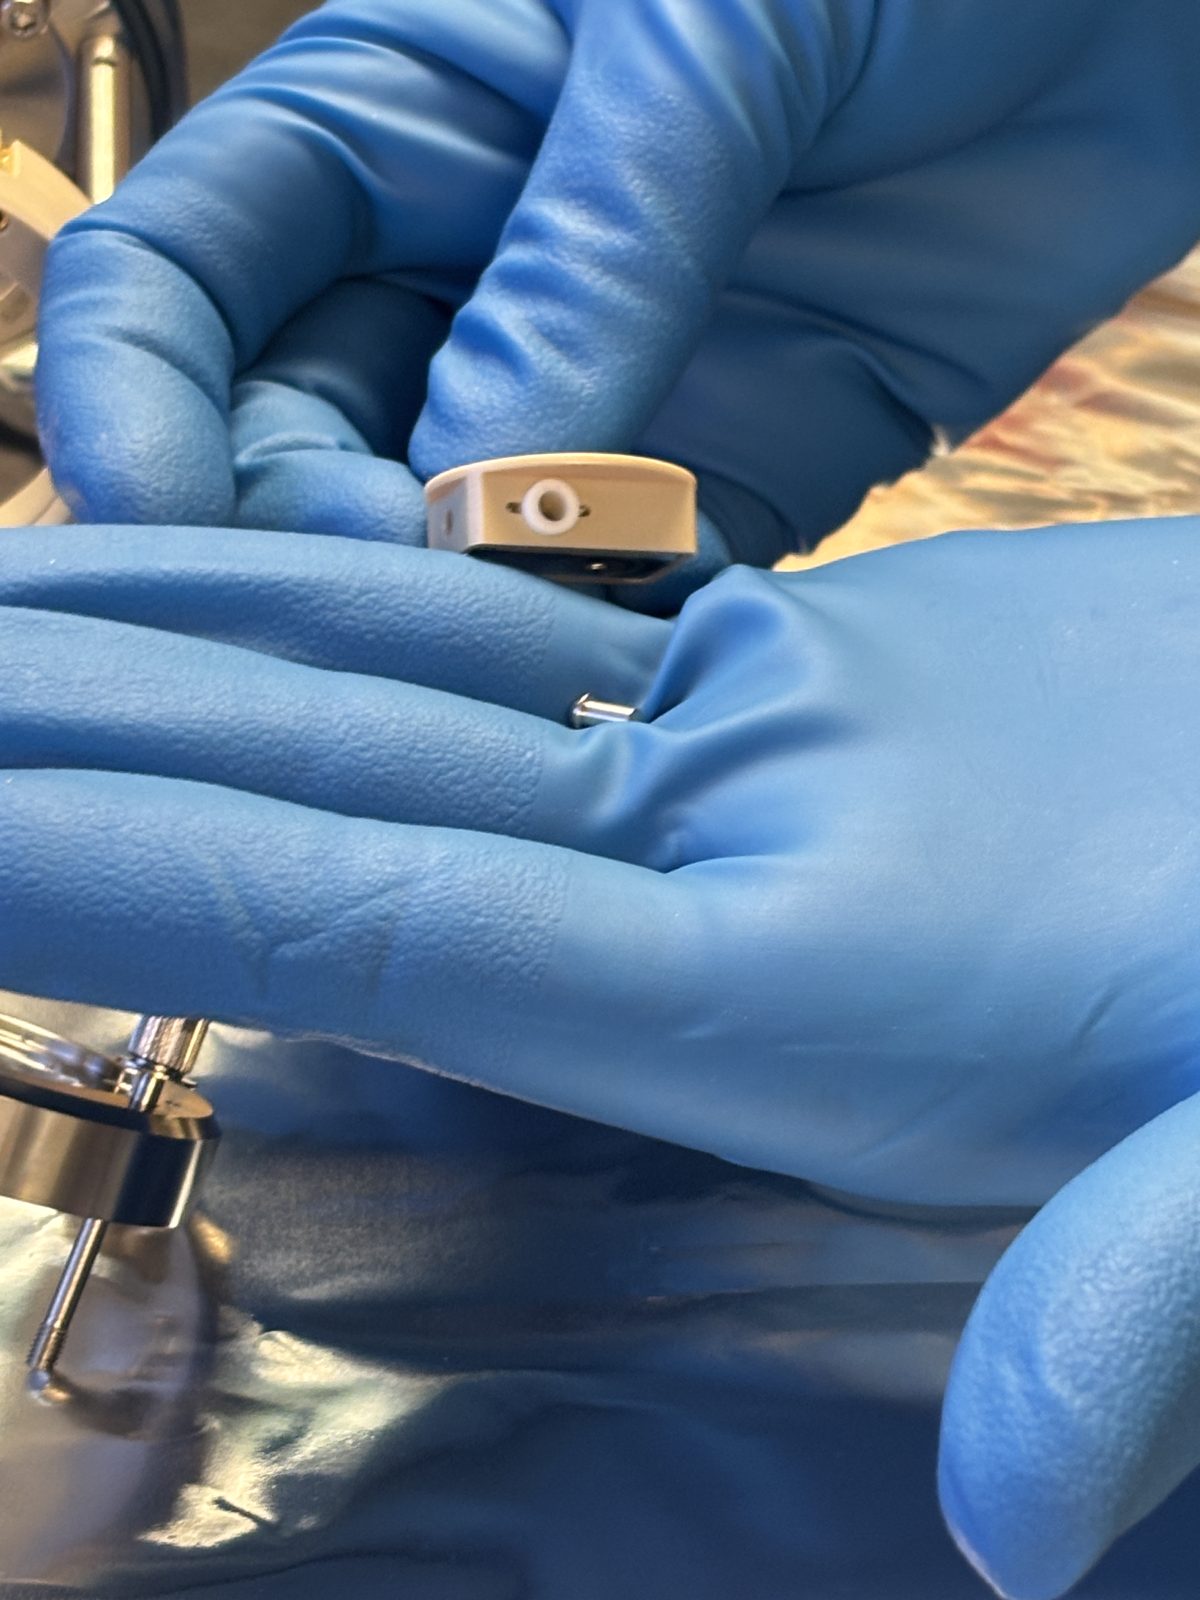
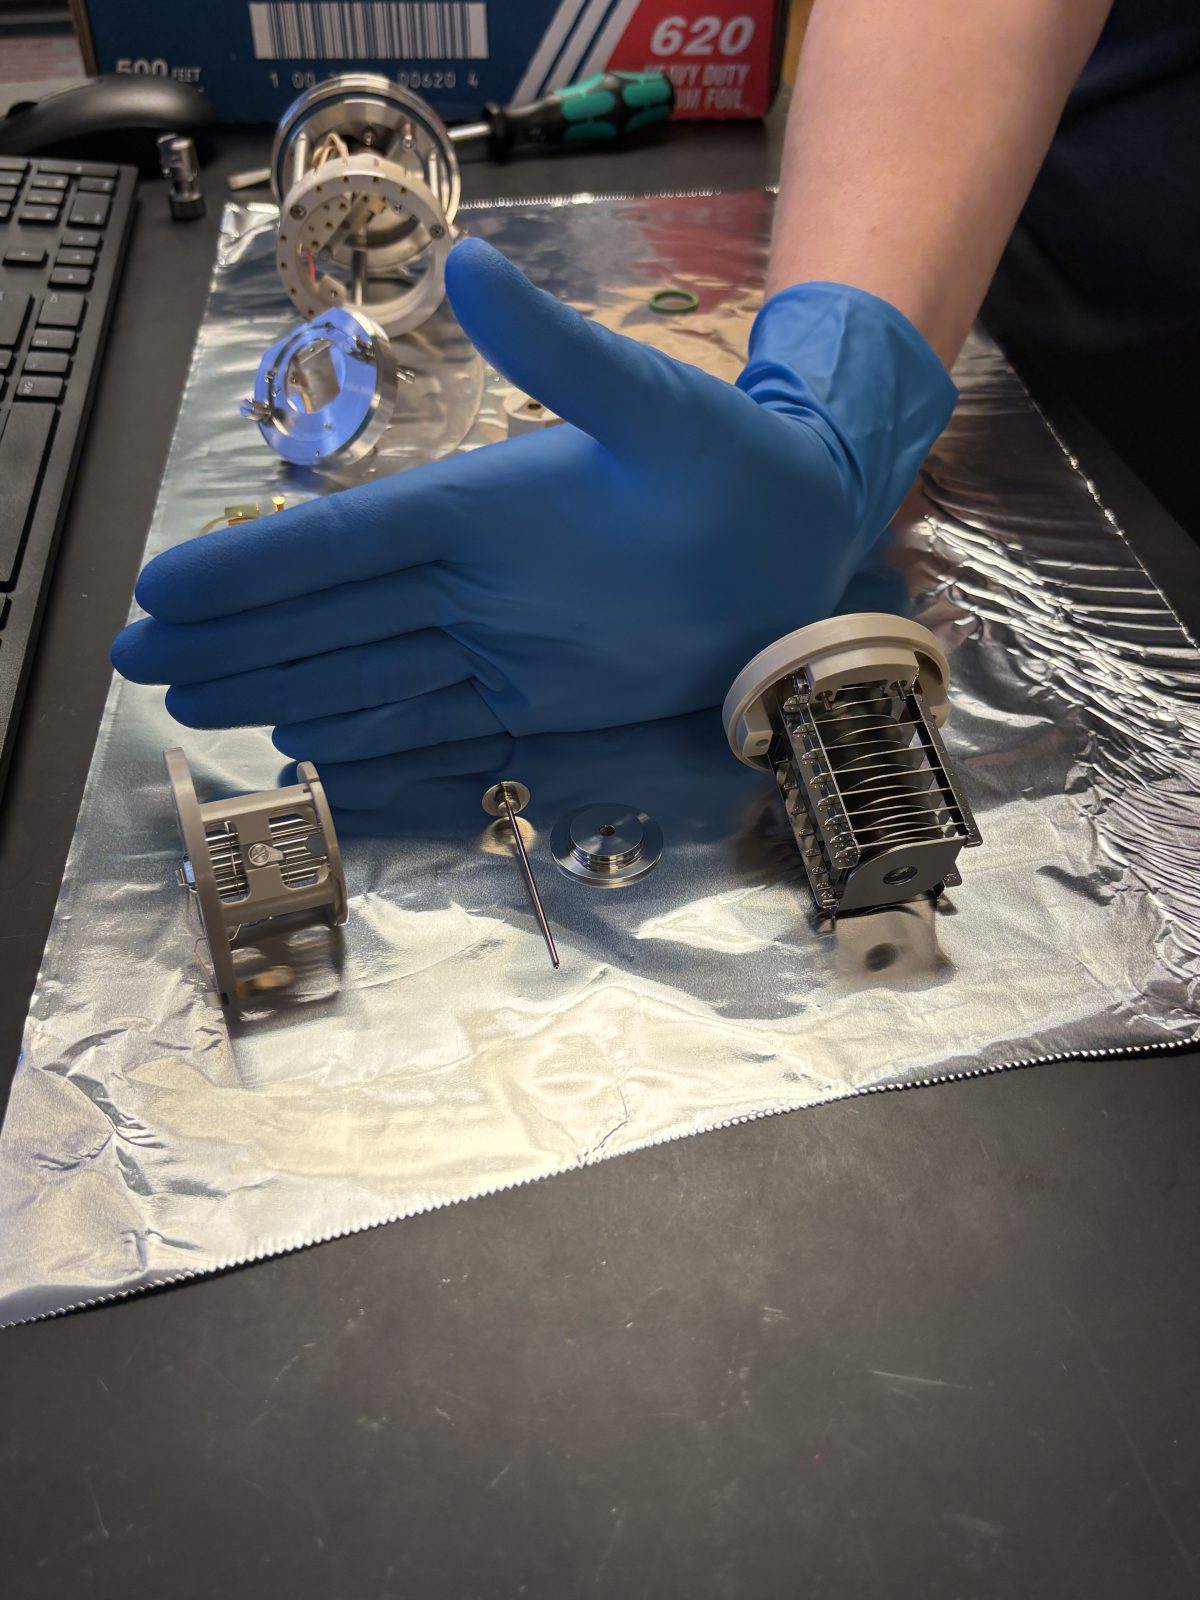
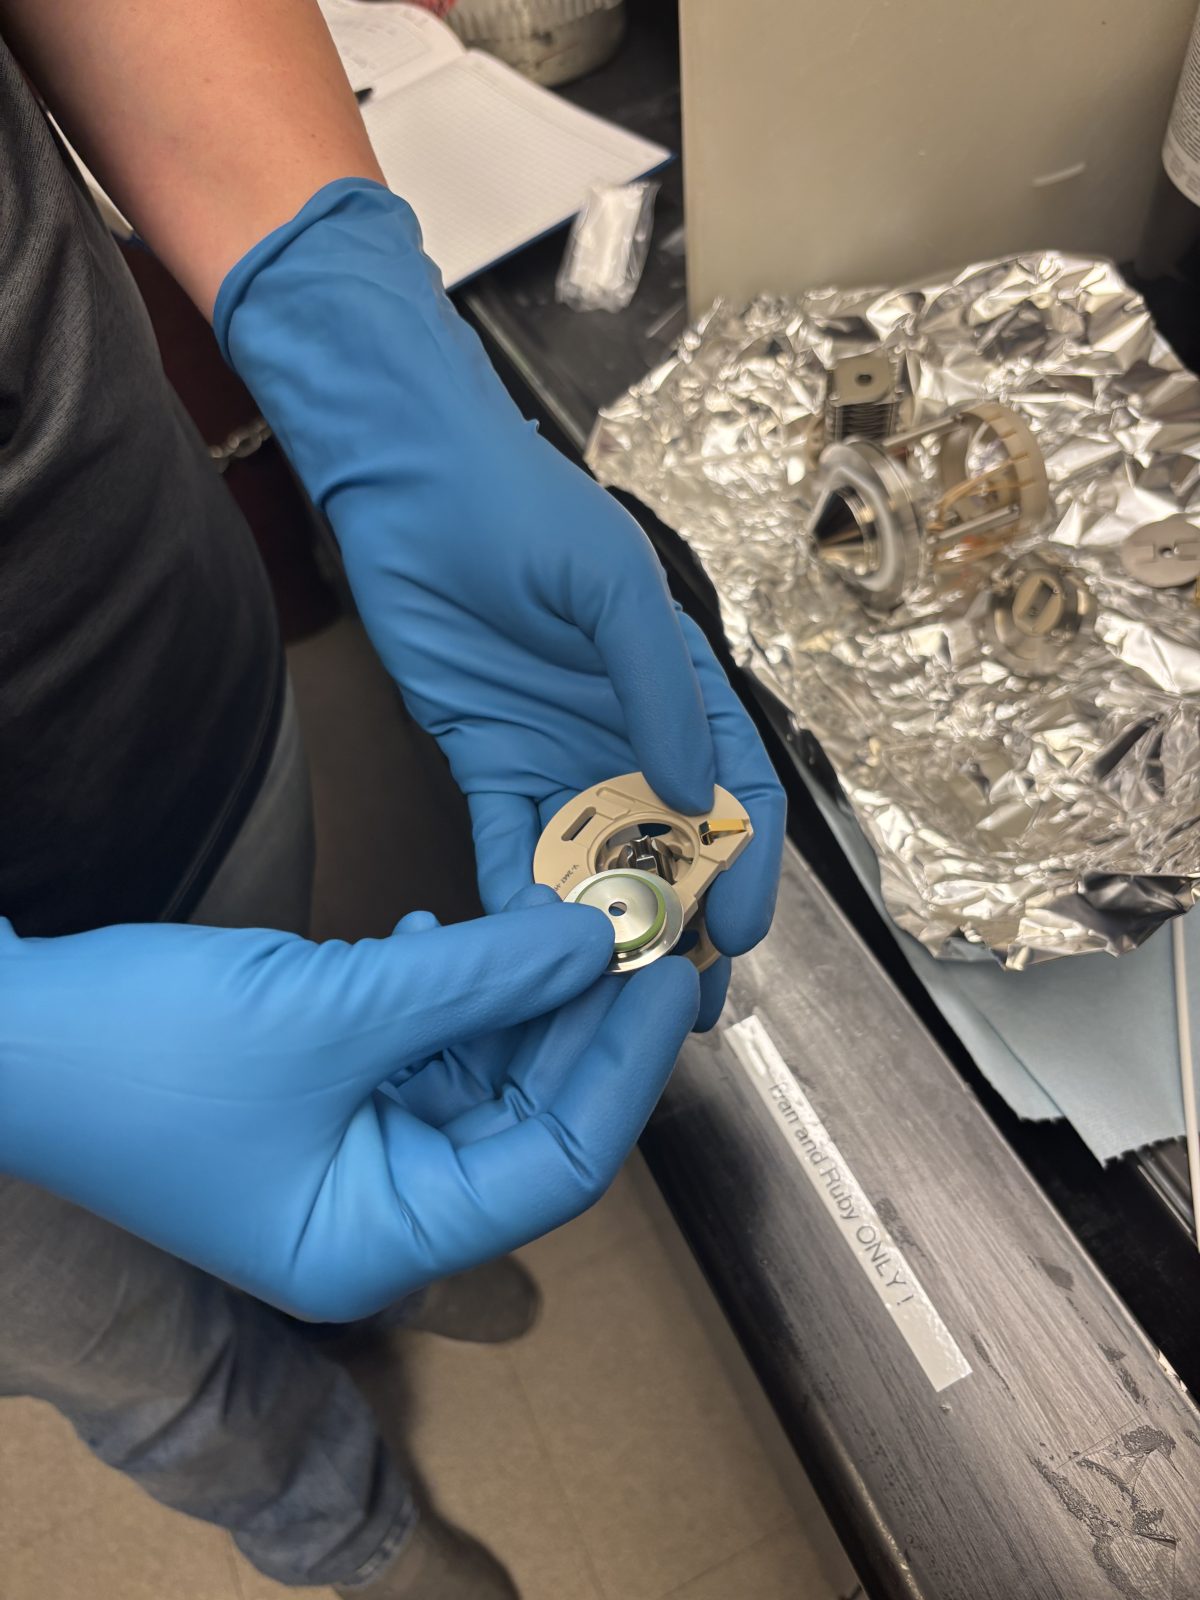
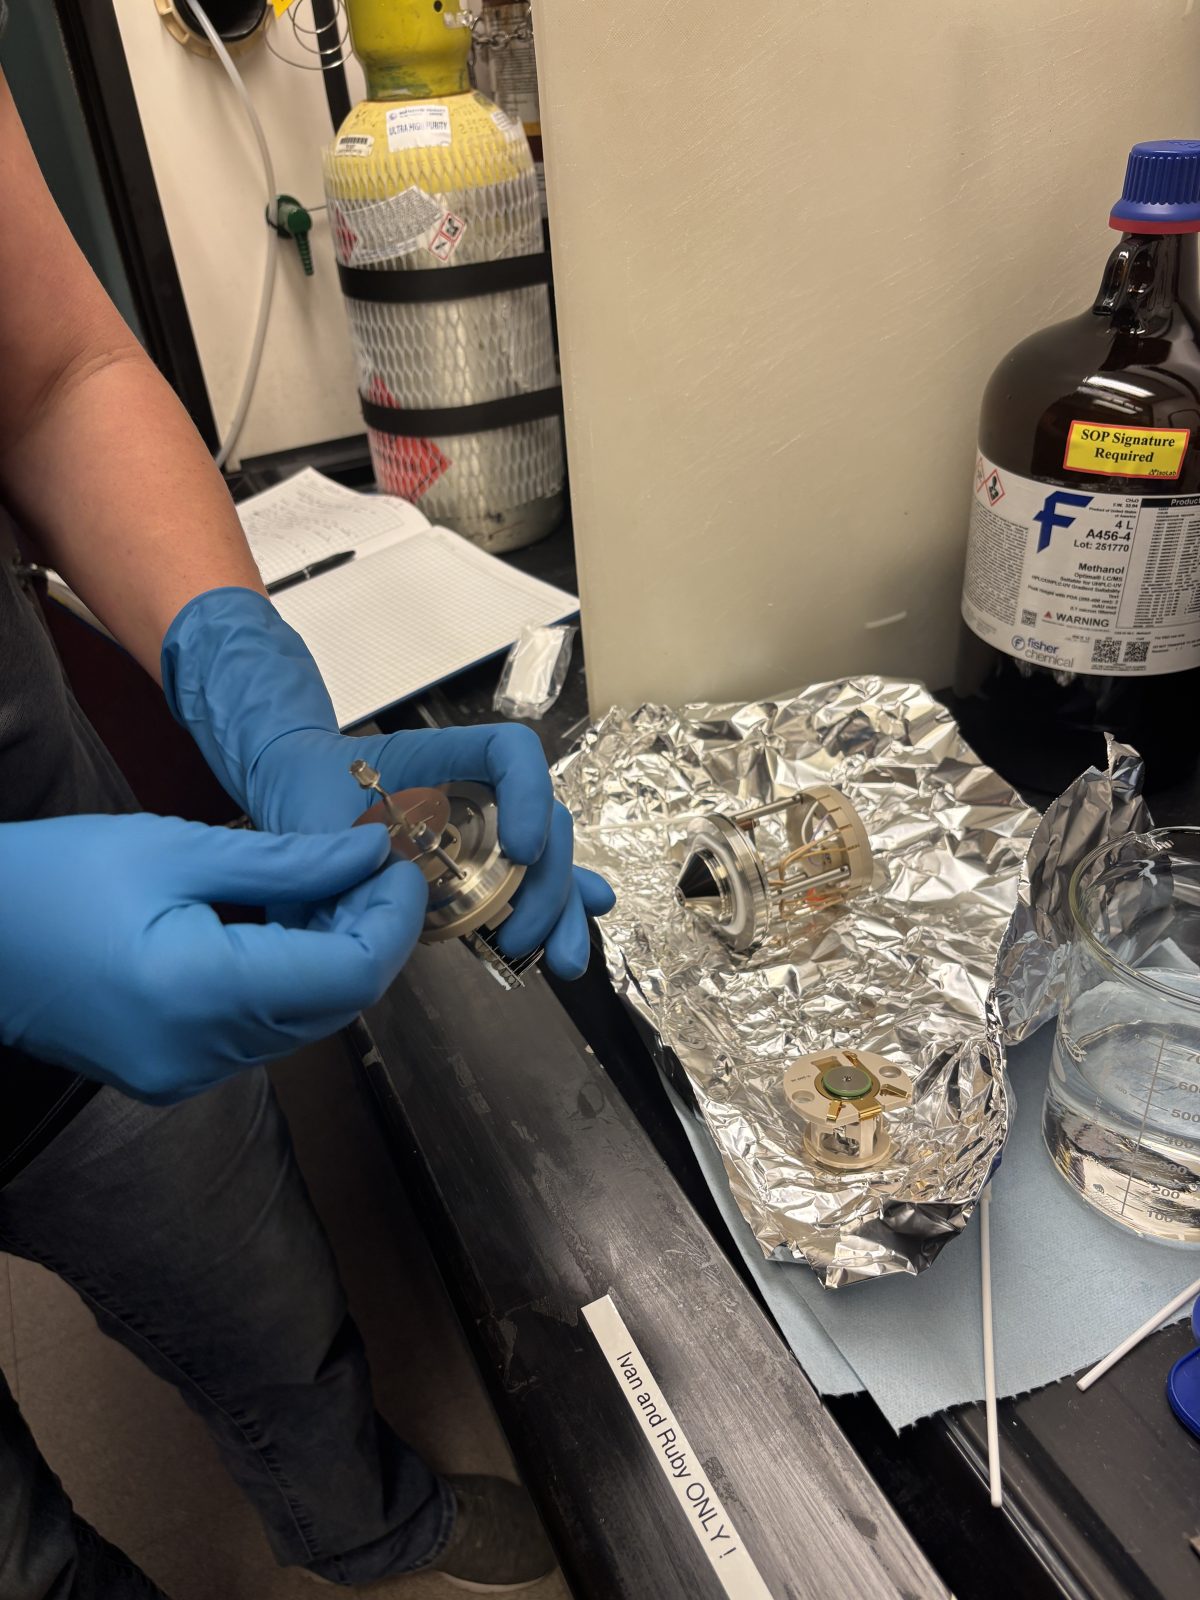
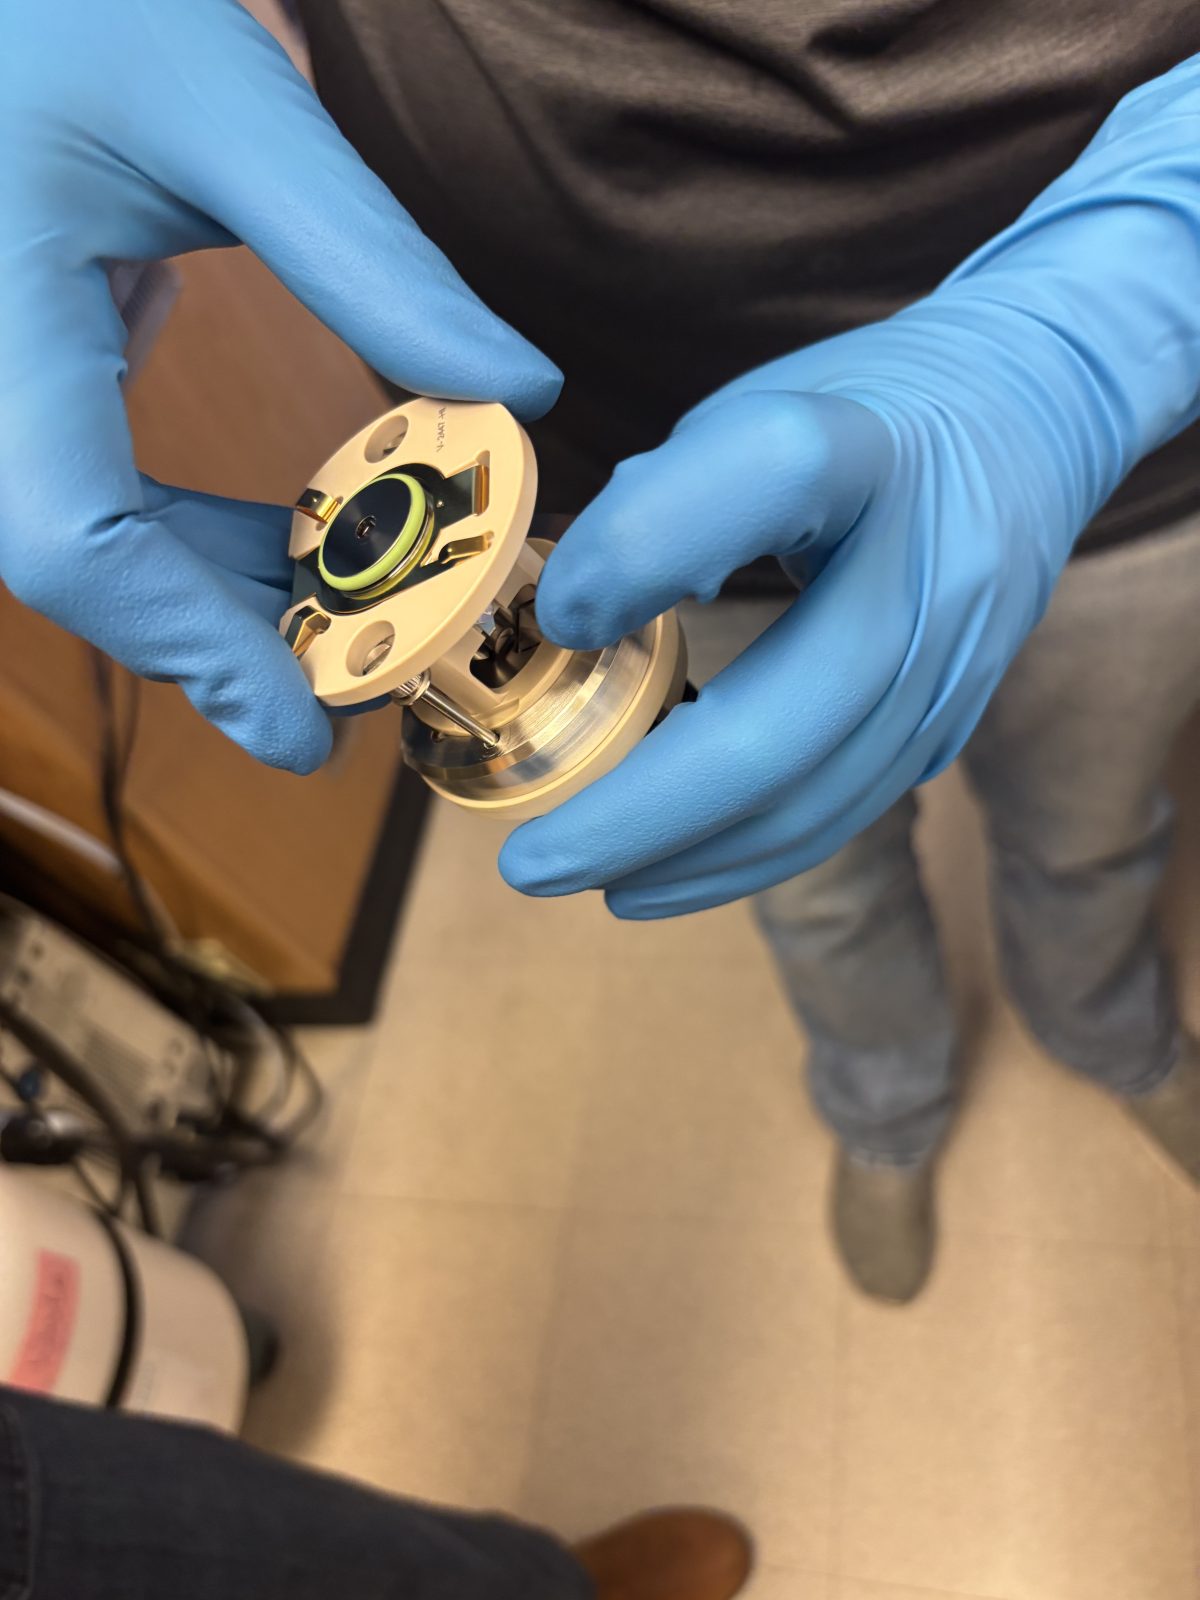
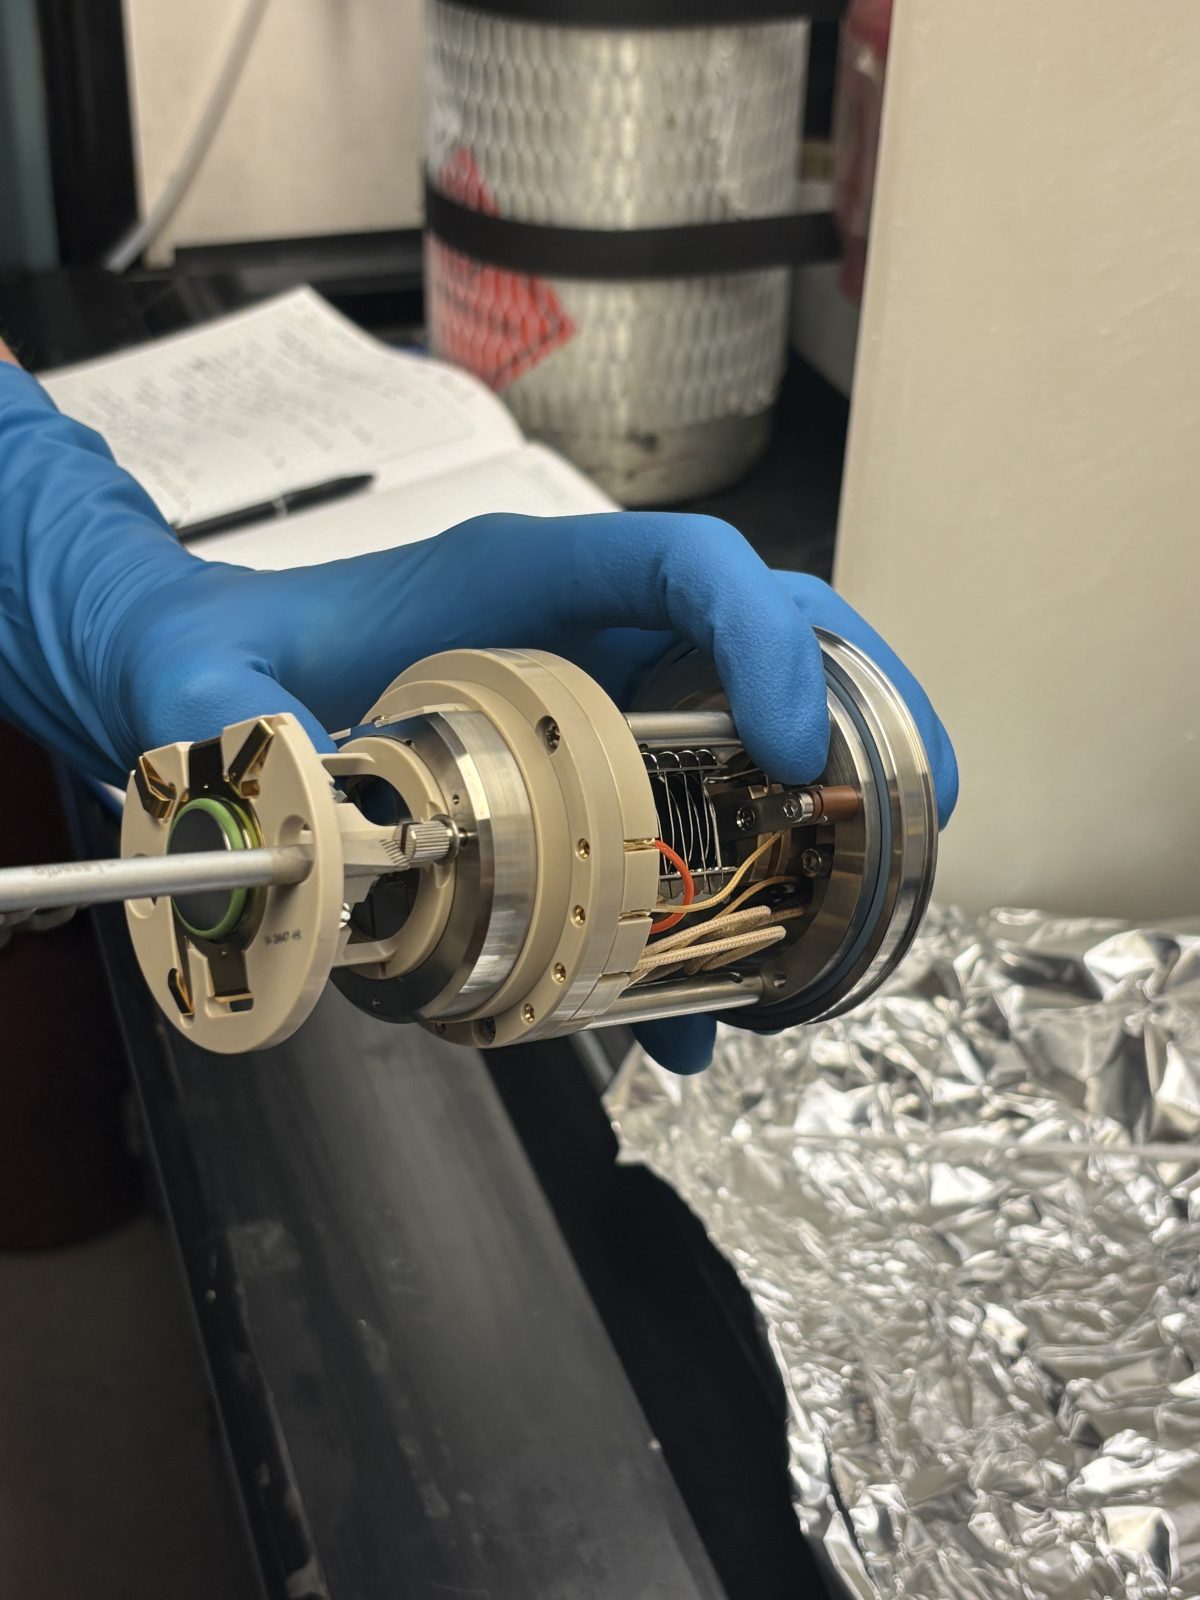
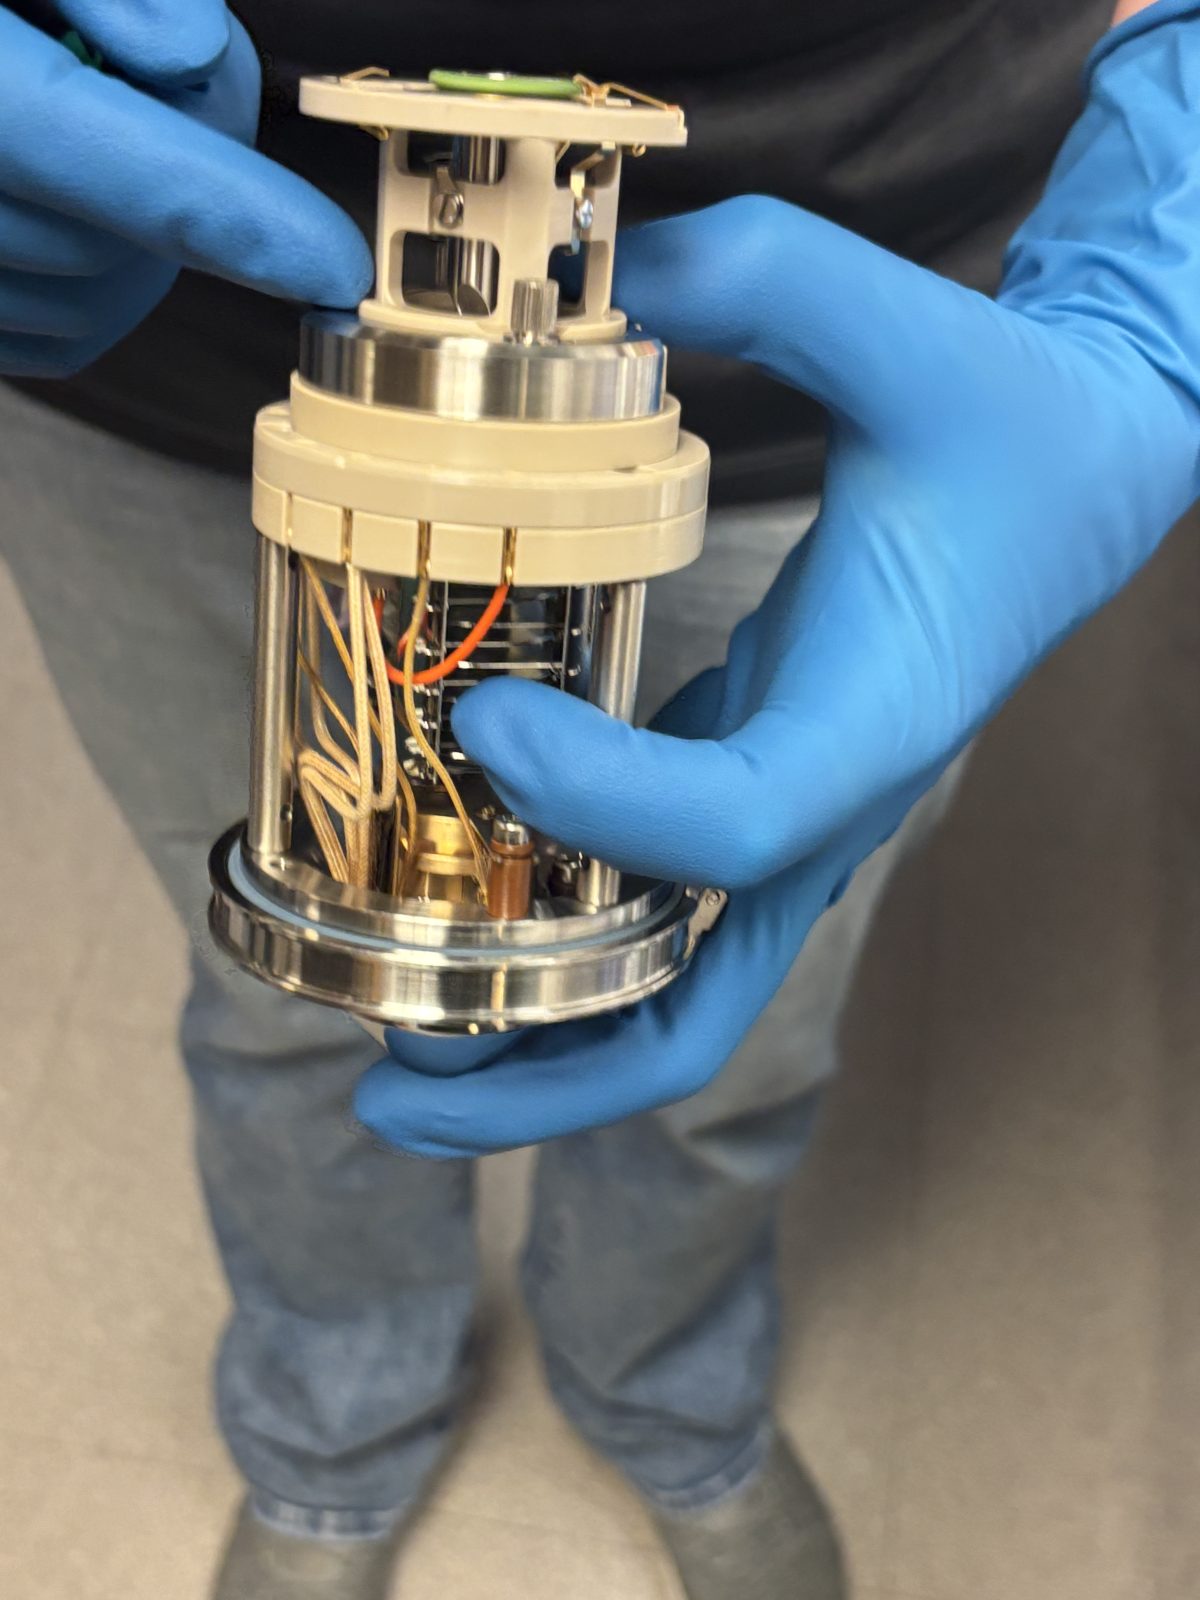
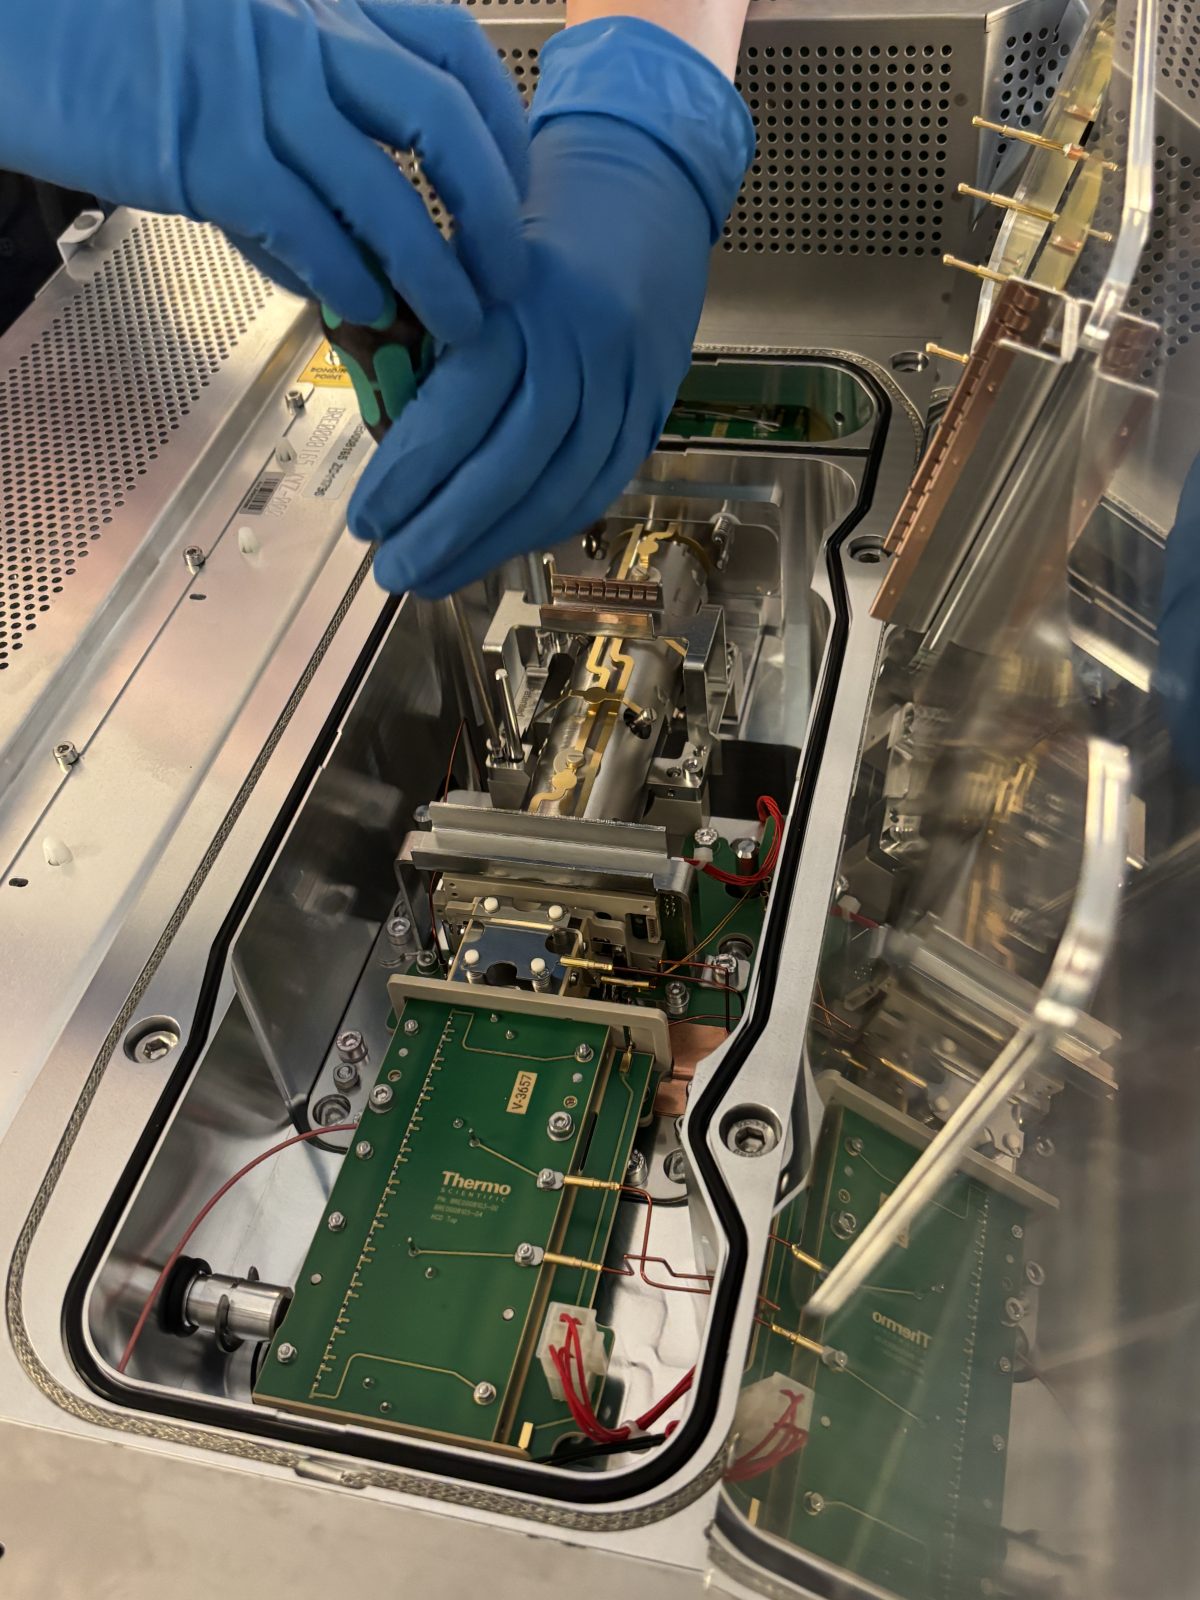
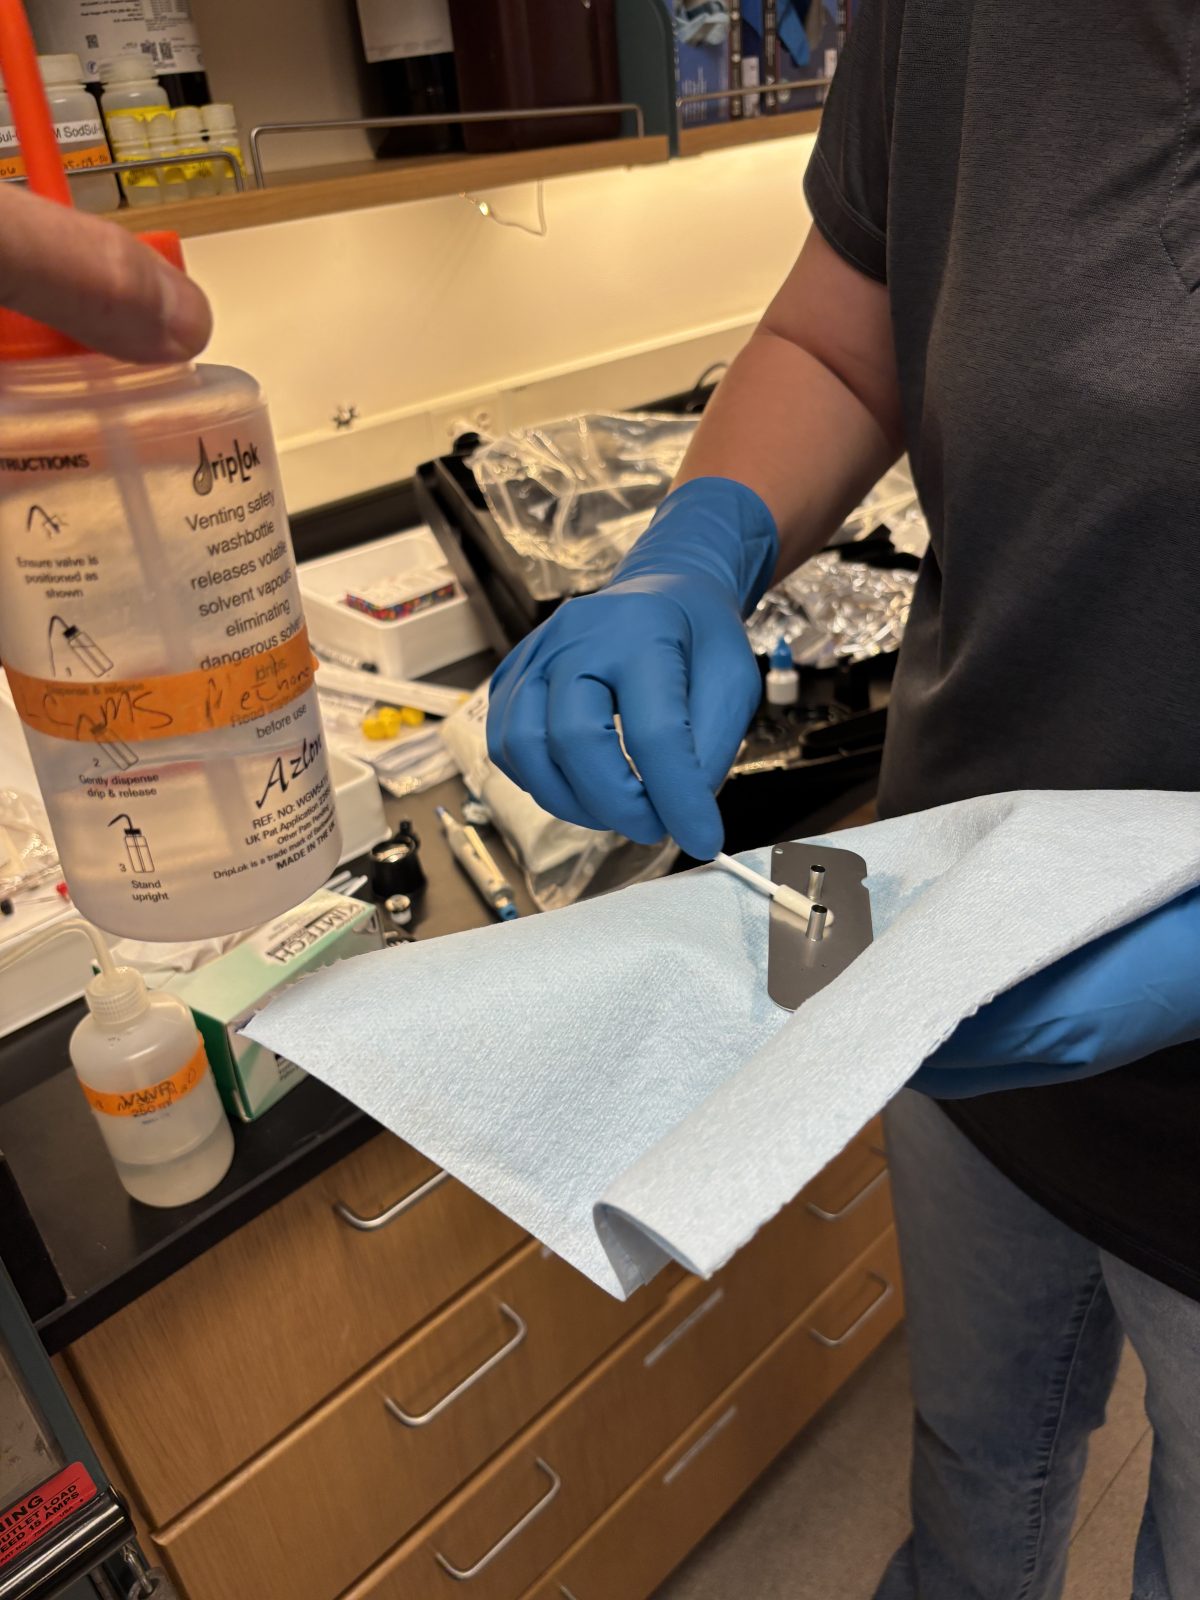
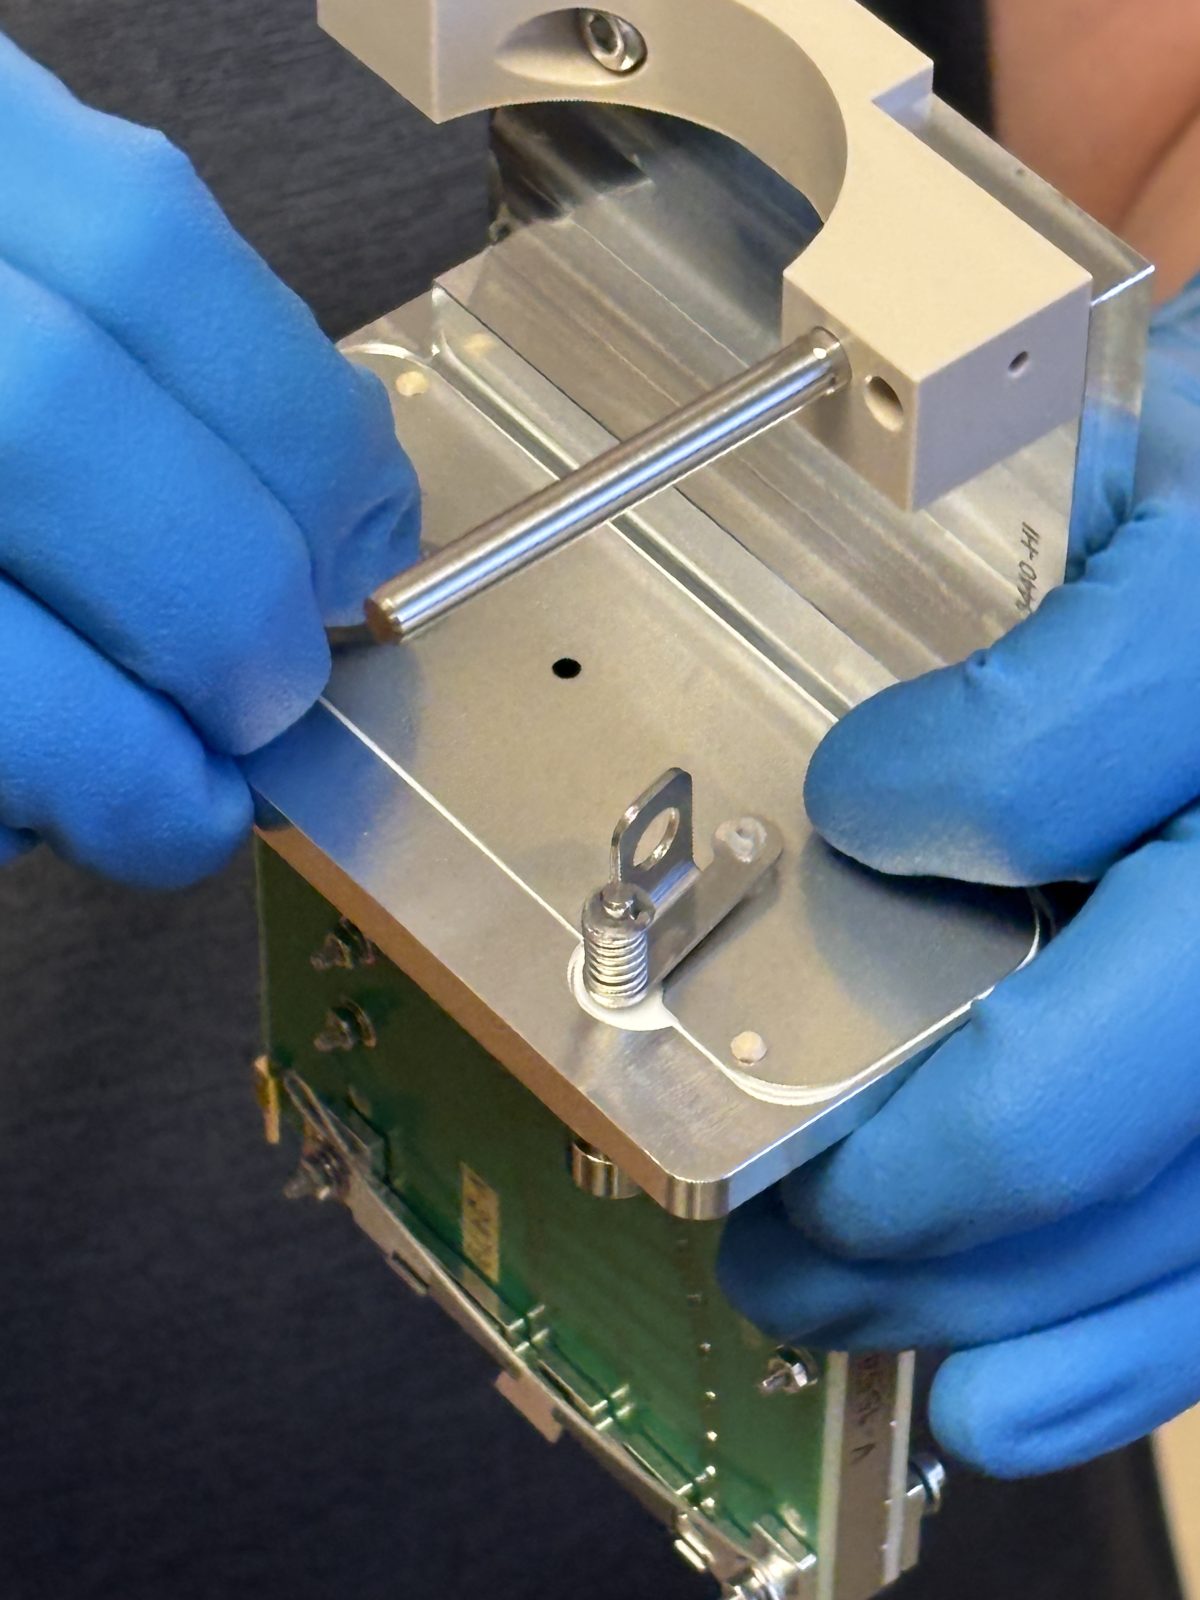
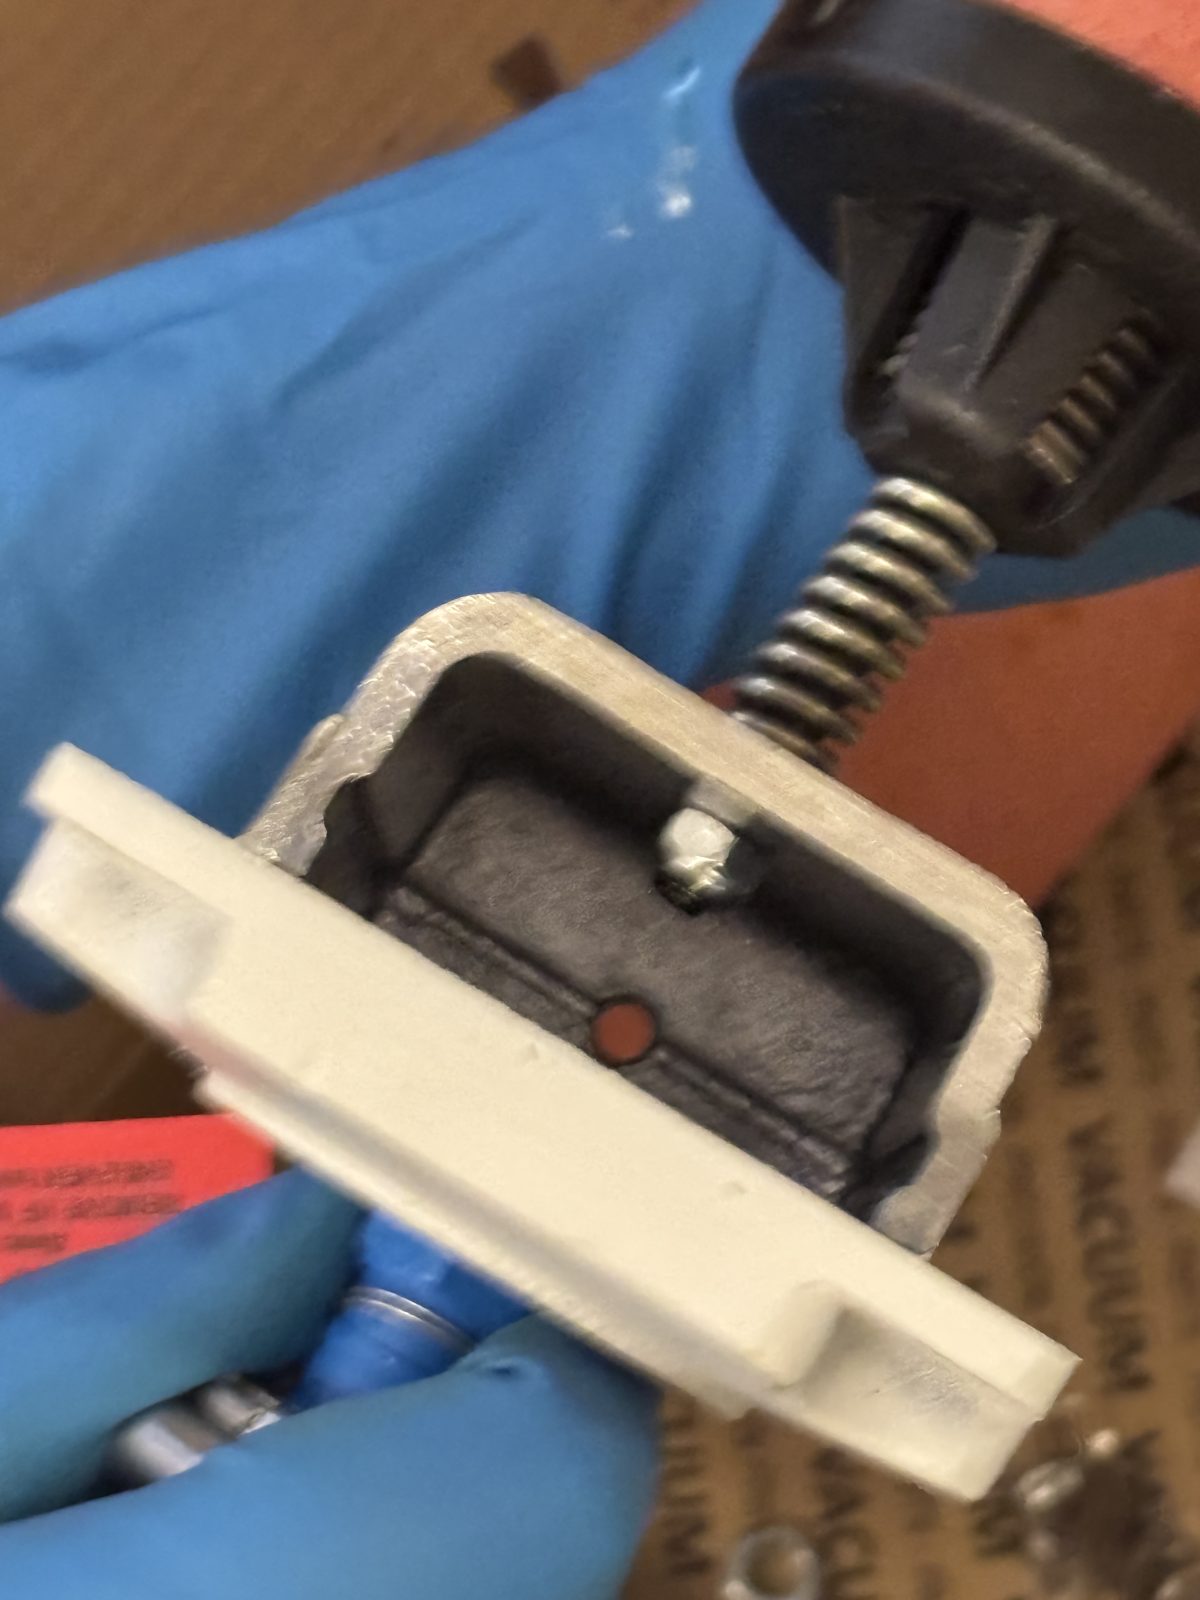
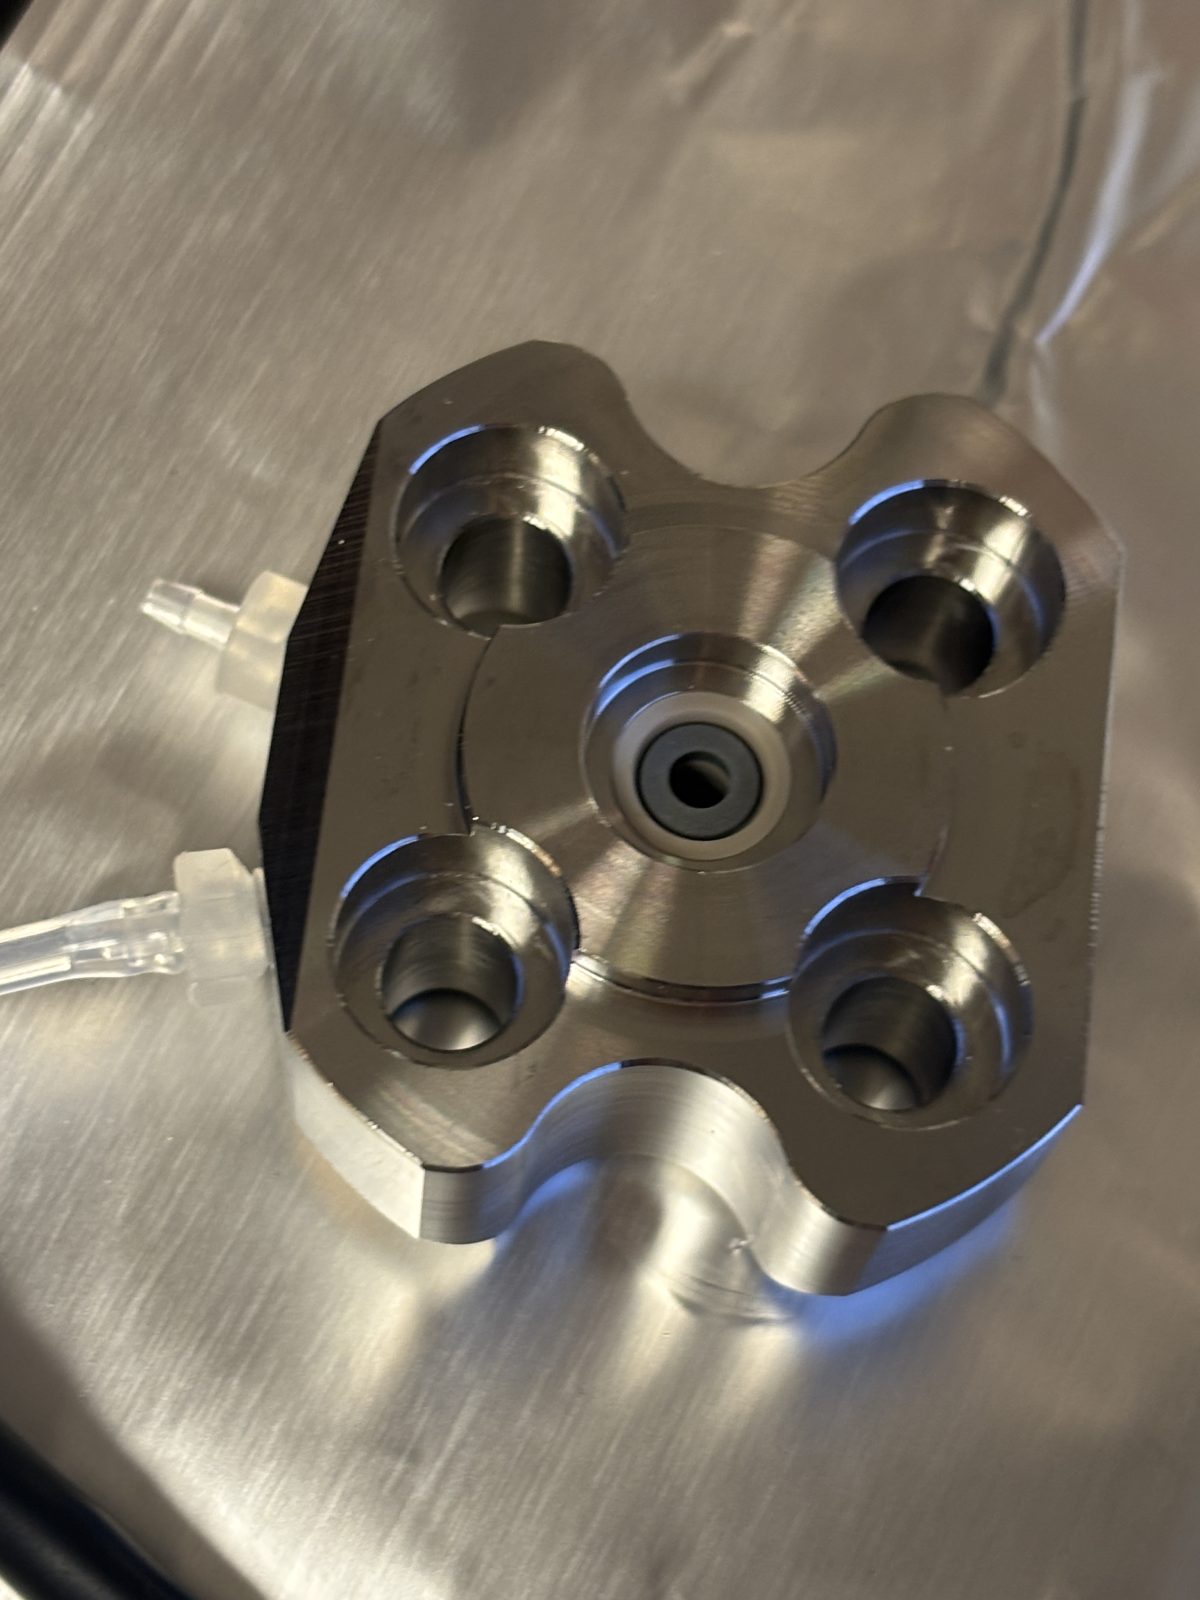
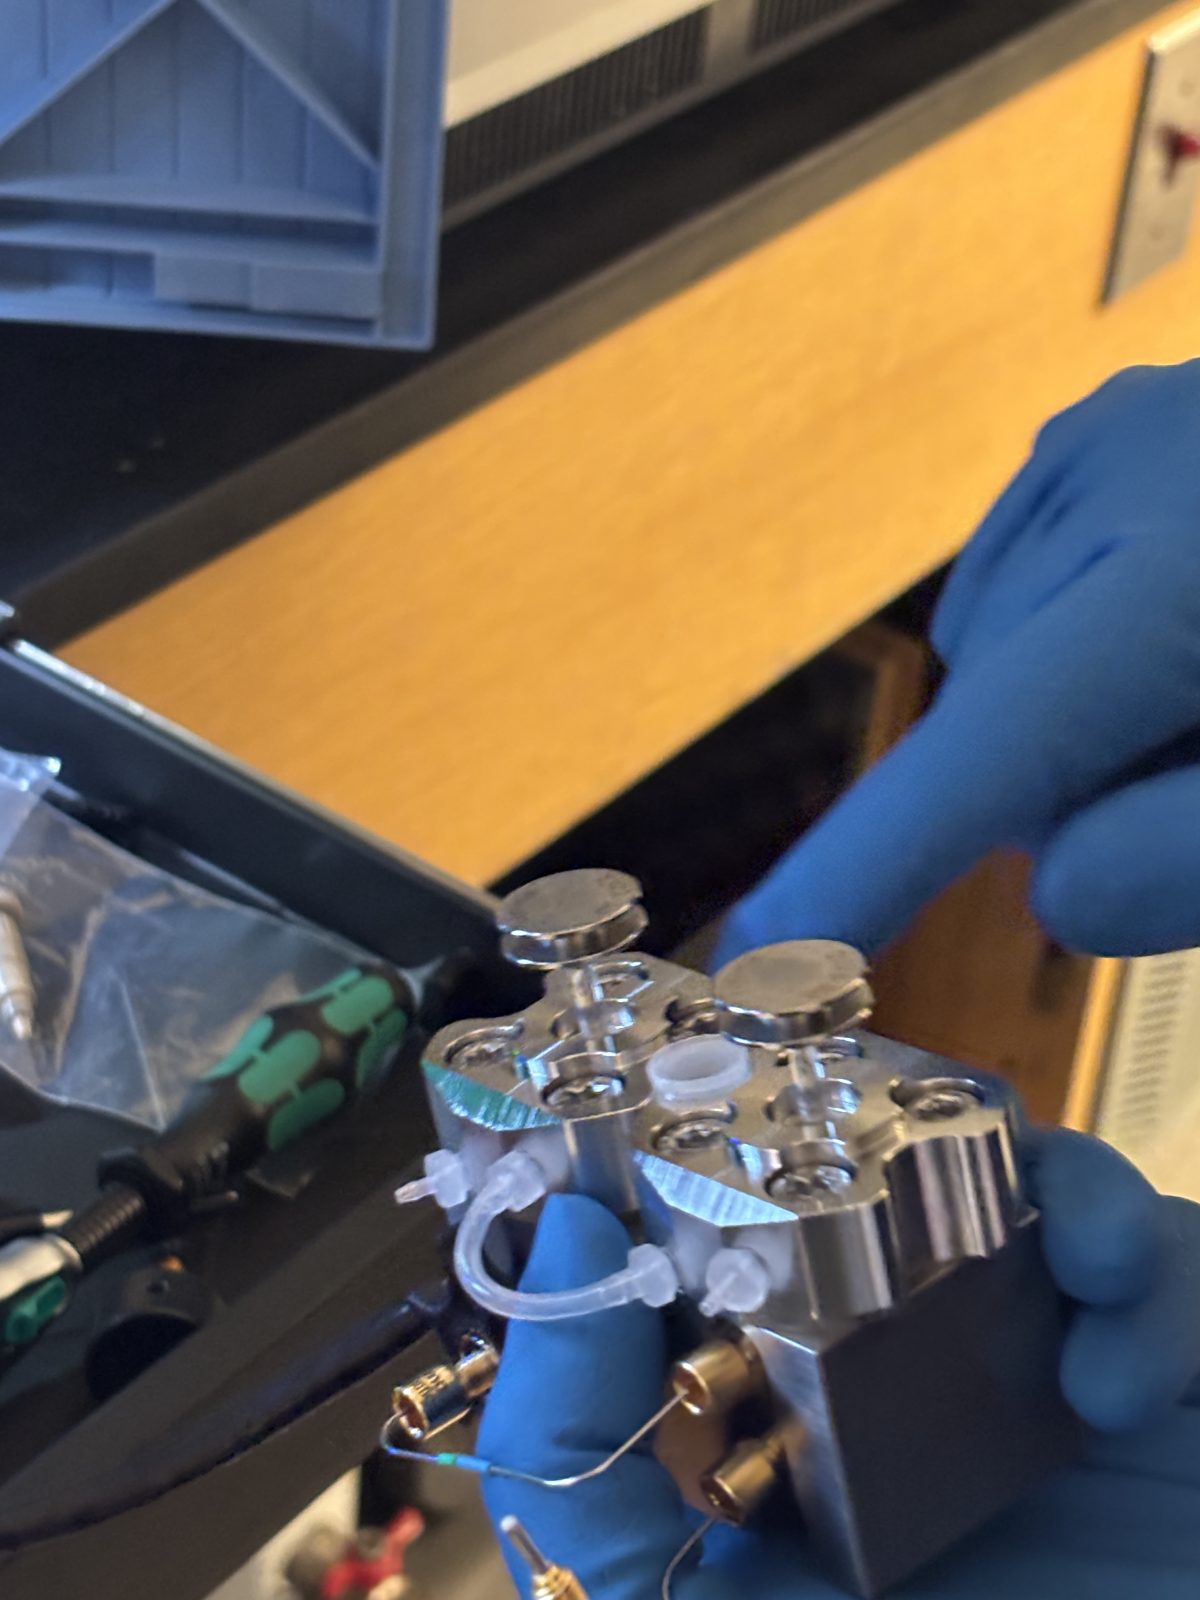
Remove mini quad, lense, cage (grabbing on o 2 screws with fingers (photo), separate optics
2025-11-19 13:50:502025-11-19 13:50:572025-11-19 13:51:042025-11-19 13:51:332025-11-19 13:51:412025-11-19 13:51:52
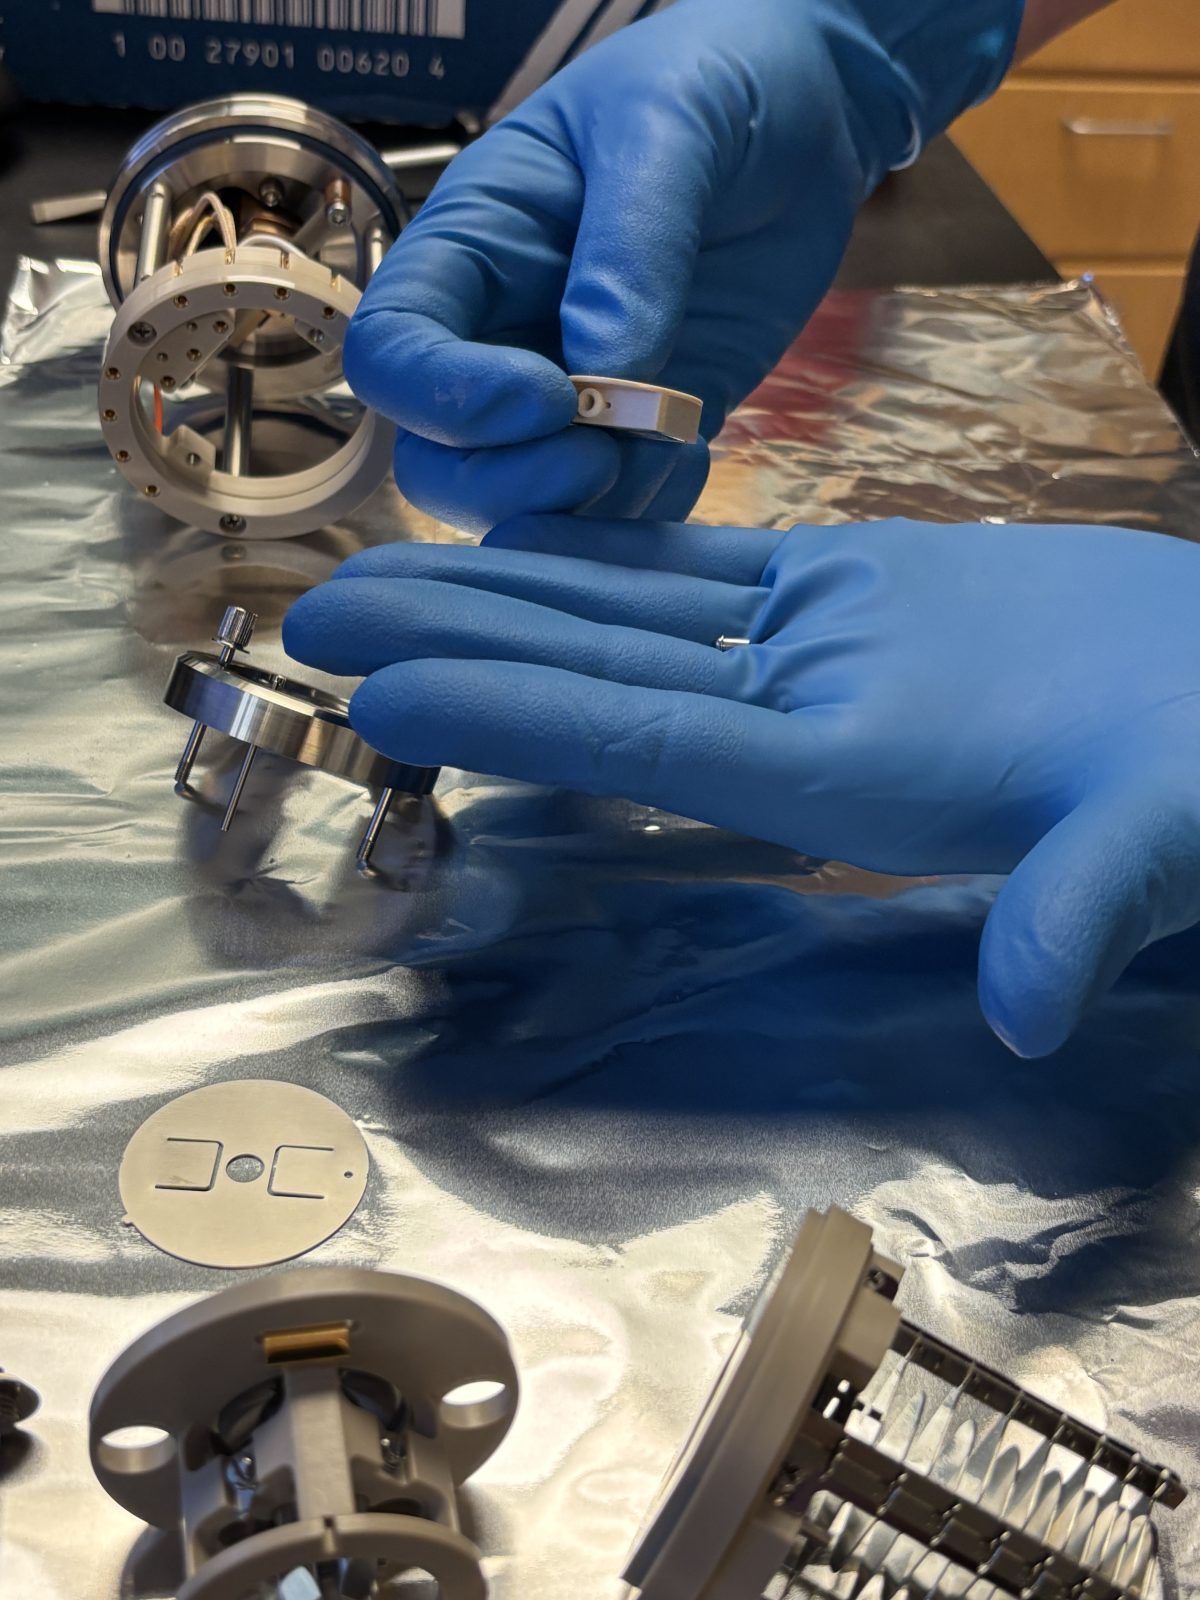
Pull off smaller brown piece and pin (photo)
2025-11-19 13:52:272025-11-19 13:52:552025-11-19 13:52:58
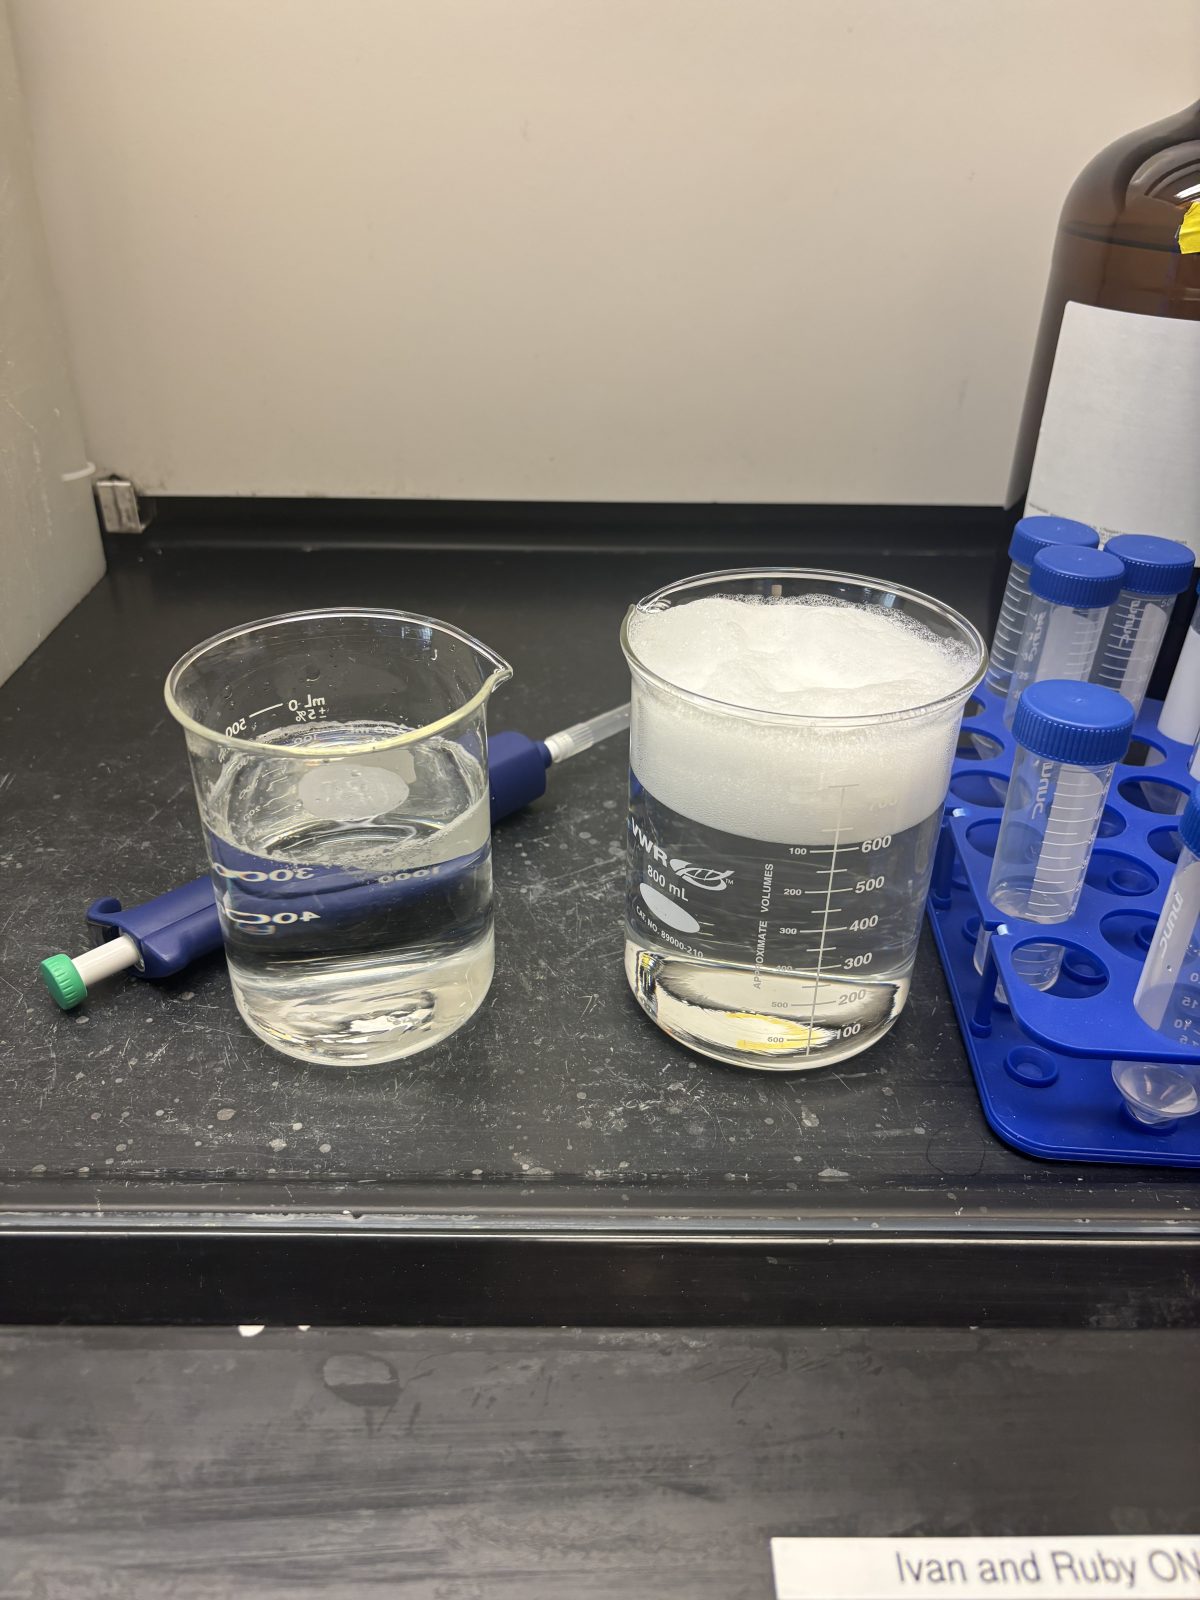
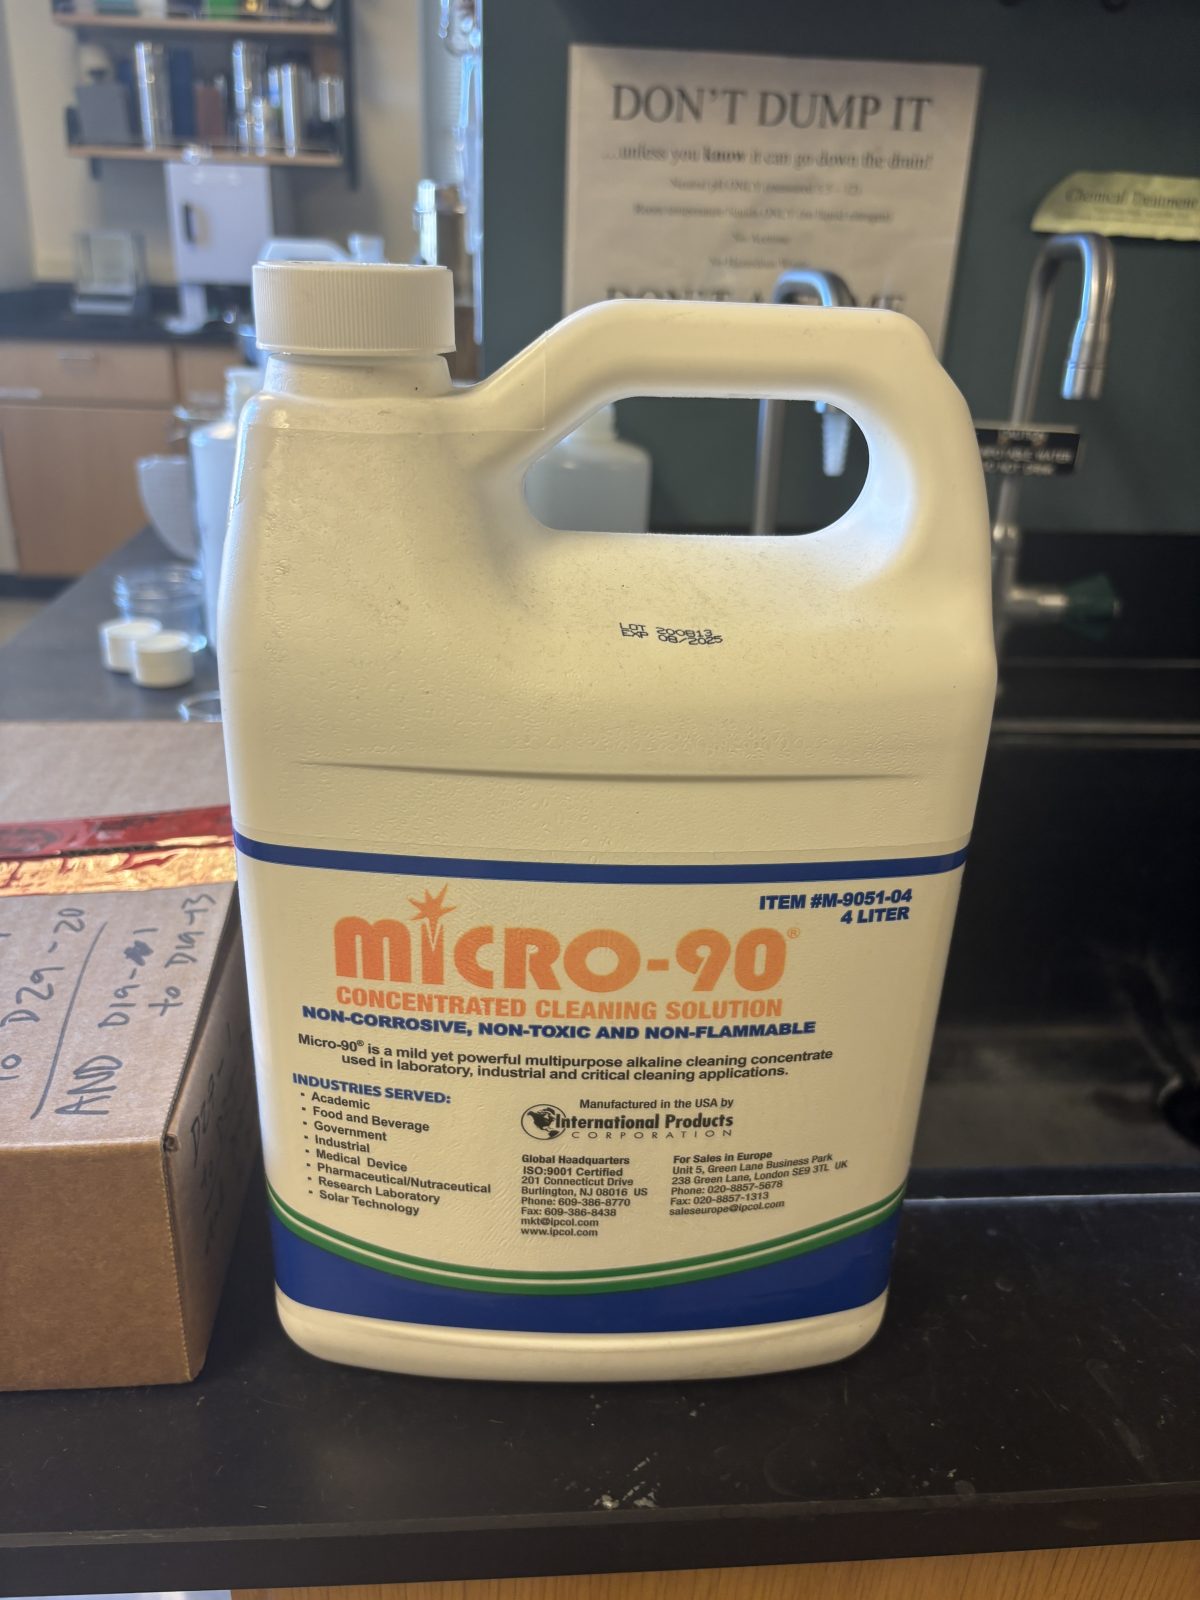
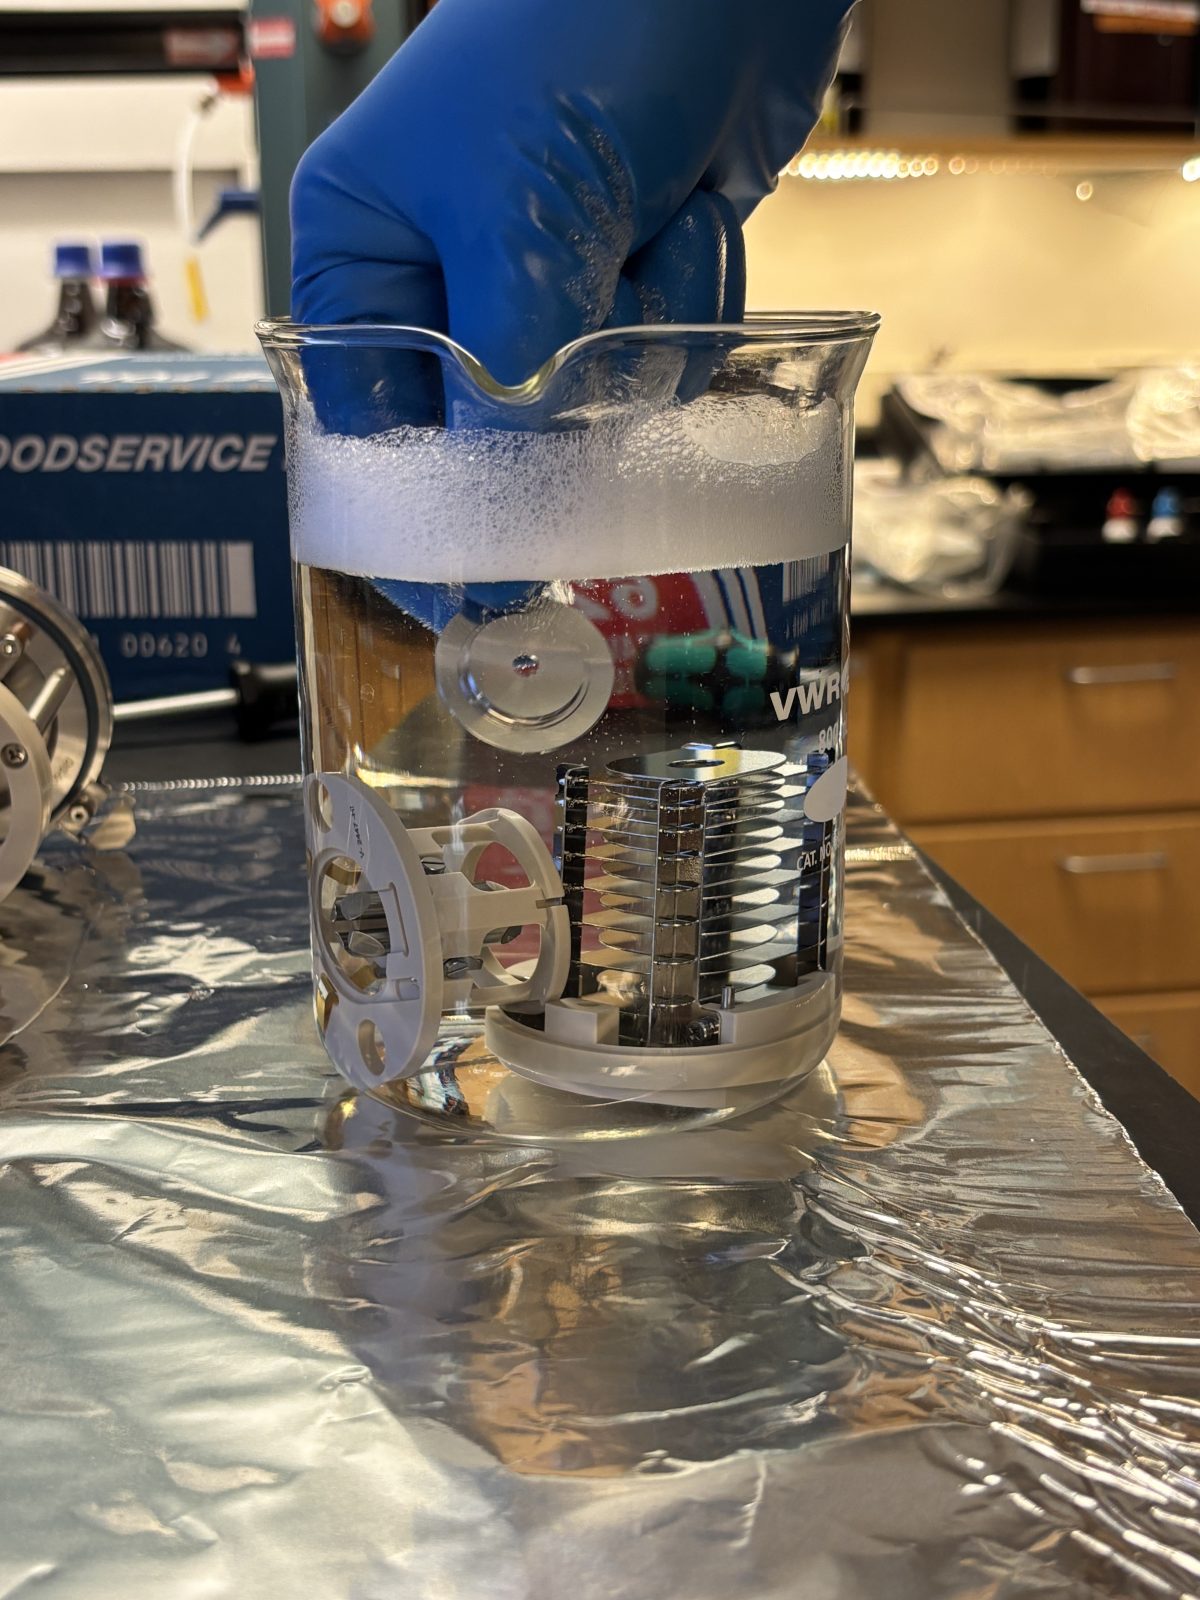
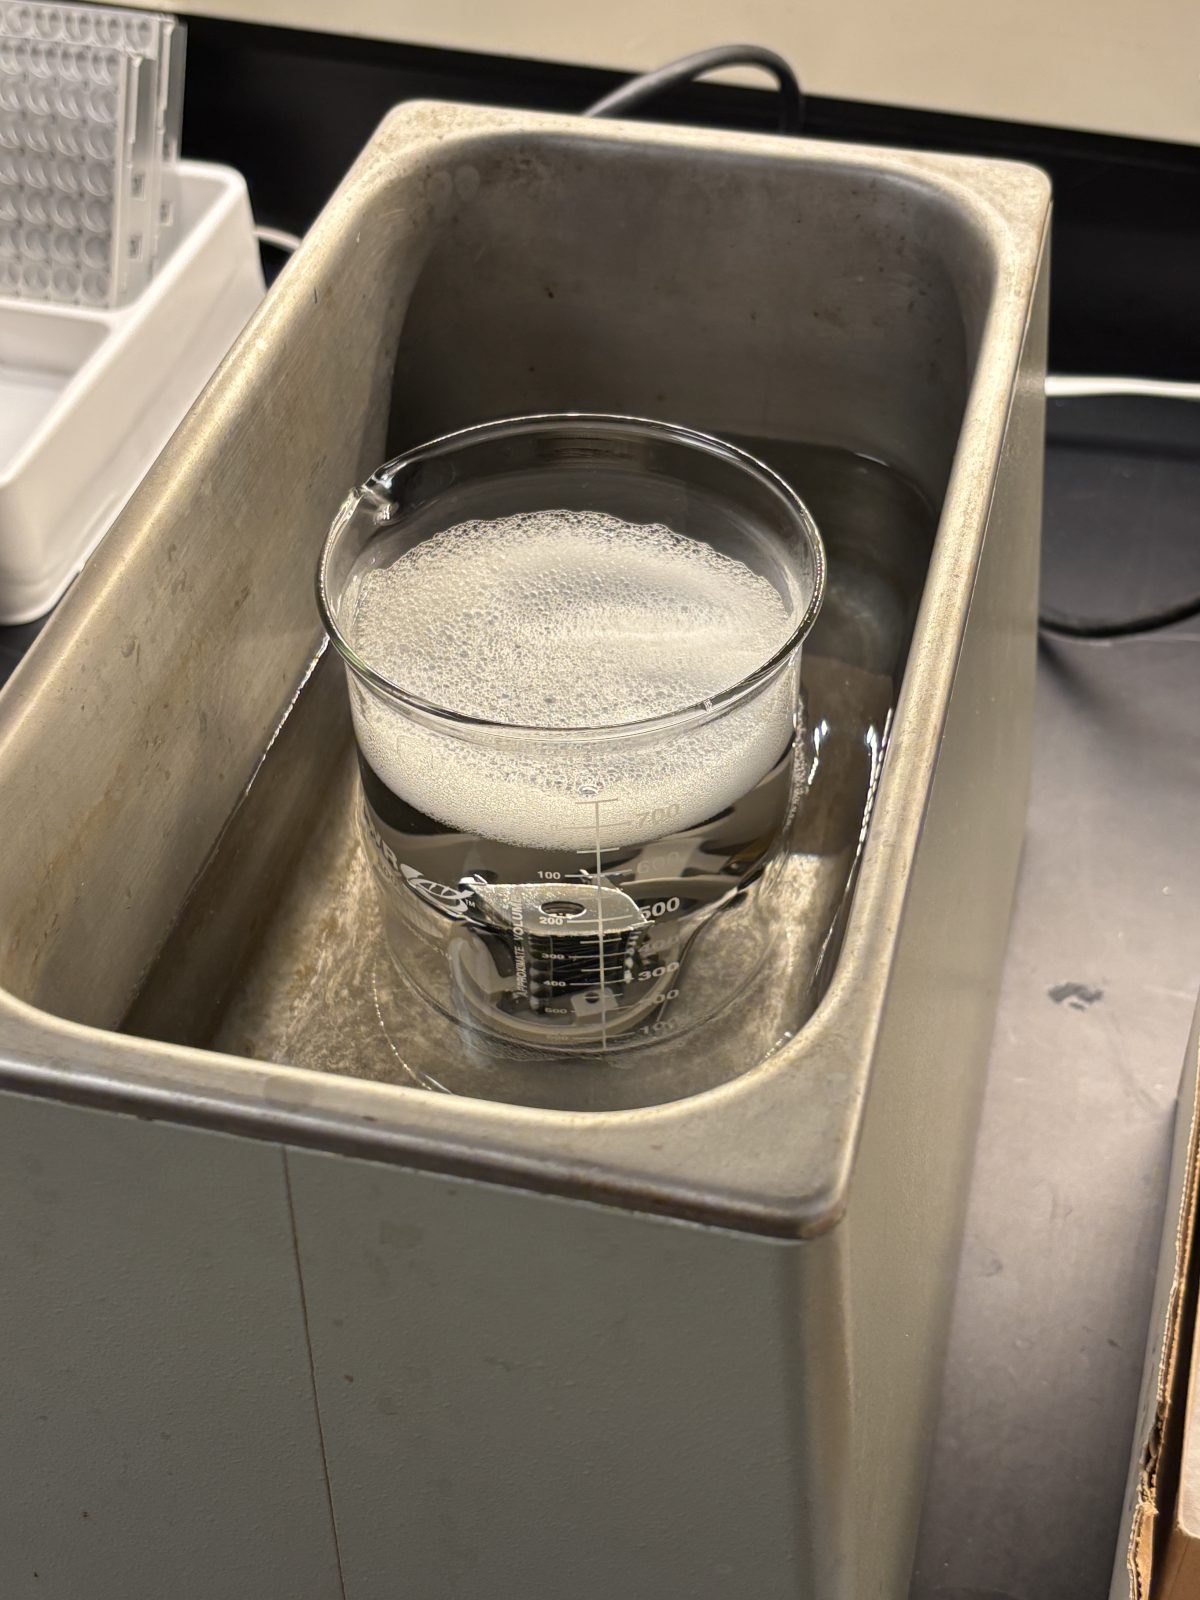
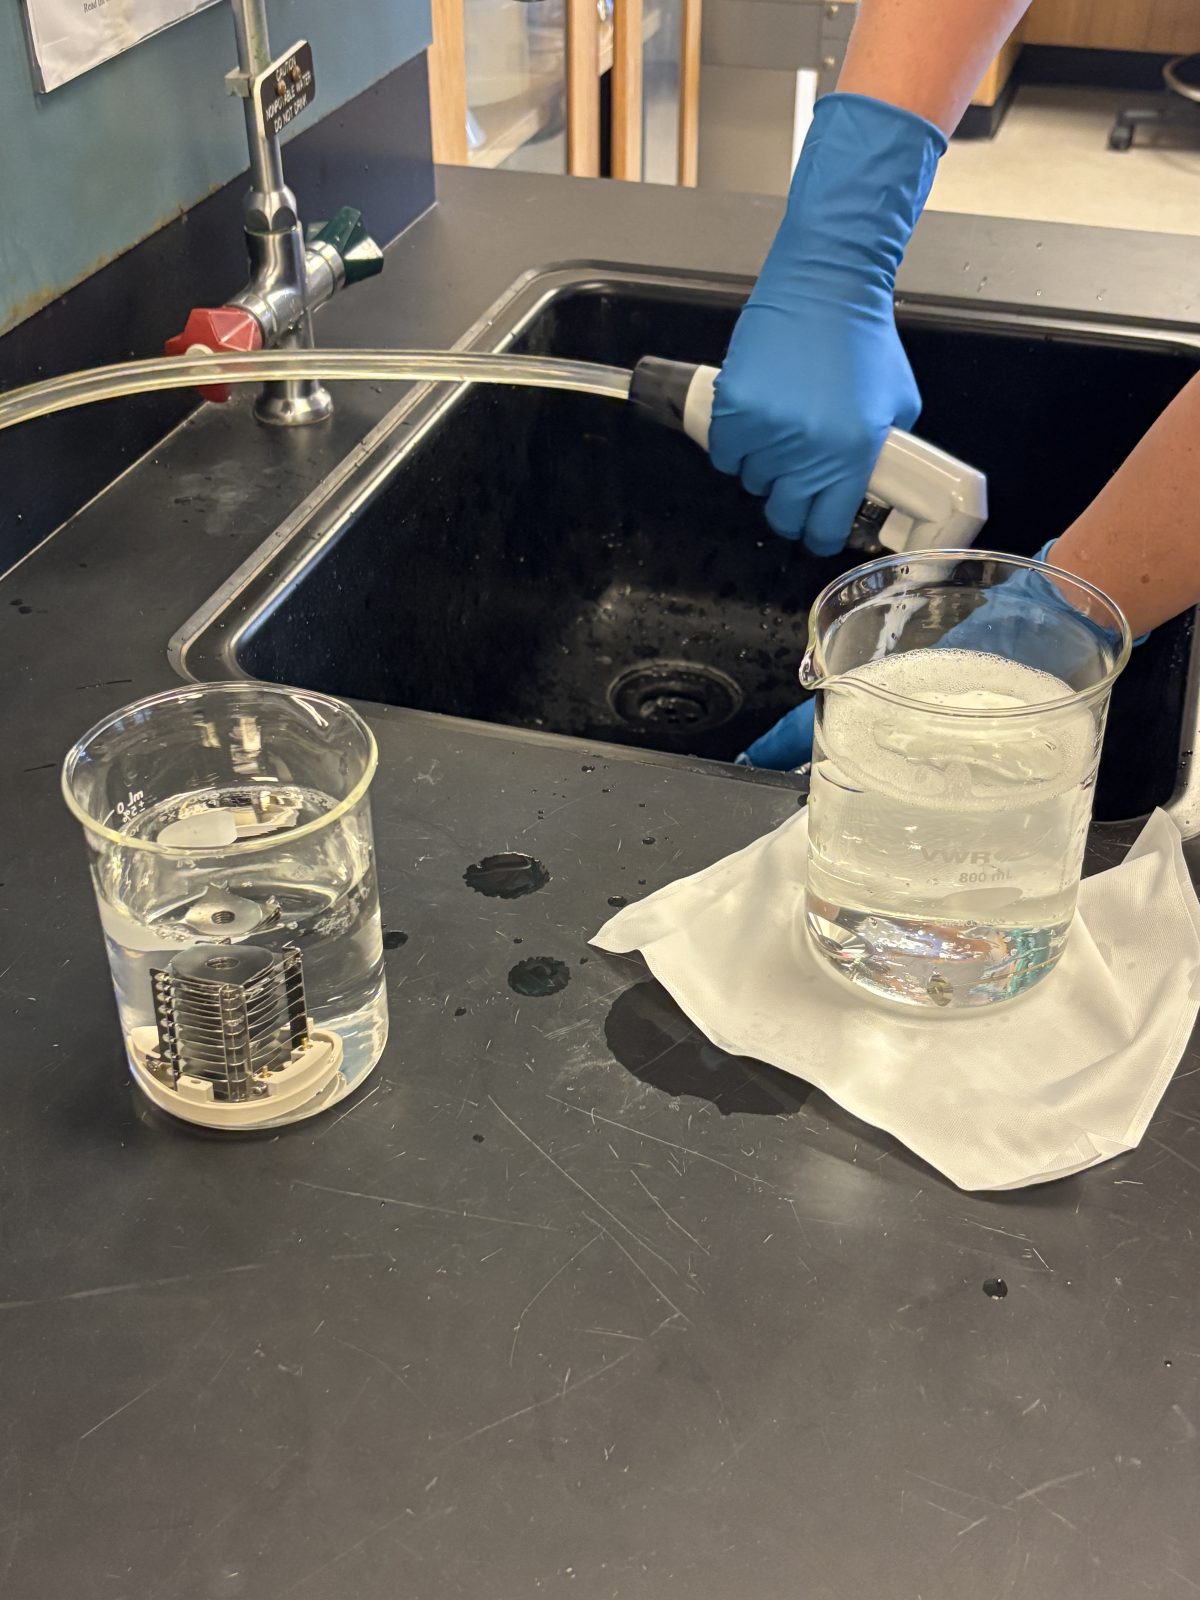
Prepare soapy water for sonication; tiny splash of micro90 + 18 Mohm water:
2025-11-19 13:42:582025-11-19 13:43:08
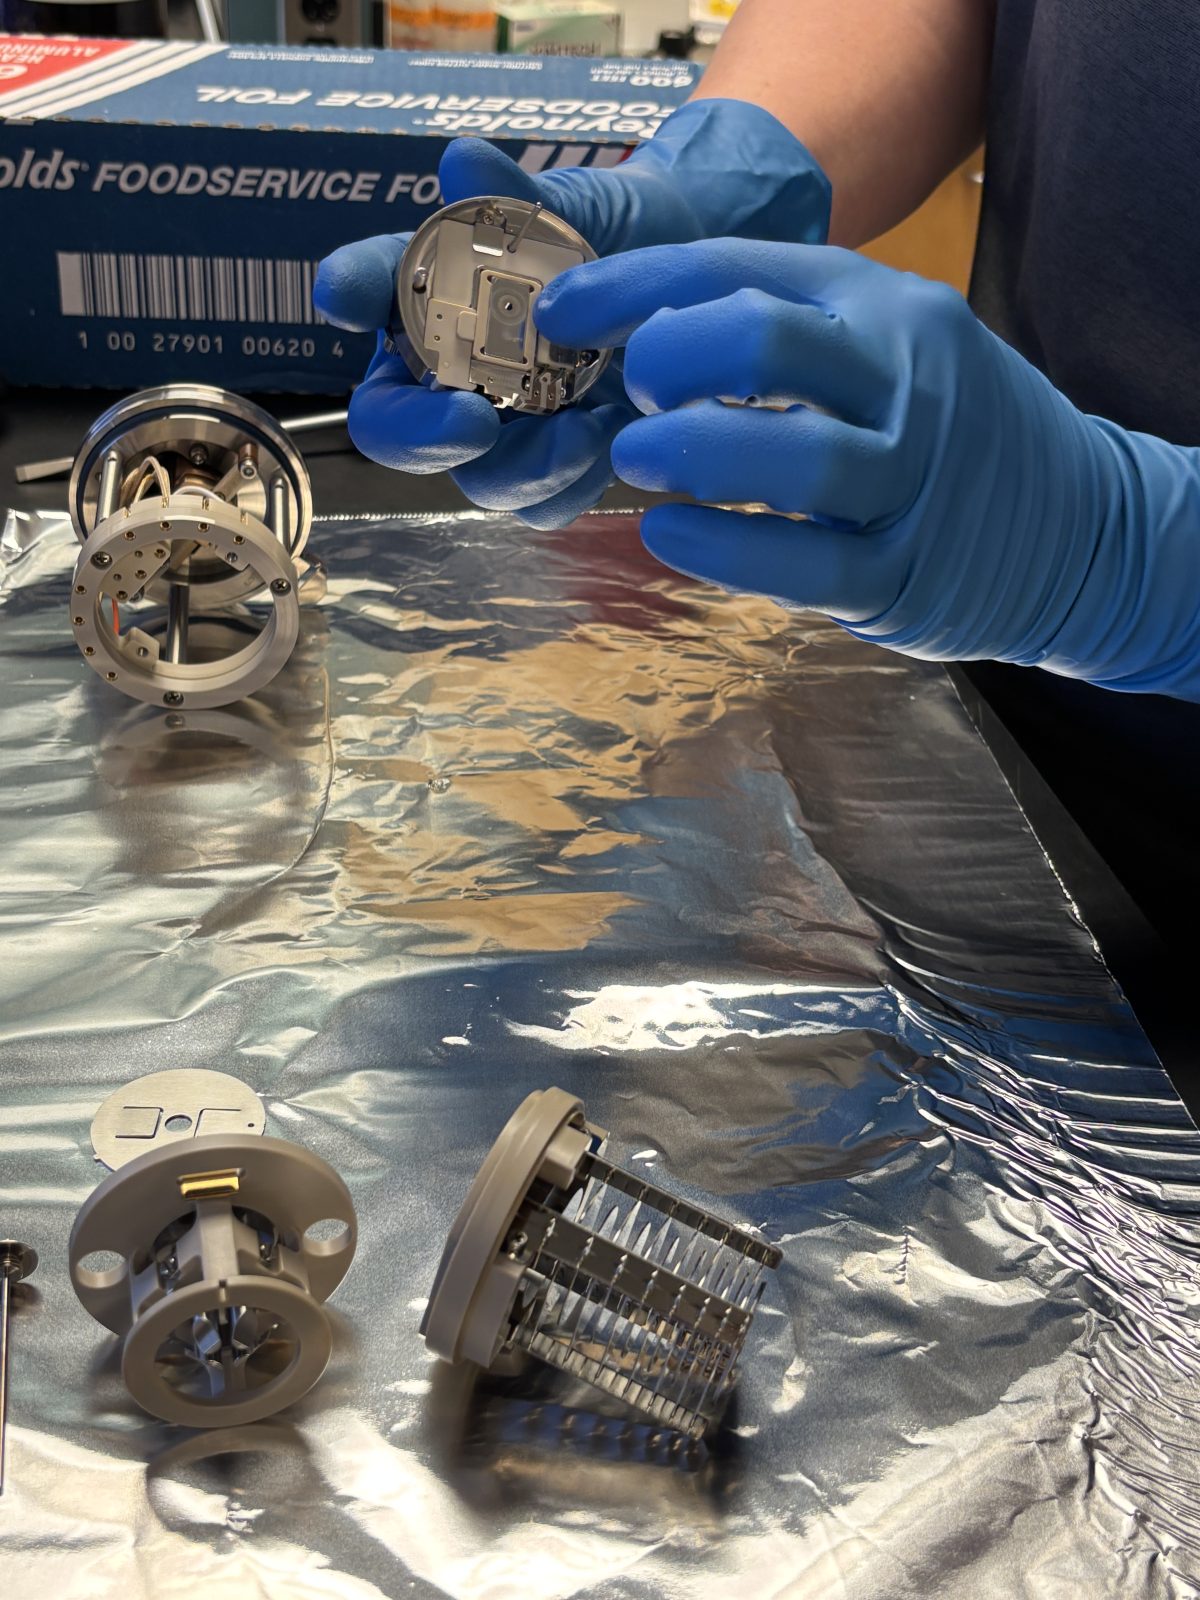
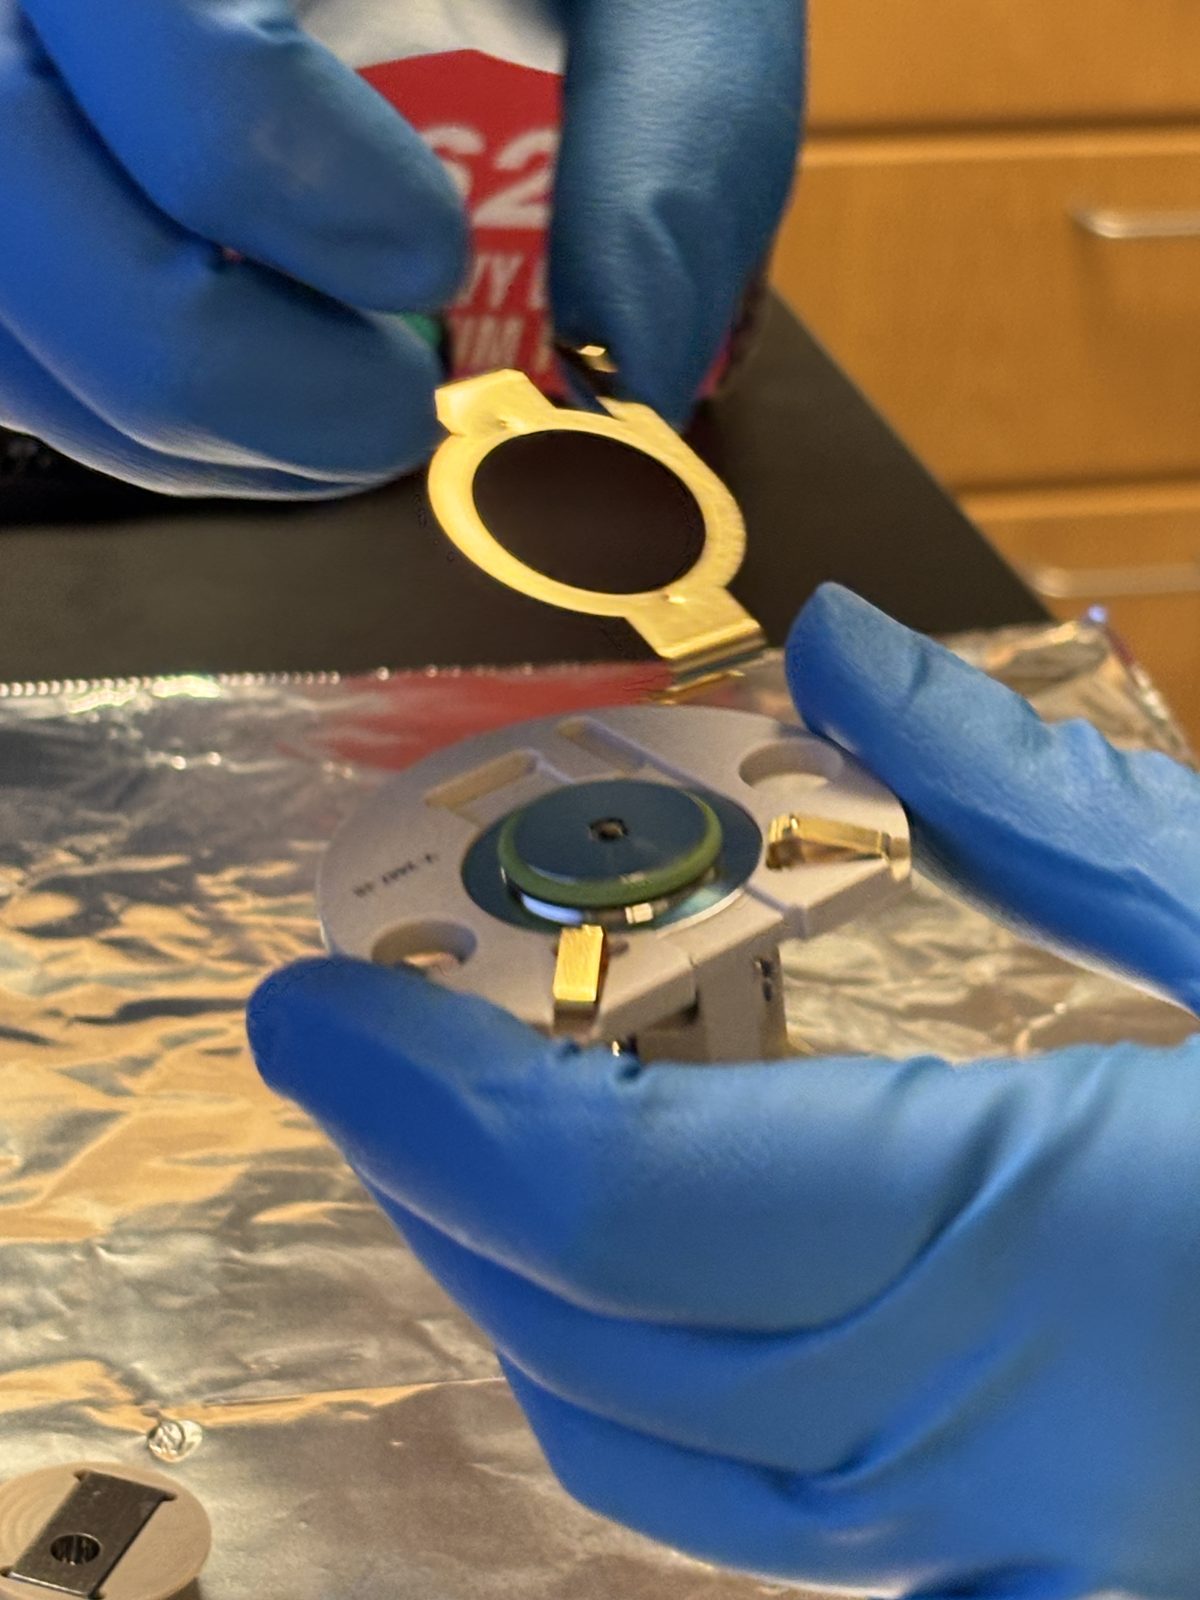
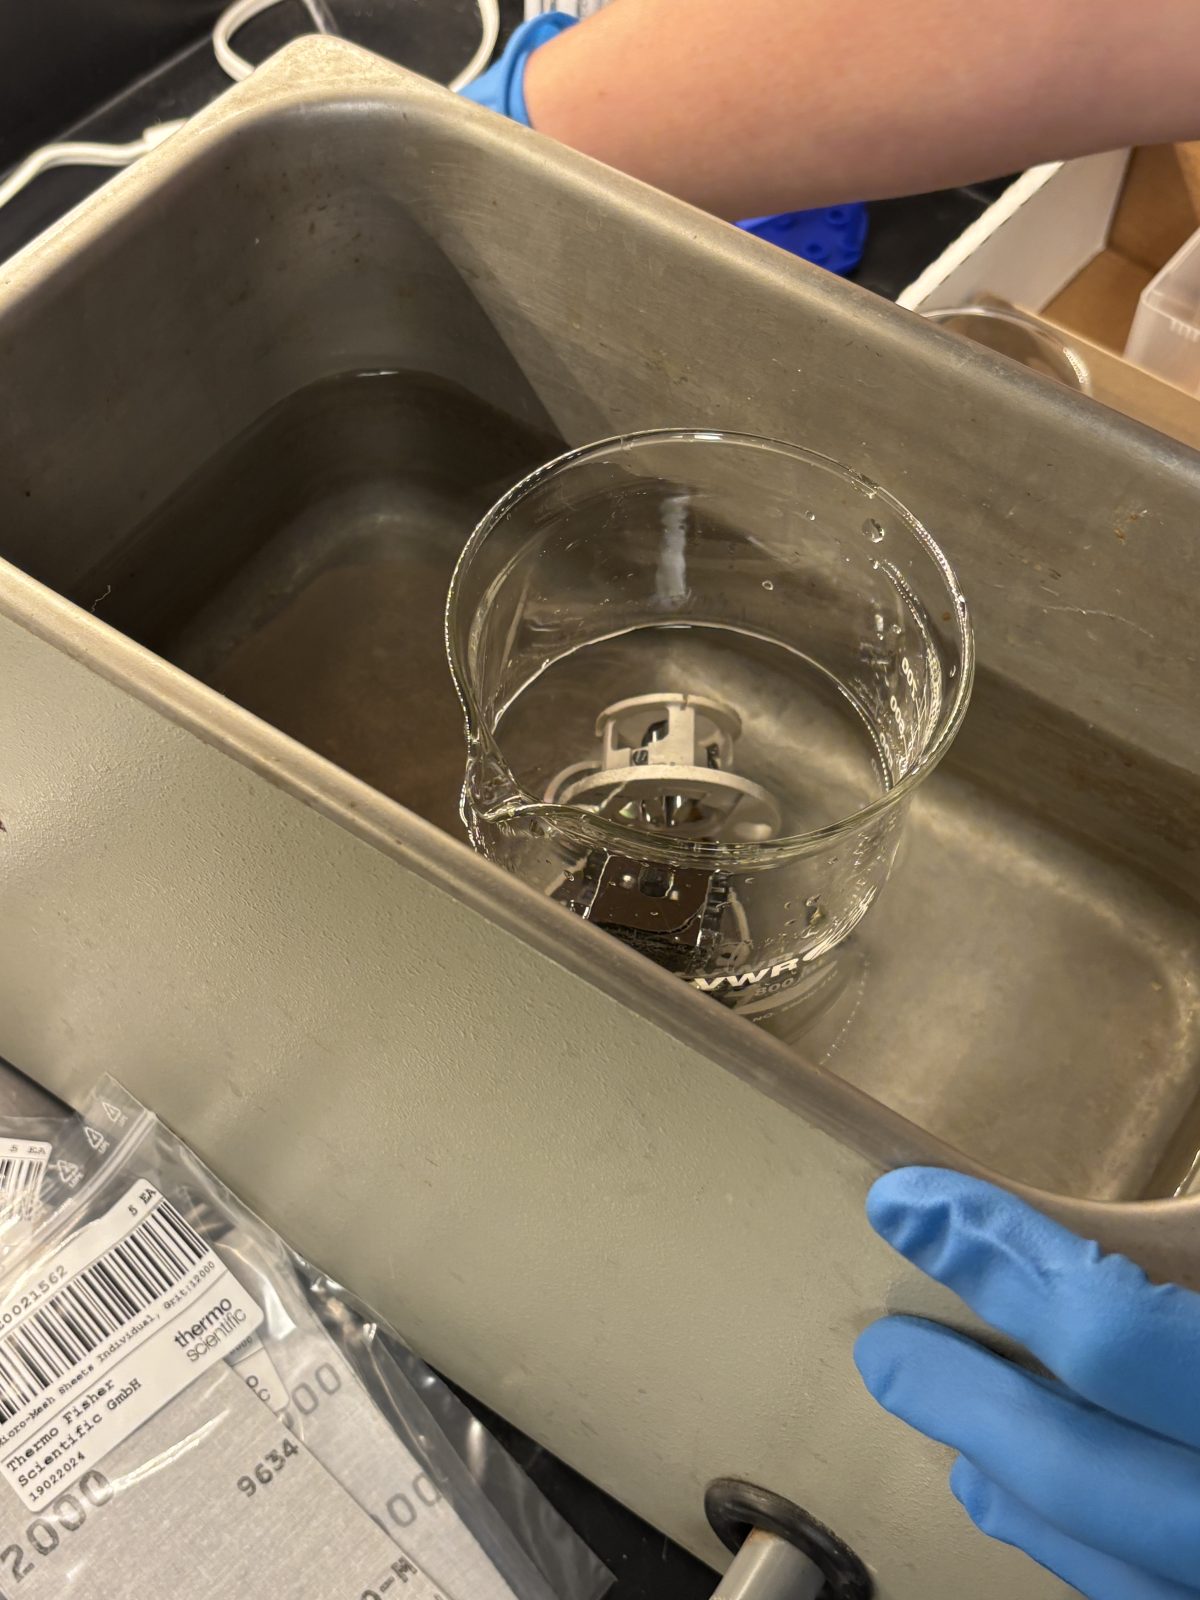
Clean 4 pieces in photo in sonicator for 15 min (next to her hand). Only these 4 can be sonicated
2025-11-19 13:54:472025-11-19 13:56:082025-11-19 13:56:30
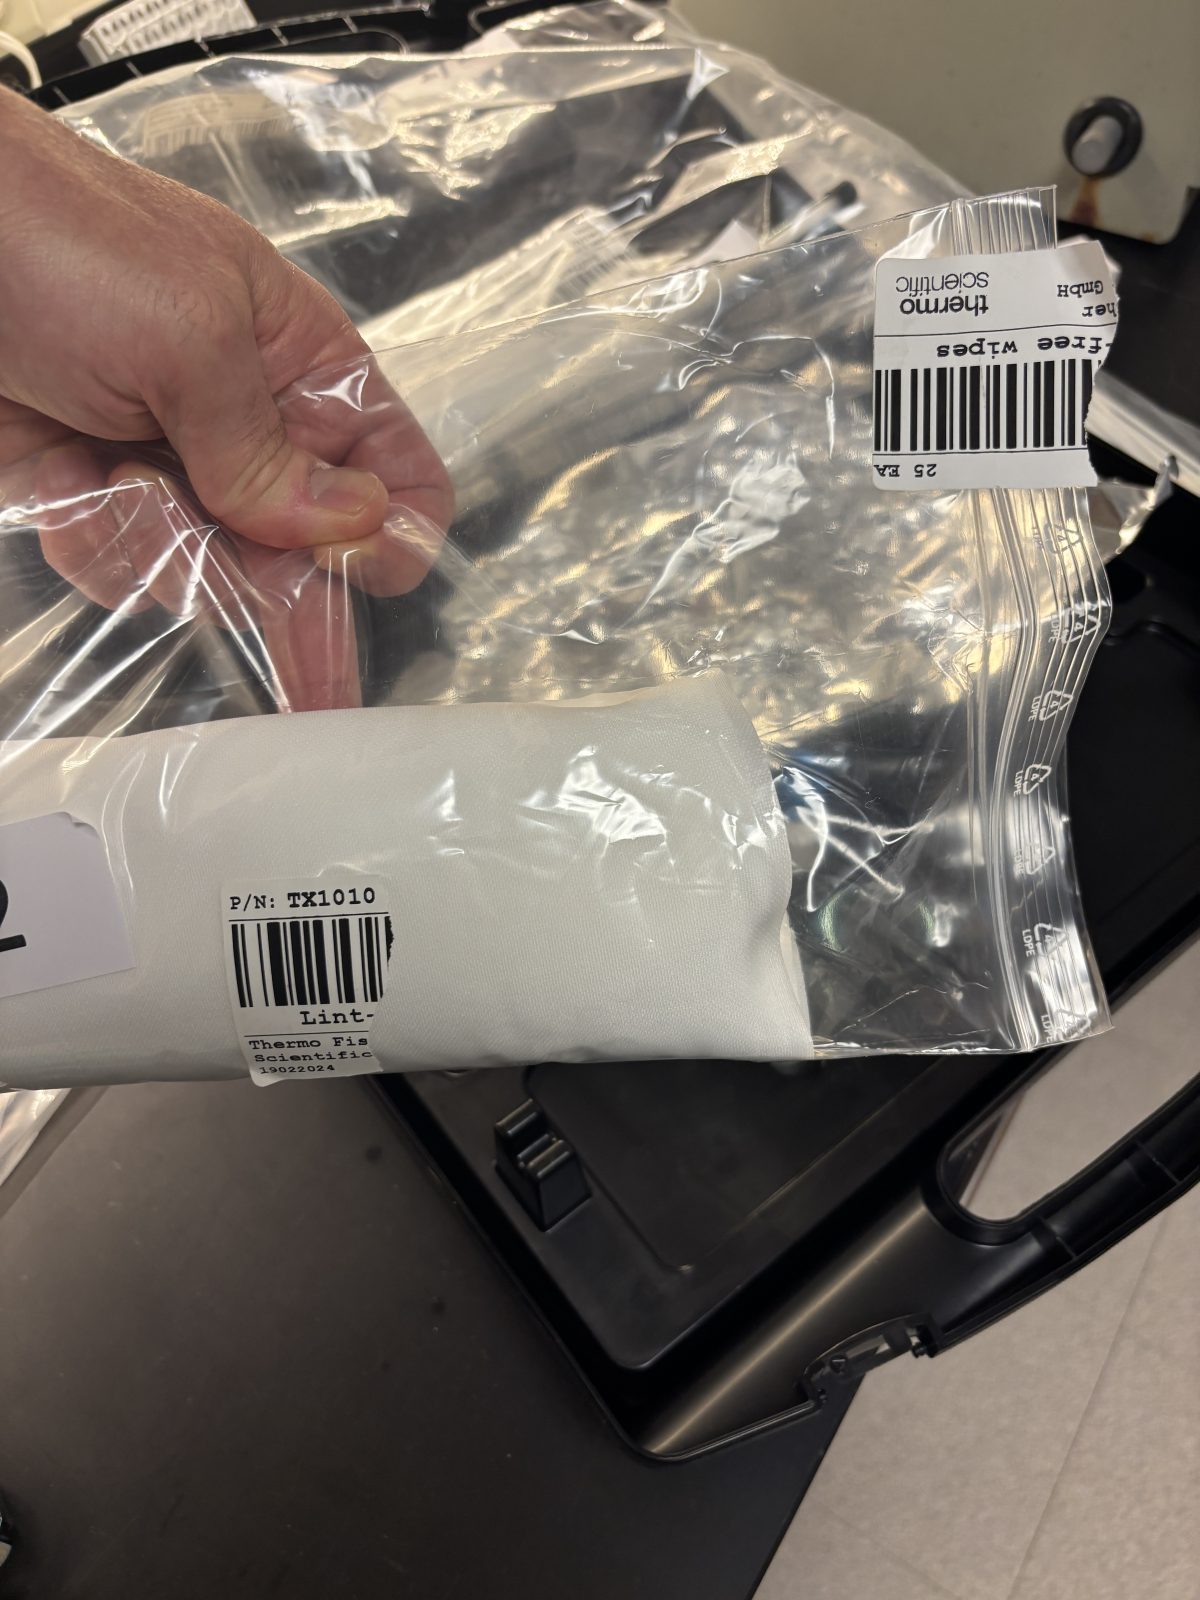
Keep all other pieces covered in foil; they will get lightly scrubbed with water and MeOH then blasted with N2
2025-11-19 13:57:12
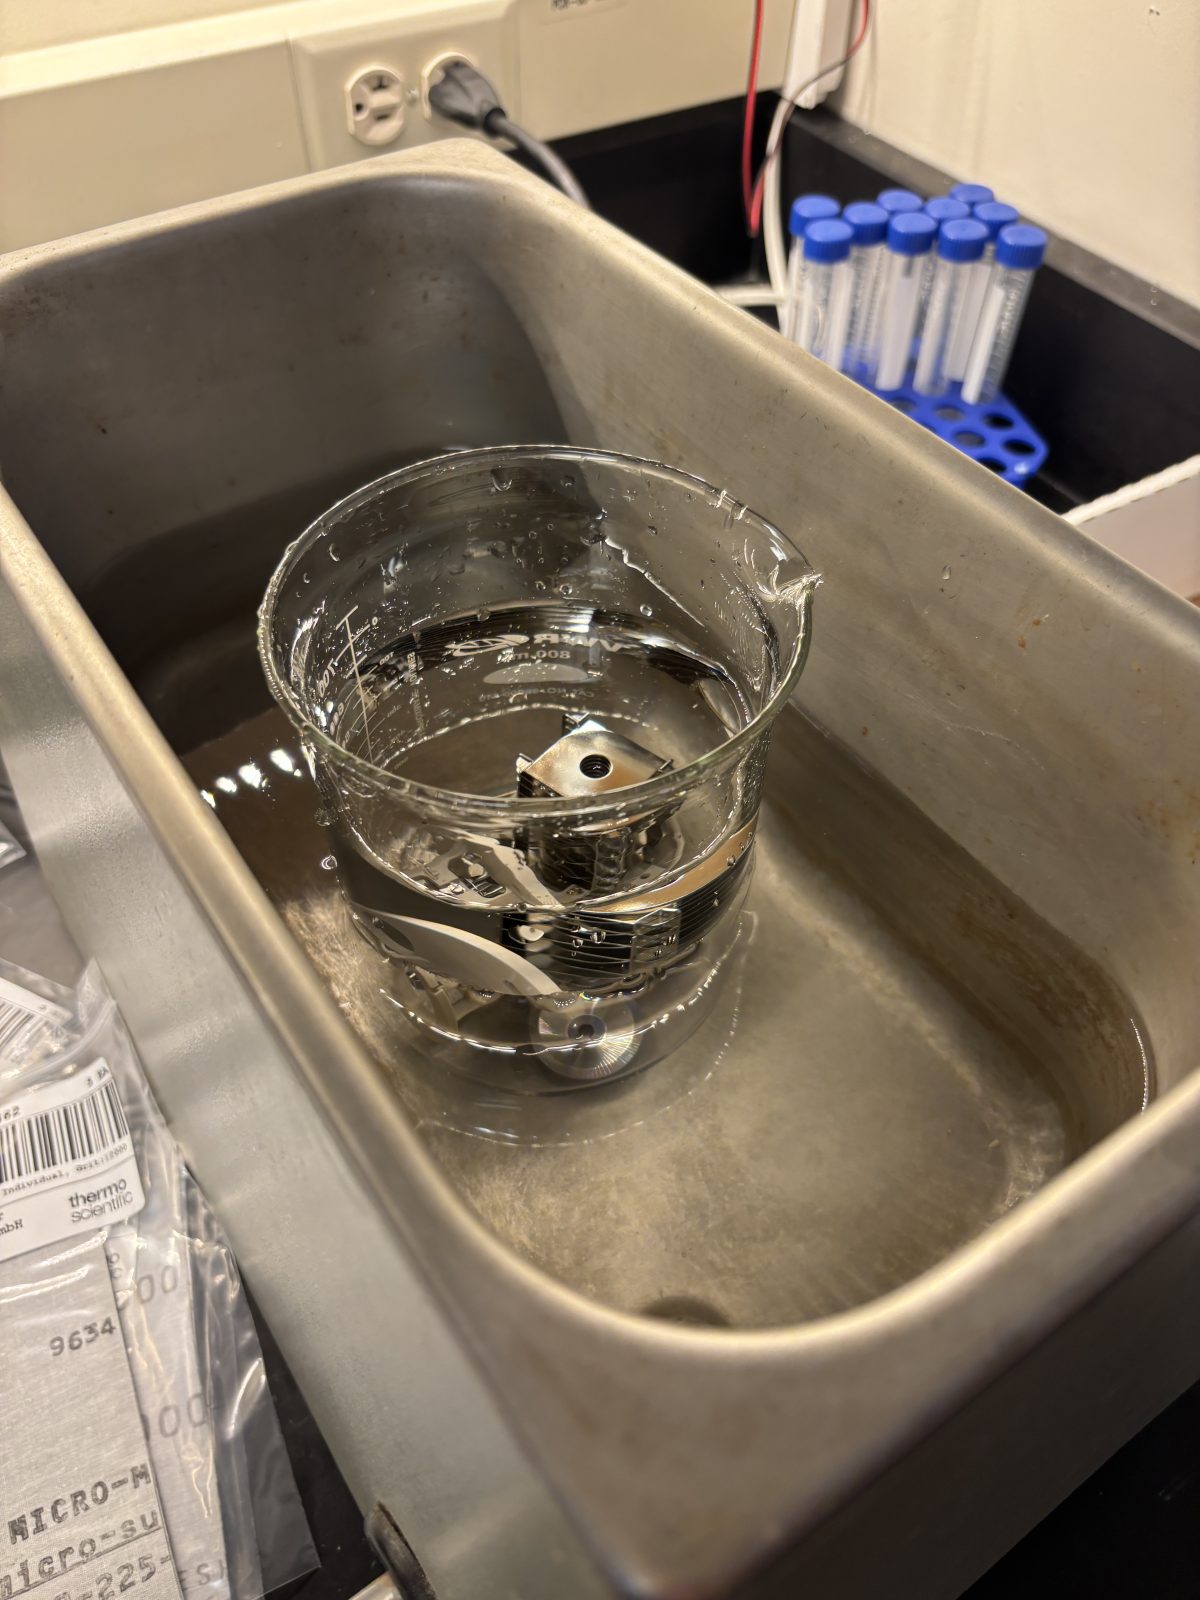
Thoroughly rinse things that were sonicated in soapy water with 18 Mohm water then sonicate in 18 Mohm water for 15 min
2025-11-19 14:13:002025-11-19 14:13:262025-11-19 14:16:11
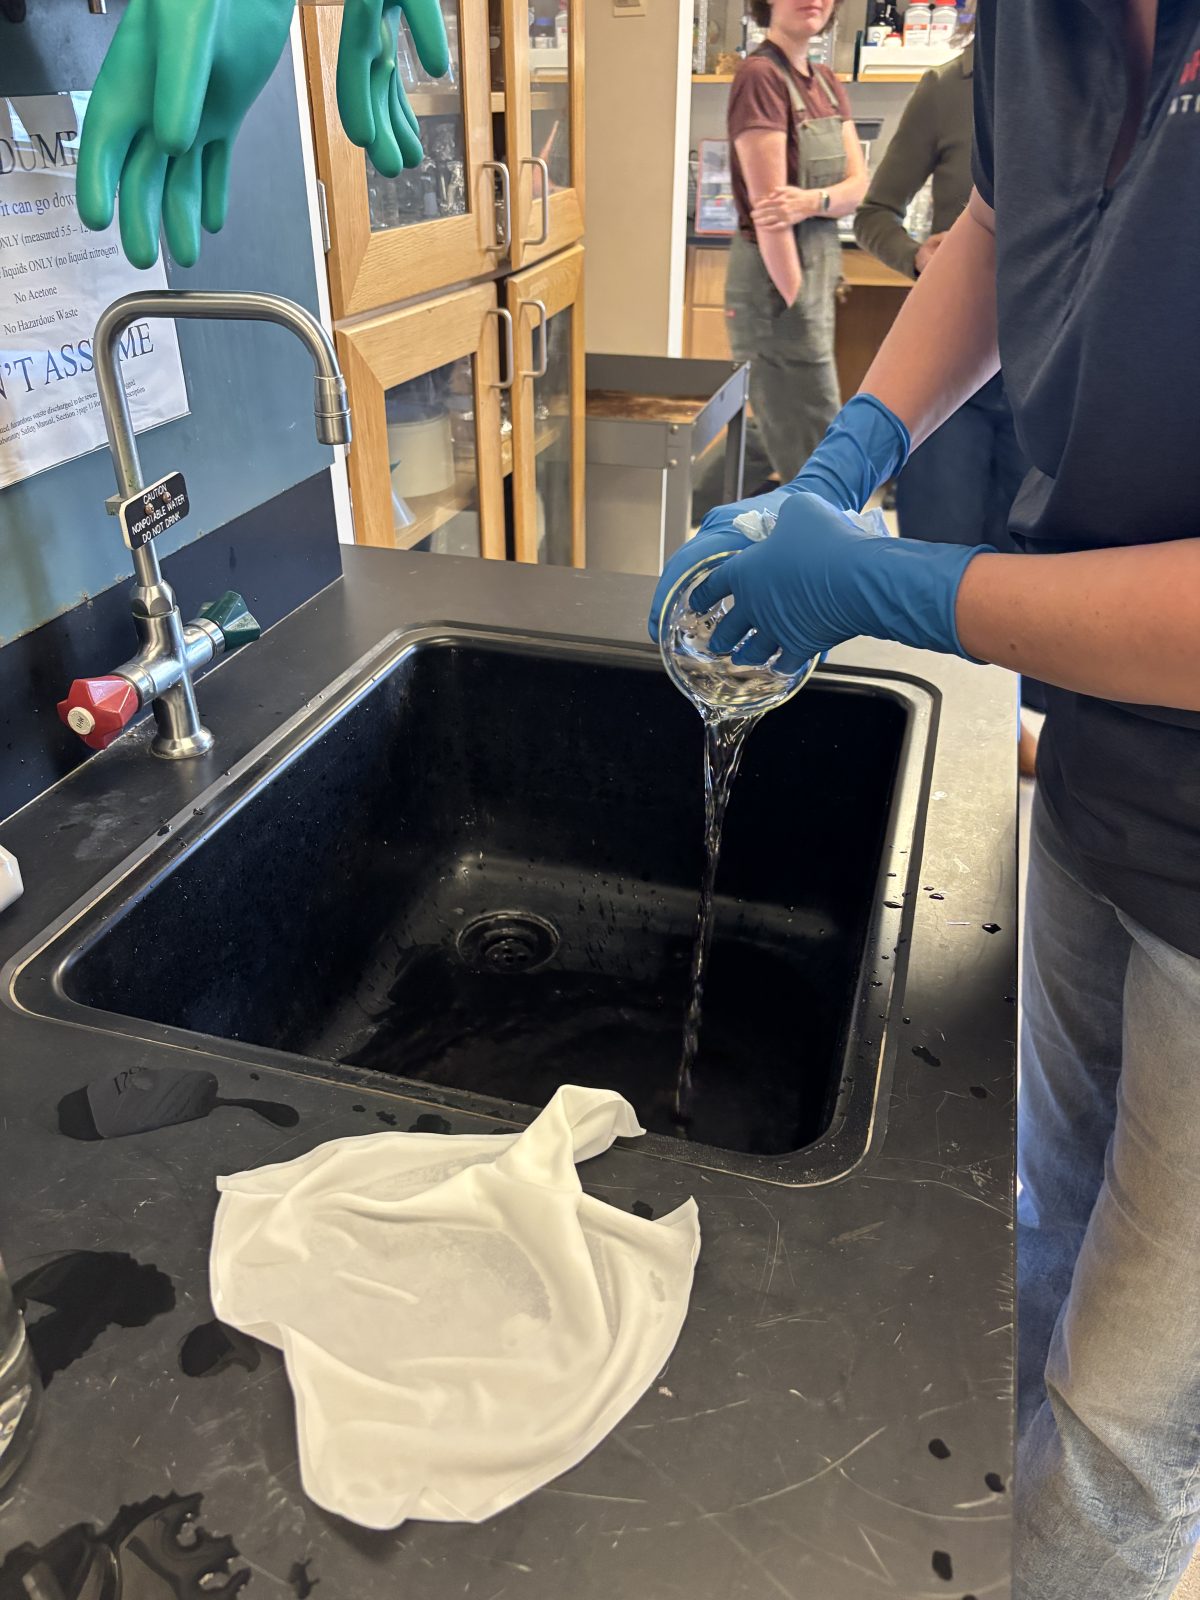
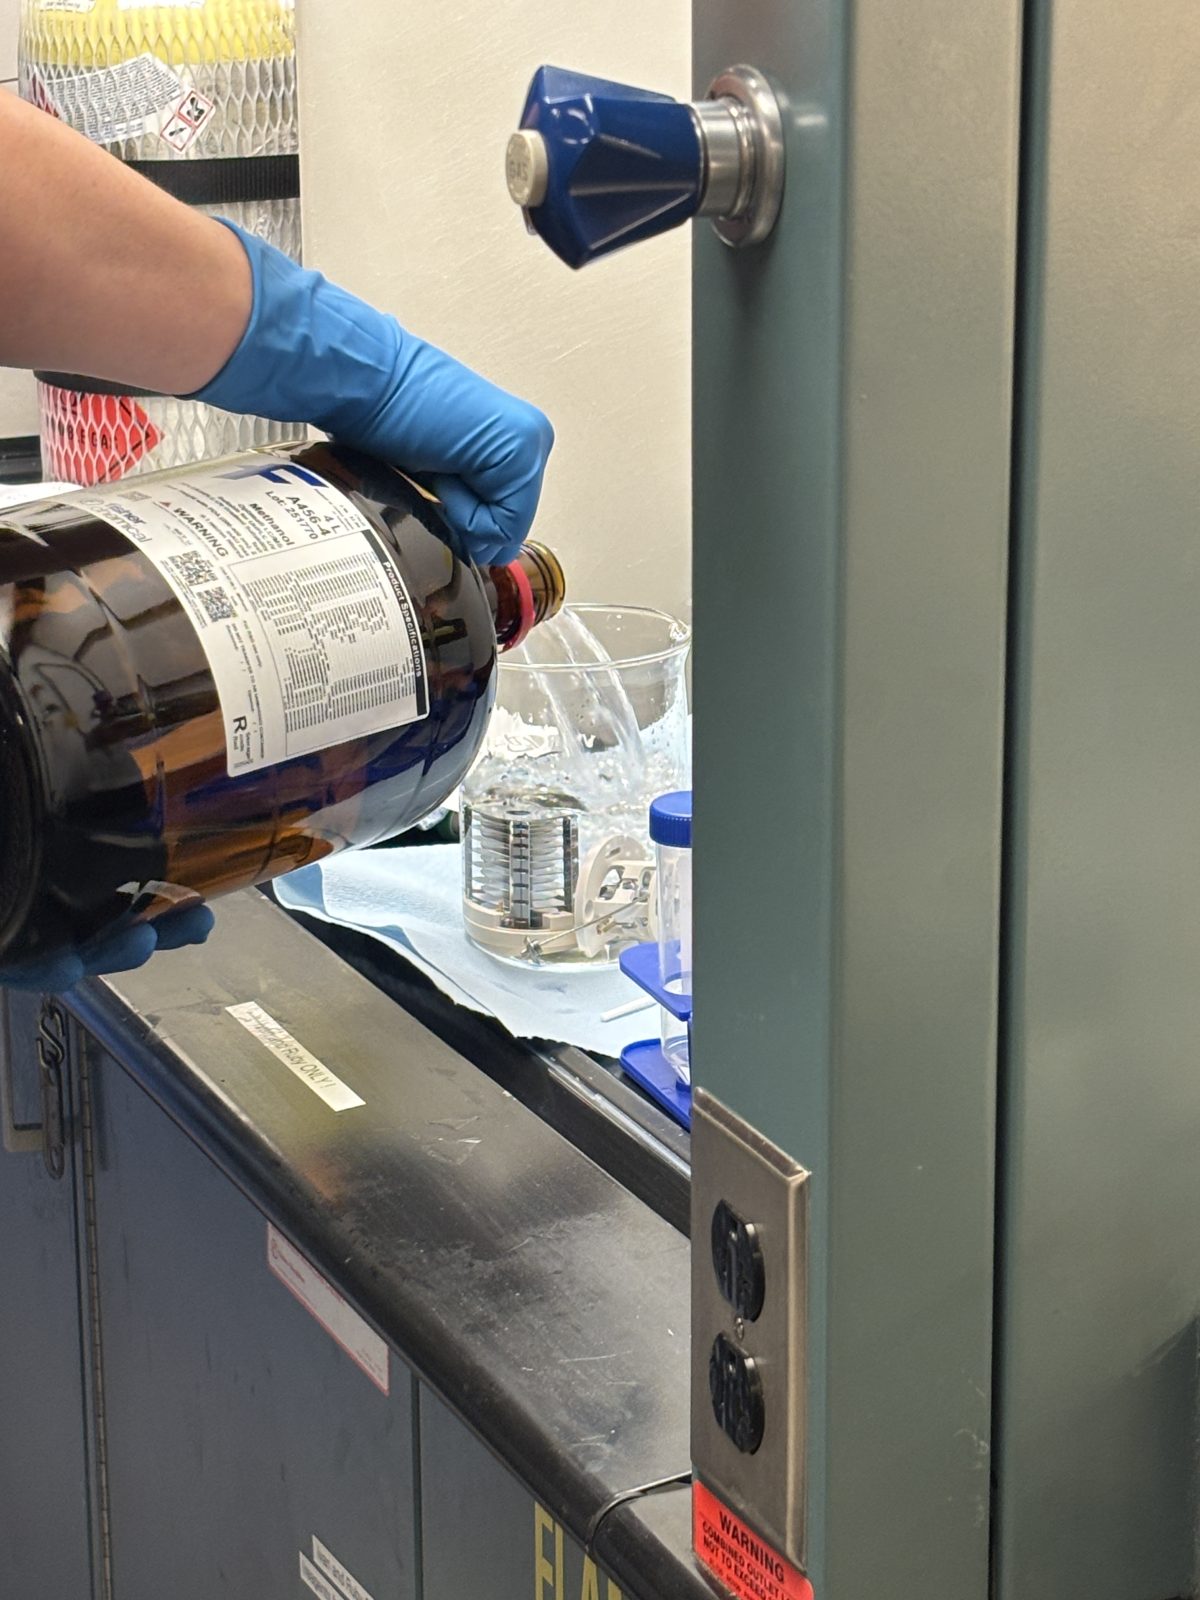
Dump out half of the 18 Mohm water and top off with methanol to create a 50/50 water/MeOH mixture; then sonicate in this mixture for 15 min
2025-11-19 14:35:162025-11-19 14:35:462025-11-19 14:36:03
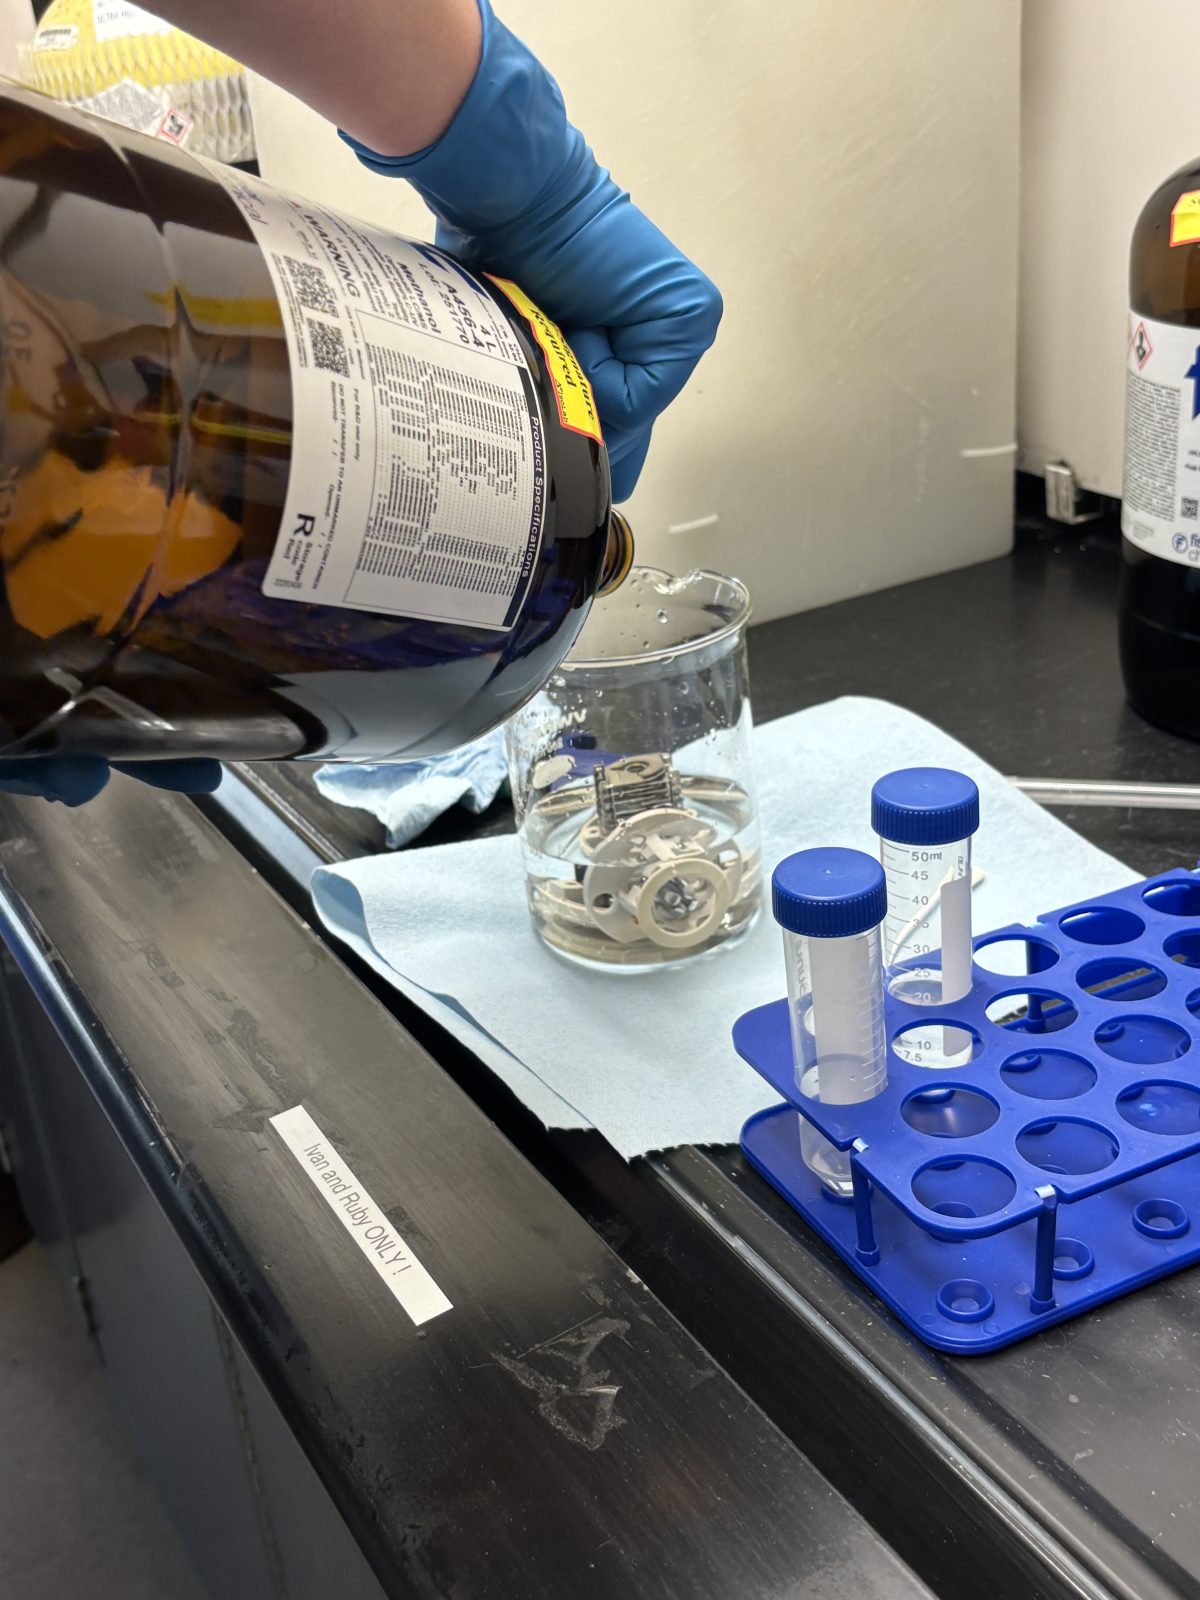
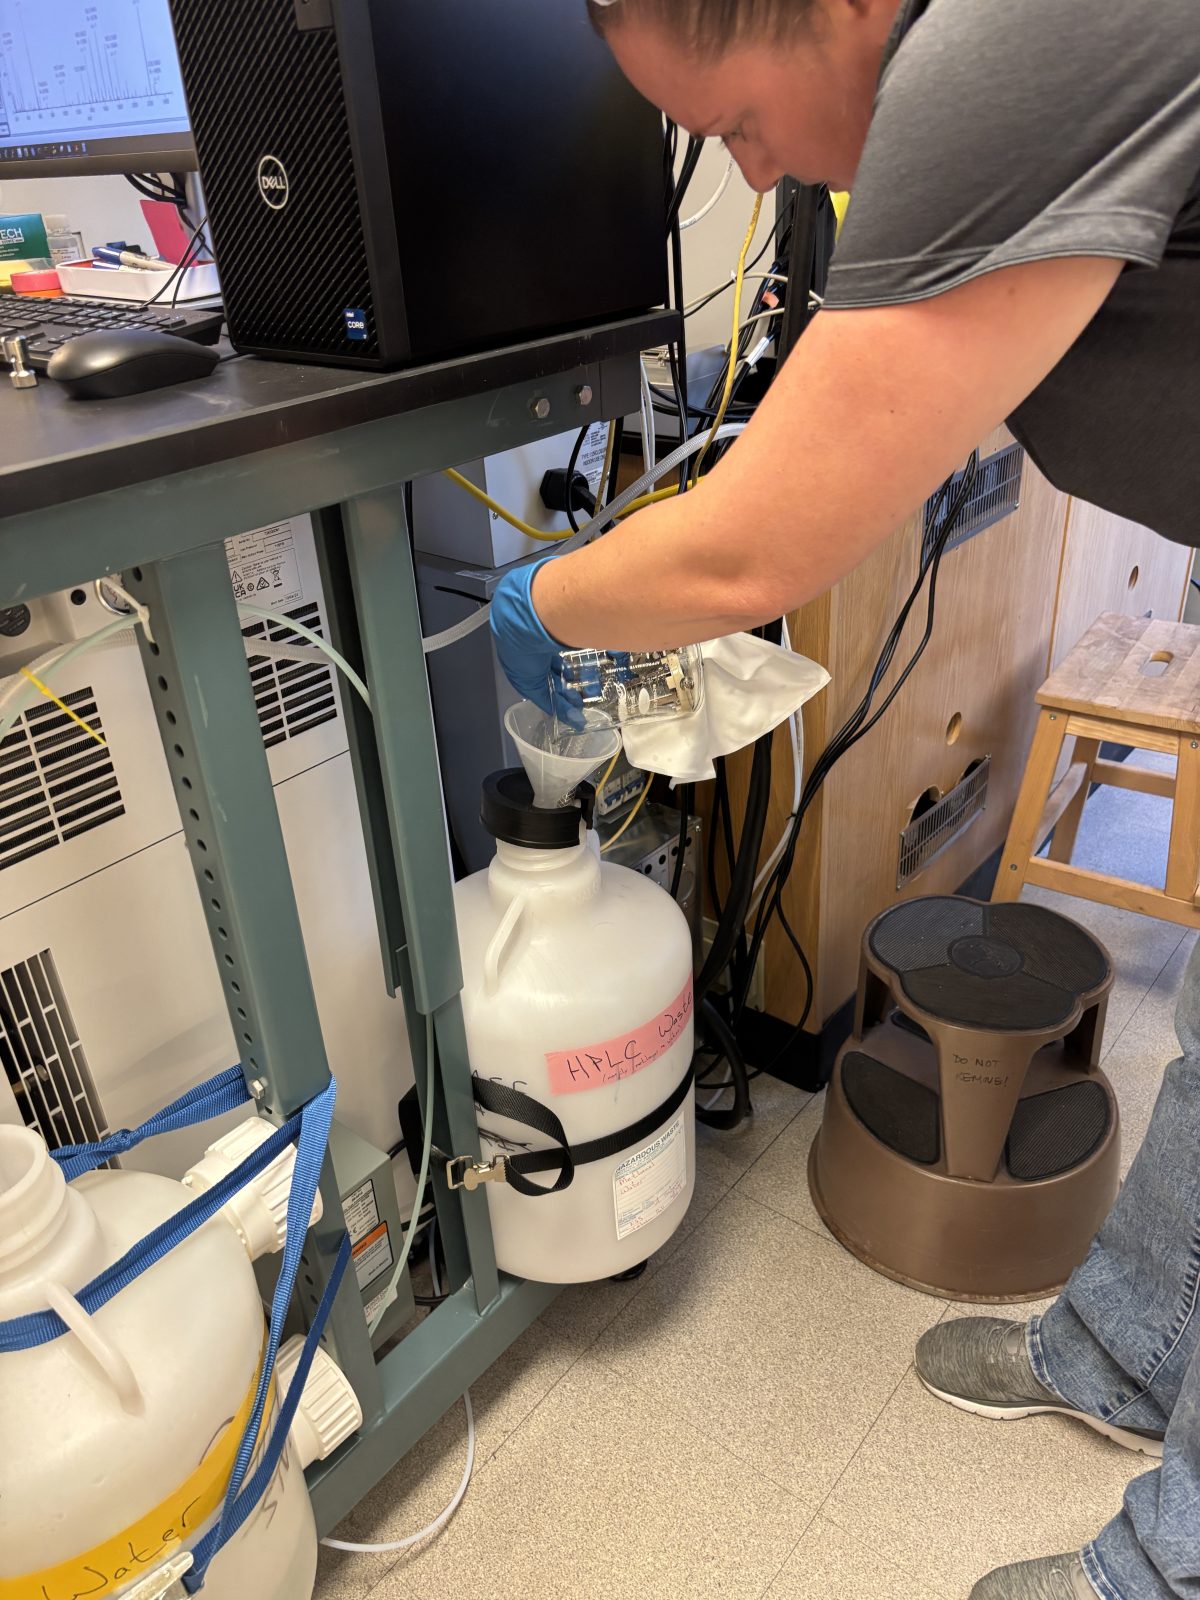
After sonicating for 15 min, dump methanol/water mixture into waste. Fill beaker with MeOH and sonicate for another 15 min.
2025-11-19 15:00:592025-11-19 15:01:492025-11-19 15:02:06
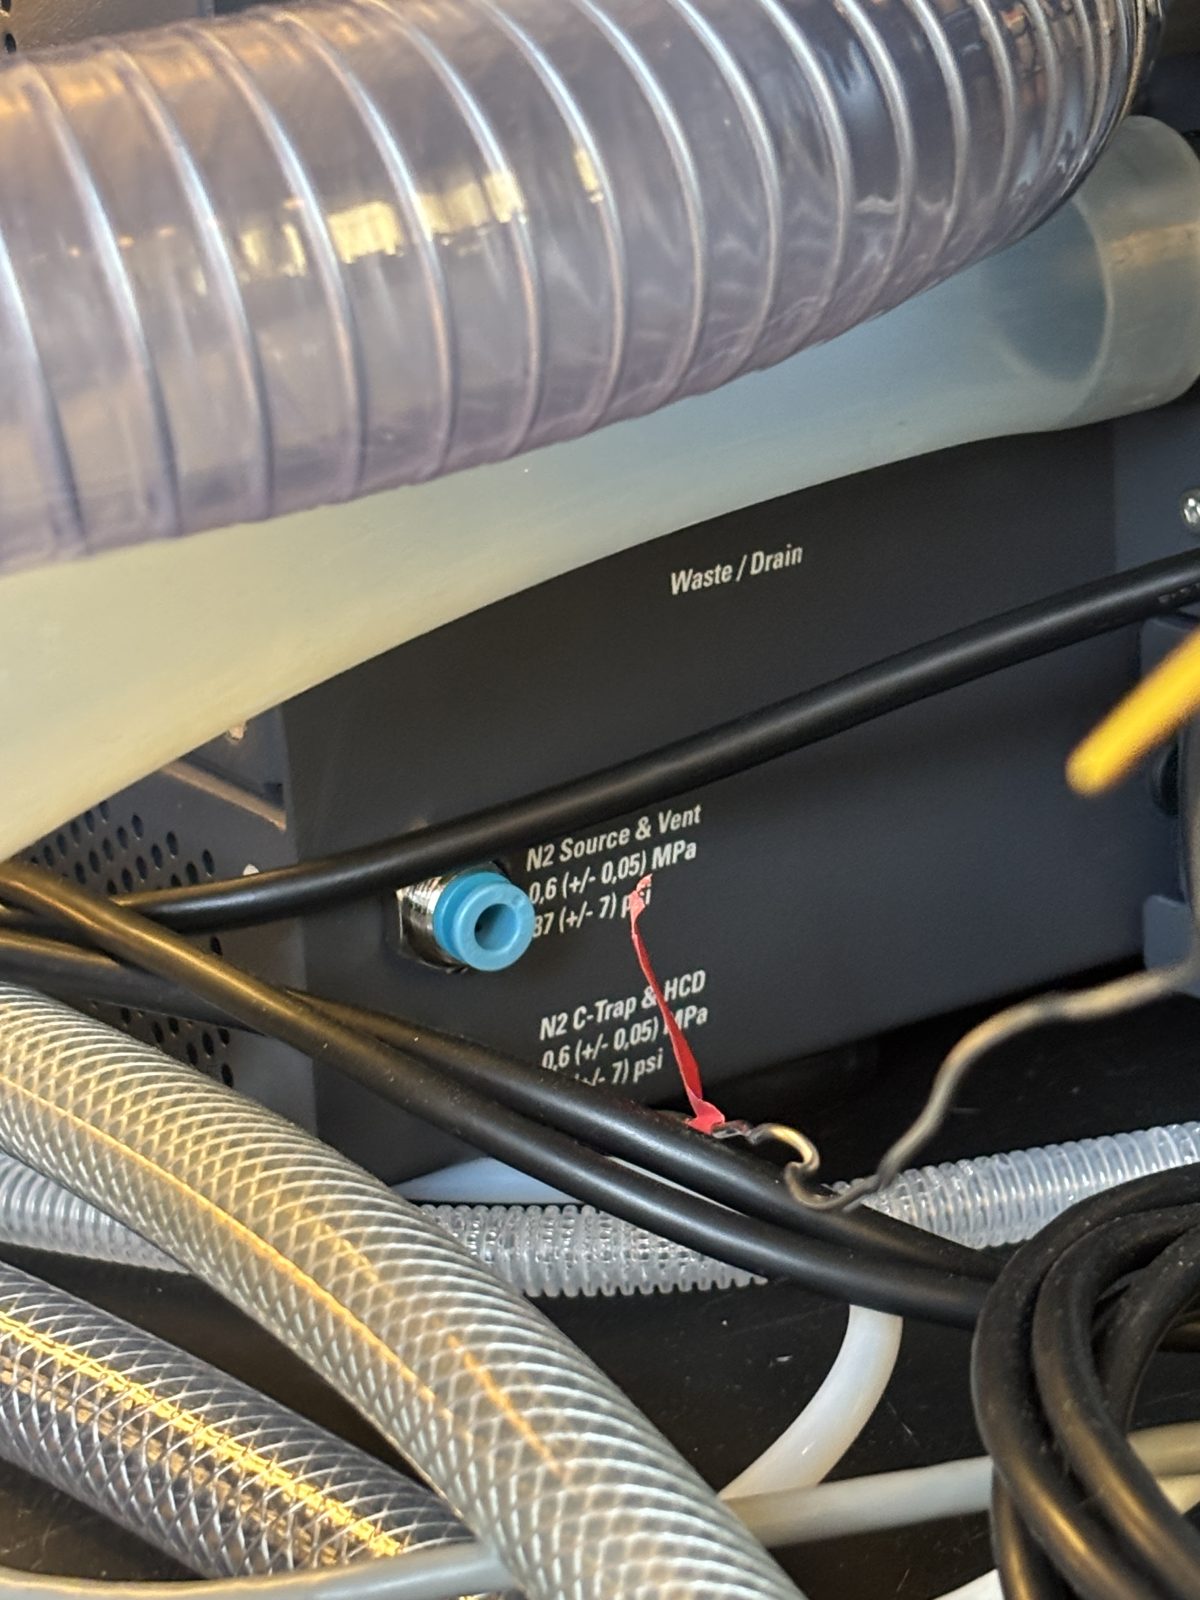
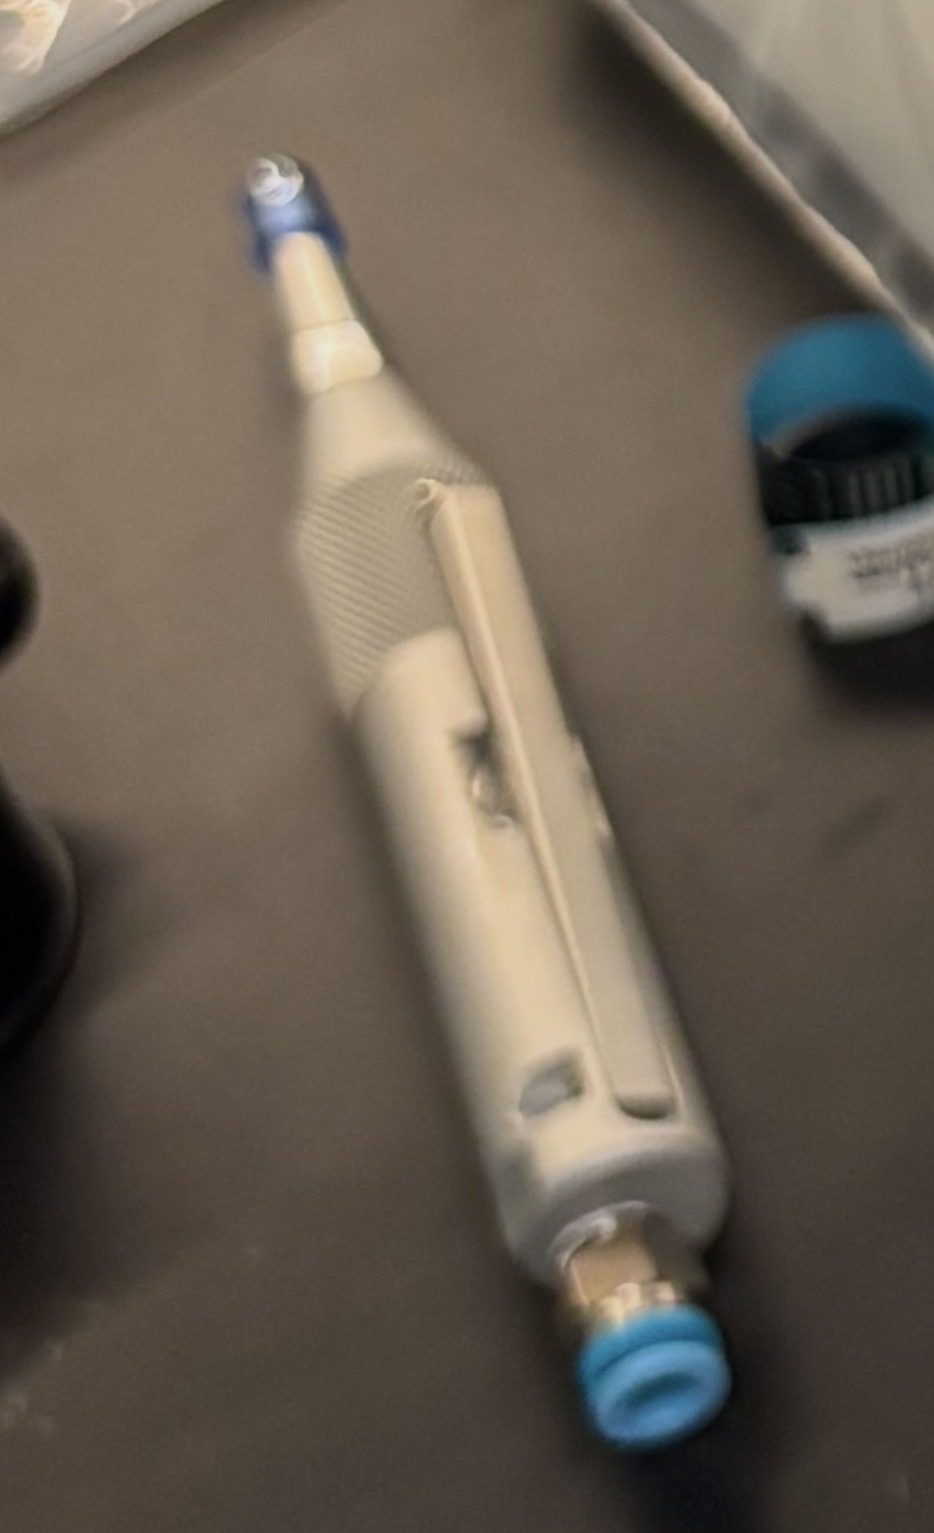
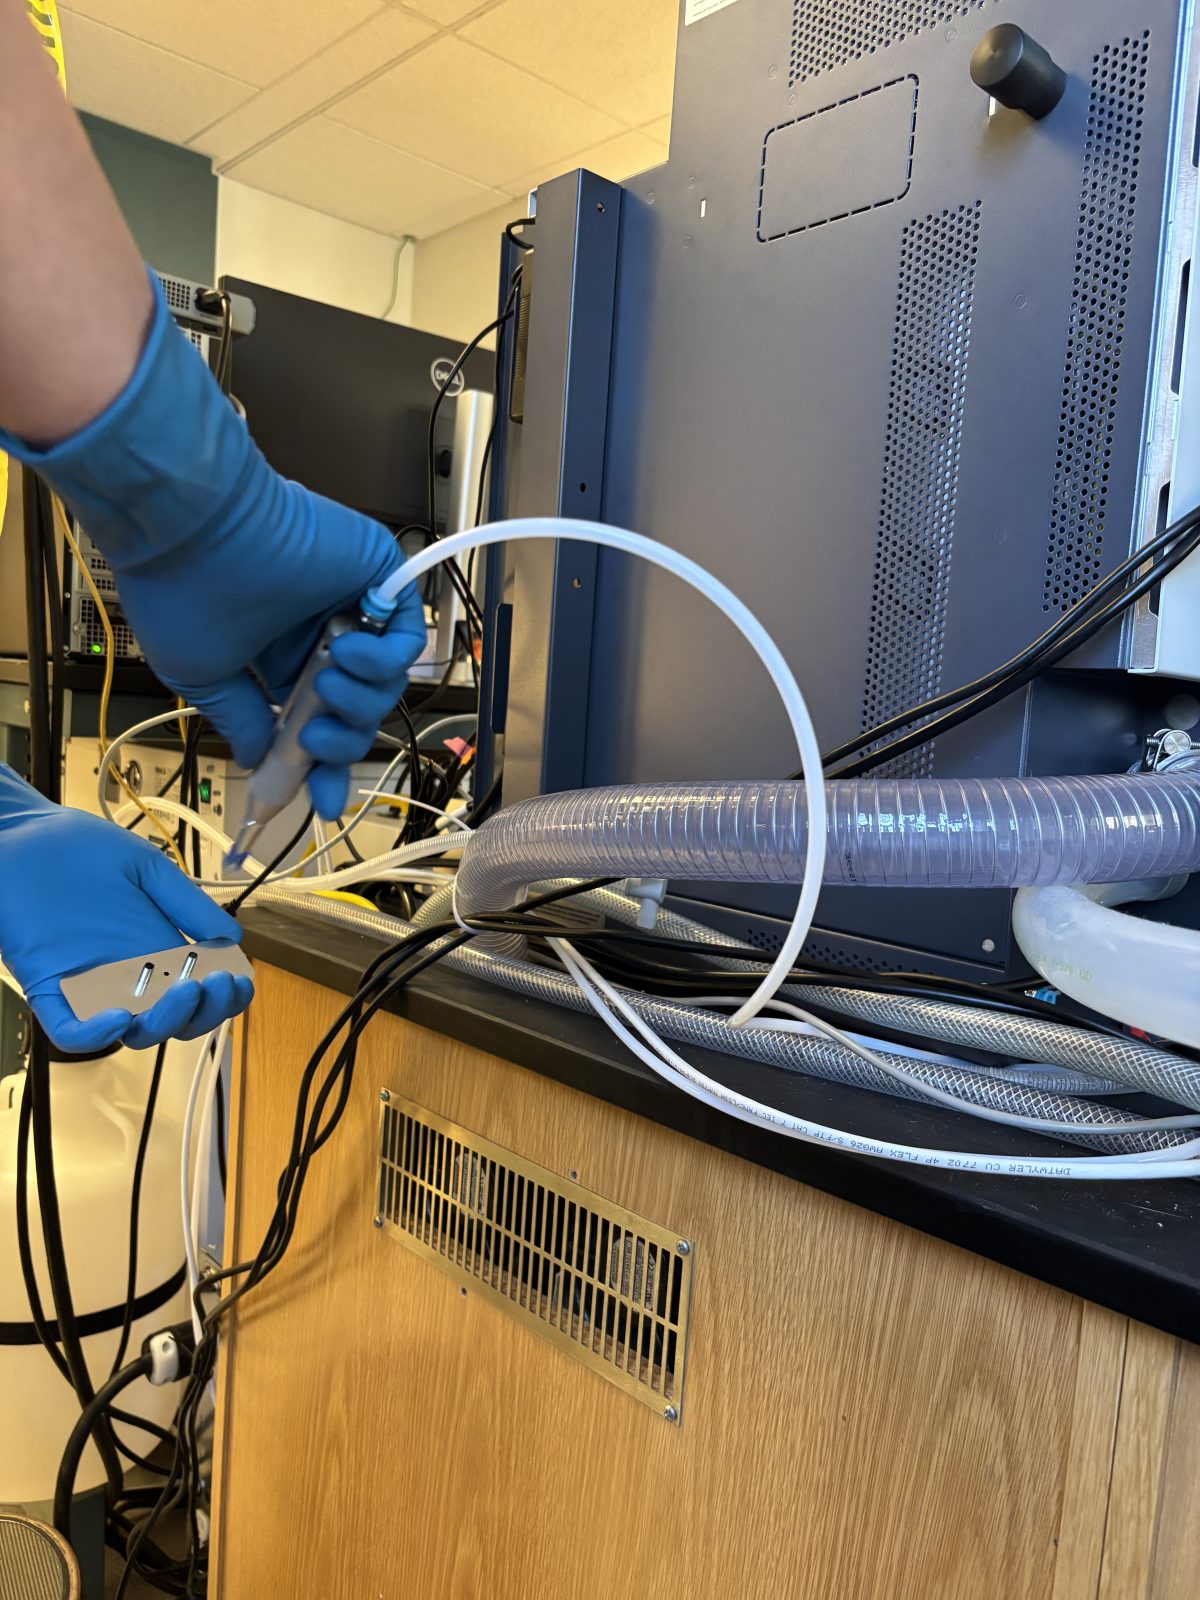
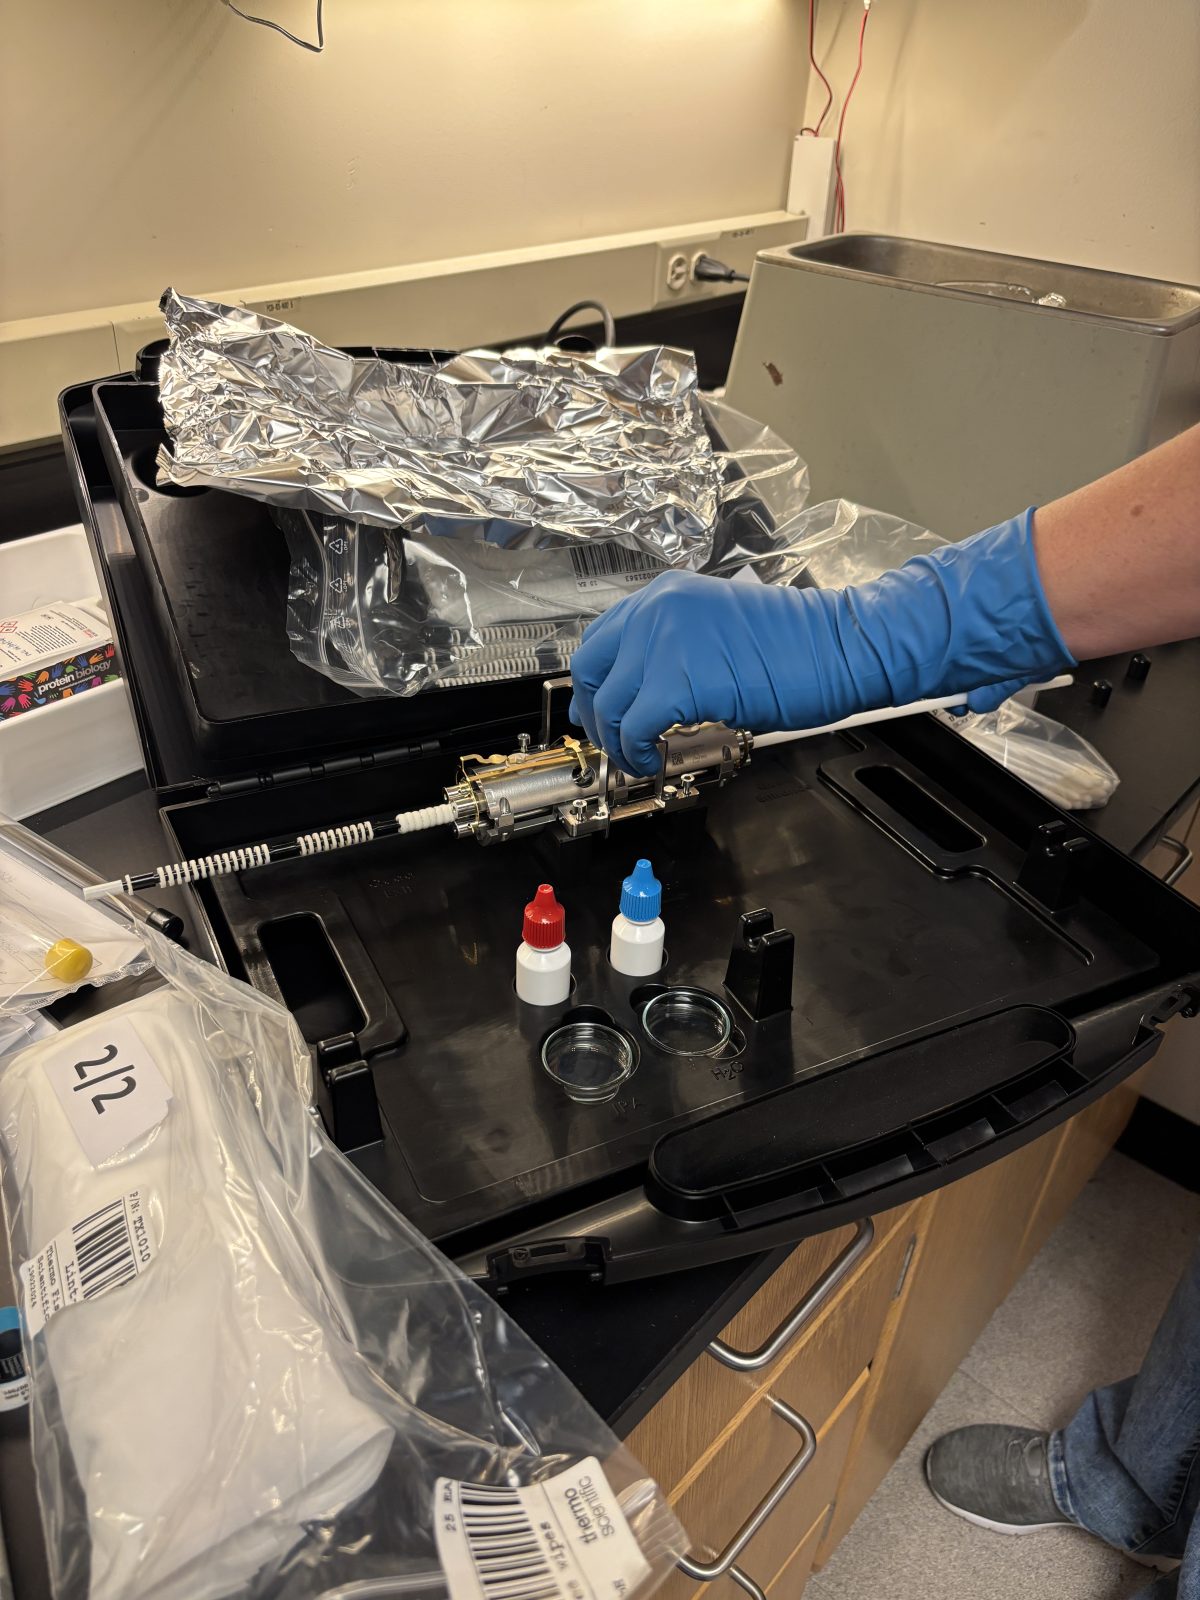
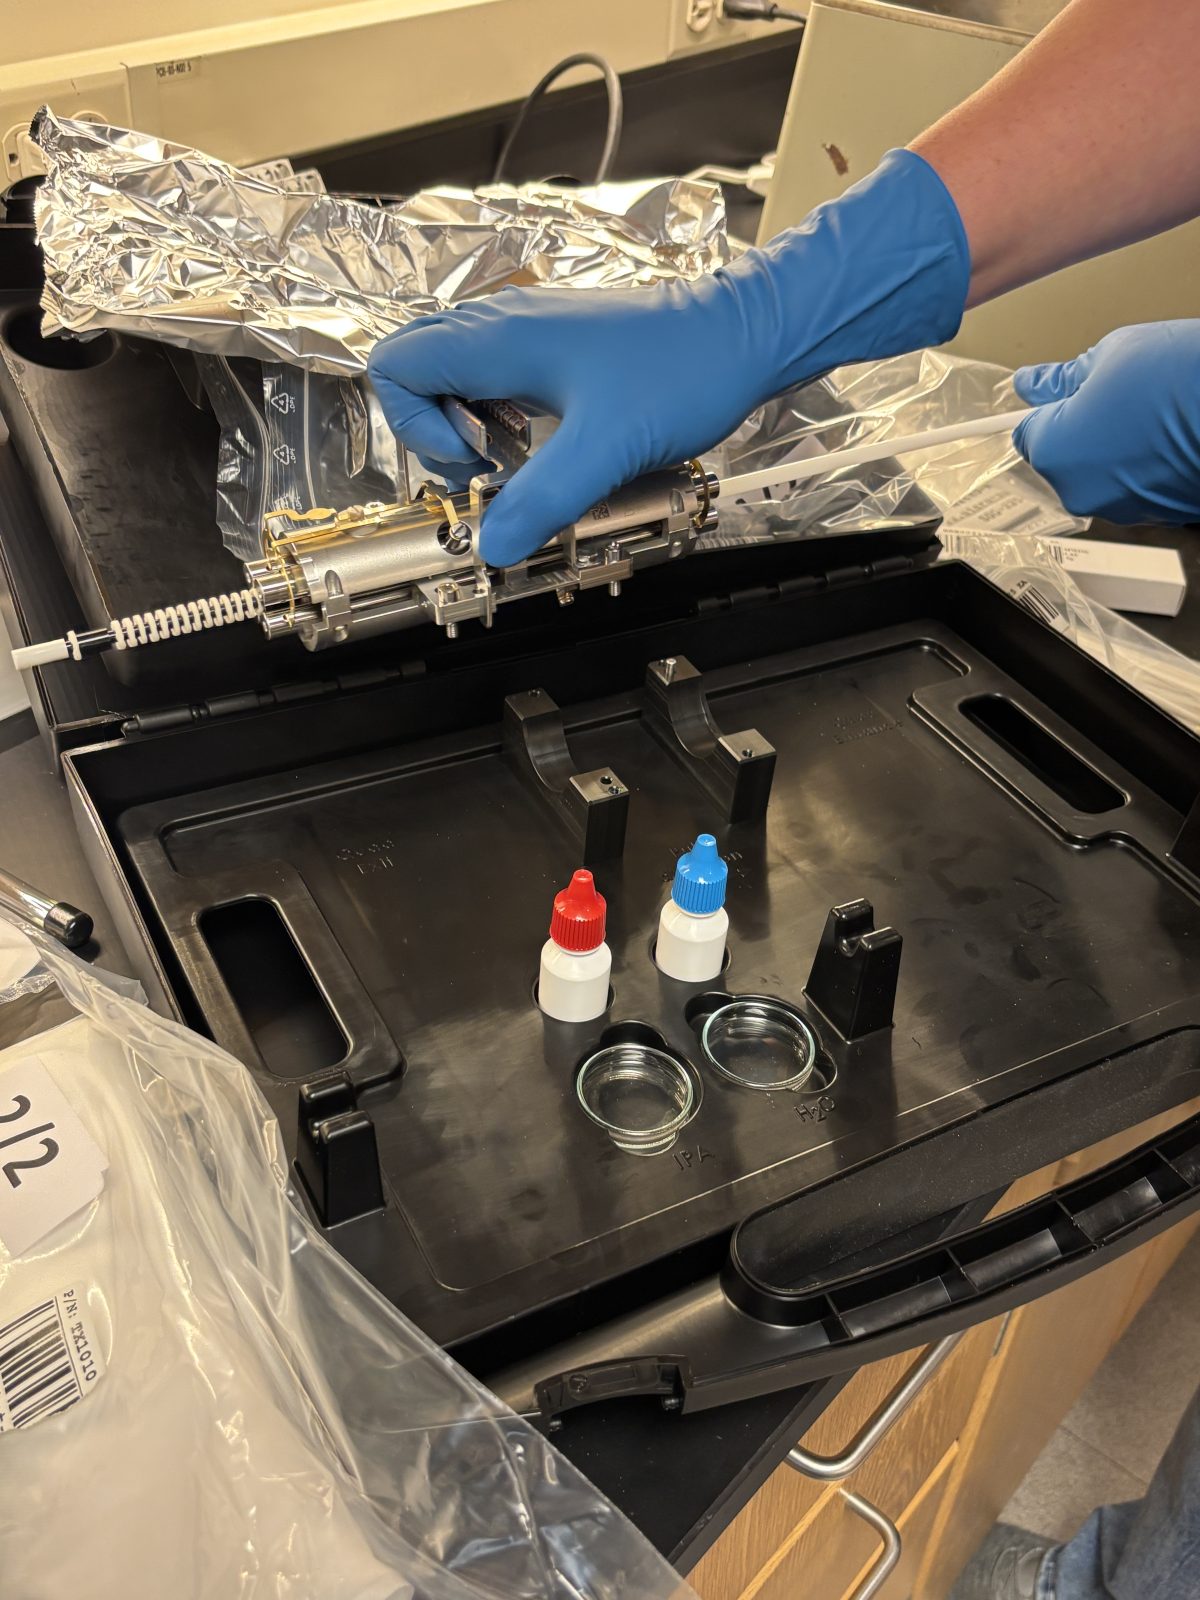
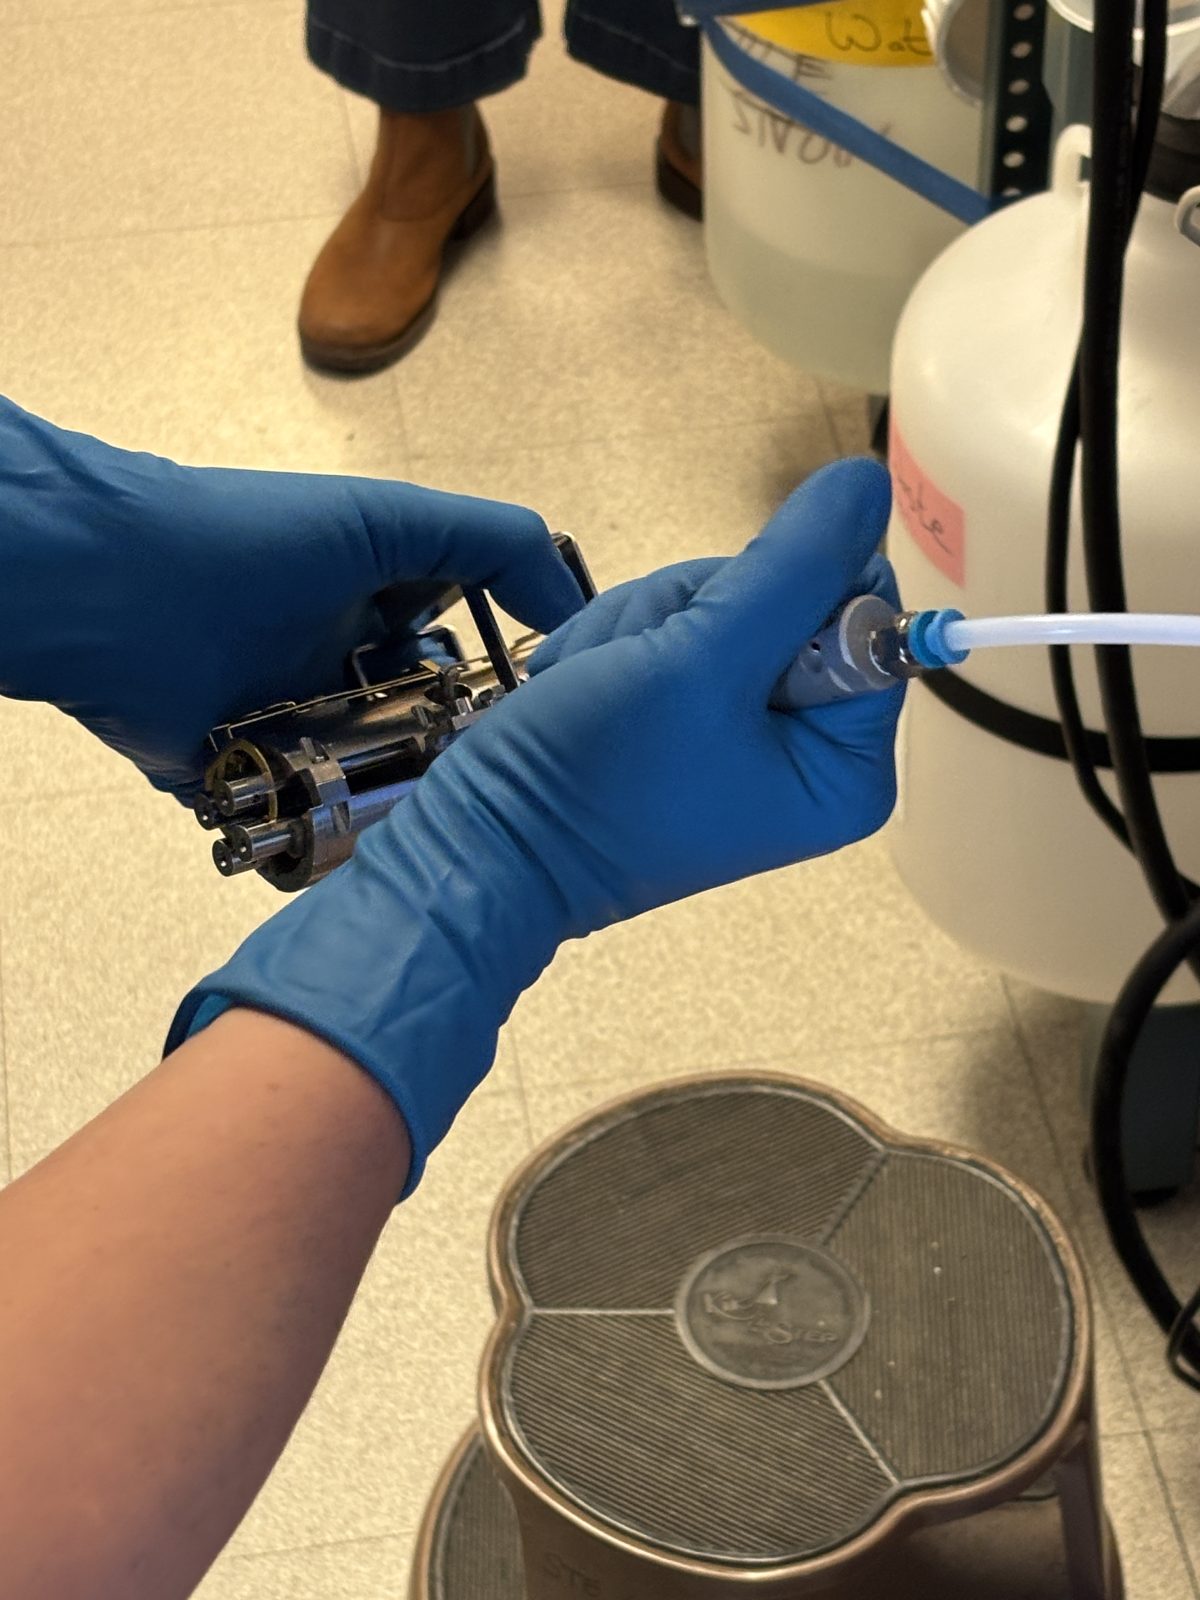
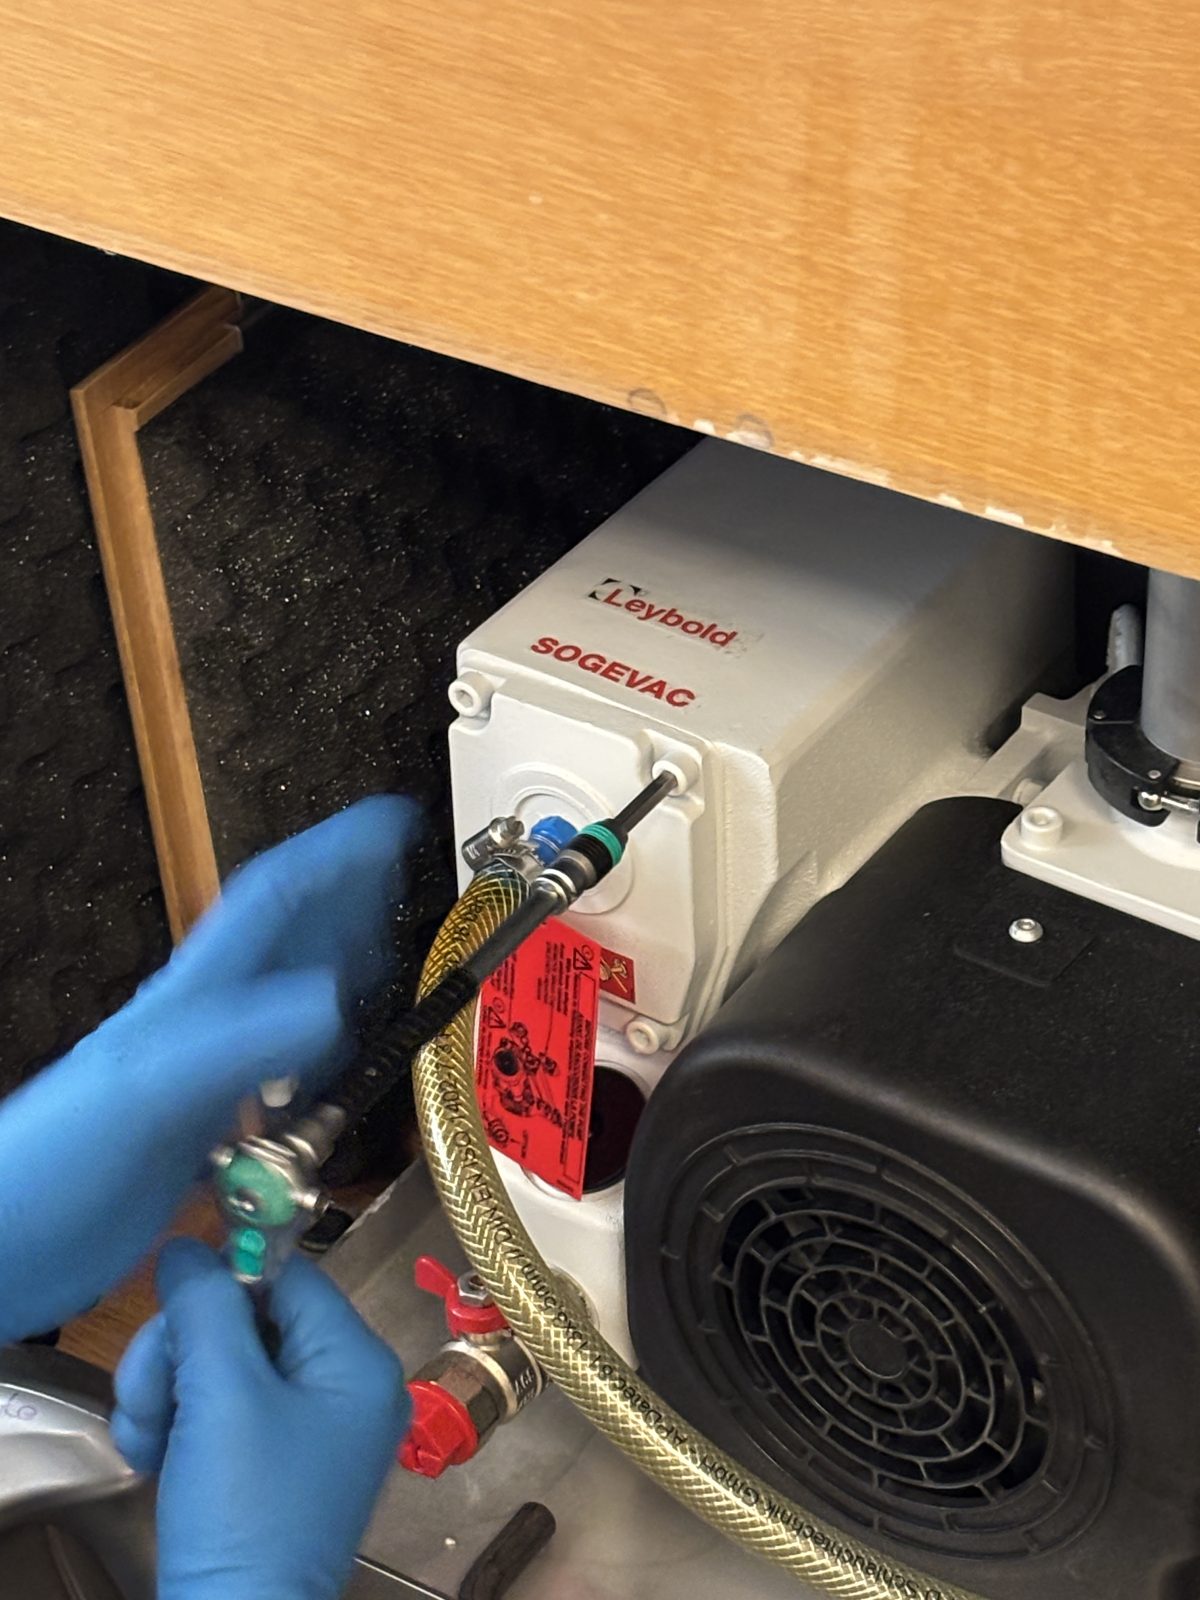
Take out of MeOH and blast with N2. This was difficult to get a good photo of. The nitrogen source is taken from the back of Ivan by disconnecting the press-to-fit 1/4" plastic tubing and quickly connecting to the air gun supplied by Thermo in the tool kit. Here is a terrible pic of the tool followed by use of the tool but on a part that will be referred to later
2025-11-19 14:23:27Note imageTaken: 2025-12-01 19:42:522025-11-19 14:24:03
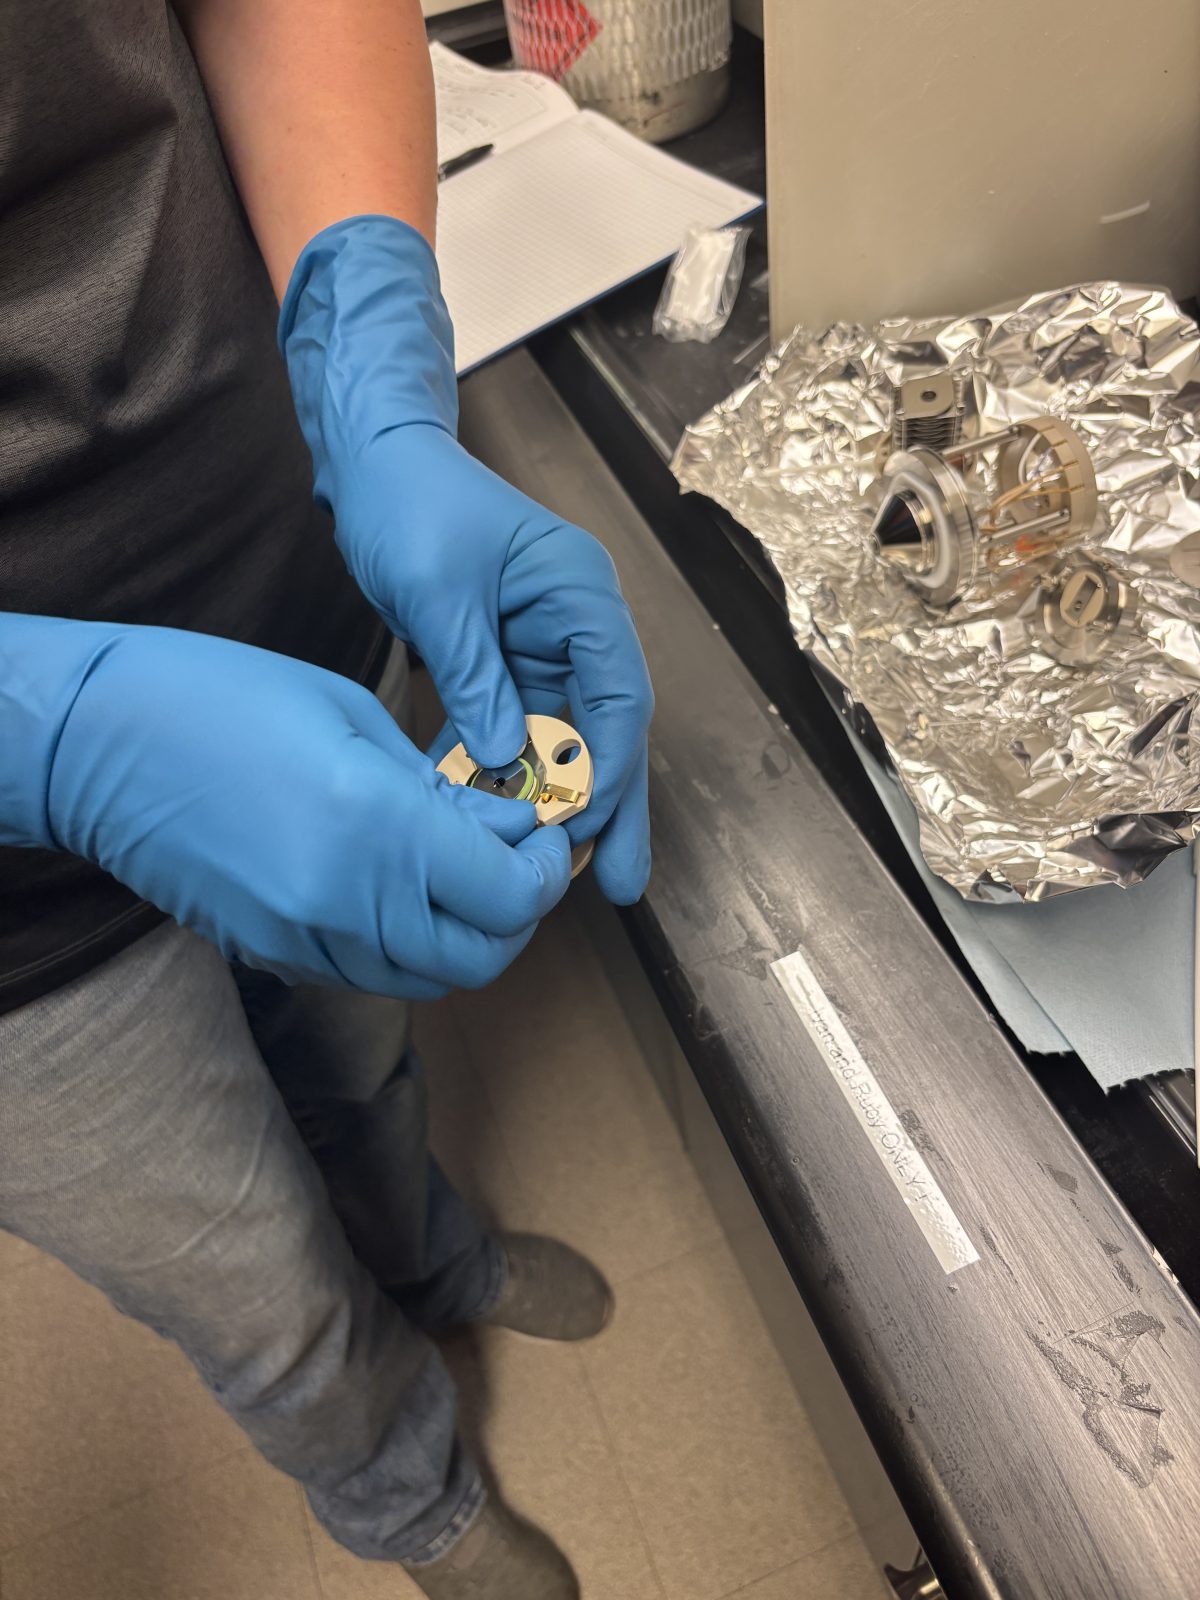
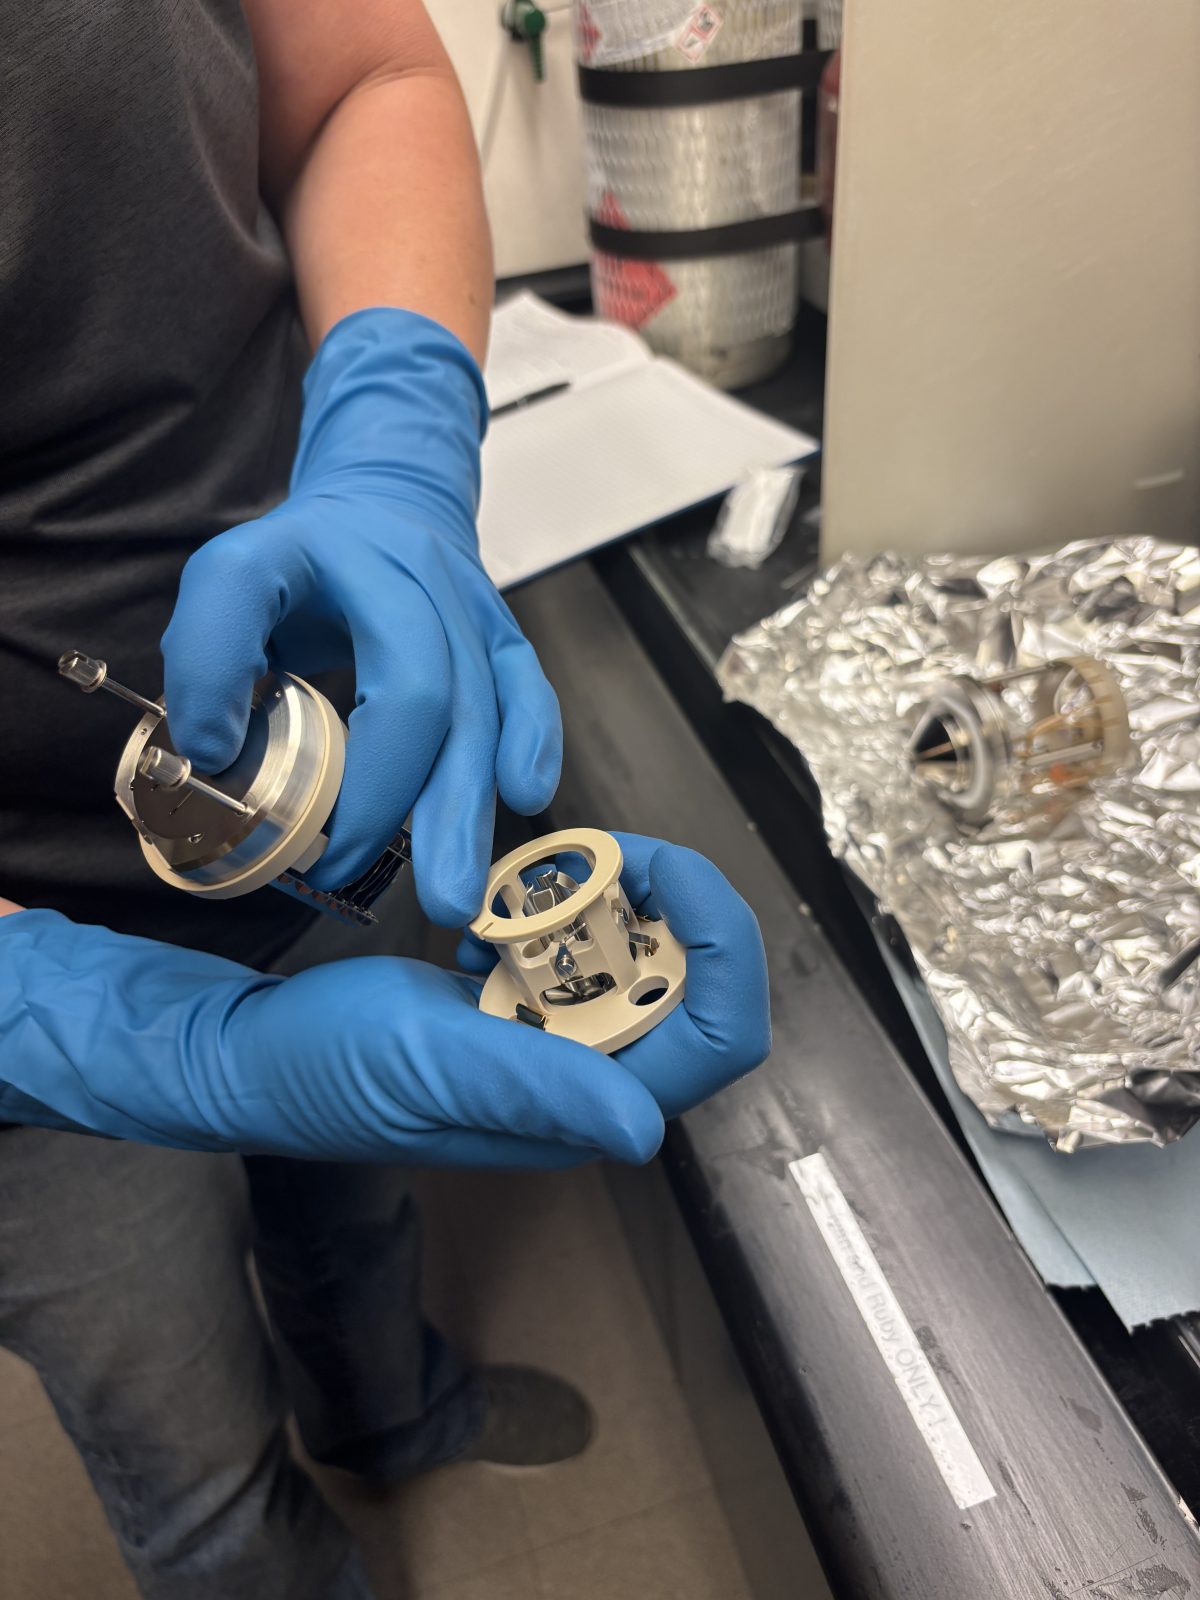
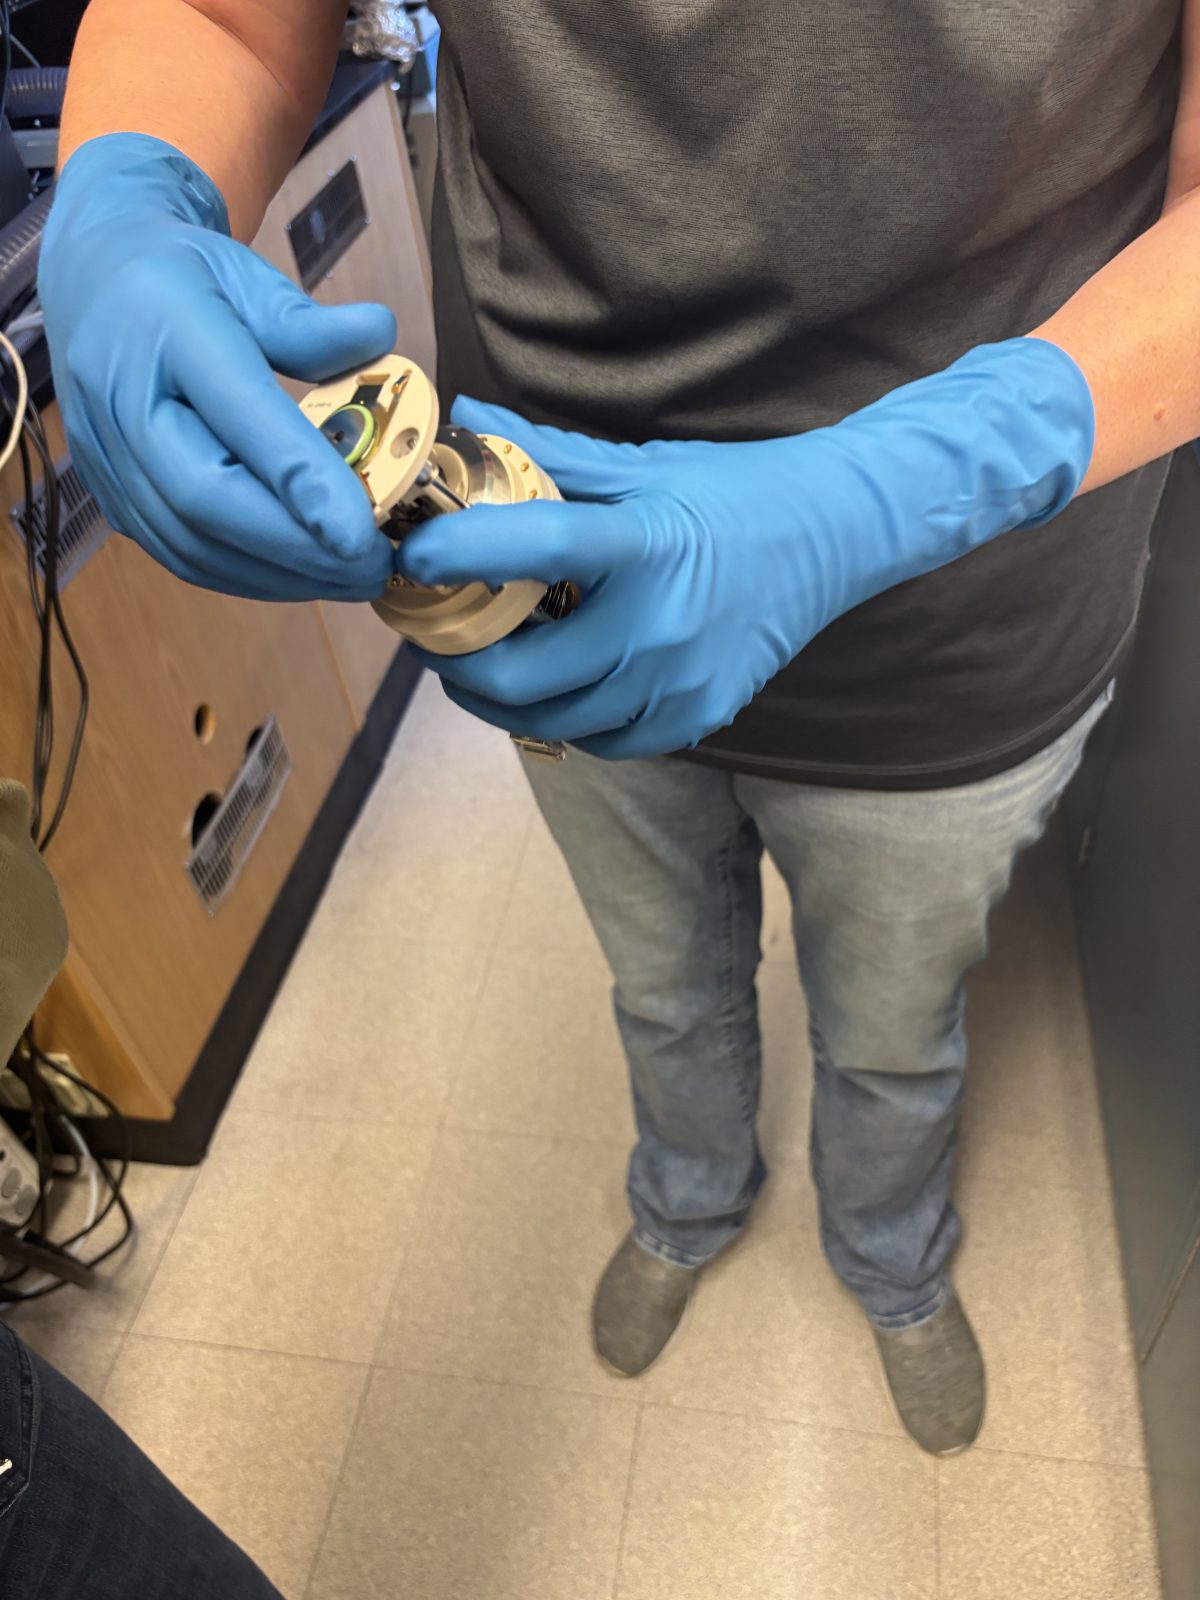
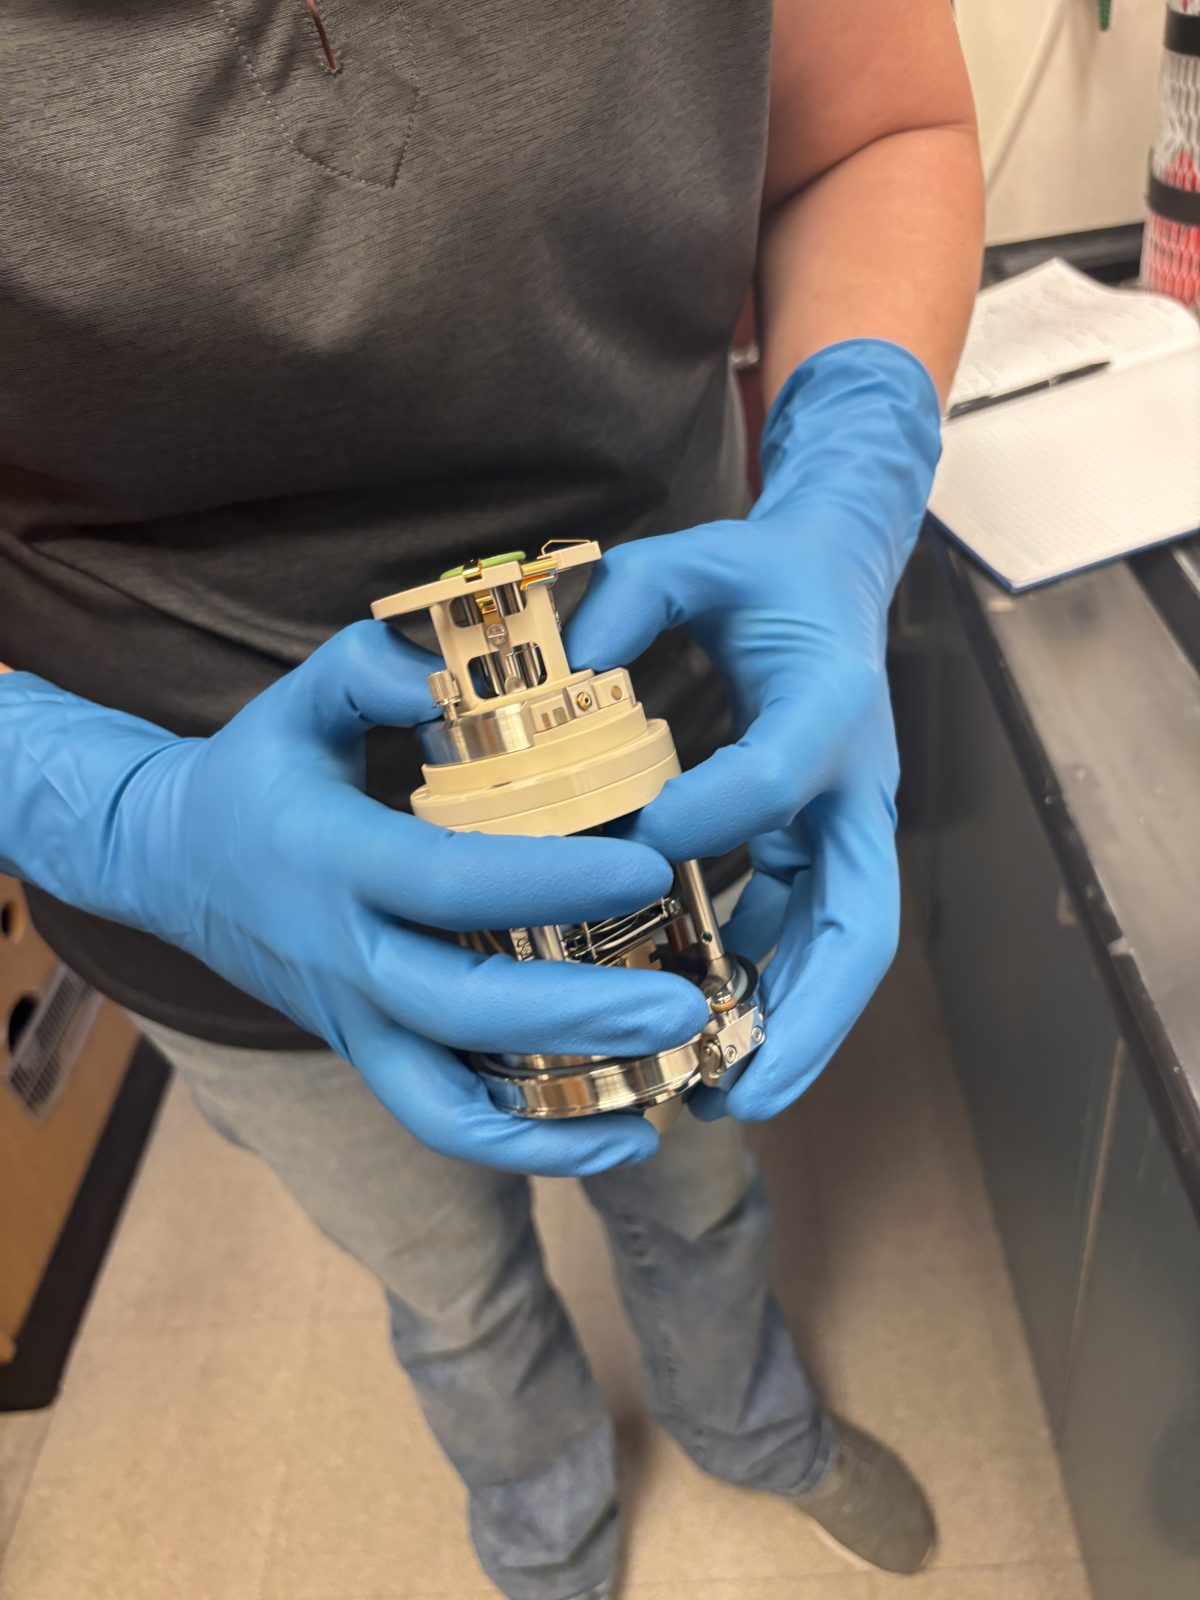
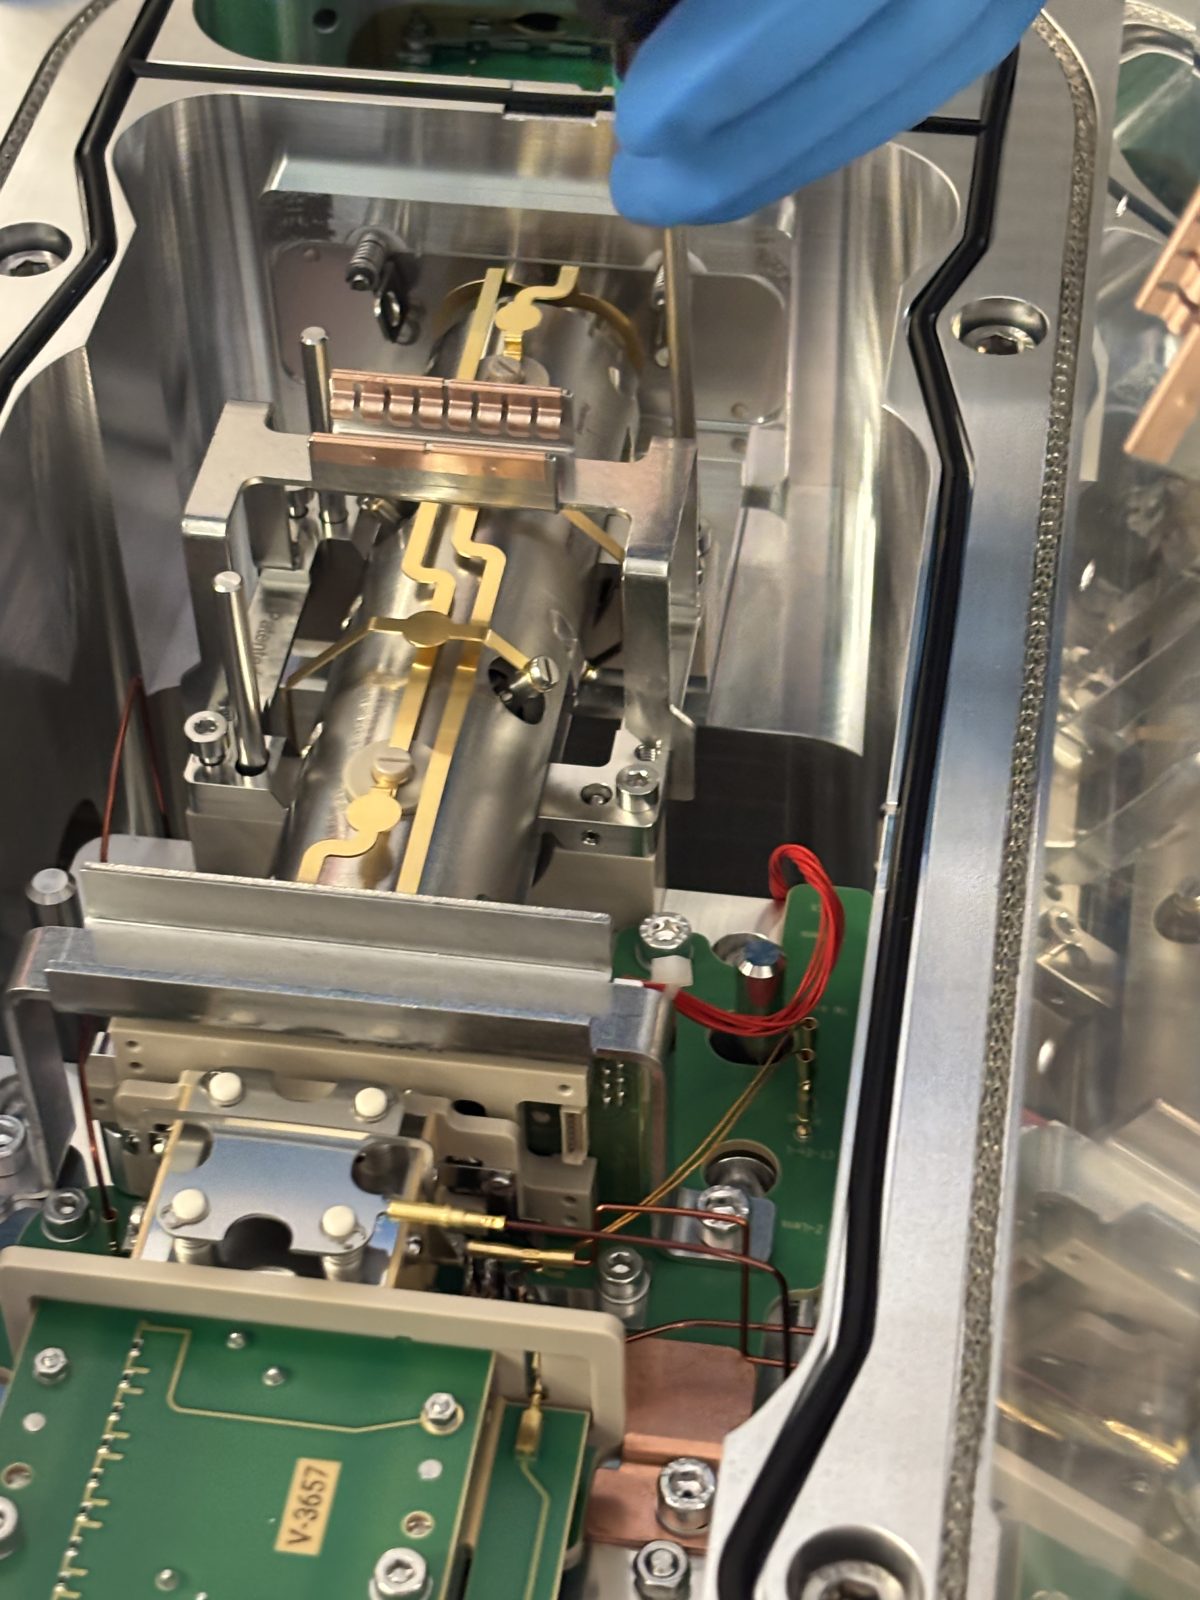
Put ion optics back together. Pins are there to make sure everything is oriented correctly.
2025-11-19 15:38:592025-11-19 15:39:112025-11-19 15:39:182025-11-19 15:39:242025-11-19 15:39:302025-11-19 15:39:332025-11-19 15:39:492025-11-19 15:39:562025-11-19 15:40:182025-11-19 15:40:322025-11-19 15:40:522025-11-19 15:40:542025-11-19 15:41:022025-11-19 15:41:21
Push ion optics back into instrument, then put in ion transfer tube.
2025-11-19 15:42:012025-11-19 15:42:072025-11-19 15:42:14
(Complete "Clean inside" and "Change pump oil..." sections below before continuing with the remaining steps in this section.)
Put N2 back on instrument
Turn on power
Press on top and front ion source to make sure sealed as vacuum comes back on
2025-11-19 15:43:27
Let warm up for 5-10 min, then turn electronics back on.
Will automatically go into bake out cycle after turning electronics back on
Clean inside: (In Orbitrap performance and users manual on desktop)
Remove syringe
Remove white waste tube from back
Slide cover back (by standing in front and pushing back on the fake orbitrap) then lift off of top and set aside. Put cover back between removing parts to keep clean.
2025-11-19 13:58:332025-11-19 14:00:062025-11-19 14:00:232025-11-19 14:00:322025-11-19 14:00:44
Lift off cover (hard, still some vacuum)
2025-11-19 14:01:46
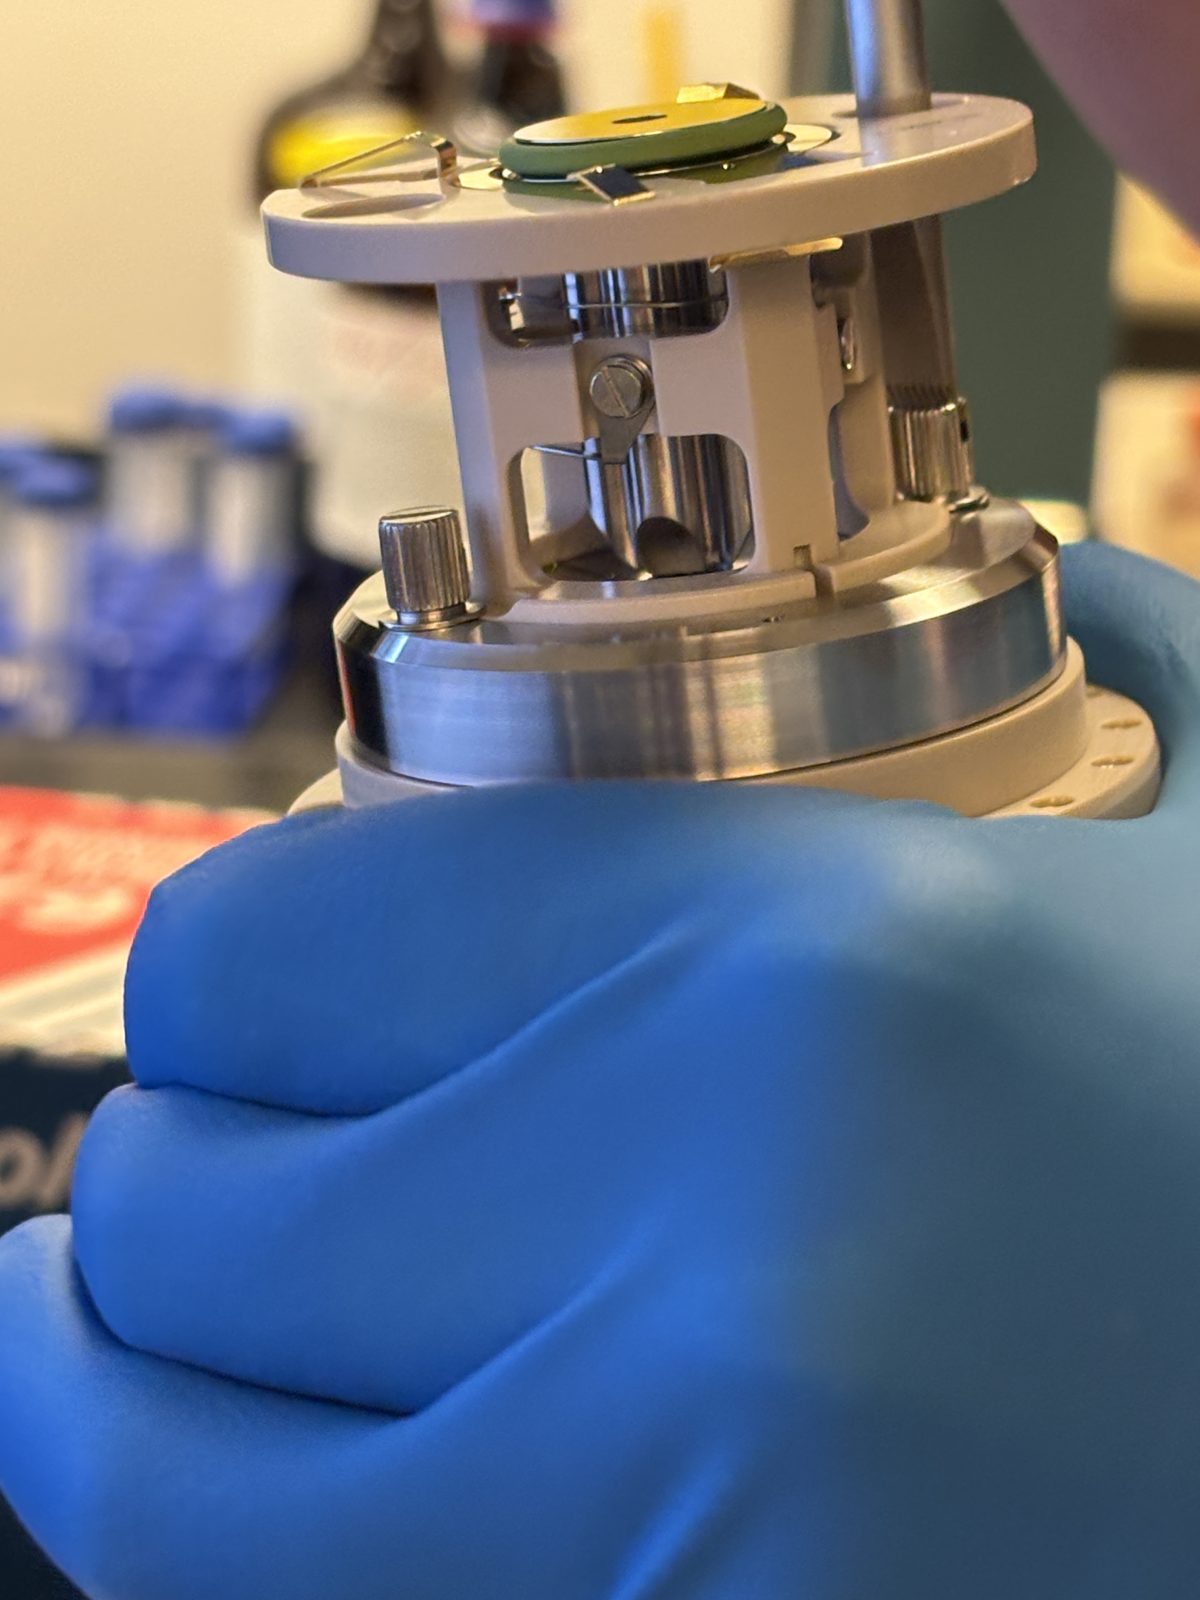
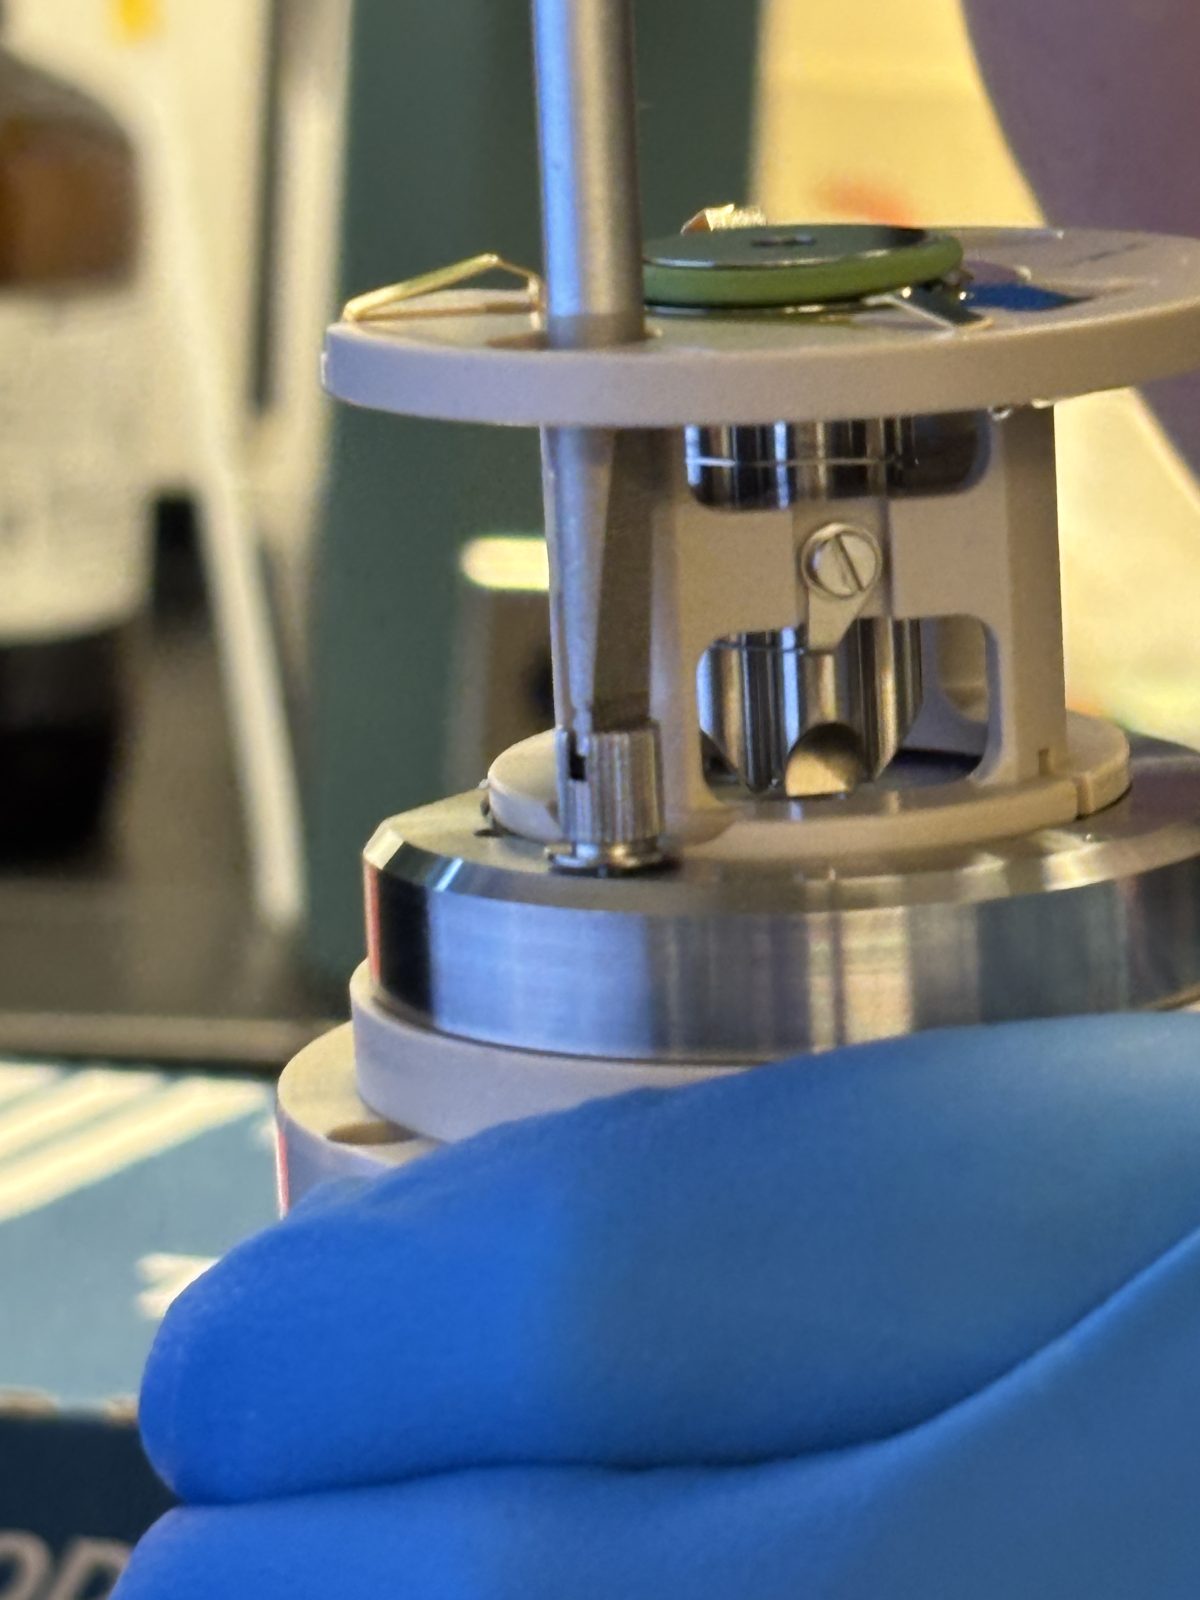
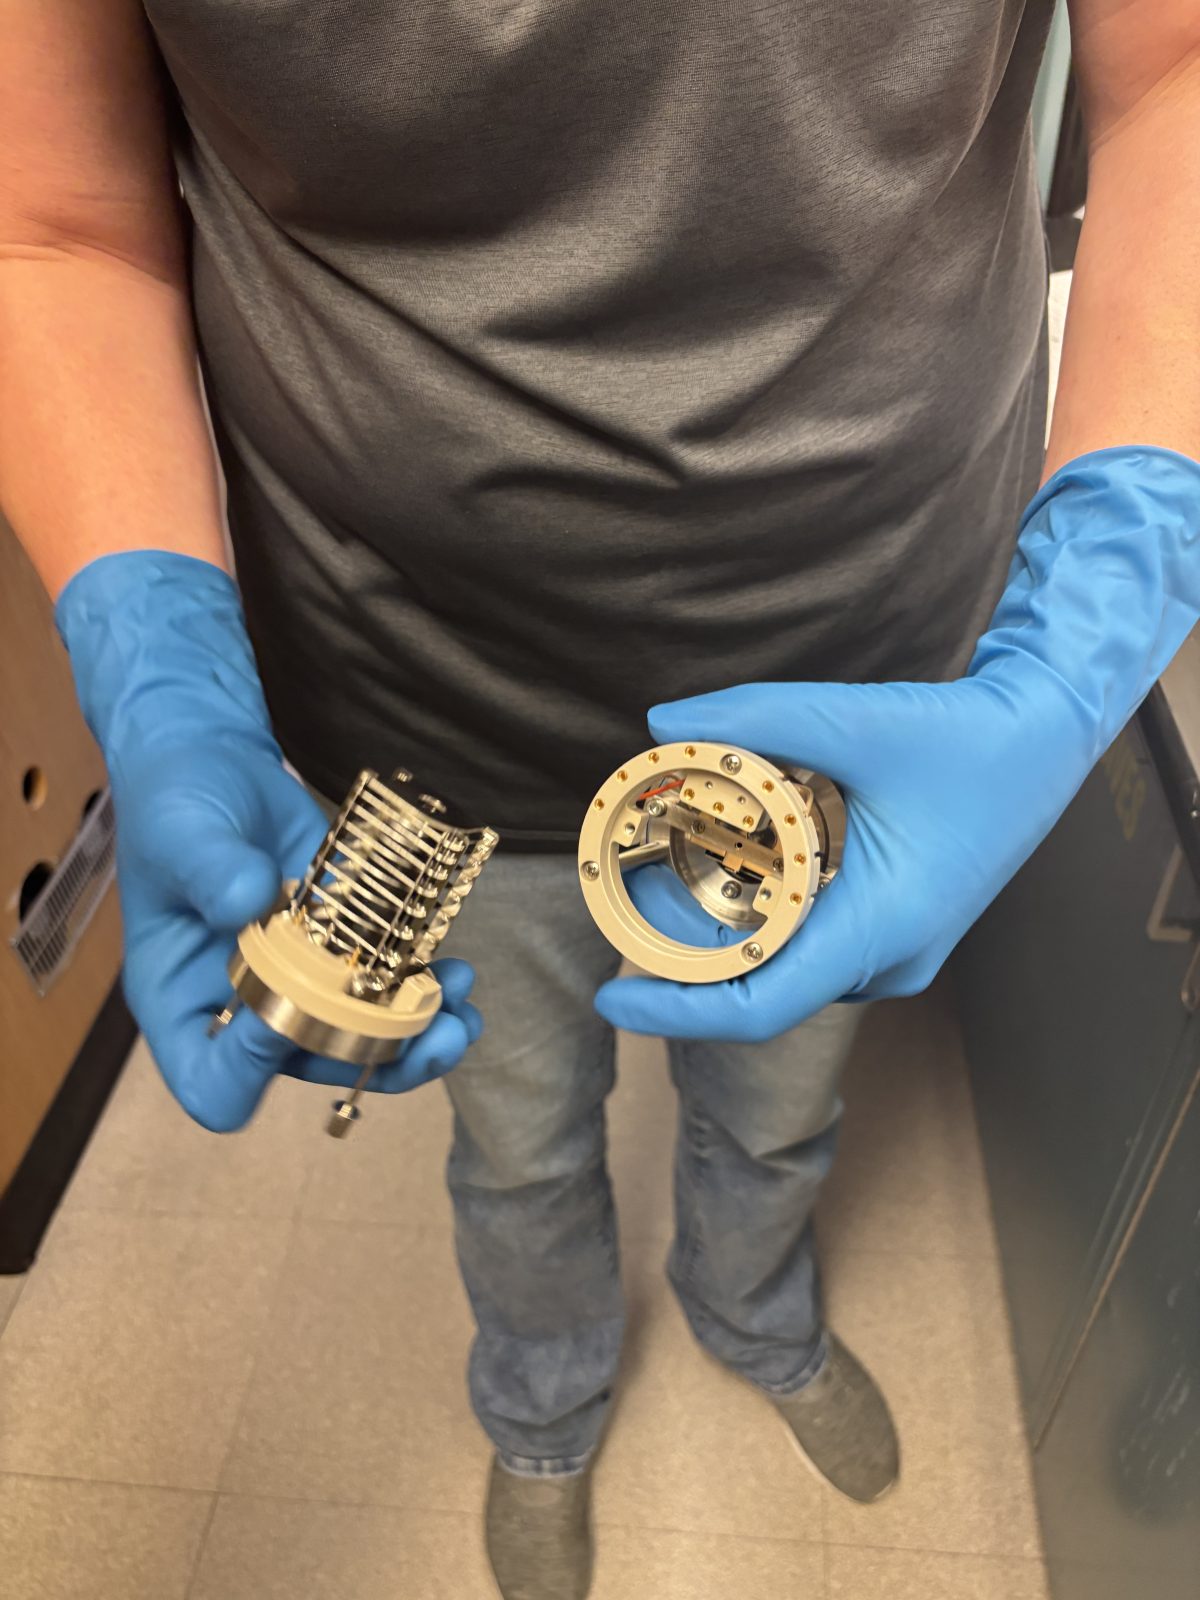
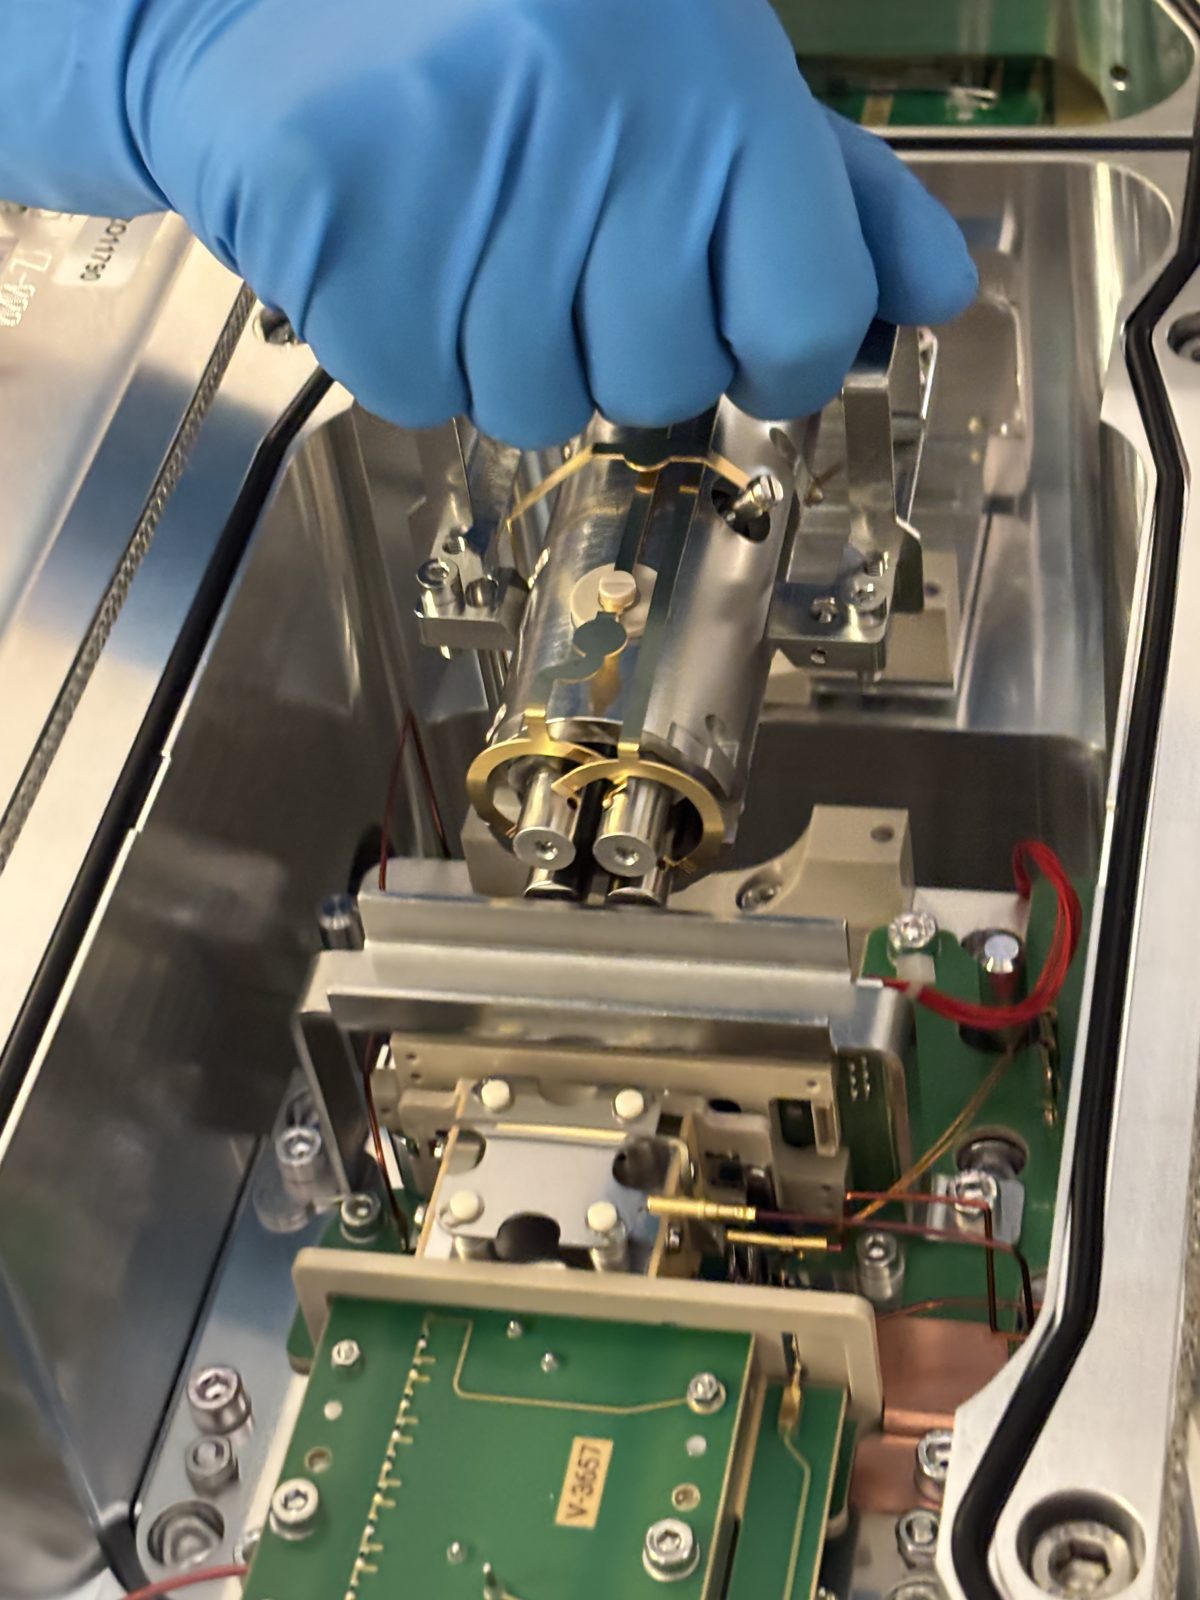
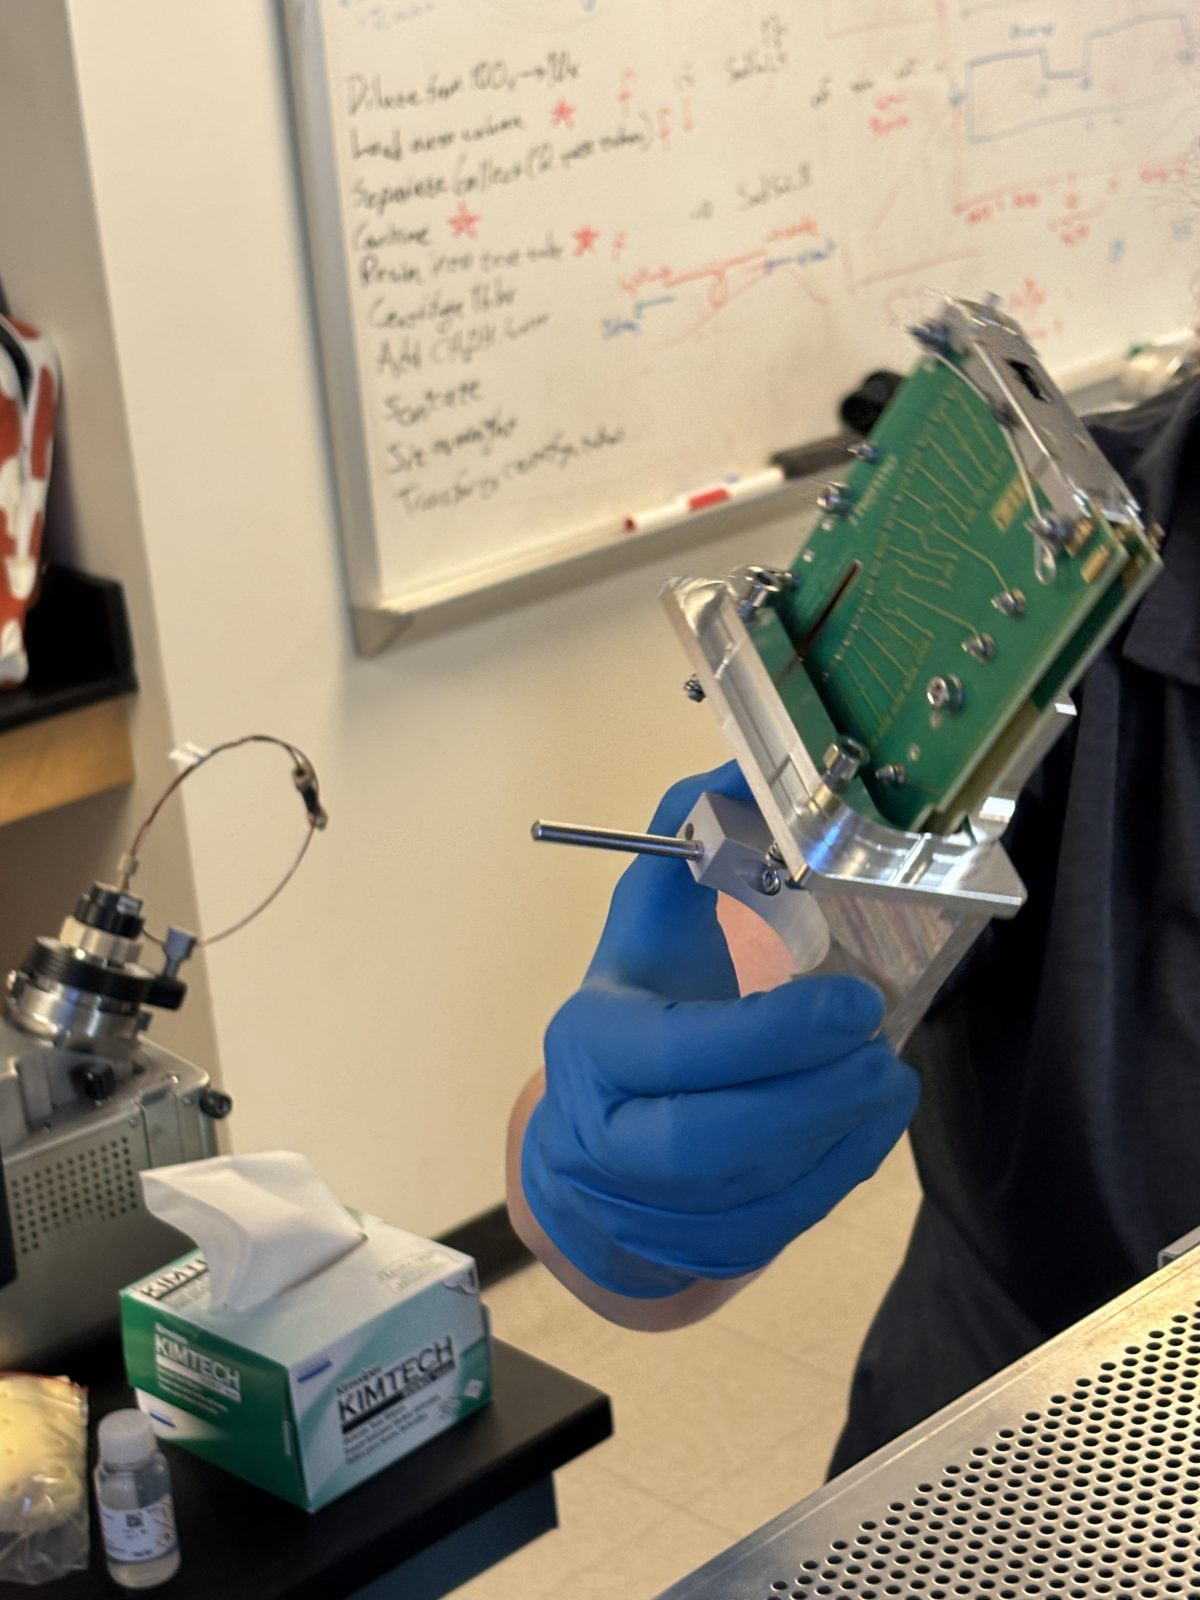
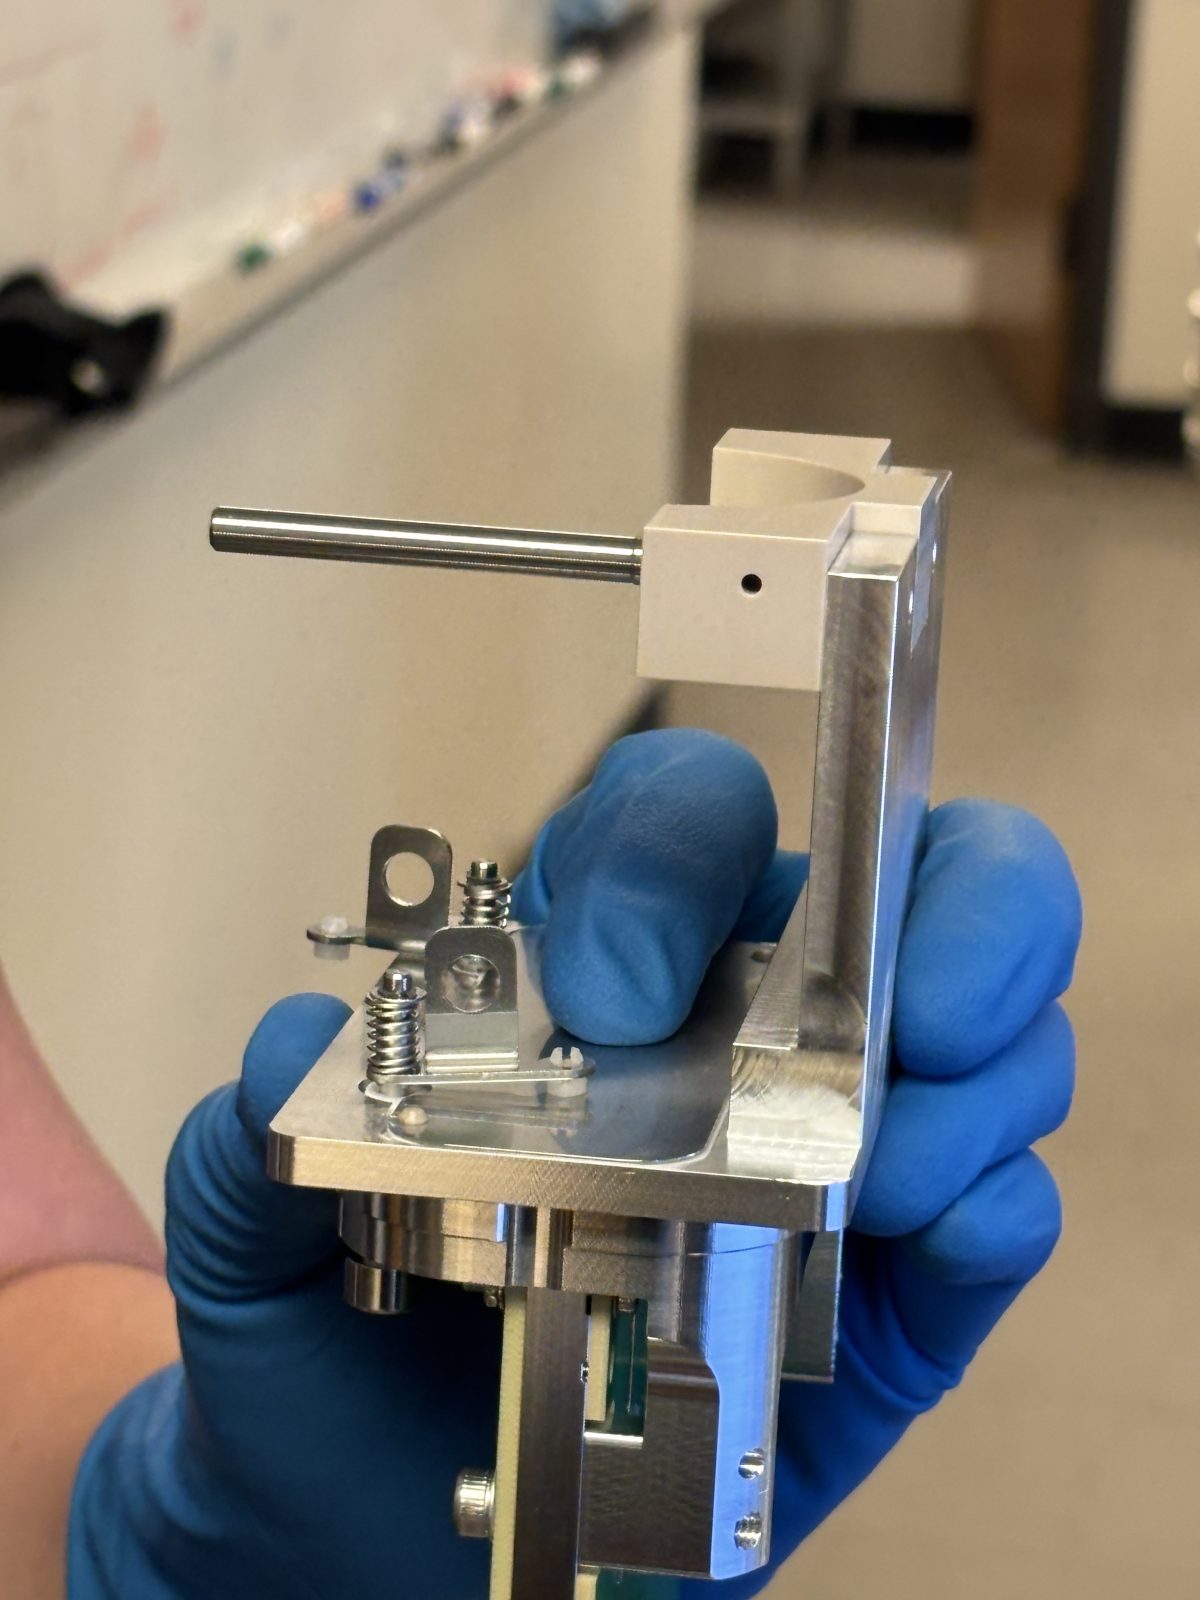
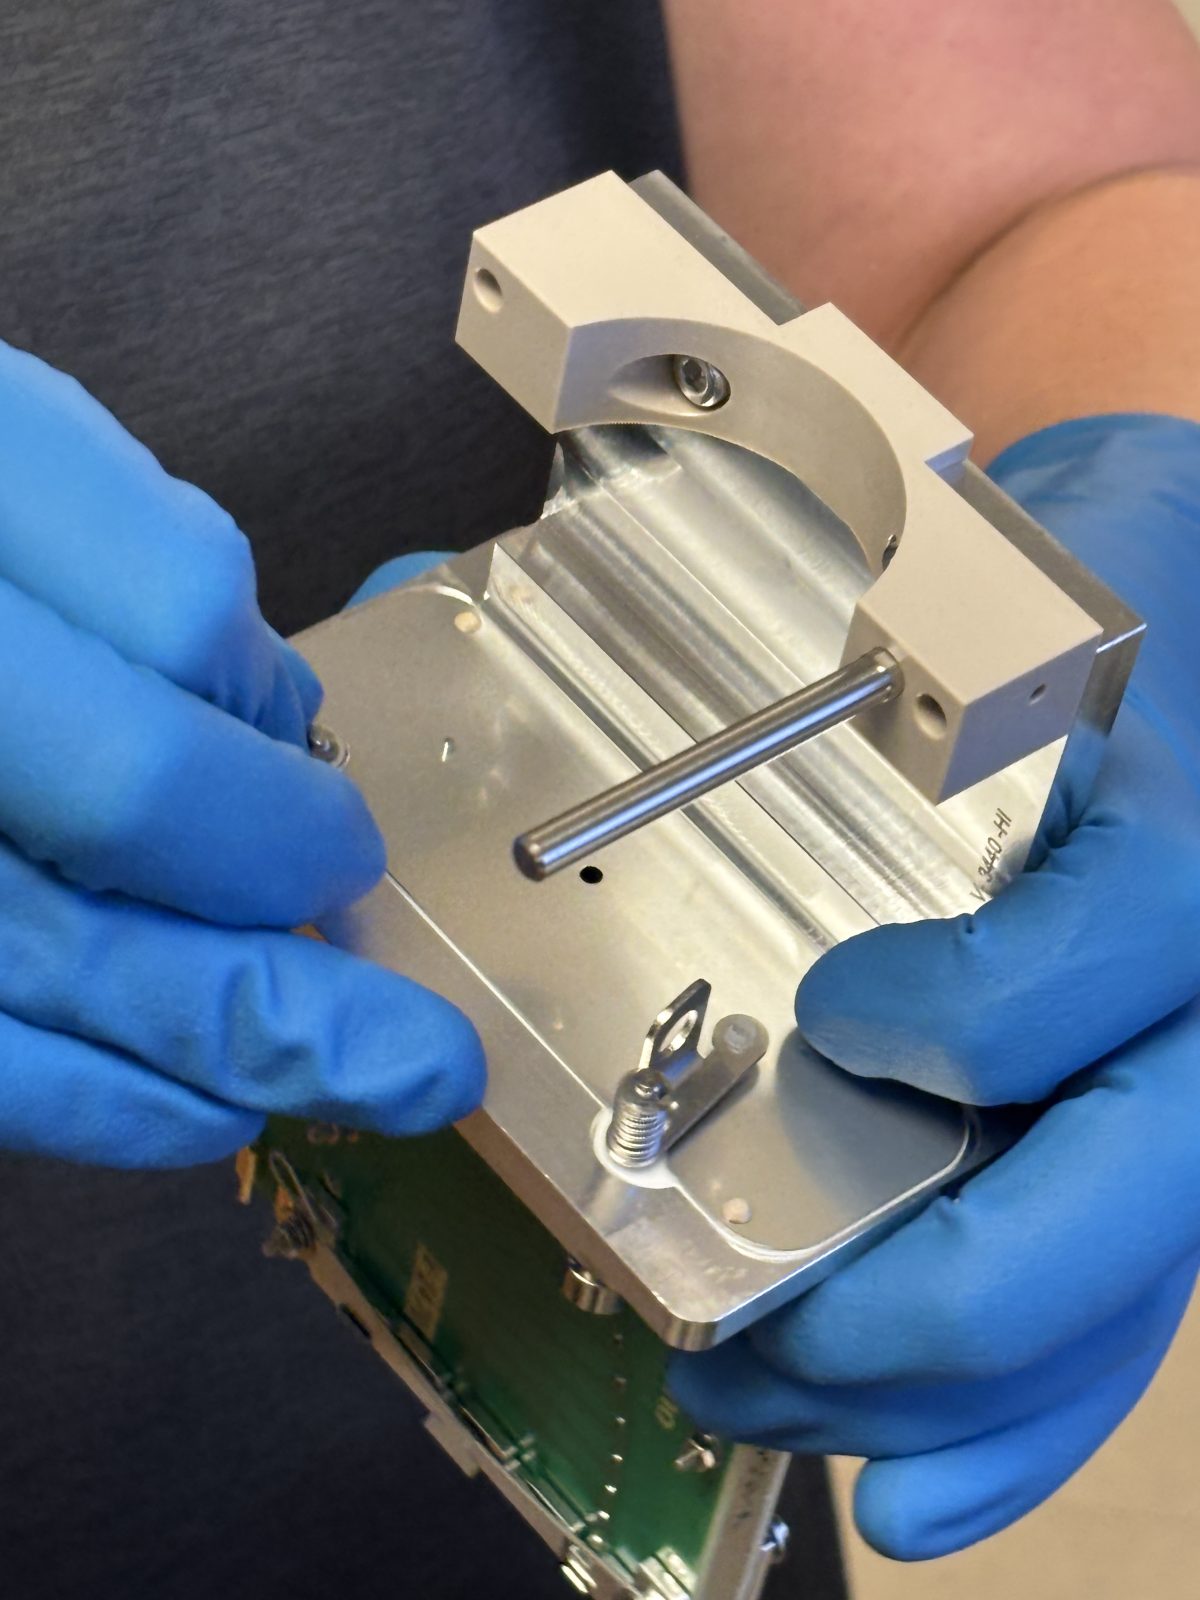
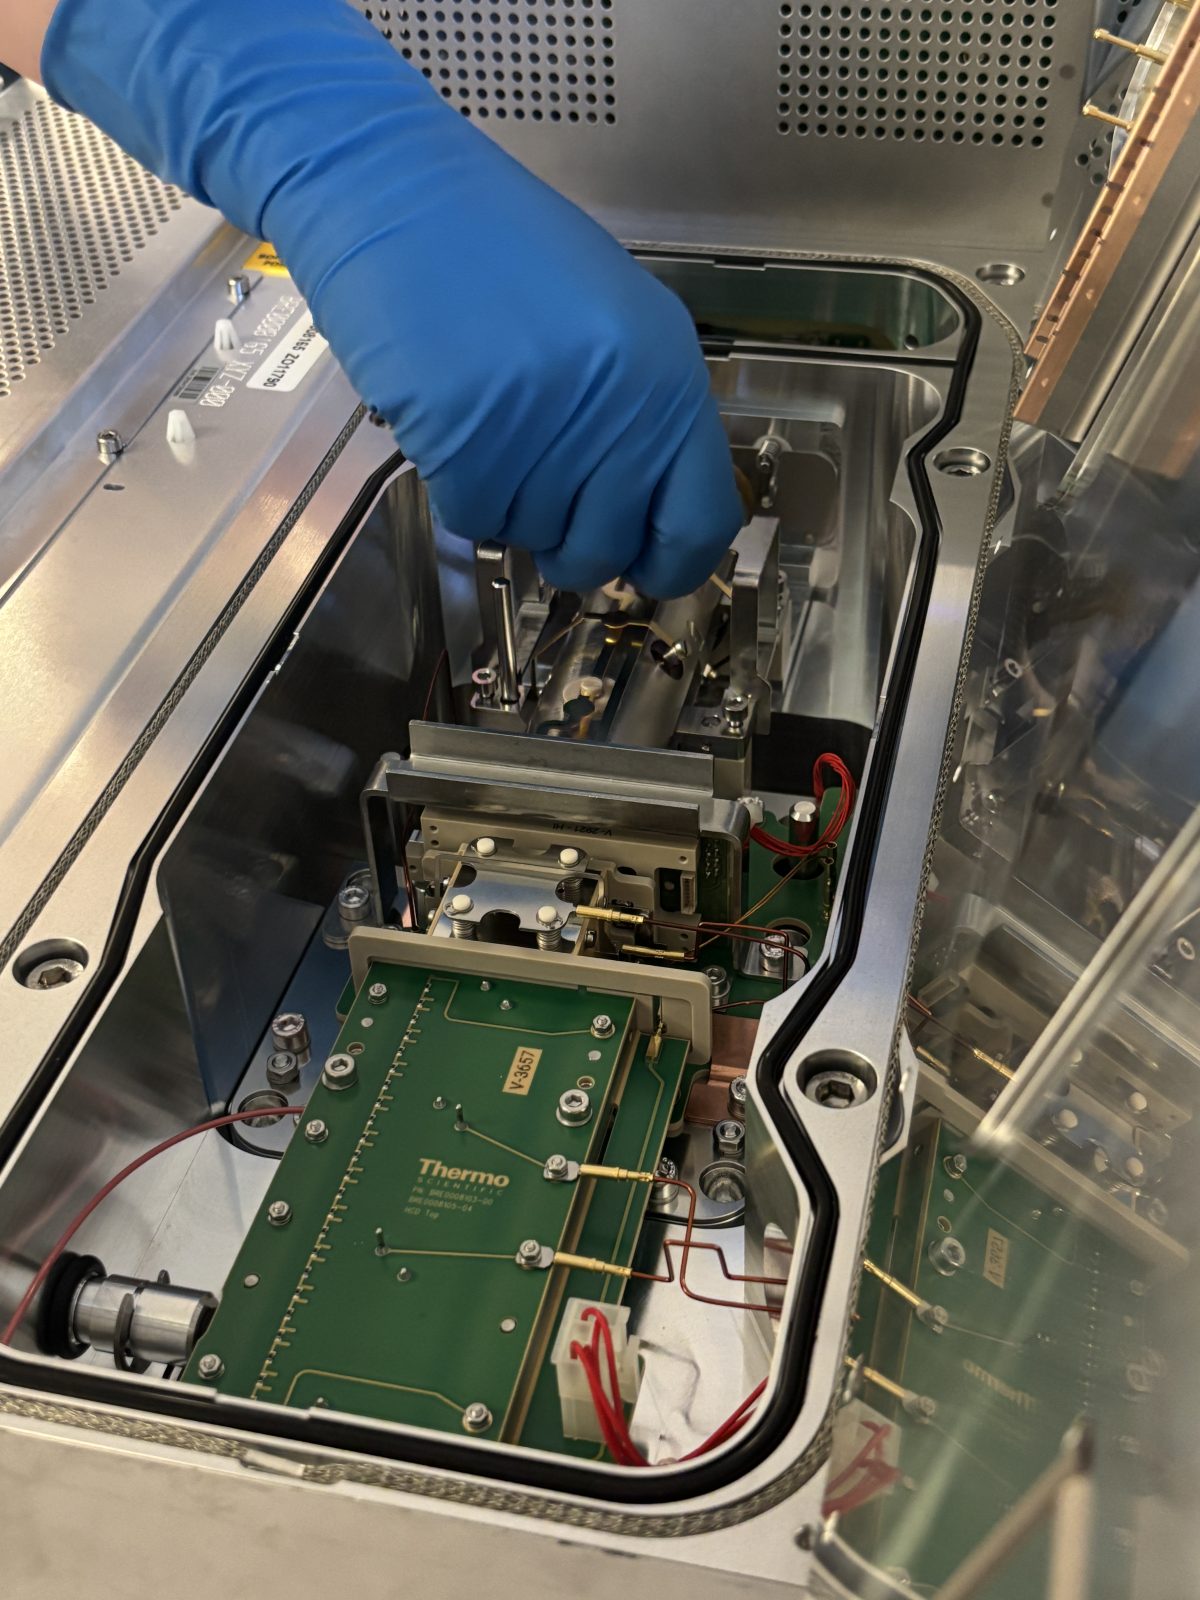
Take out quad (unscrew and lift up) (photo). Place quad in black service box. Pin makes sure you put it in in the right direction. Cover with Al foil until ready to clean.
2025-11-19 14:02:142025-11-19 14:02:232025-11-19 14:02:352025-11-19 14:03:222025-11-19 14:03:242025-11-19 14:03:37
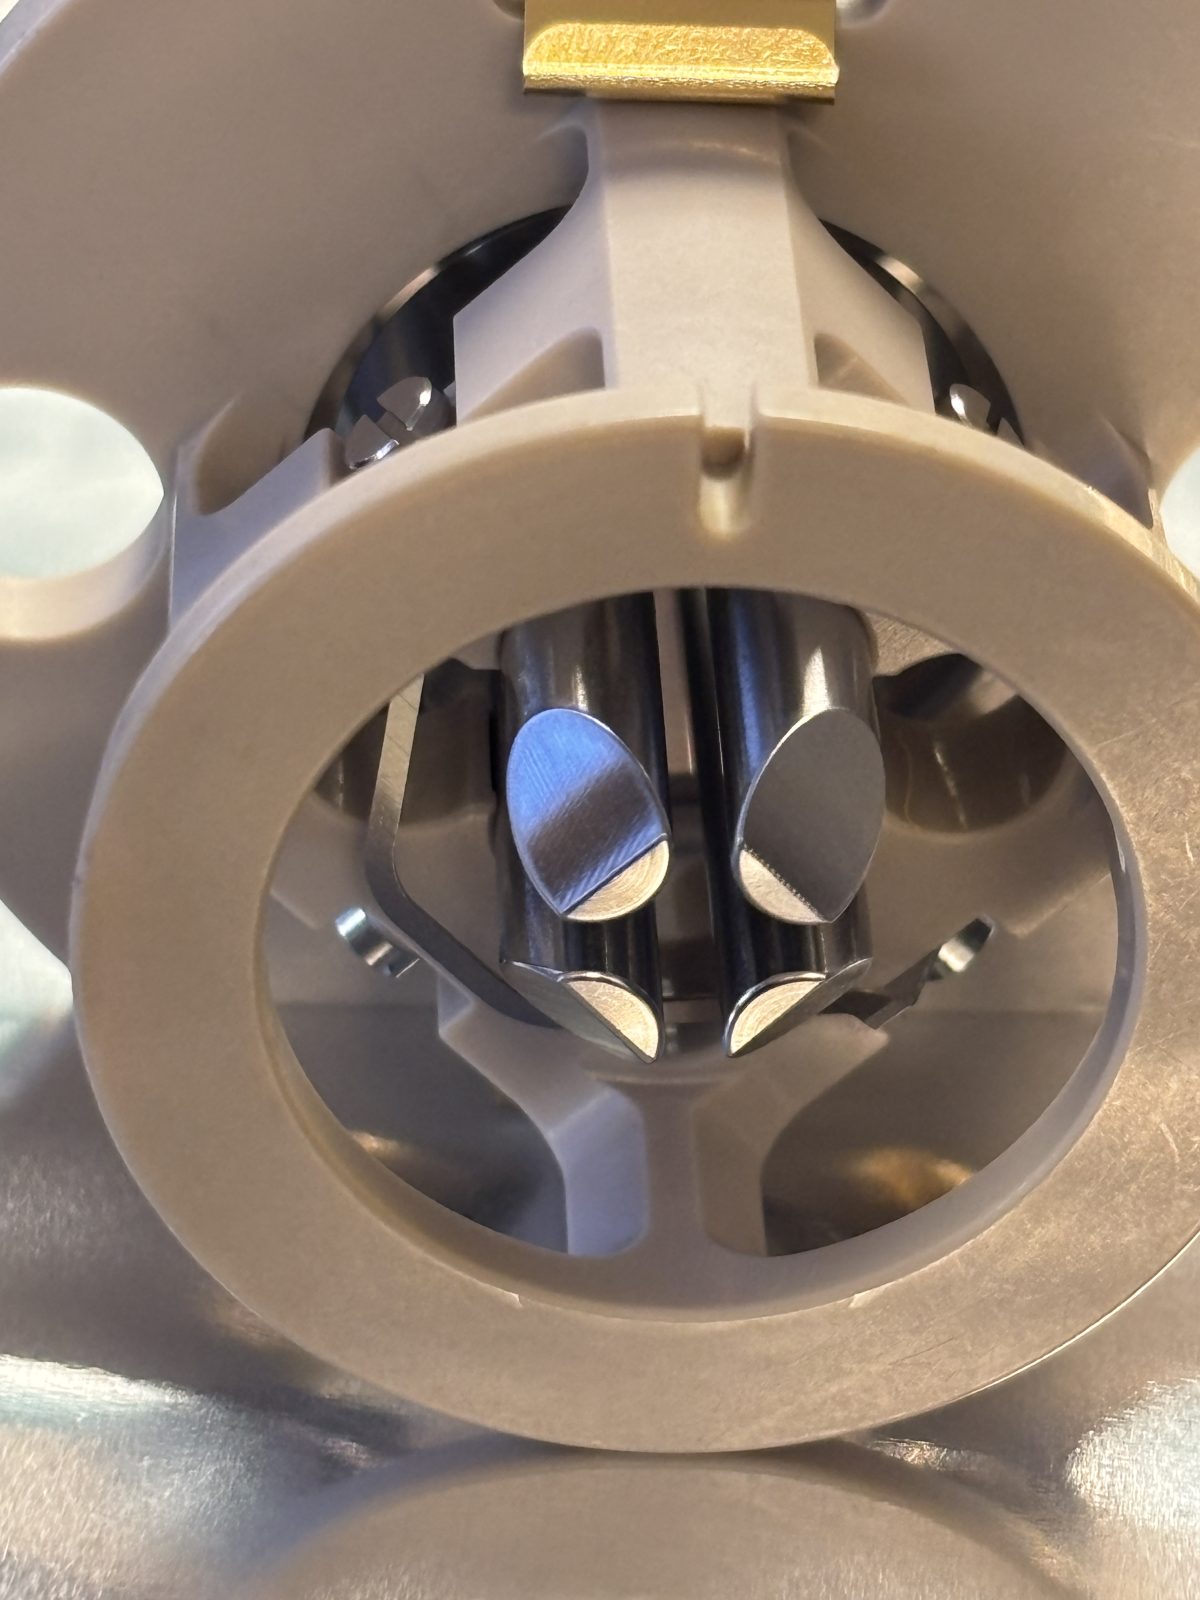
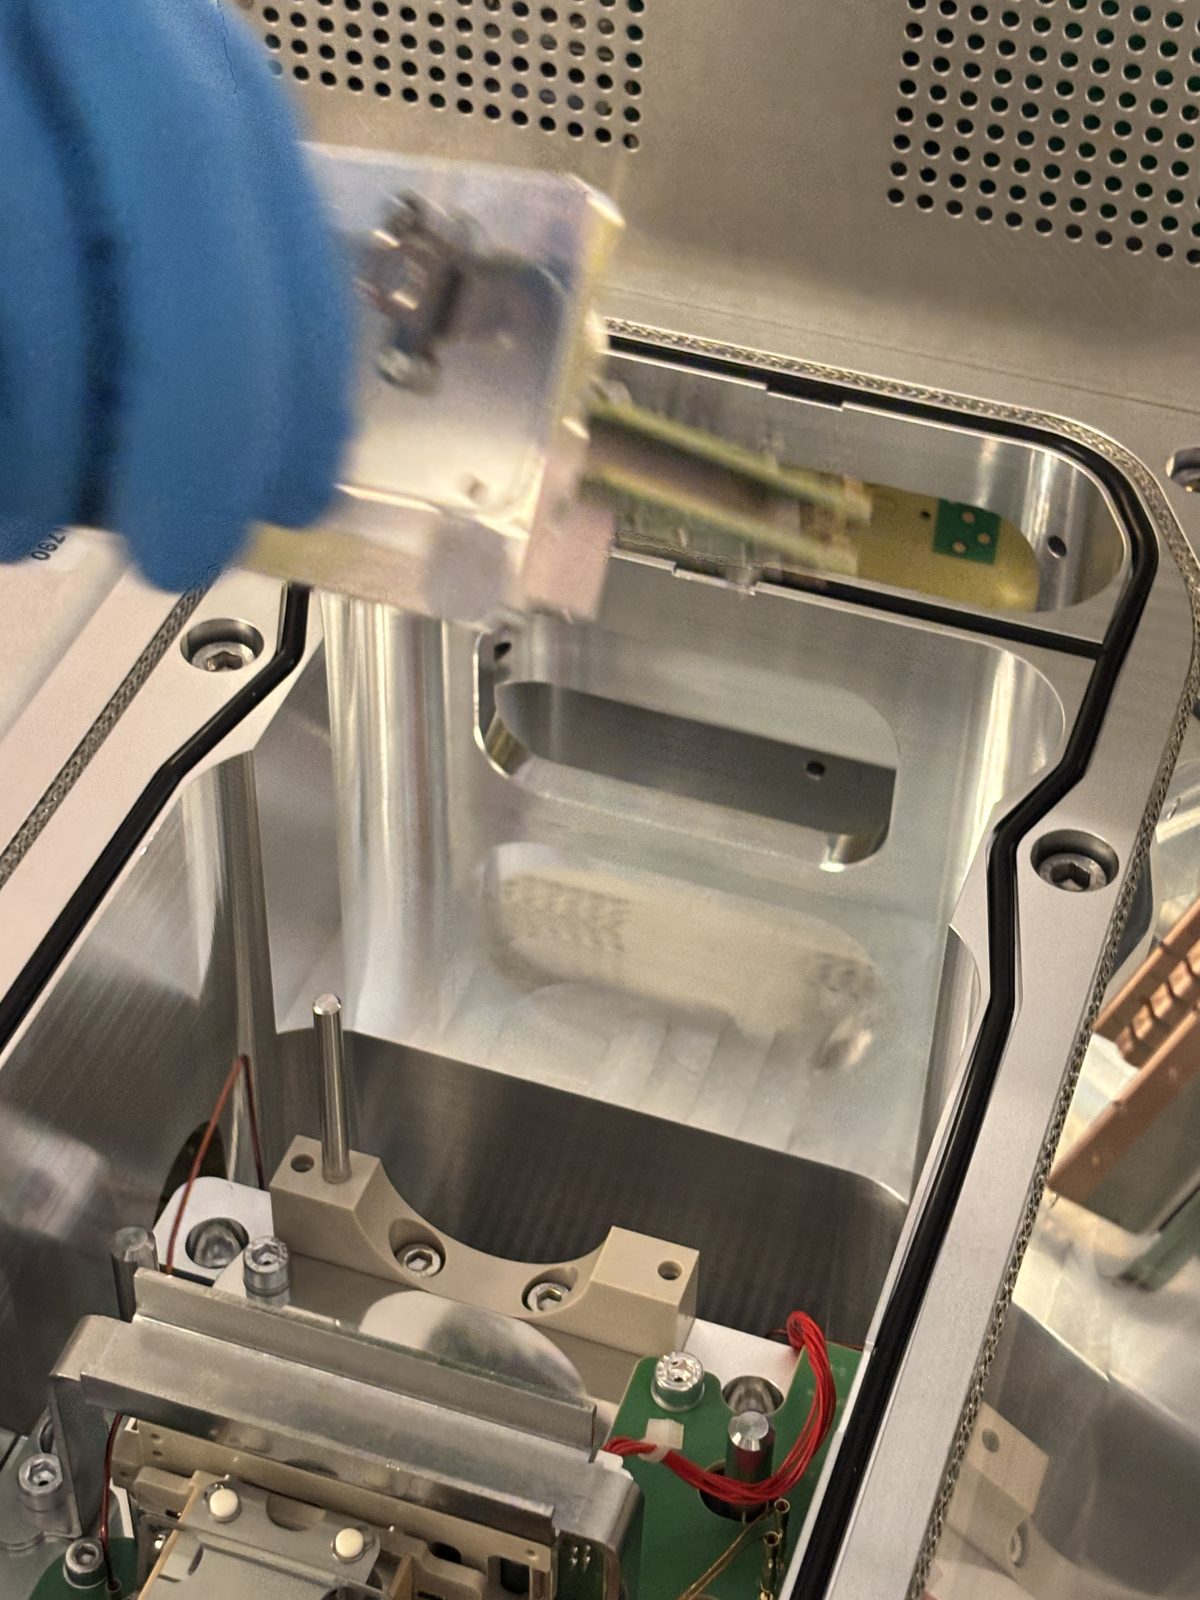
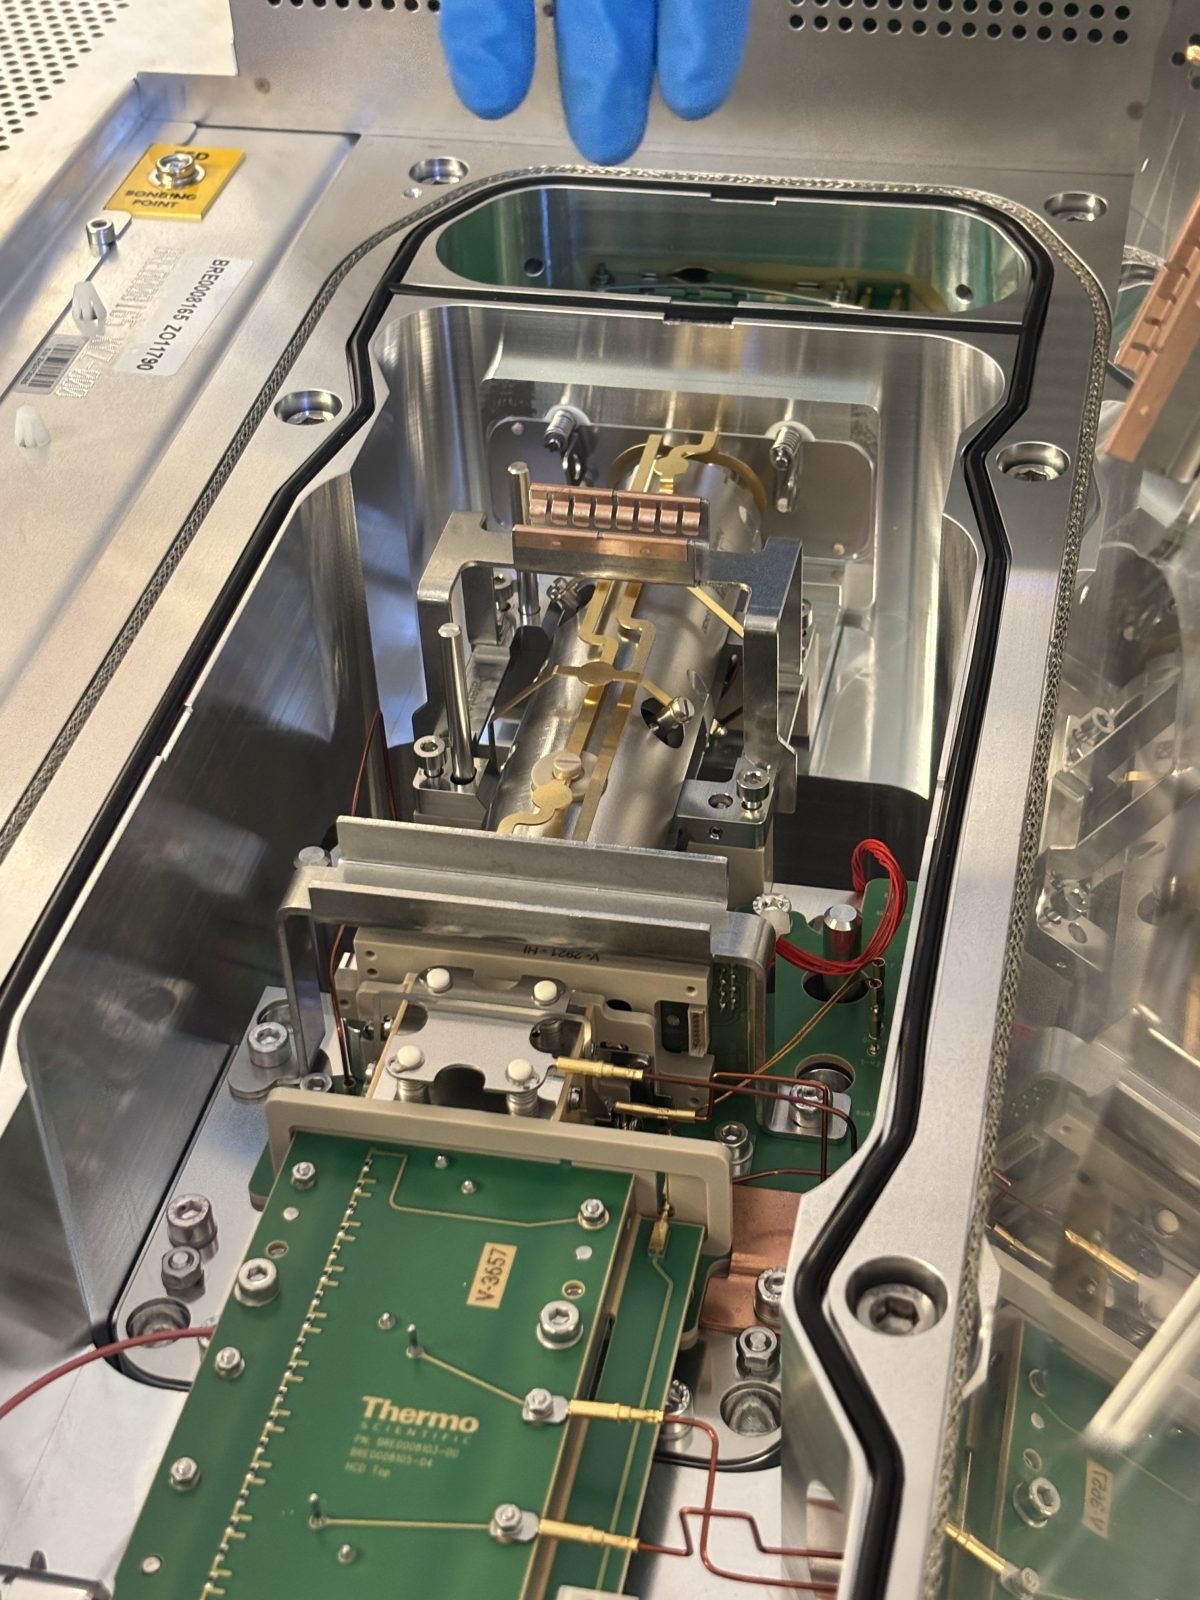
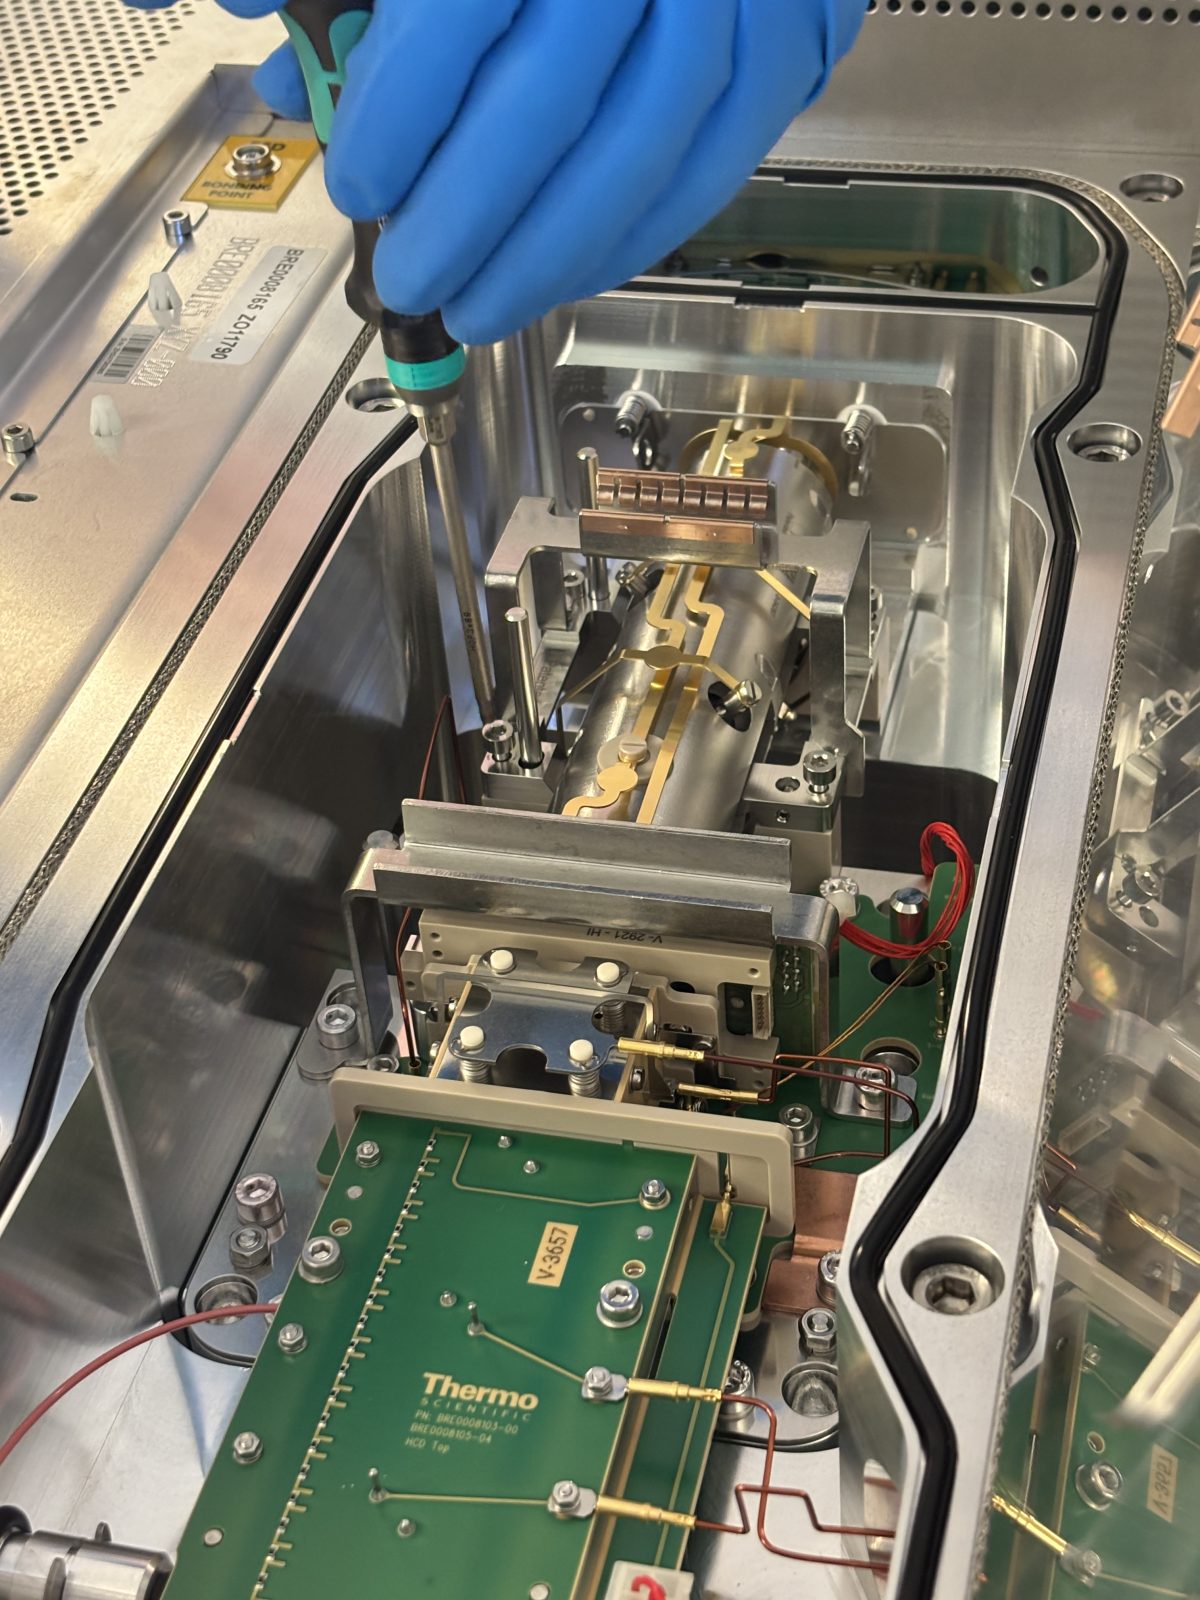
Remove bent flatpole (in front) with red #4 Allen wrench. Loosen screws a little. Remove gate. Remove bent flatpole. Remove plate with 2 hollow poles sticking out. Cover bent flatpole with Al foil.
2025-11-19 14:04:072025-11-19 14:04:442025-11-19 14:05:202025-11-19 14:05:222025-11-19 14:07:01
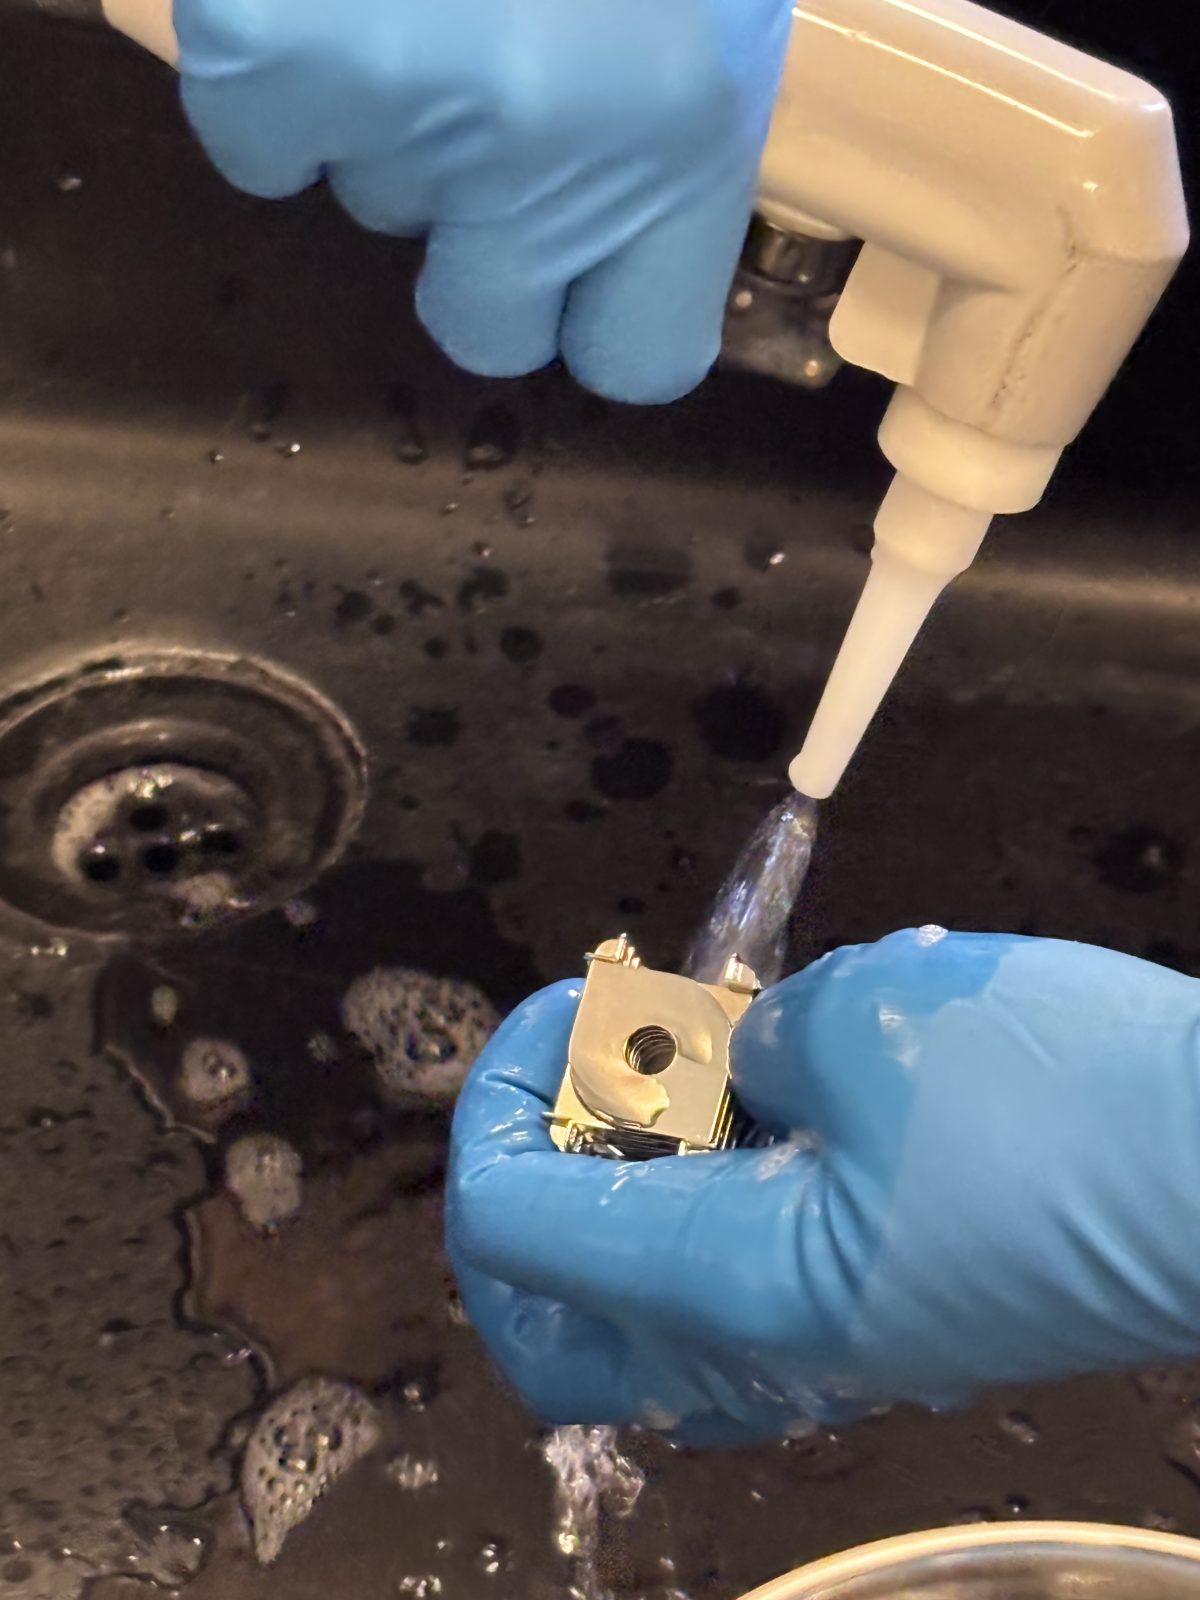
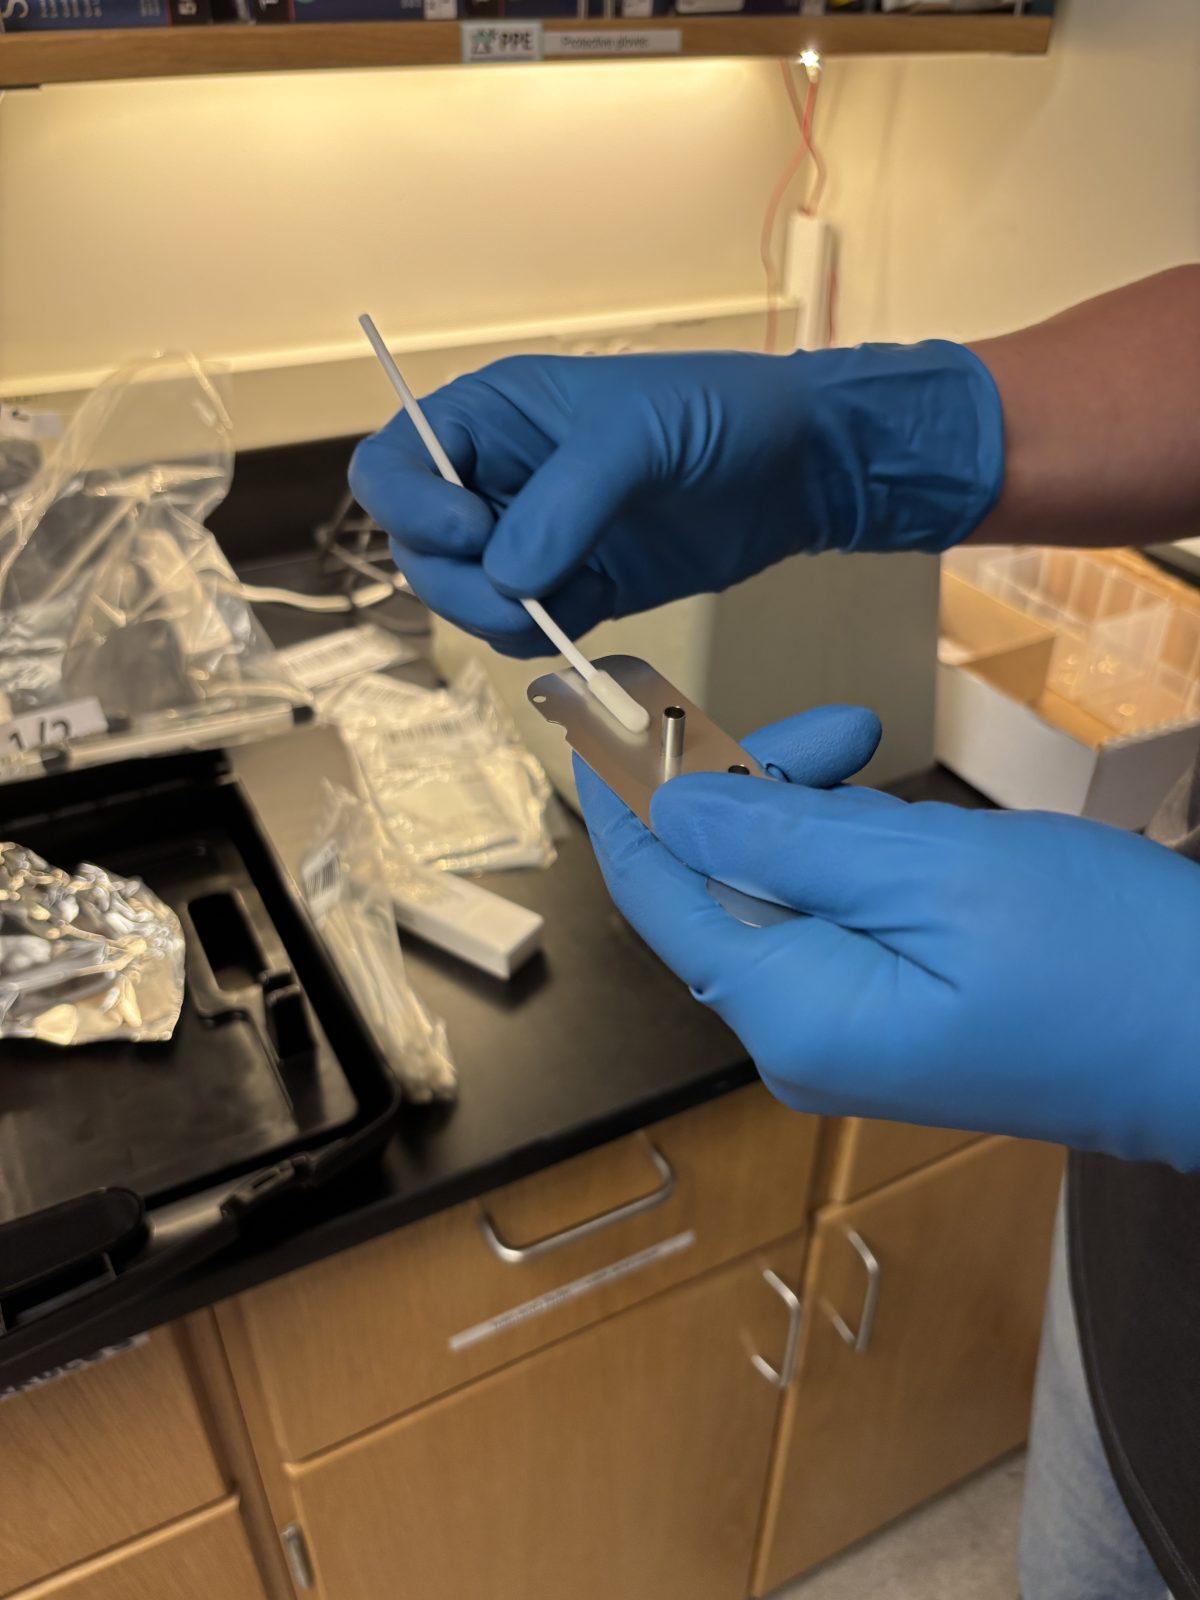
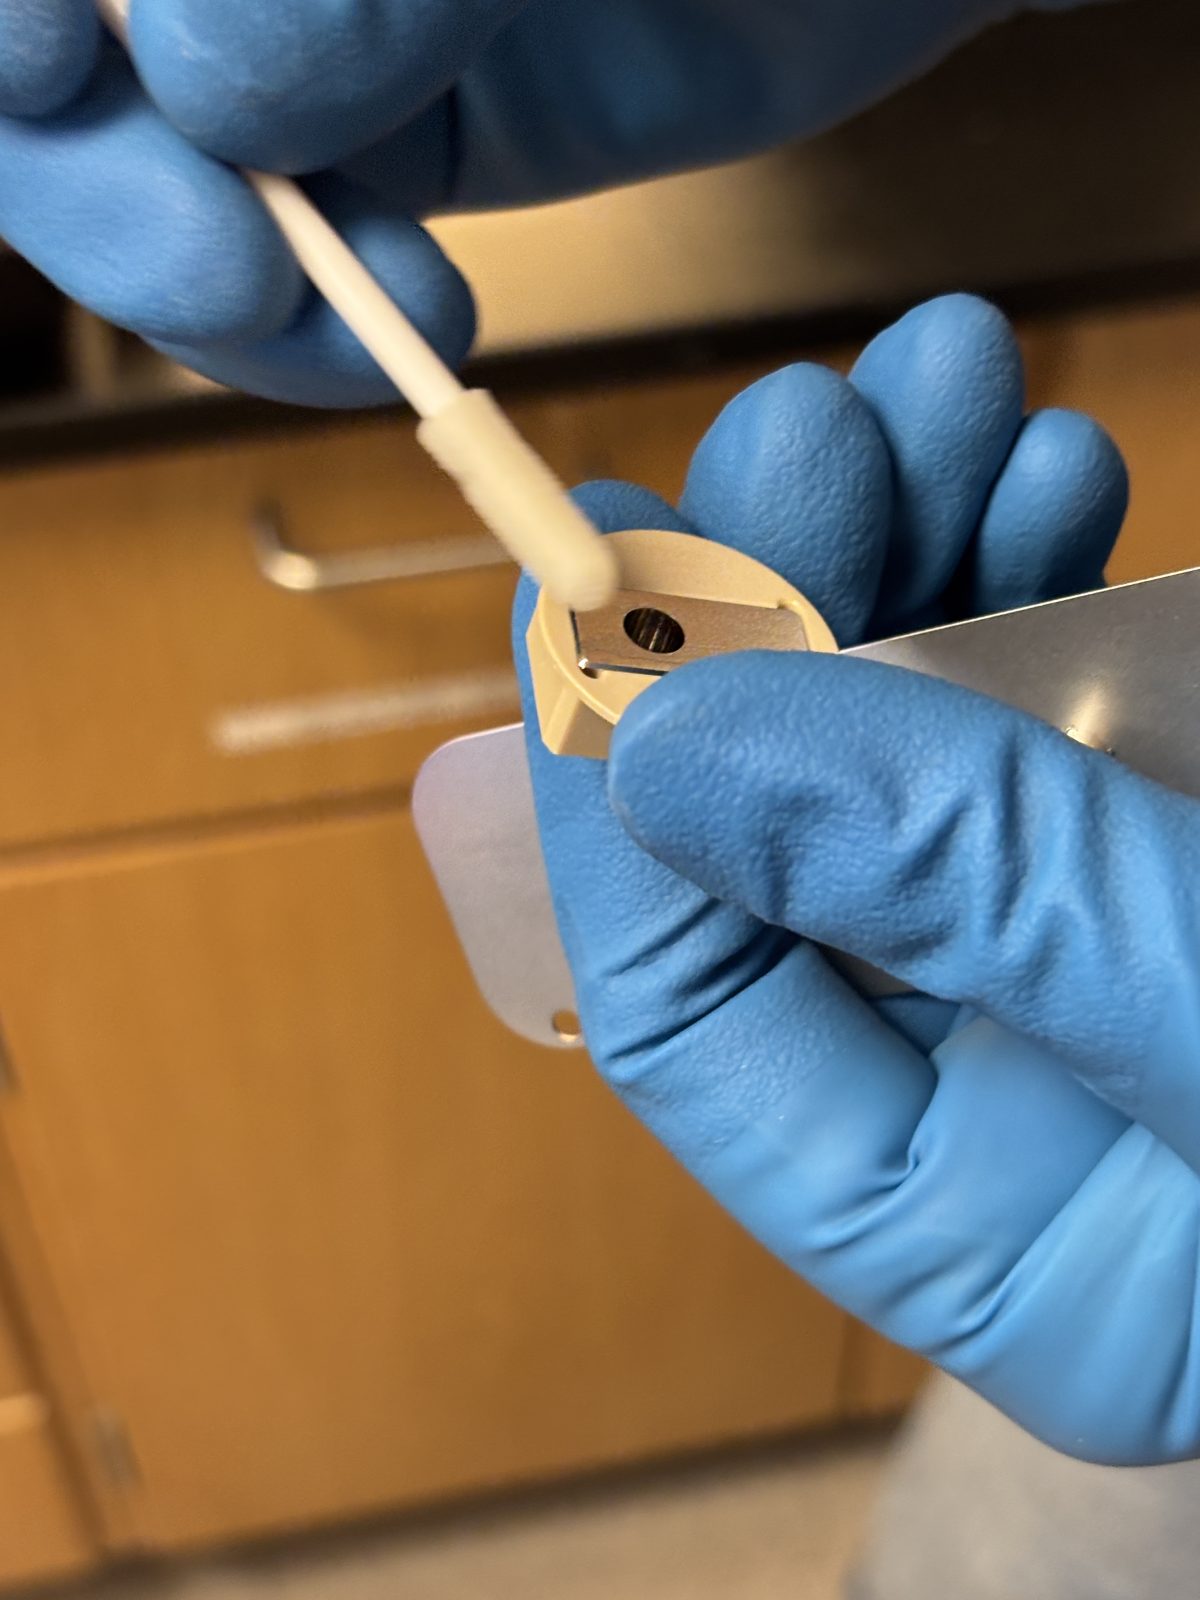
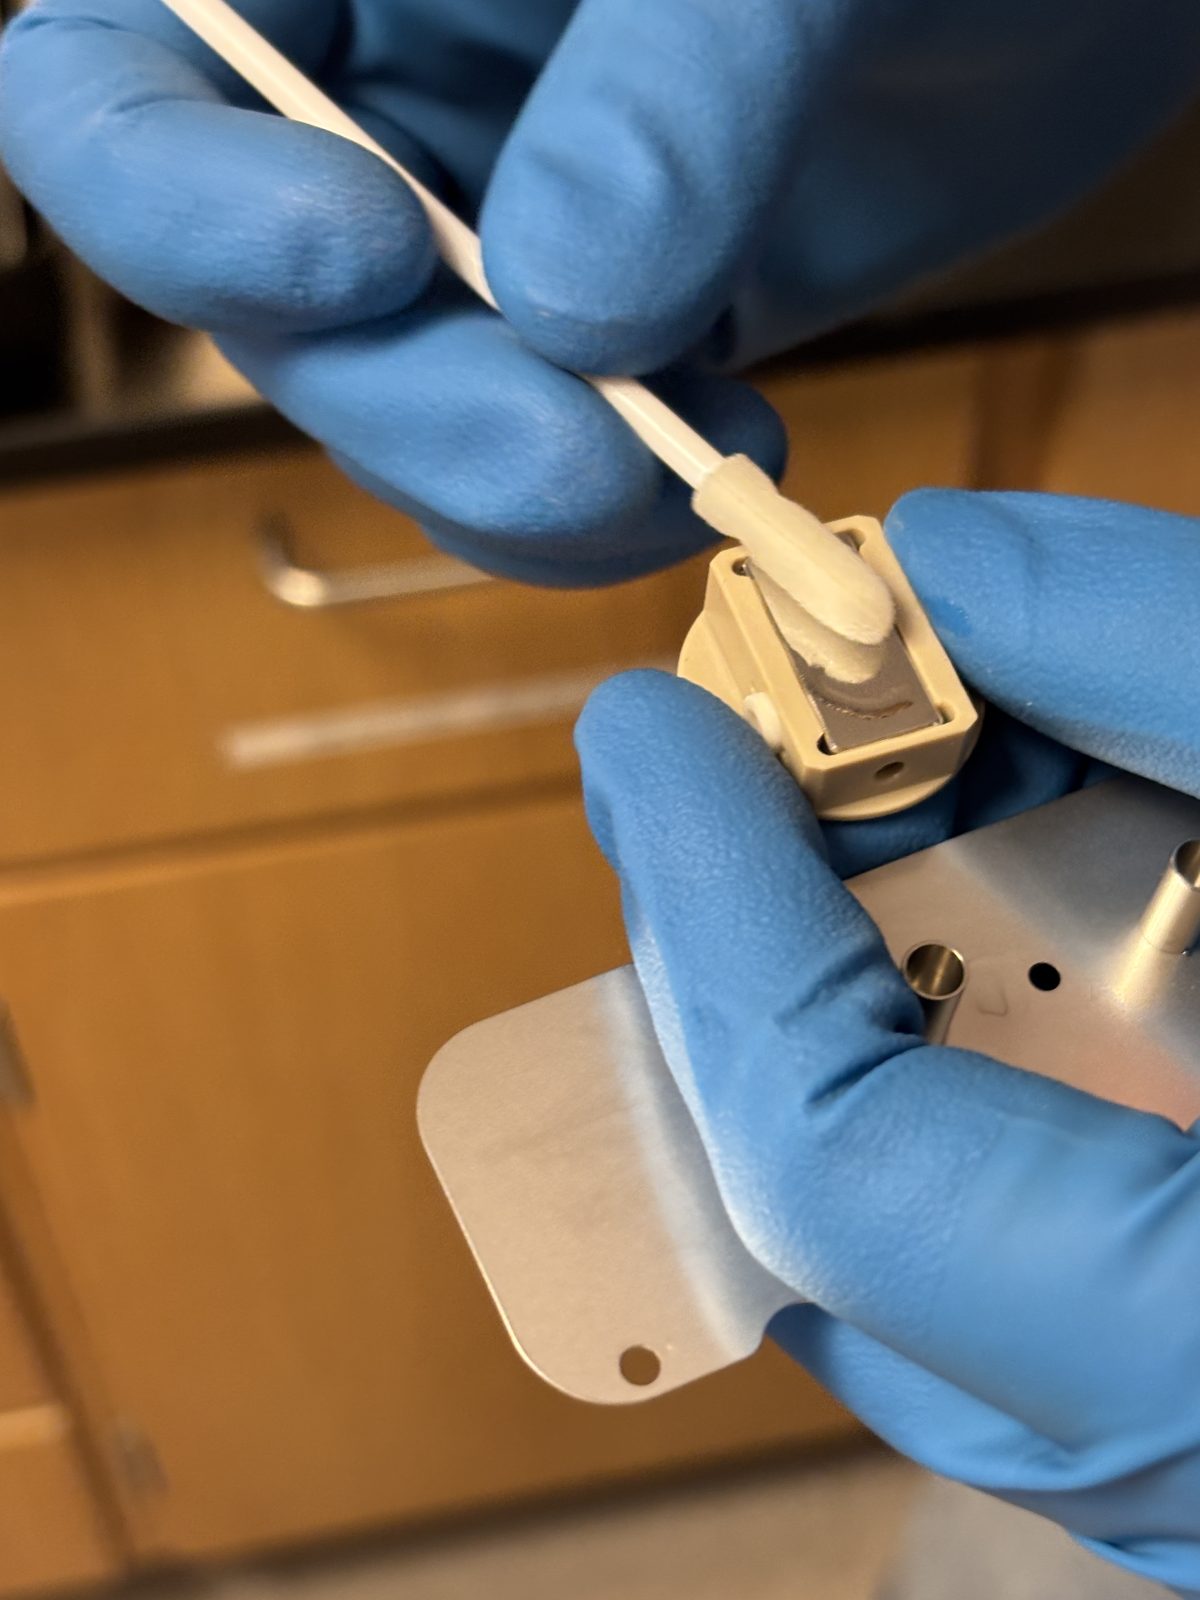
Scrub this plate plus the other things that we removed earlier that need scrubbing. Scrub with large Q tips provided in PM kit. Dip q tip in soapy water and scrub. Then dip q tip in regular water and scrub to remove soap. Let dry. Rinse and scrub with MeOH. Remove N2 tube from back of instrument, attach to pen tool, and blow parts dry. (Note there are other scrubbing tools that we could have used but didn’t need this time.)
2025-11-19 14:08:352025-11-19 14:09:392025-11-19 14:09:412025-11-19 14:22:252025-11-19 14:23:22
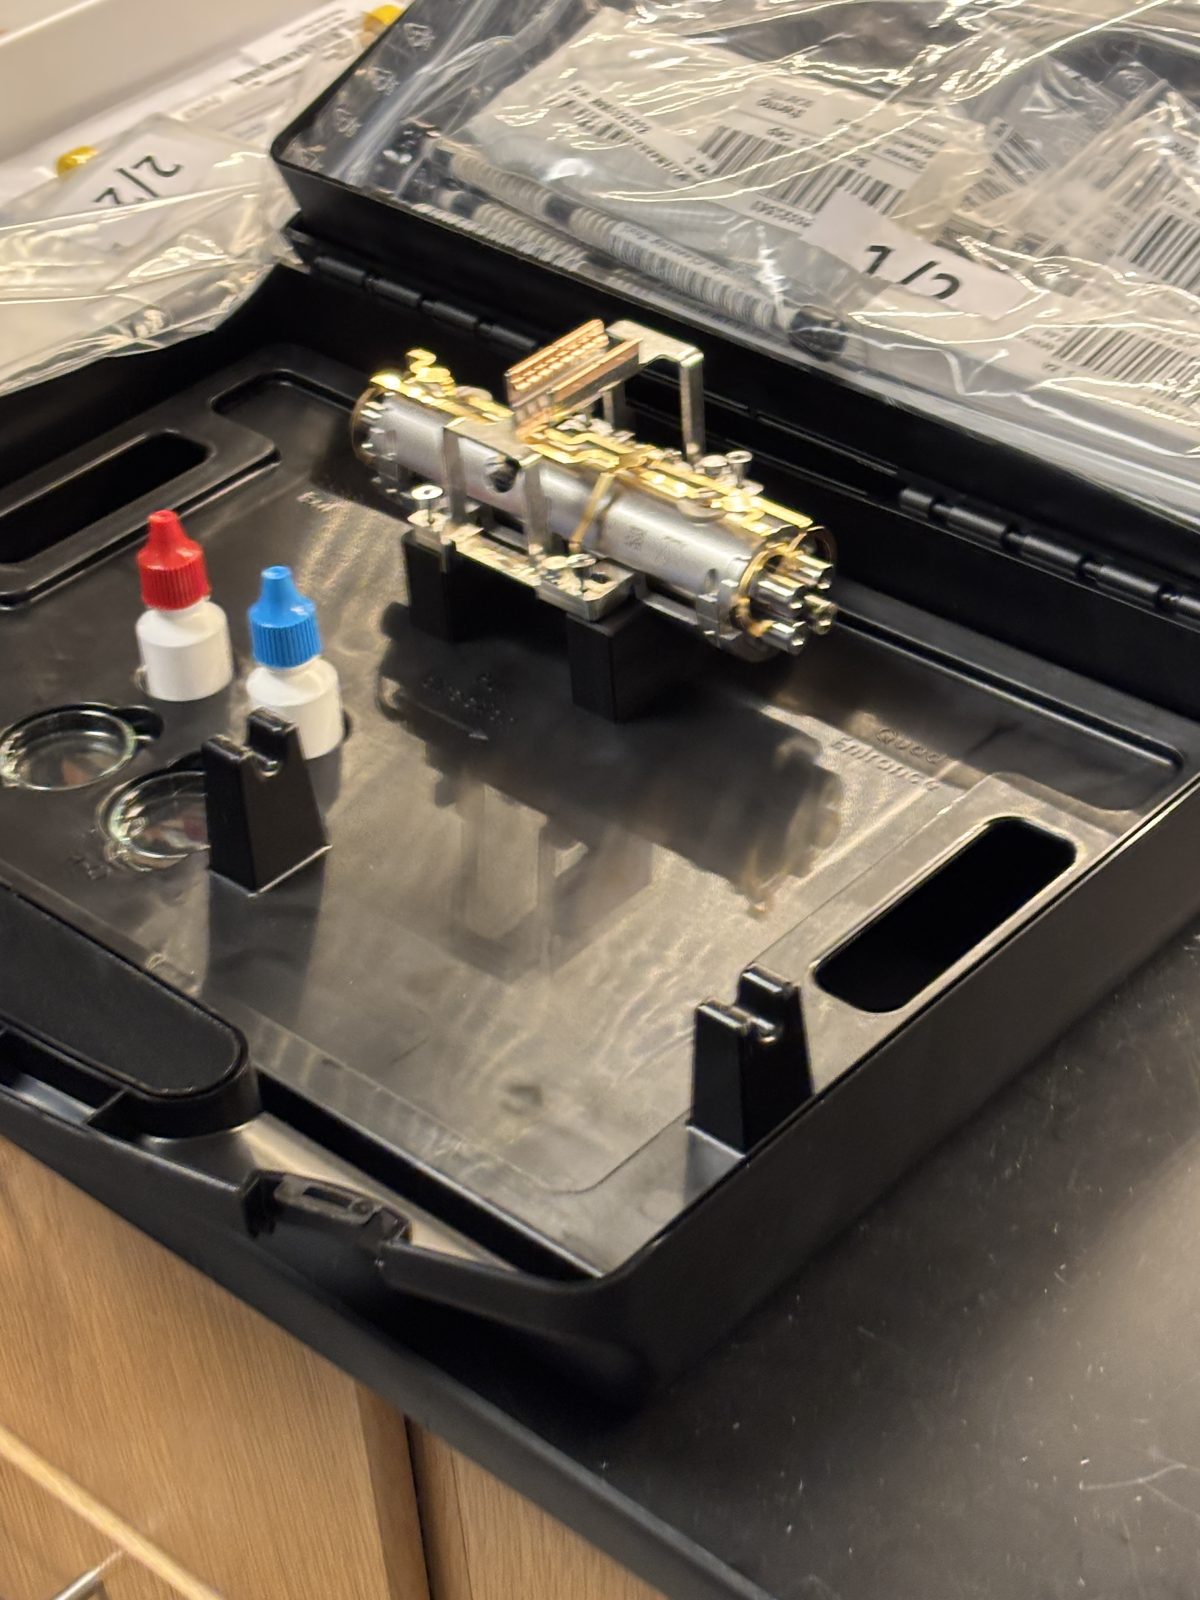
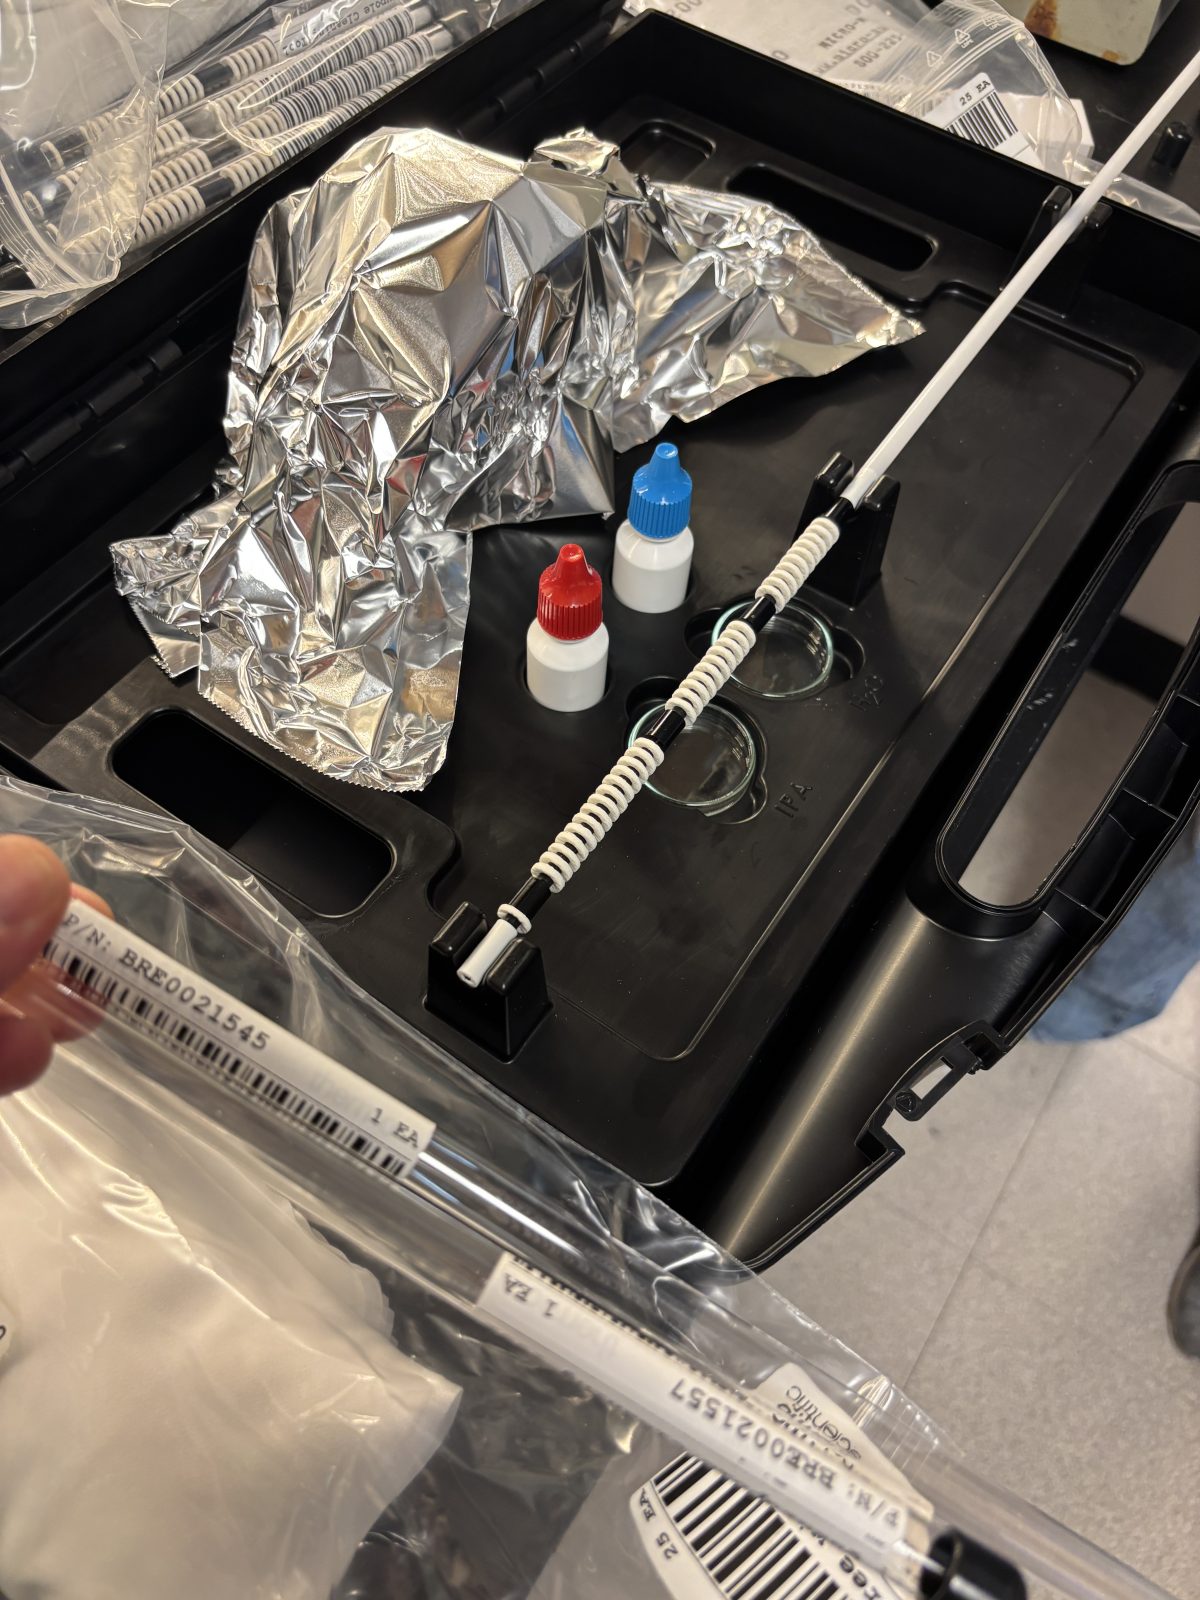
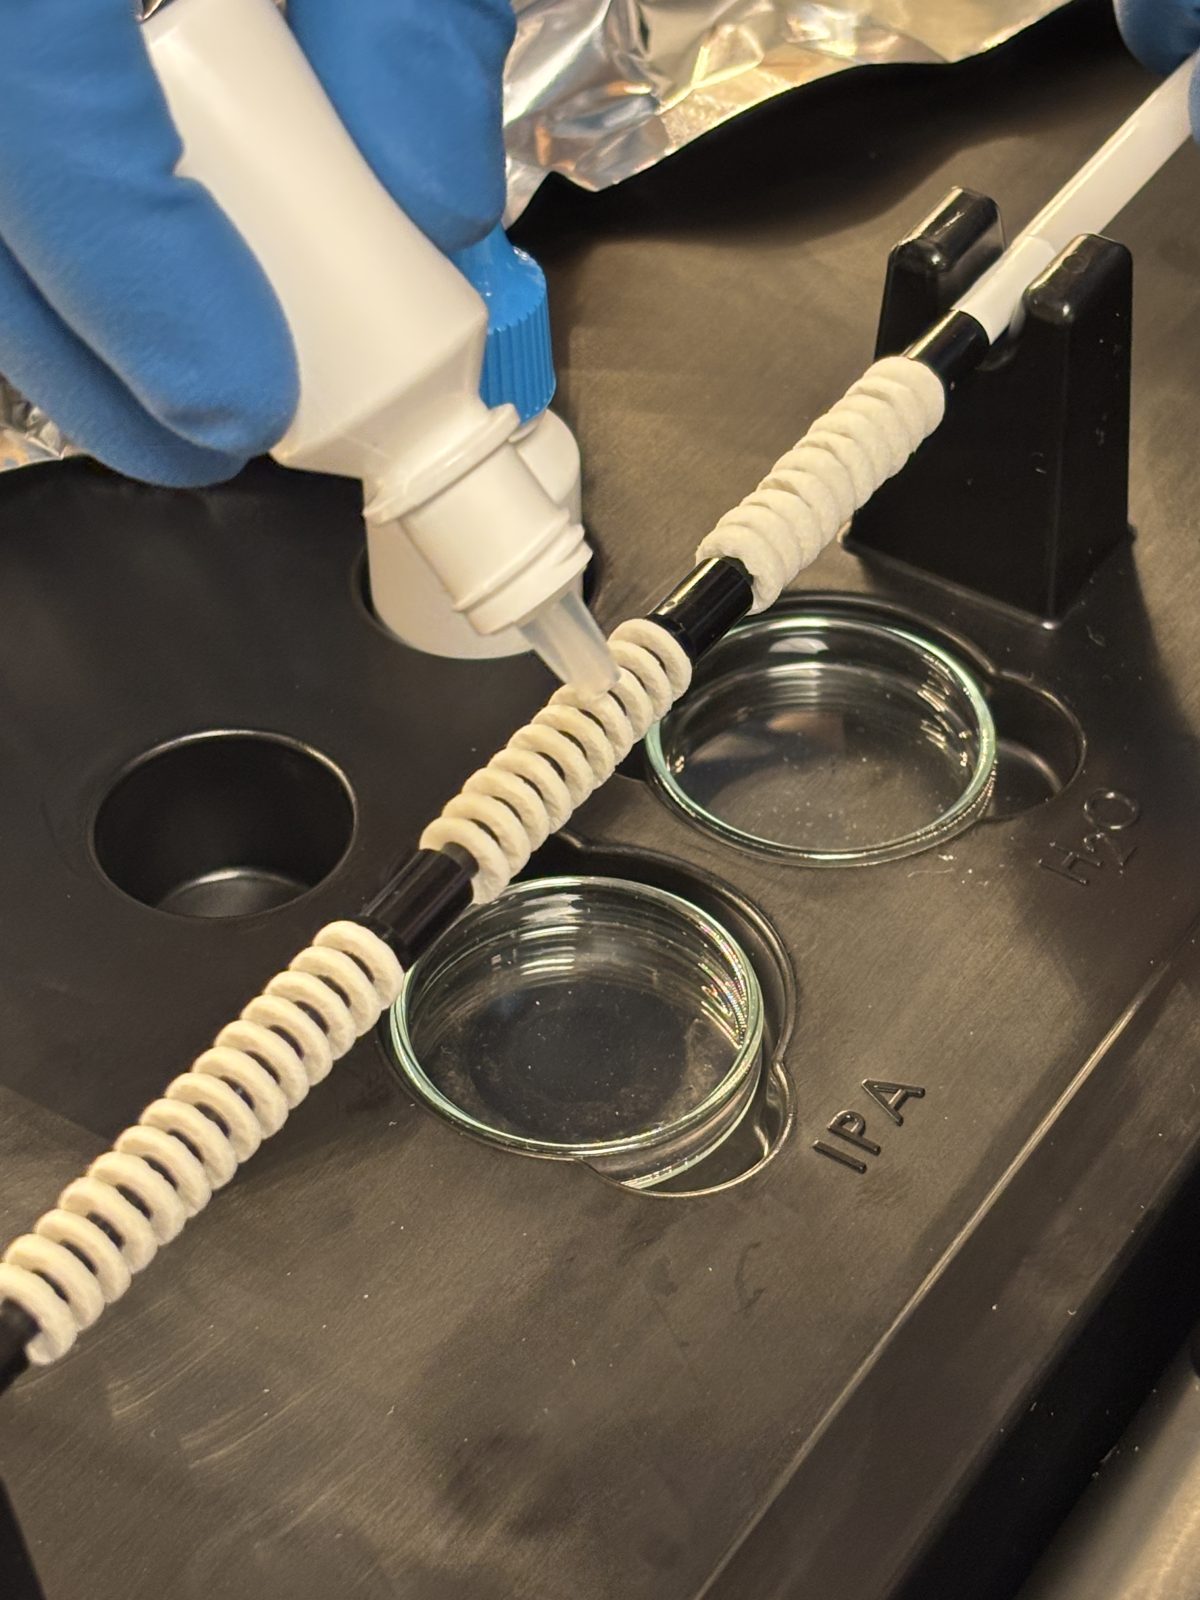
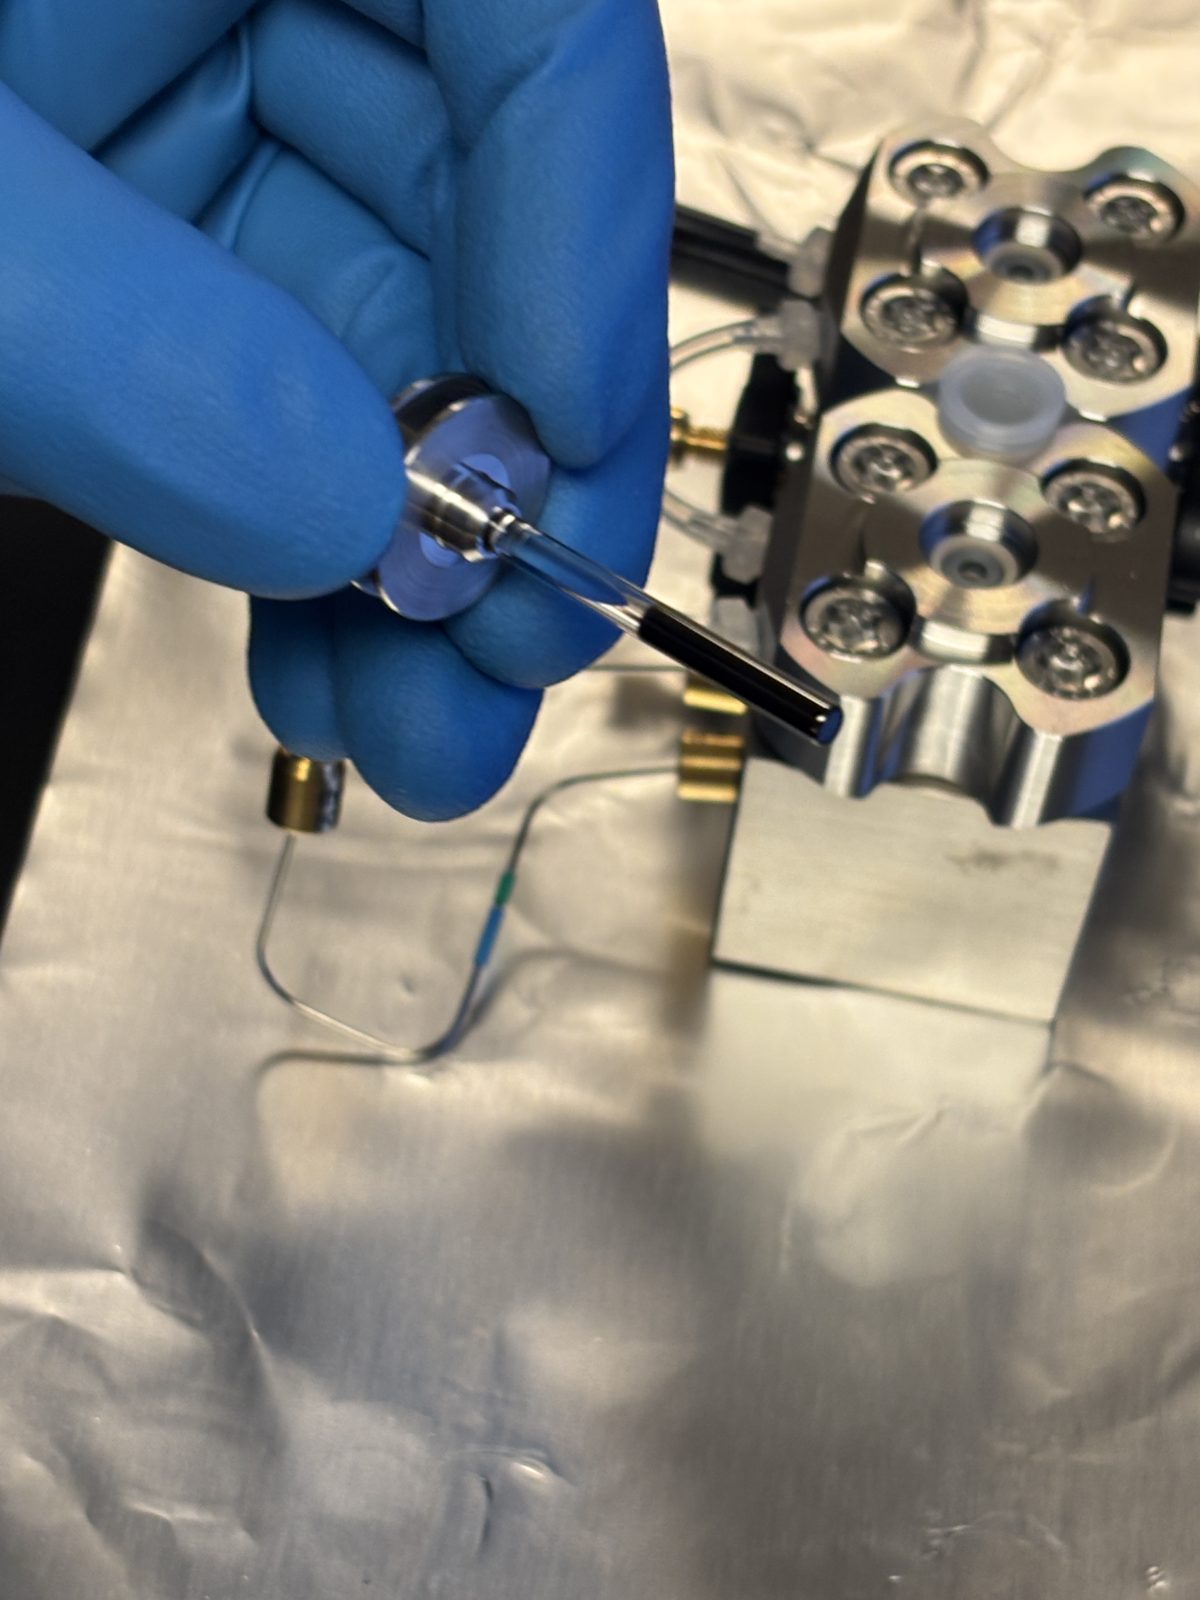
Clean quad. Put together special rod tool (photo, one time use). Squirt water + IPA (isopropyl alcohol) + dry onto white bristles. Pull rod through quad in the right direction as indicated in black suite case a couple of times.
2025-11-19 14:17:282025-11-19 14:18:002025-11-19 14:19:162025-11-19 14:19:46
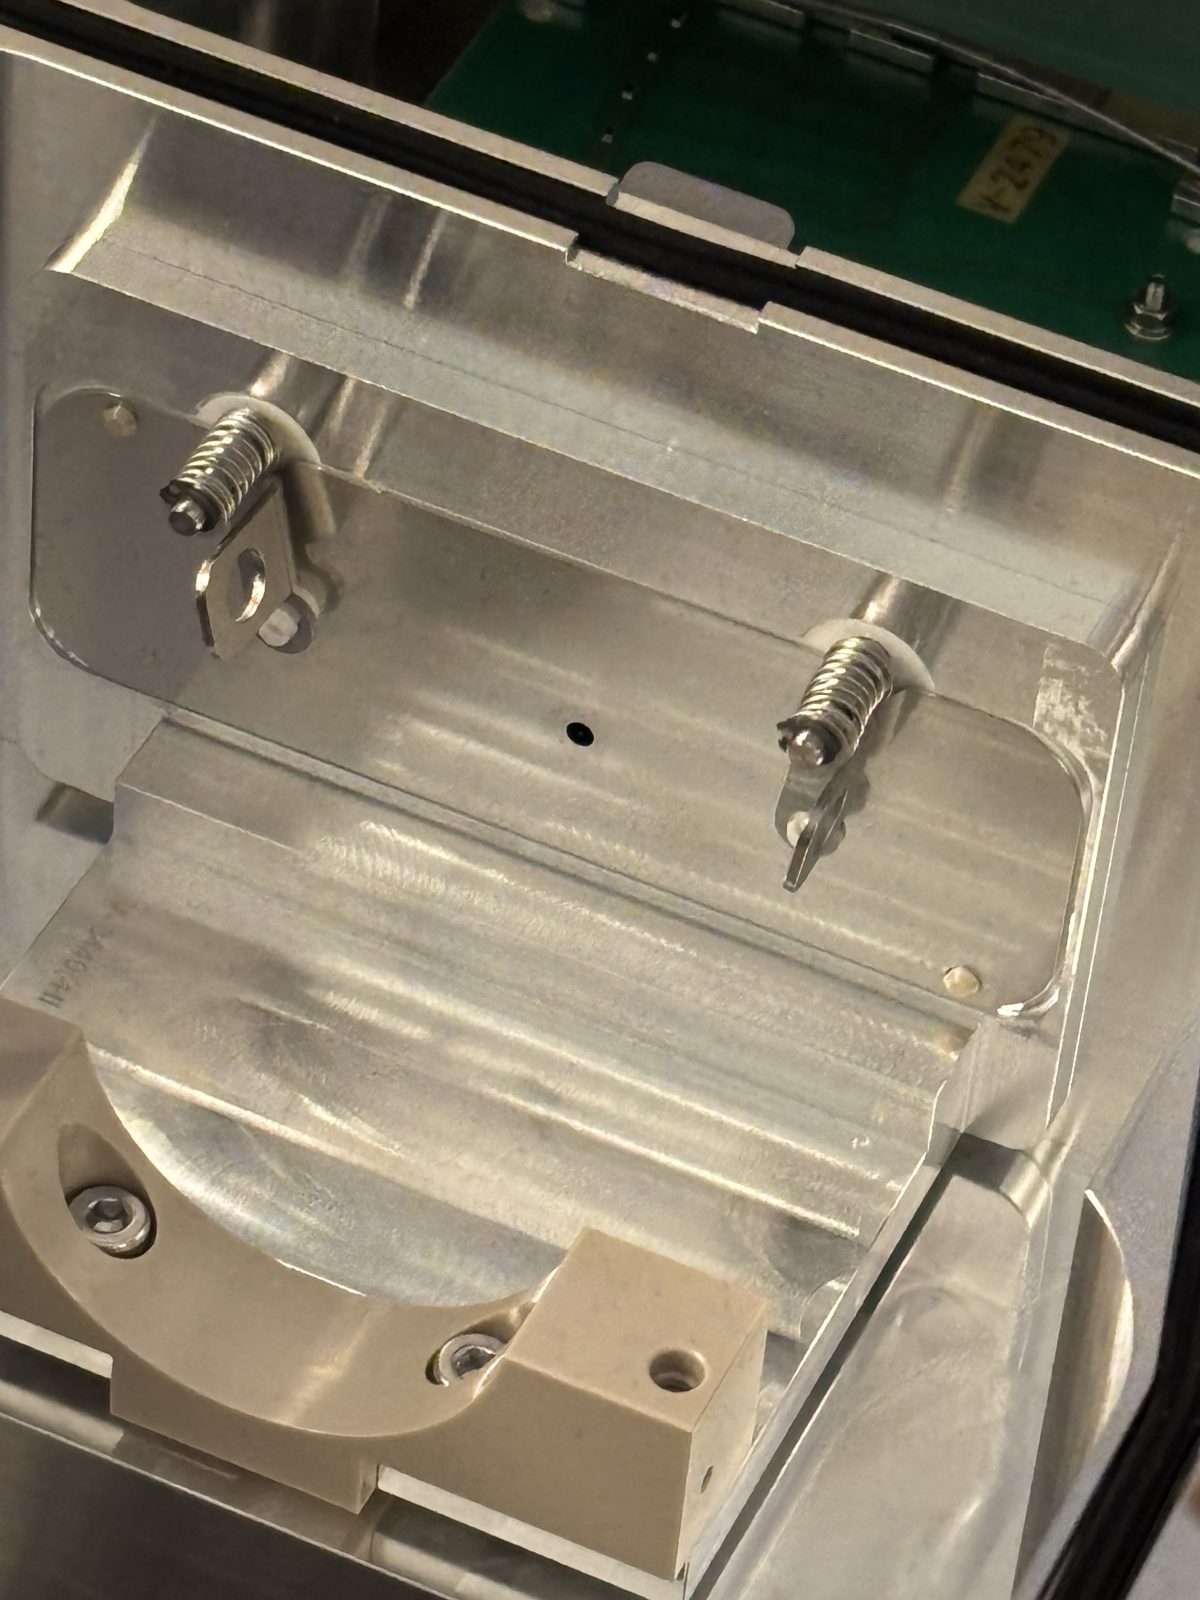
Blow out inside of bent flatpole with N2. Put plate back on and twist things with springs back down. Make sure the little nubs on the plate are facing outwards. Give it another blast with N2 all over. Slide it back in. Put back gate. Tighten screws with red Allen wrench (hardest part she says).
2025-11-19 14:24:032025-11-19 14:24:522025-11-19 14:25:002025-11-19 14:25:032025-11-19 14:26:222025-11-19 14:26:272025-11-19 14:26:342025-11-19 14:26:392025-11-19 14:27:092025-11-19 14:29:35
Blast quad with N2 and put it back in. Little screw ensures you put it back in the right direction. Screw it back in. Always close top in between parts.
2025-11-19 14:30:192025-11-19 14:30:572025-11-19 14:31:002025-11-19 14:31:08
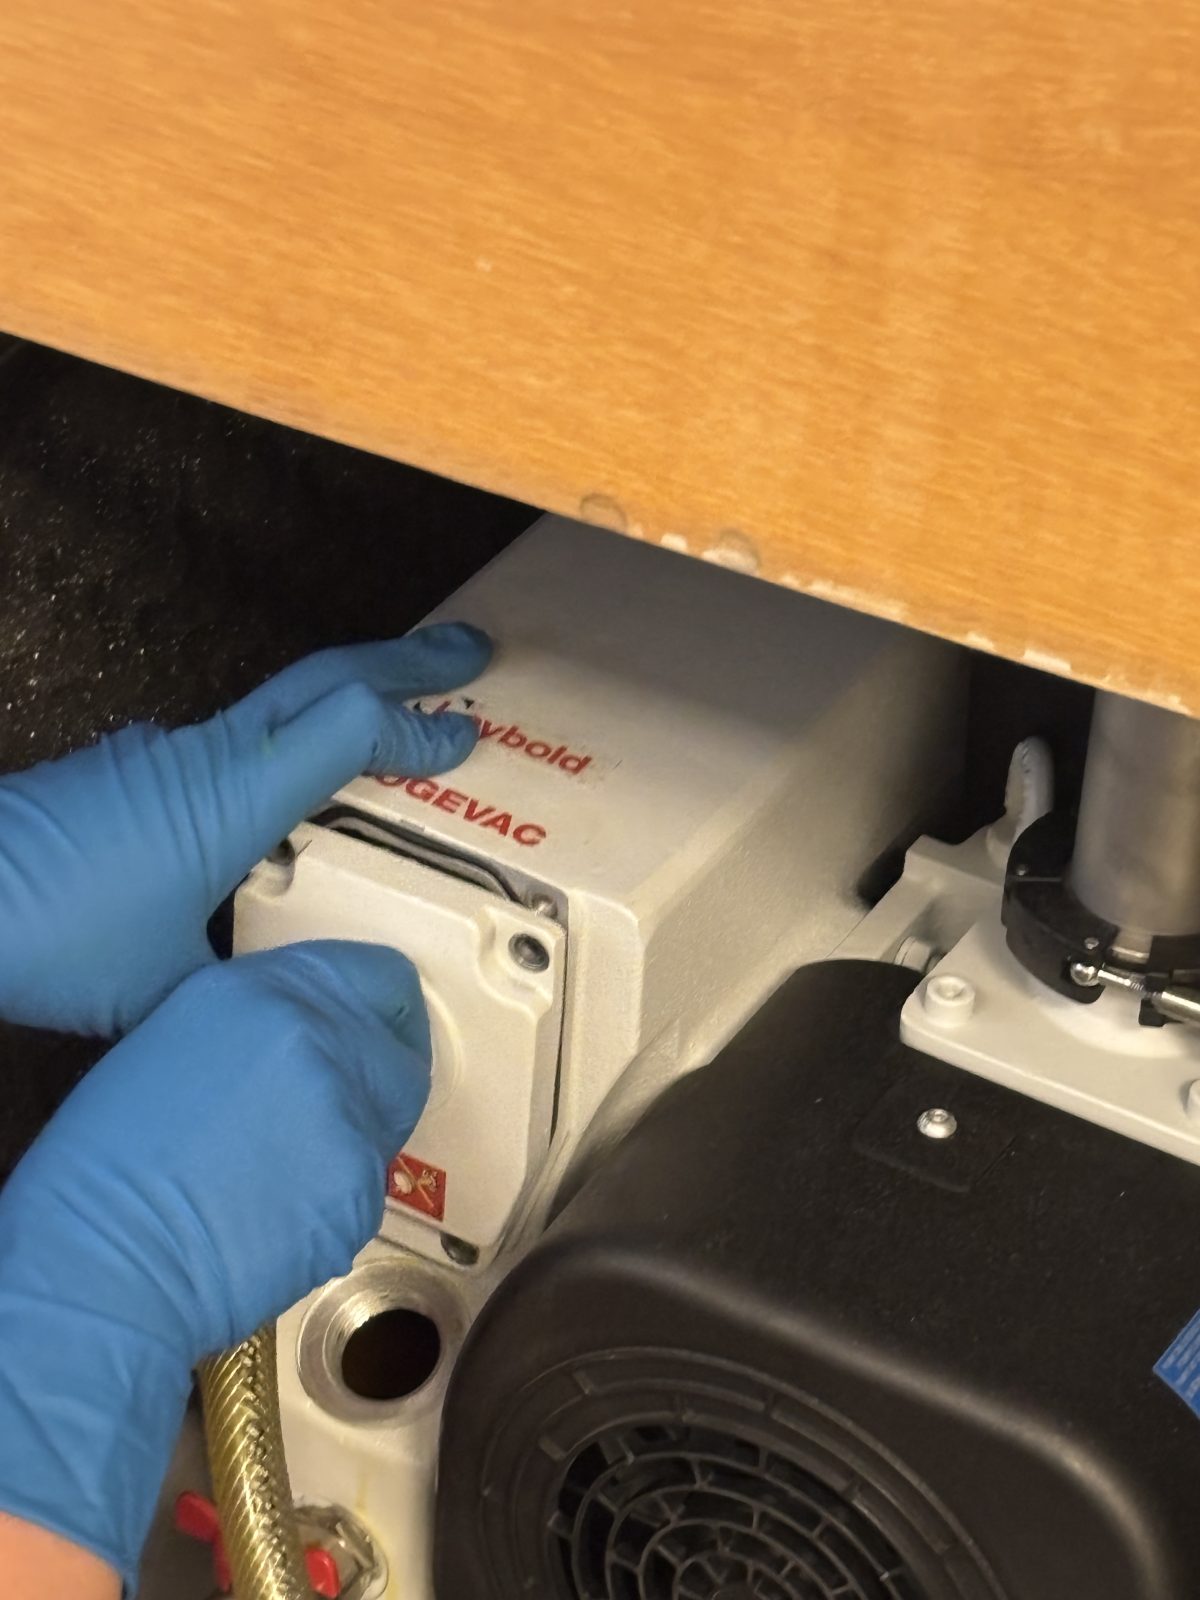
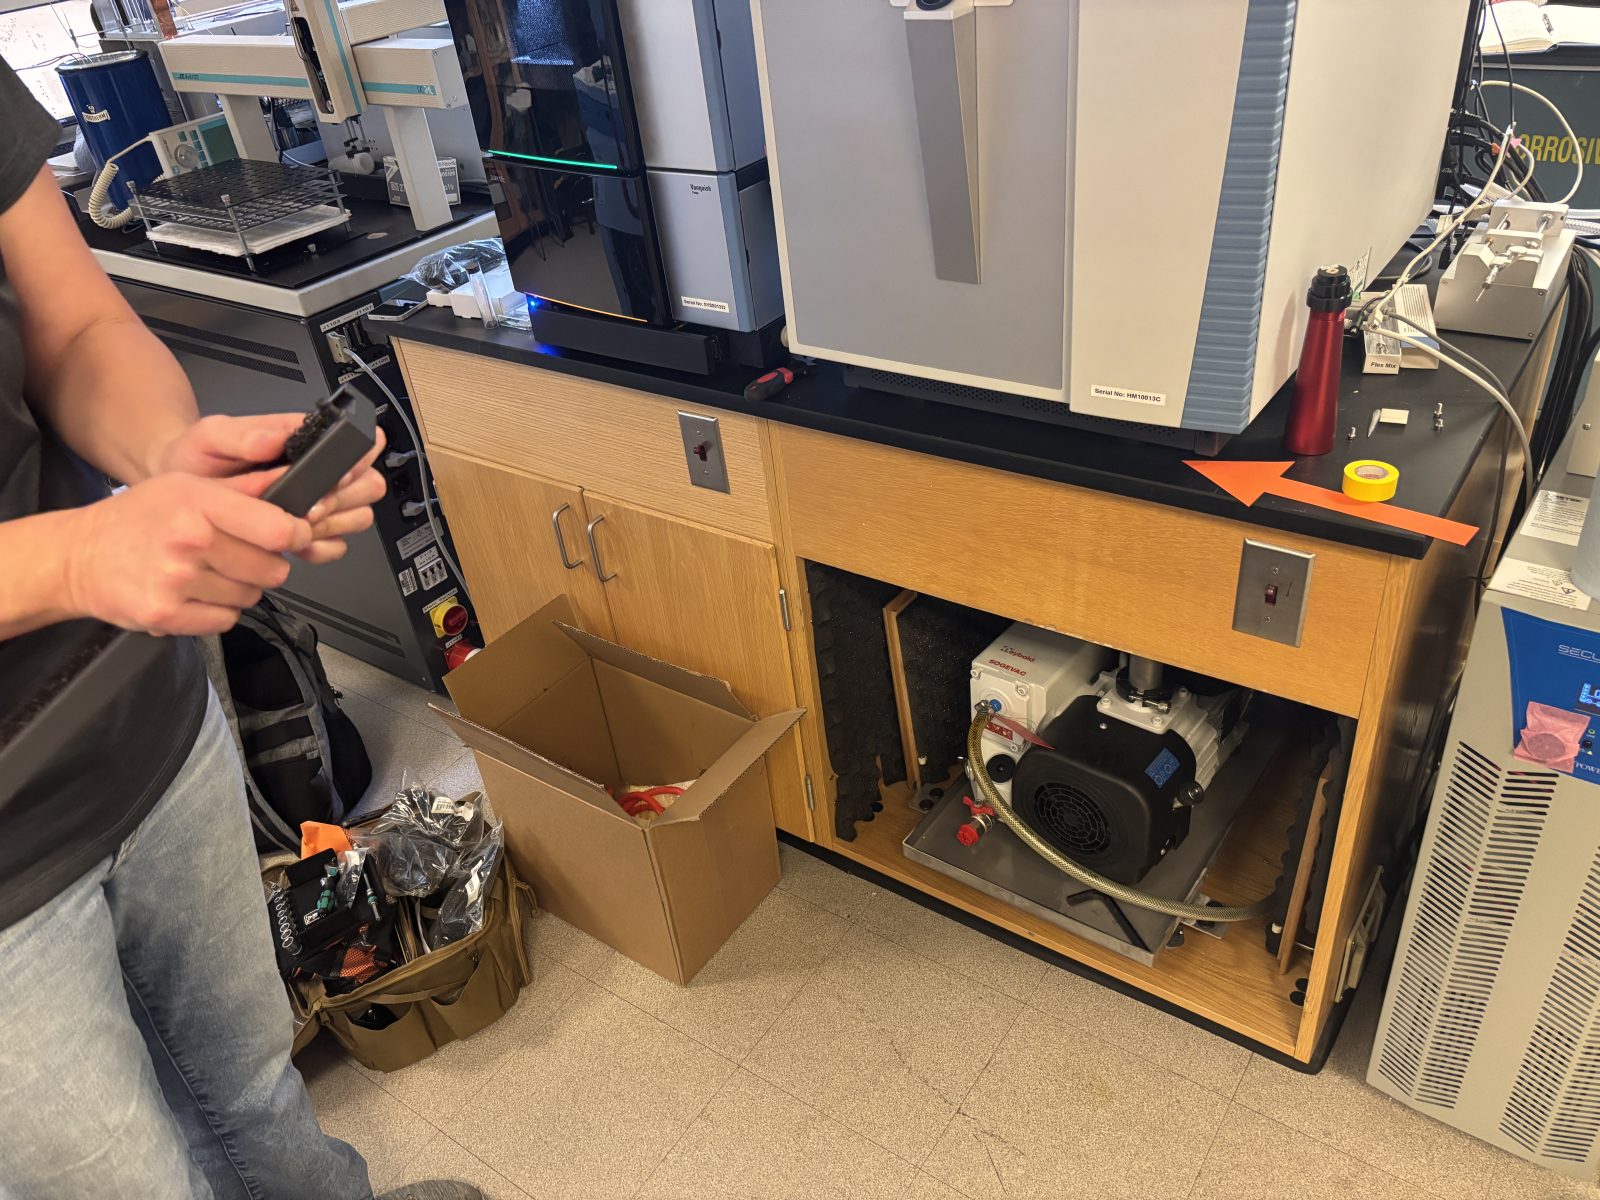
Change pump oil and replace oil filter:
Note if ever need to replace pump replace with dry pump so you don’t have to change the oil.
Remove 4 screws from front plate.
2025-11-19 14:37:44
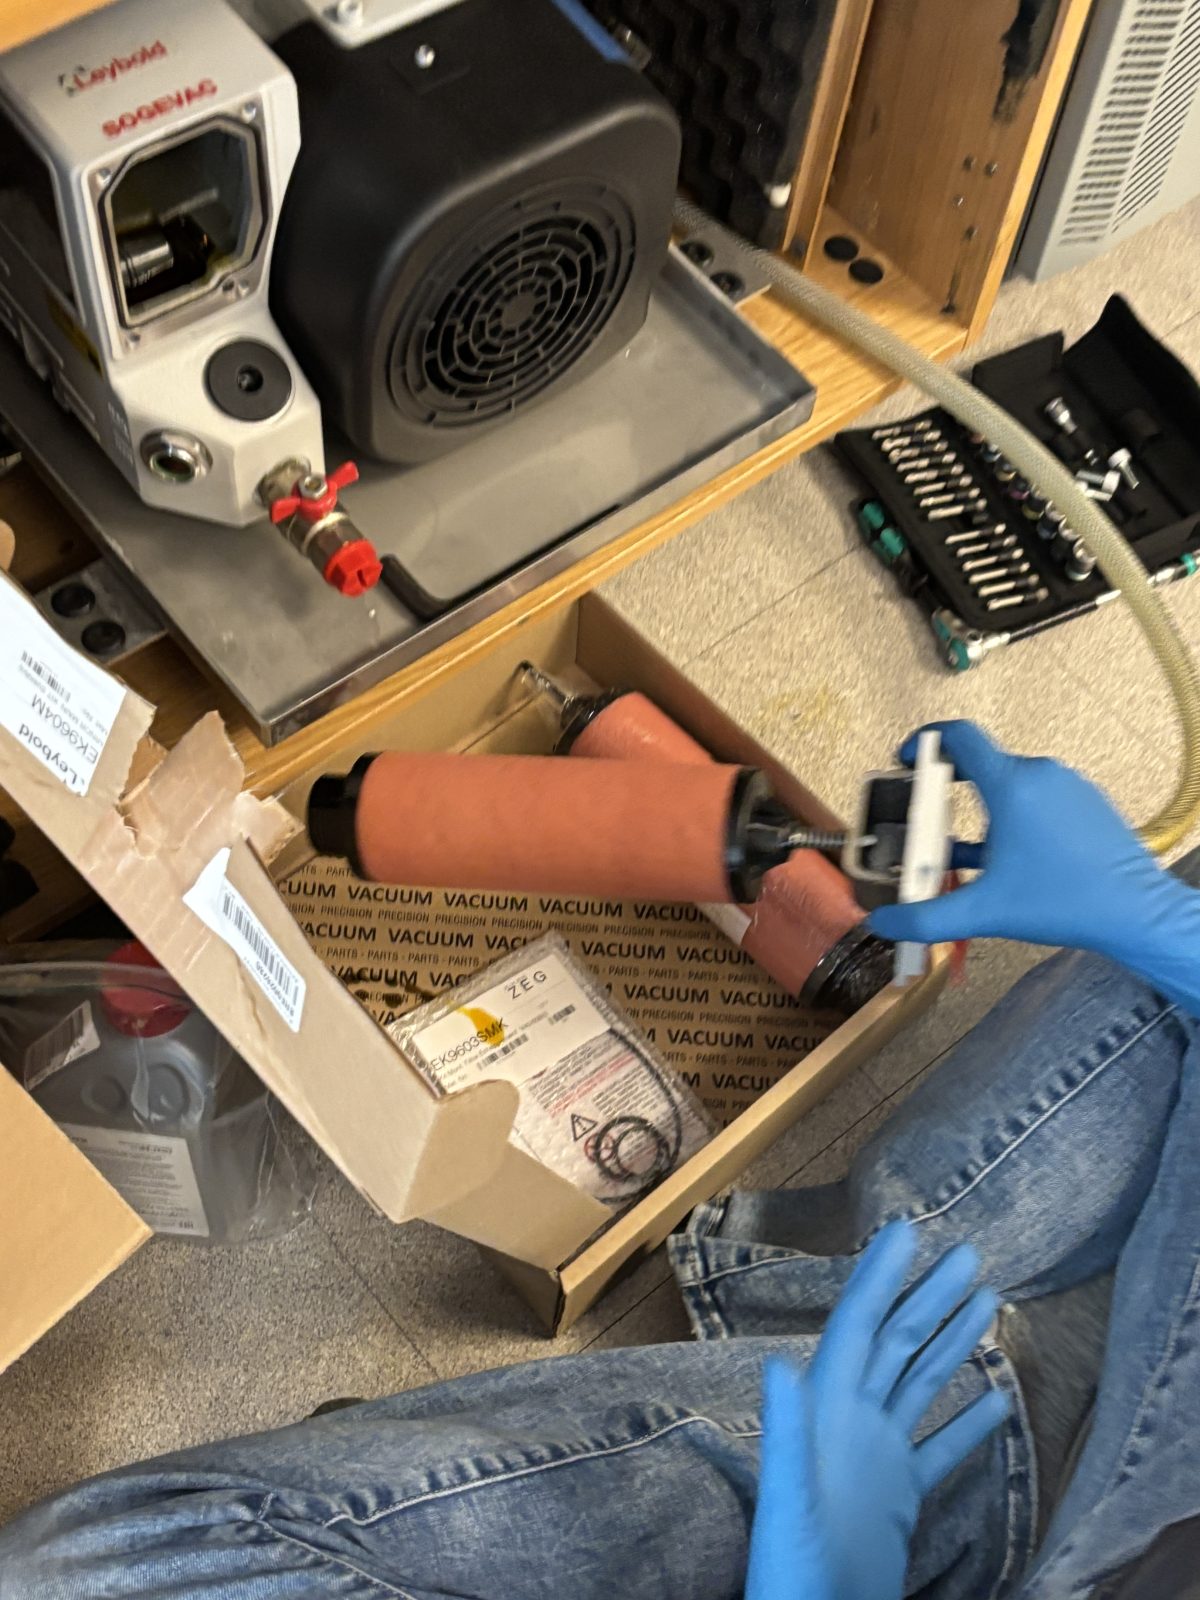
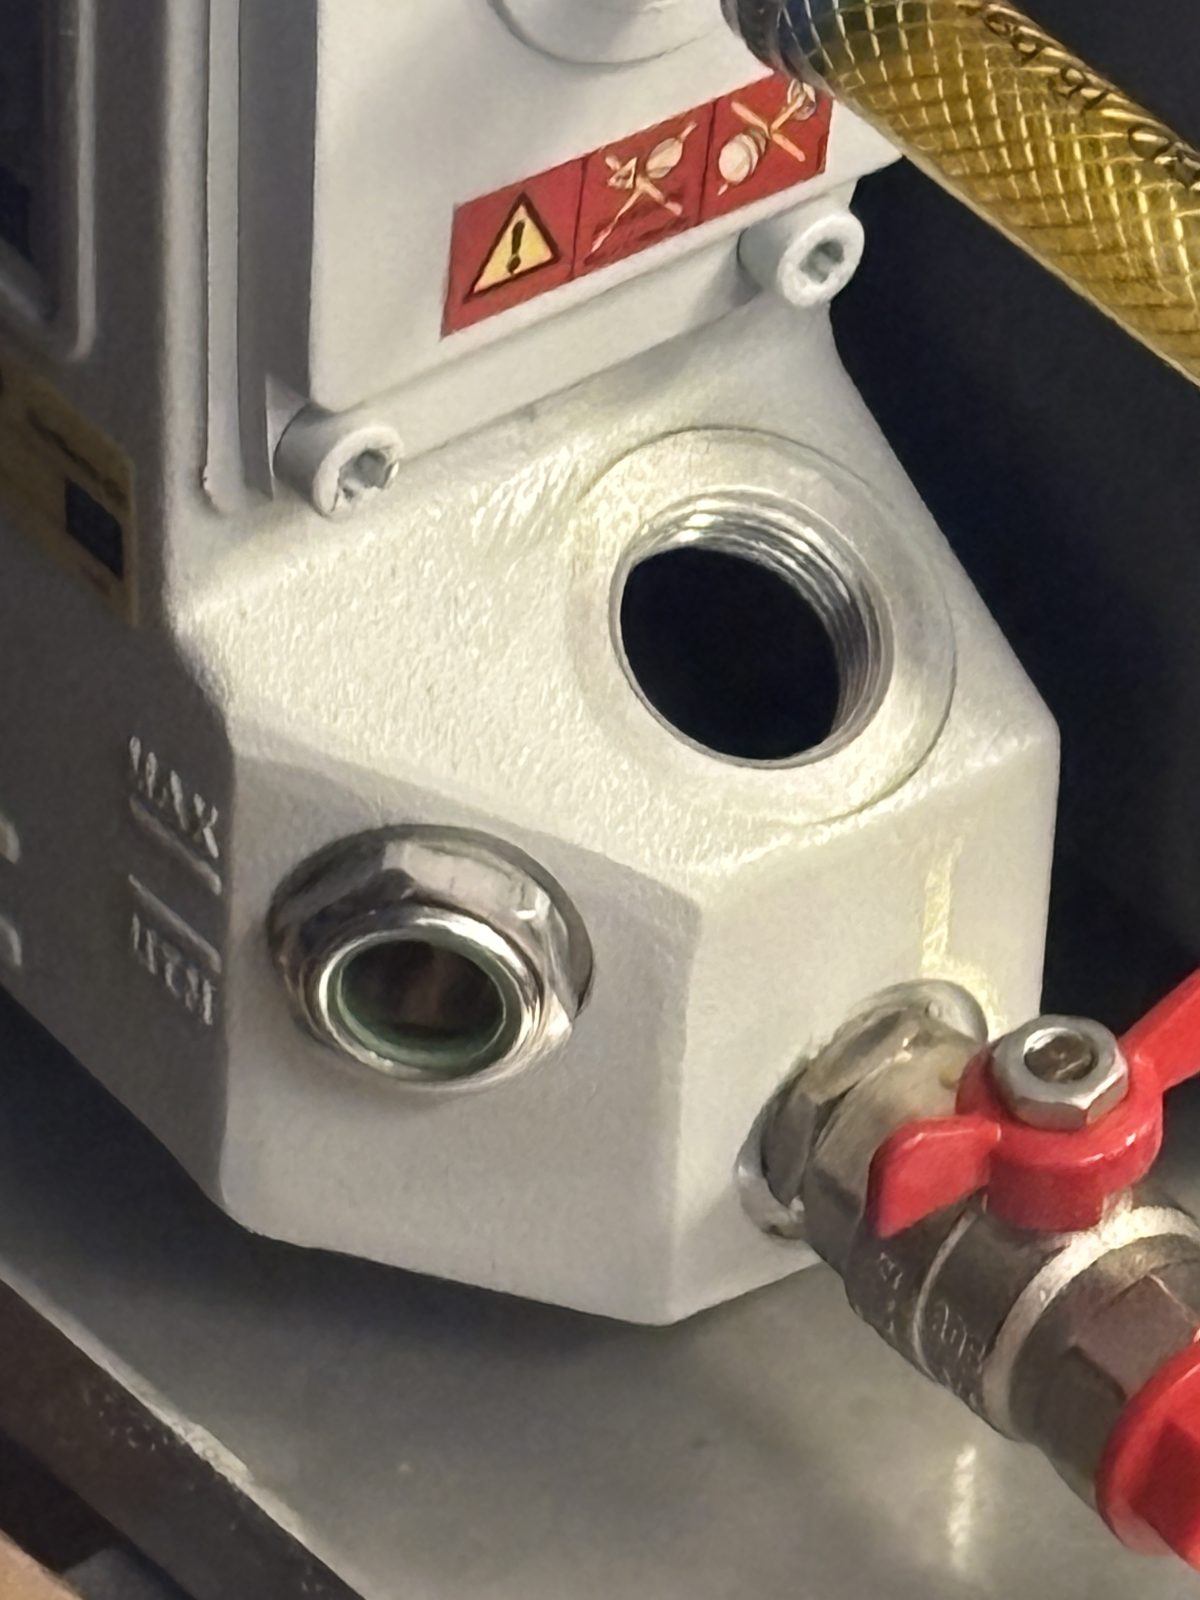
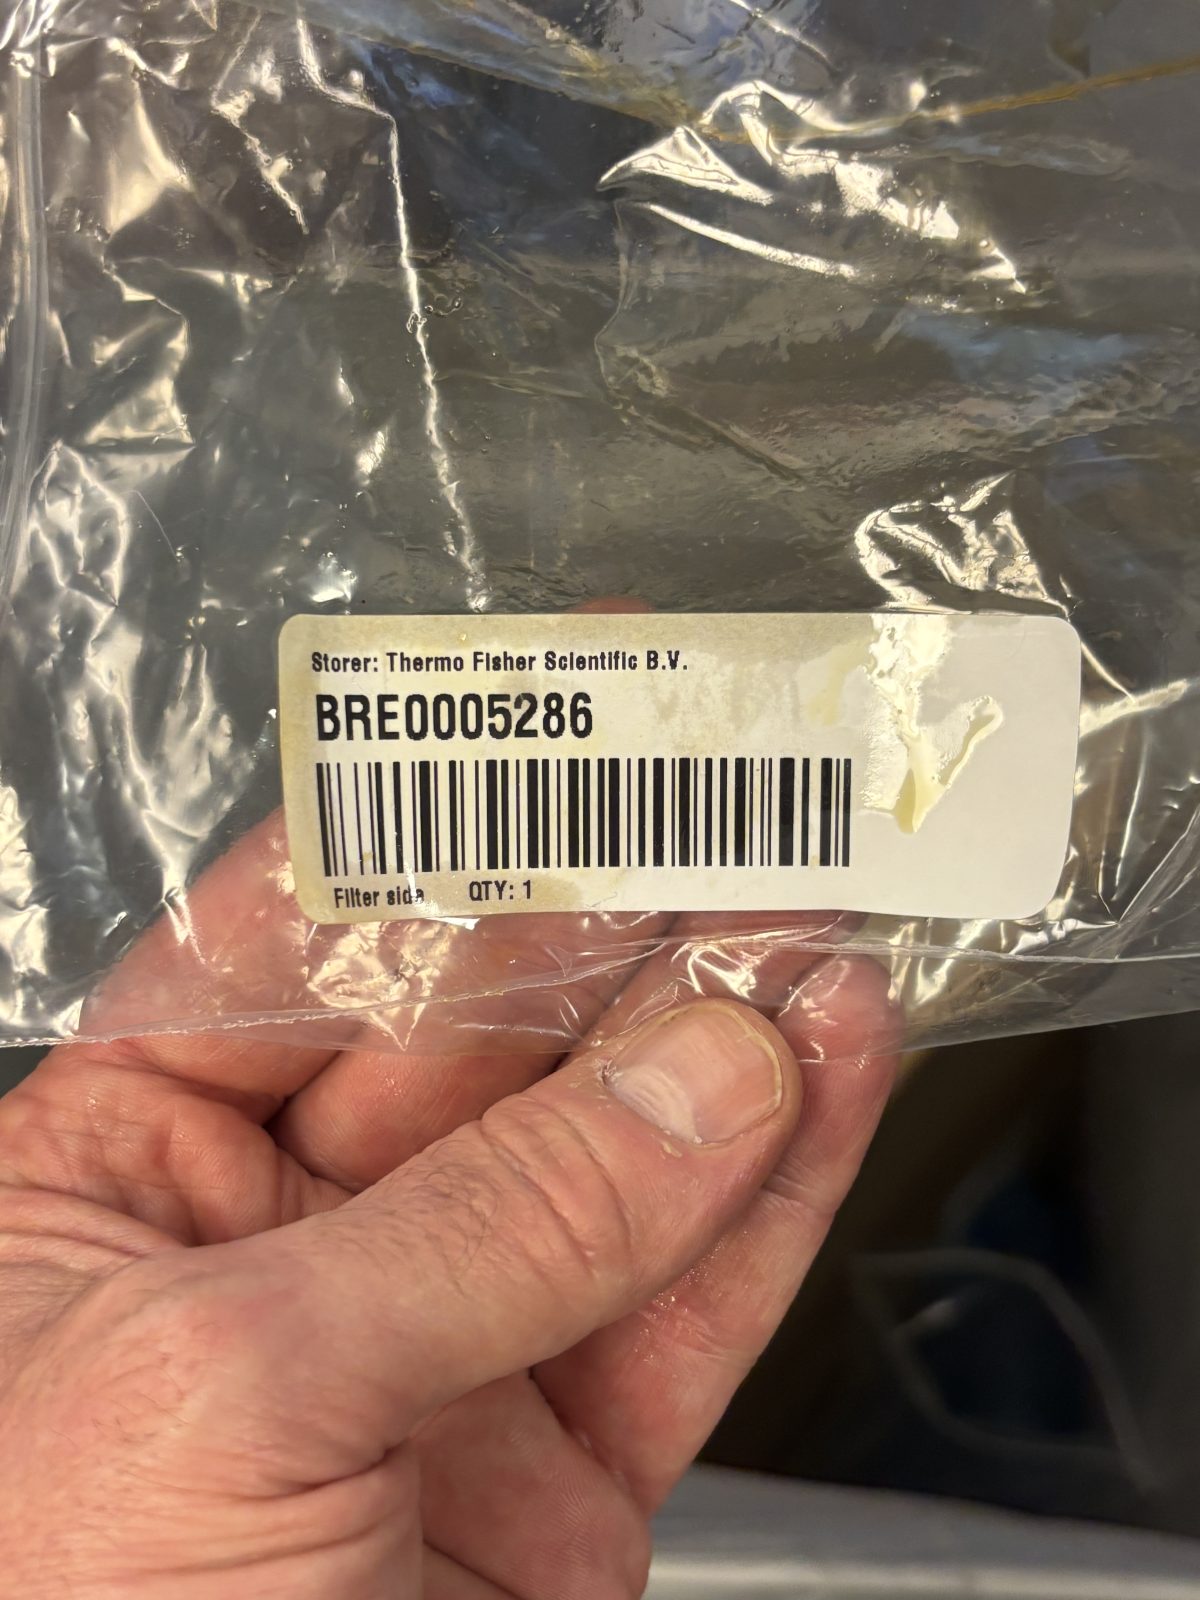
Pull out to remove pink filter. Unscrew filter to remove.
2025-11-19 14:39:252025-11-19 14:39:482025-11-19 14:40:24
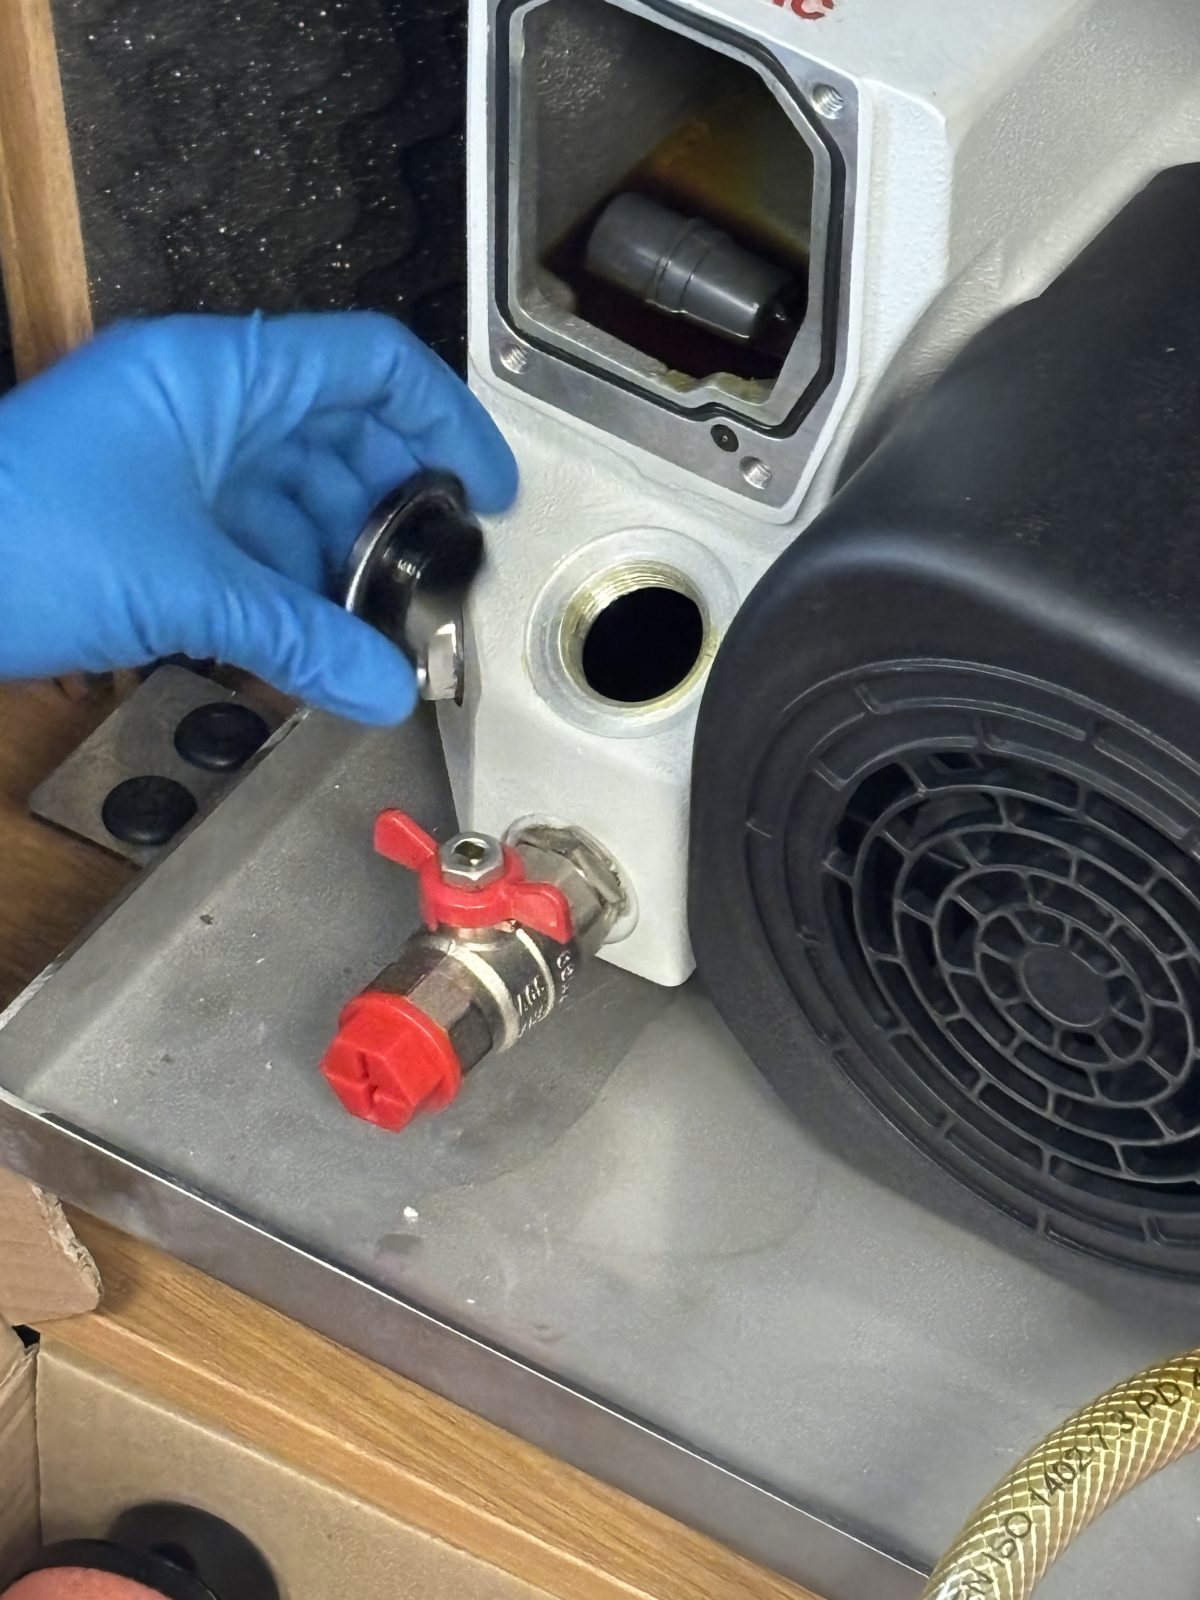
Use giant Allen wrench to remove black round cover.
2025-11-19 14:41:002025-11-19 14:41:06
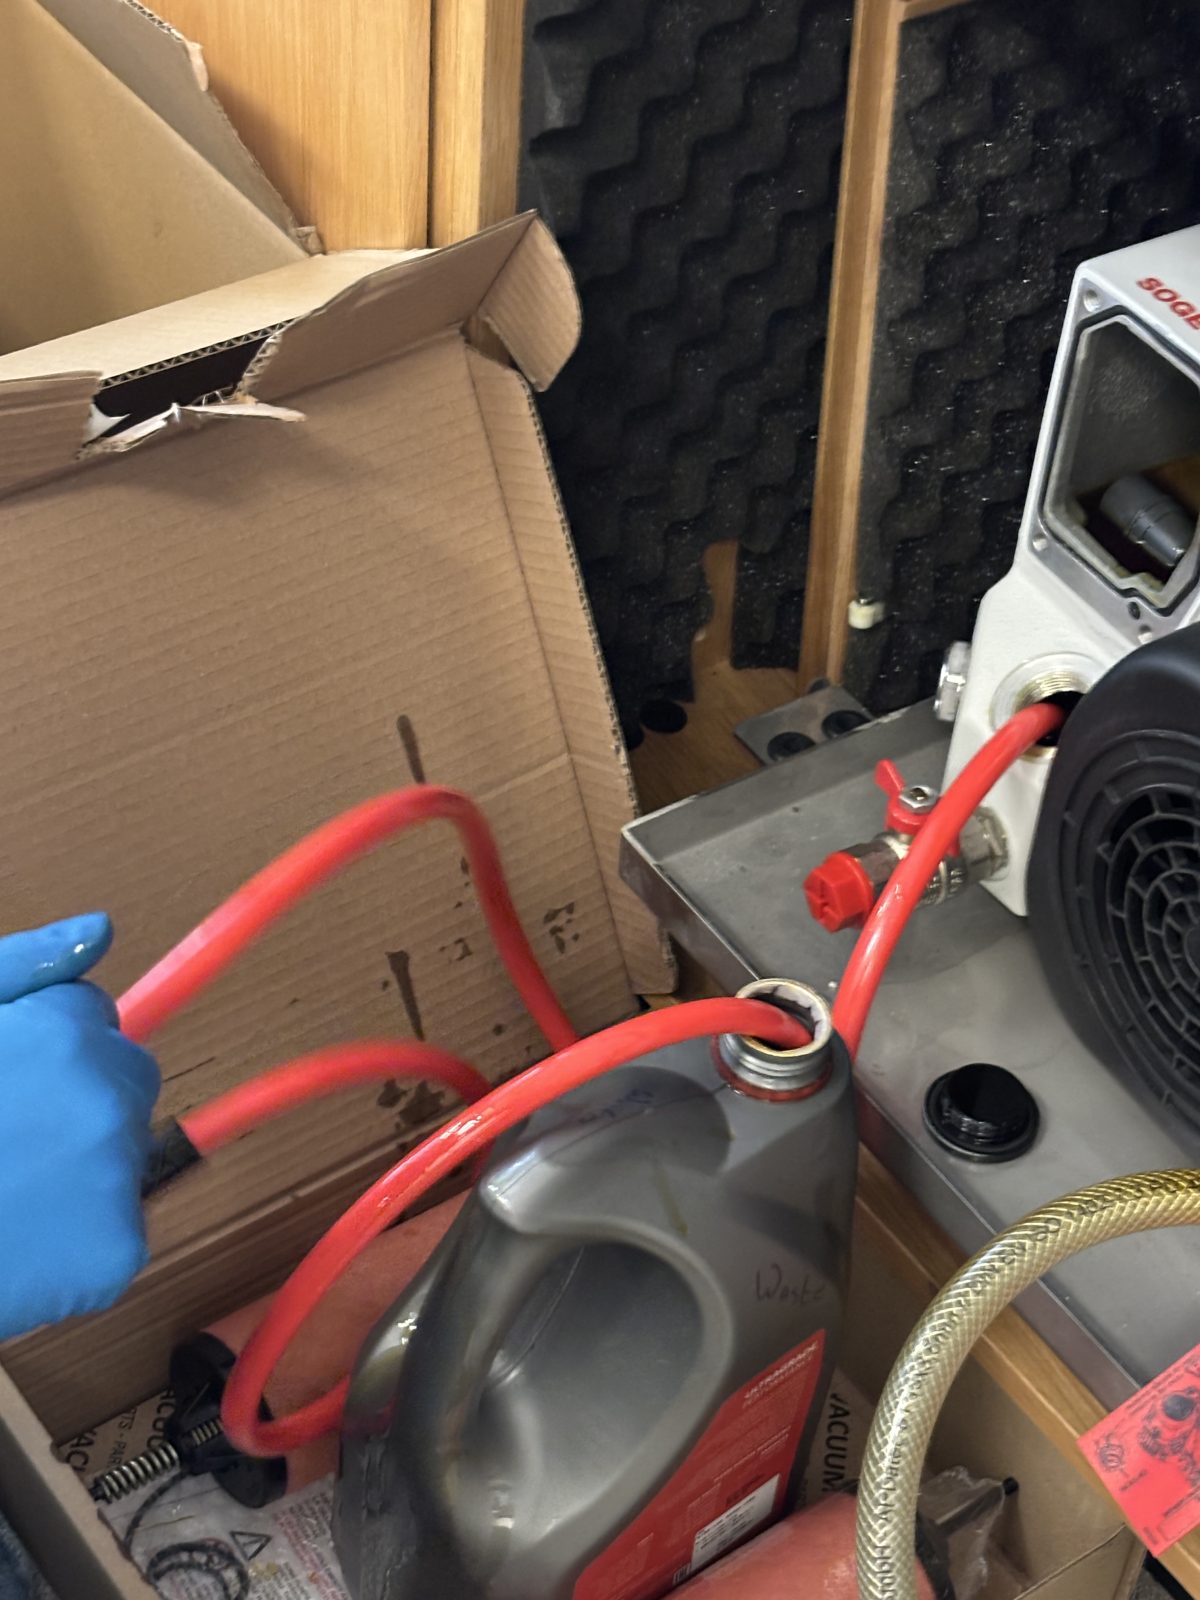
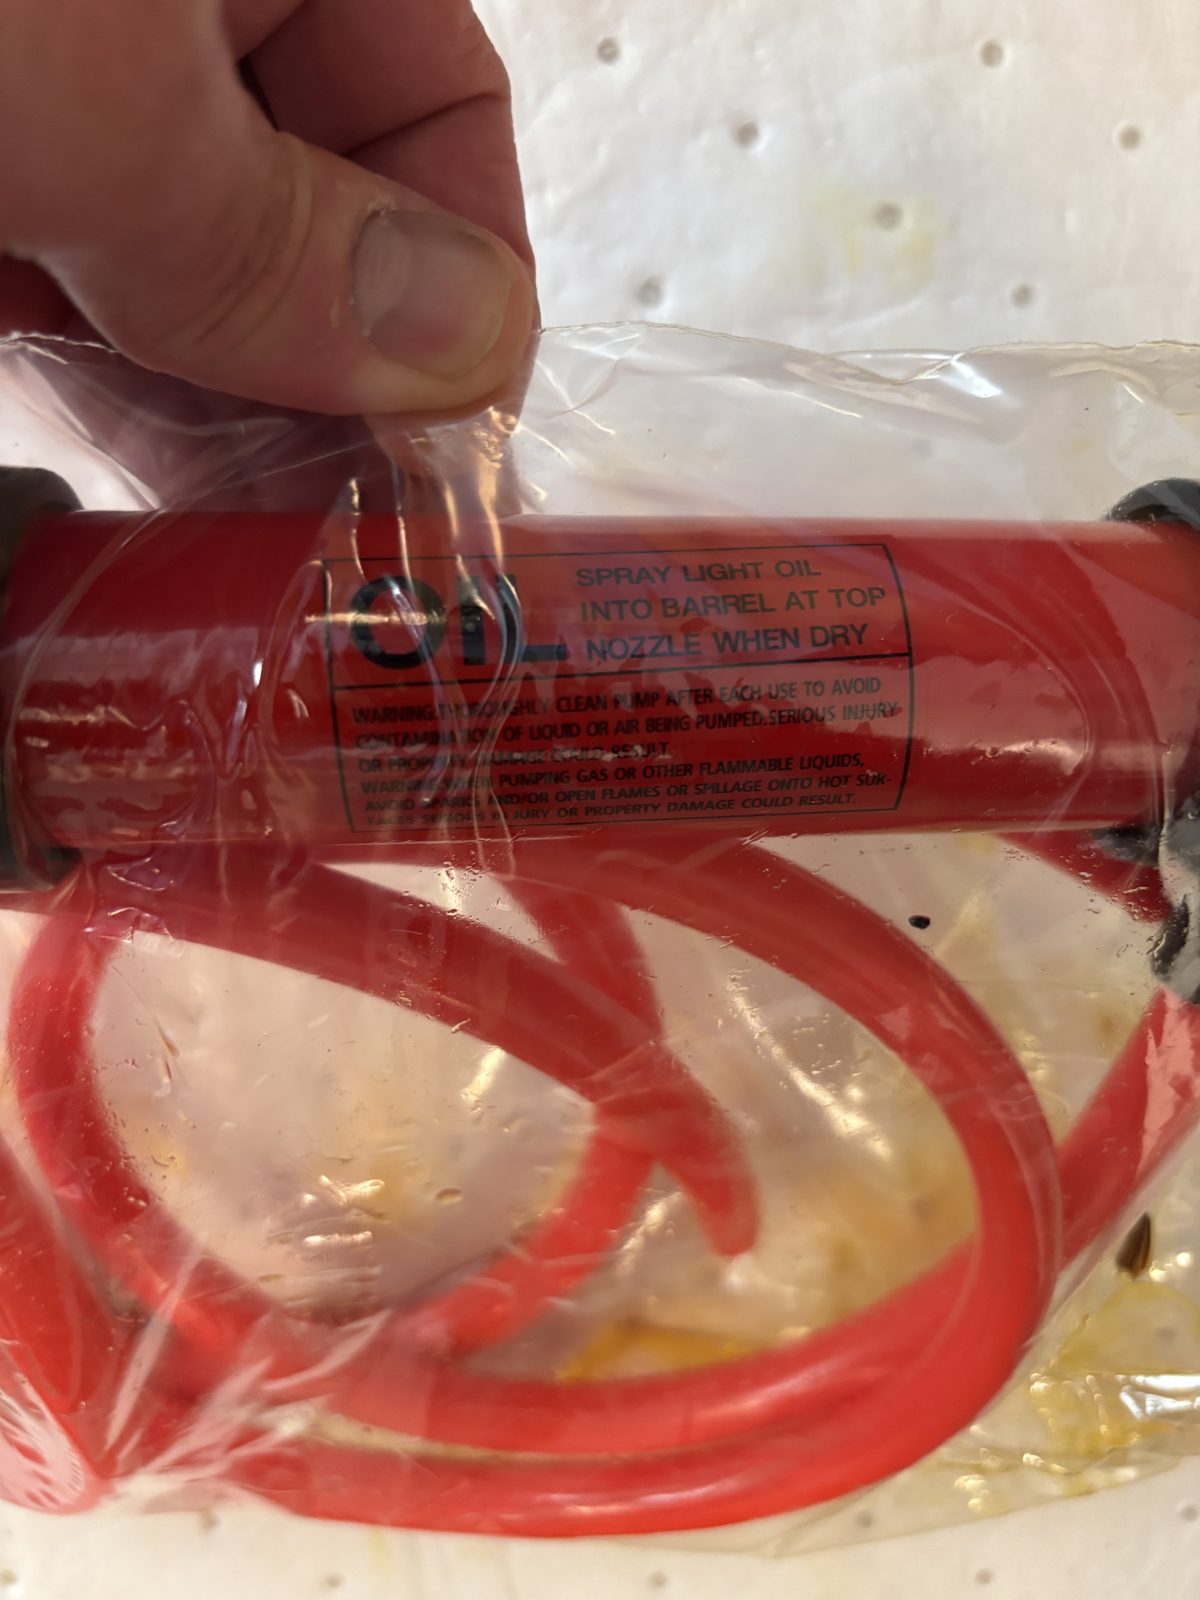
Use pump to remove oil inside. Pump can be purchased from an auto parts store.
2025-11-19 14:42:292025-11-19 14:33:34
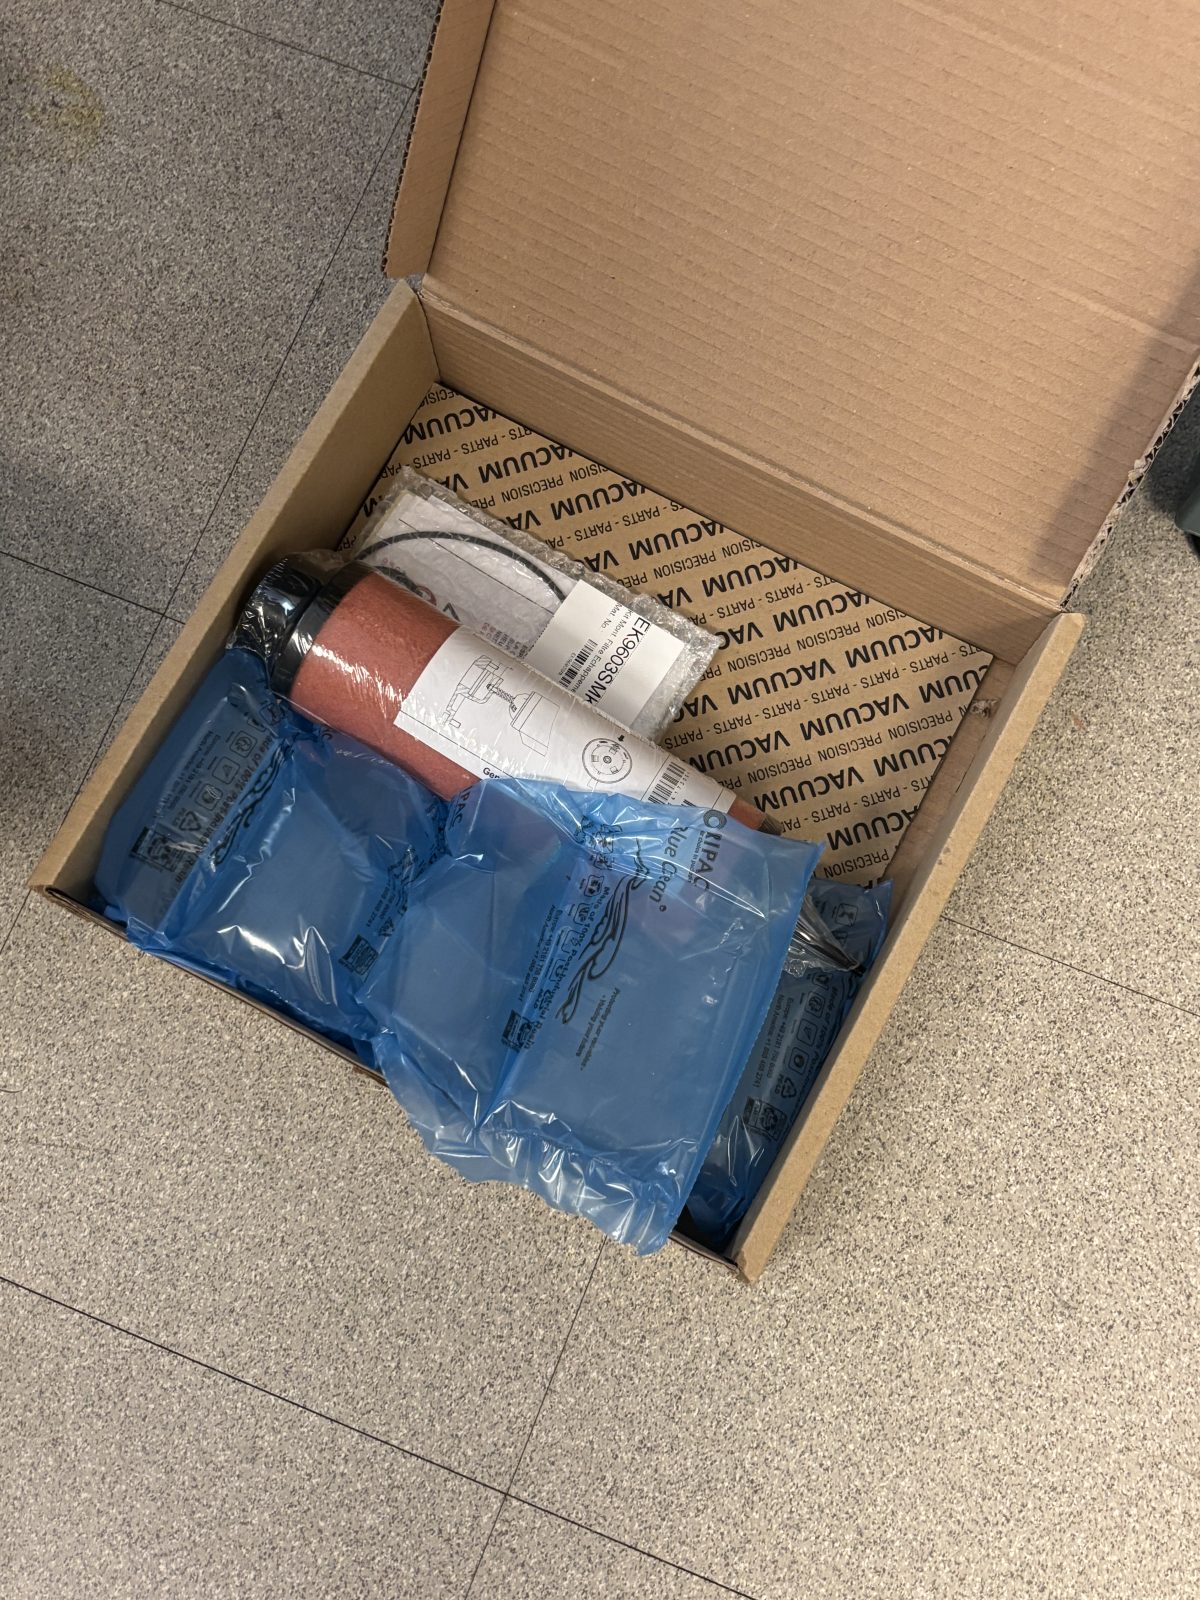
Pump oil change kit comes with new filter and o-ring
2025-11-19 14:37:06
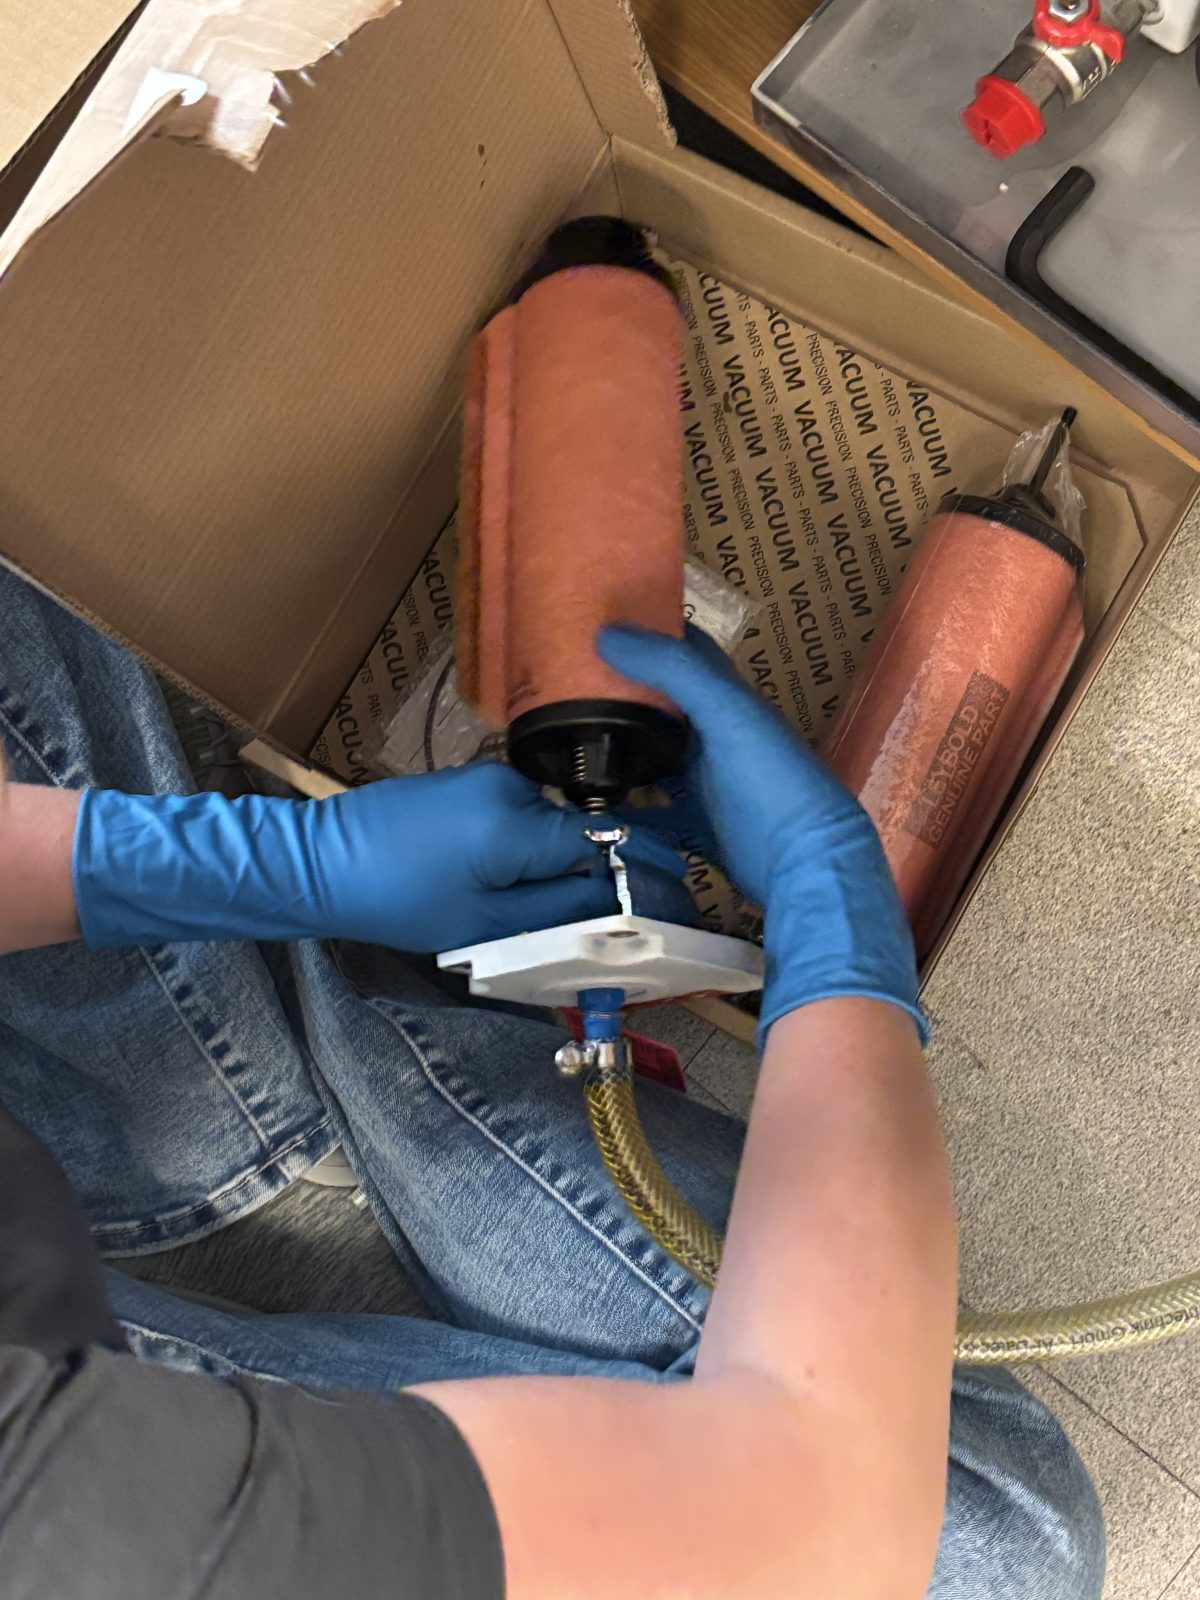
Put spring loaded filter back in.
2025-11-19 14:47:242025-11-19 14:47:48
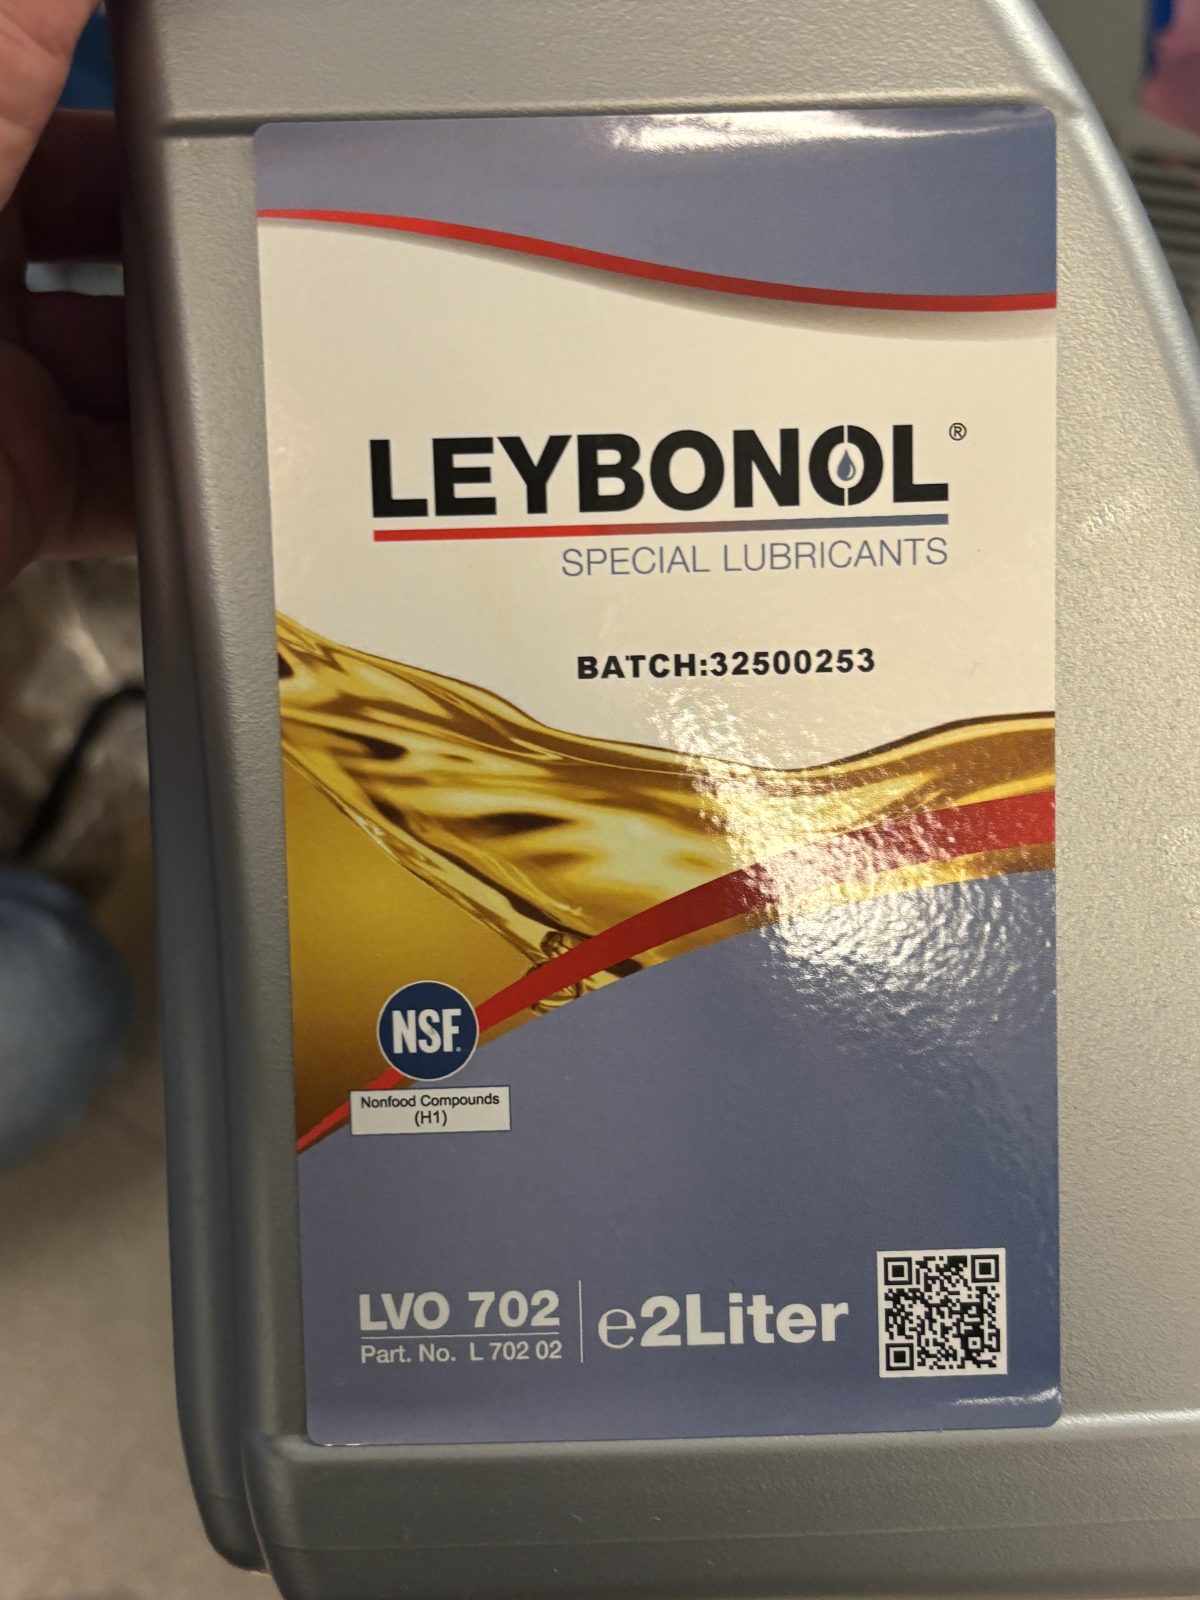
Pour in fresh oil
2025-11-19 14:50:472025-11-19 14:53:25
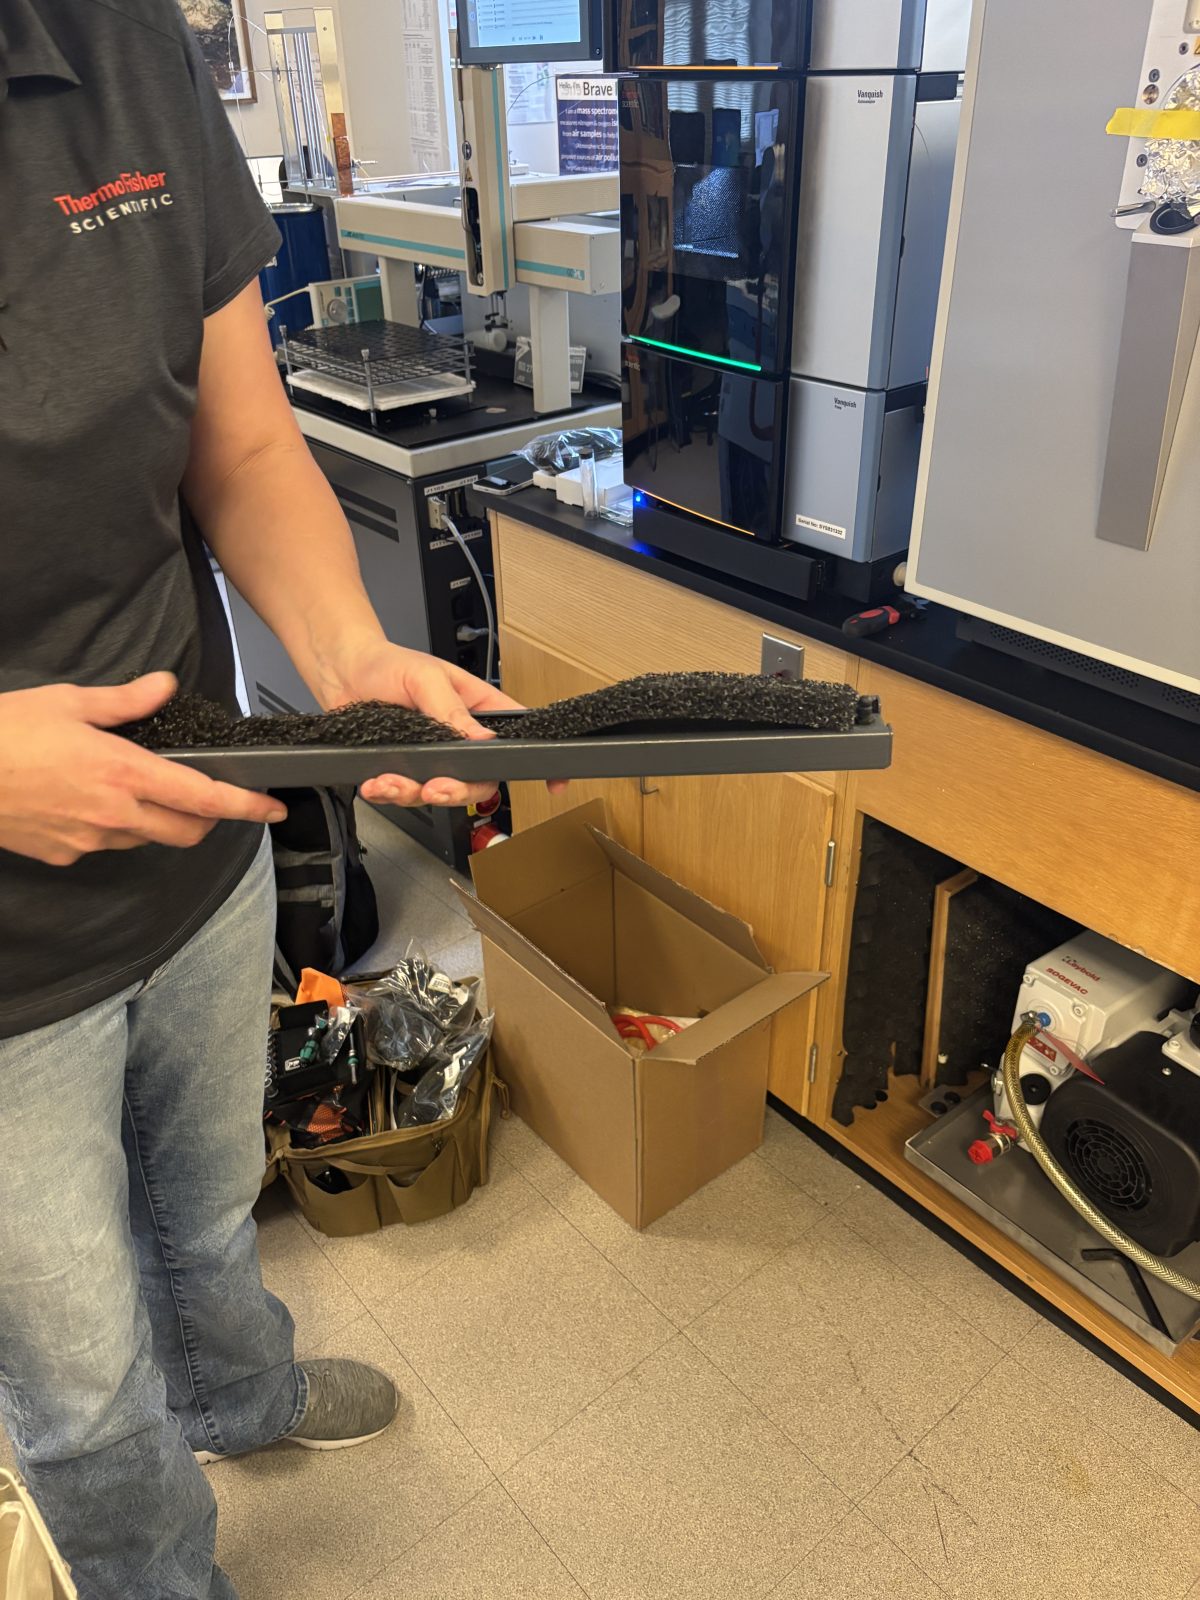
Replace air filters
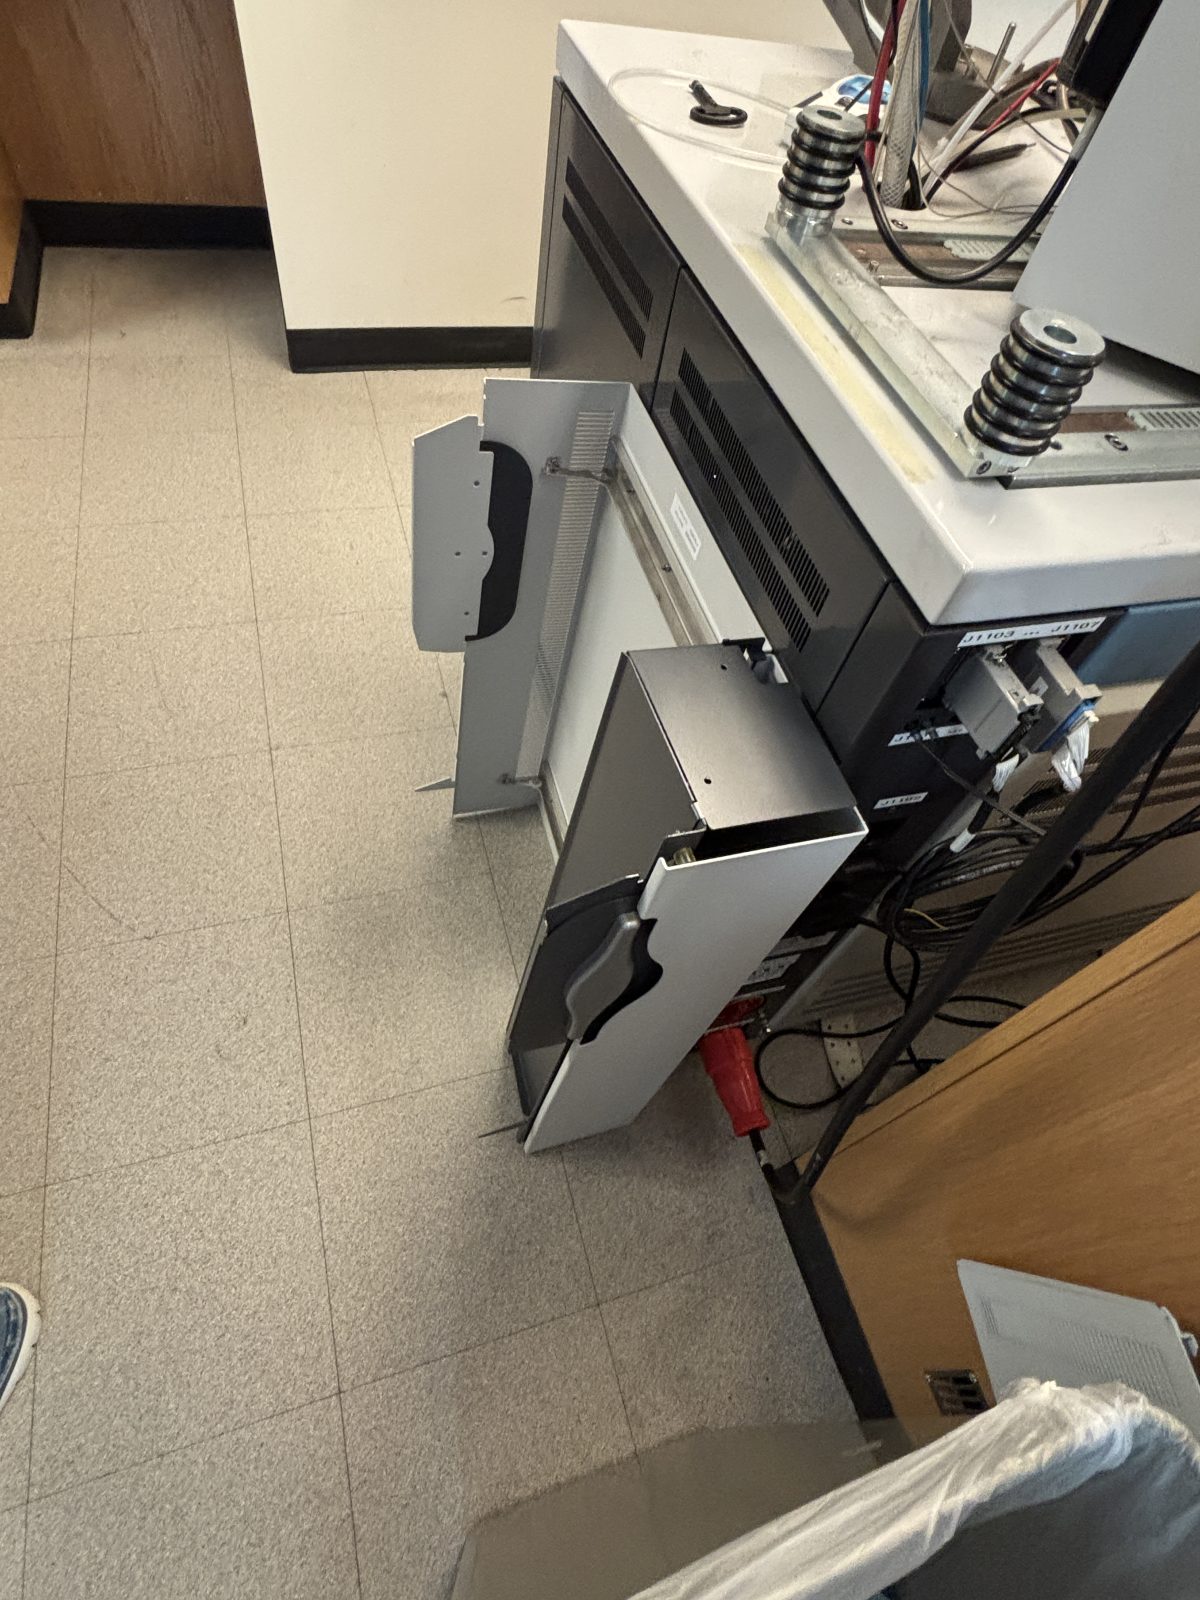
Replace filter at bottom front and both sides of Ivan by removing long black cover and filter then put in new filter.
2025-11-19 14:56:042025-11-19 14:56:072025-11-19 14:56:332025-11-19 14:57:392025-11-19 14:57:502025-11-19 14:59:062025-11-19 15:00:49
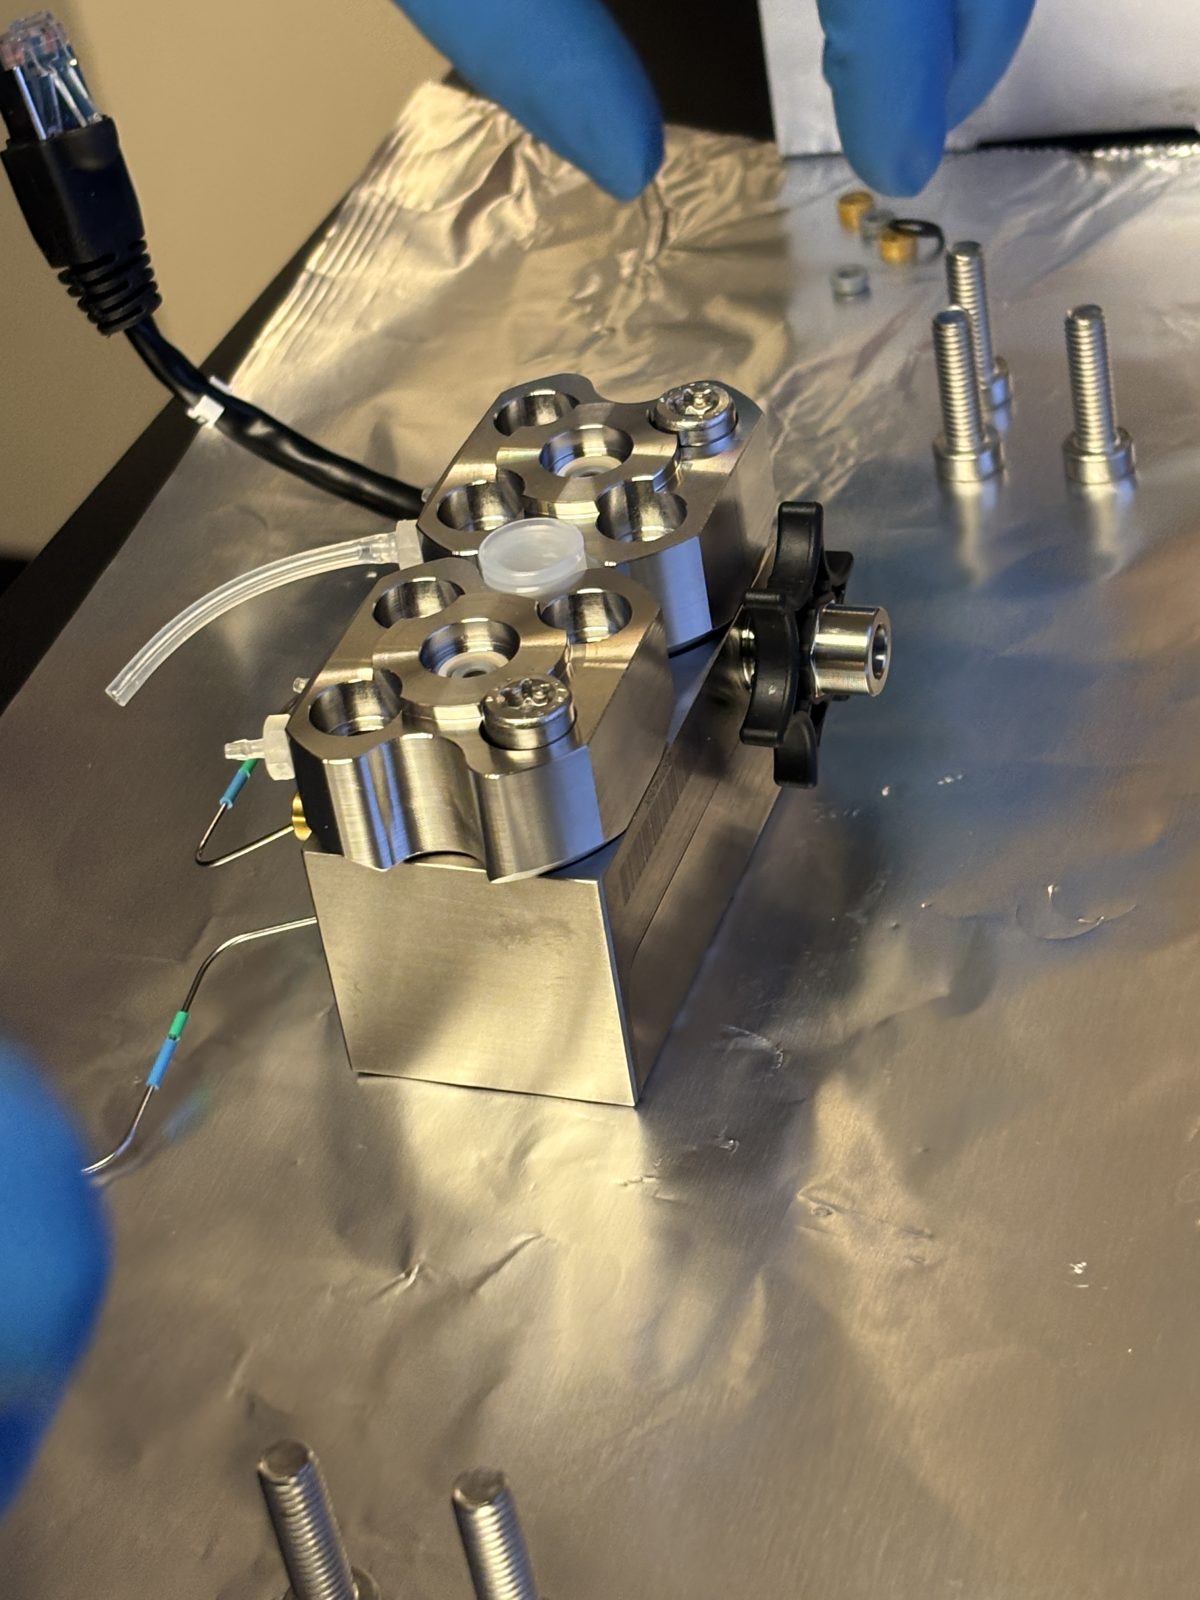
HPLC pump head maintenance:
there’s a kit; See neo manual; repeat for both pumps
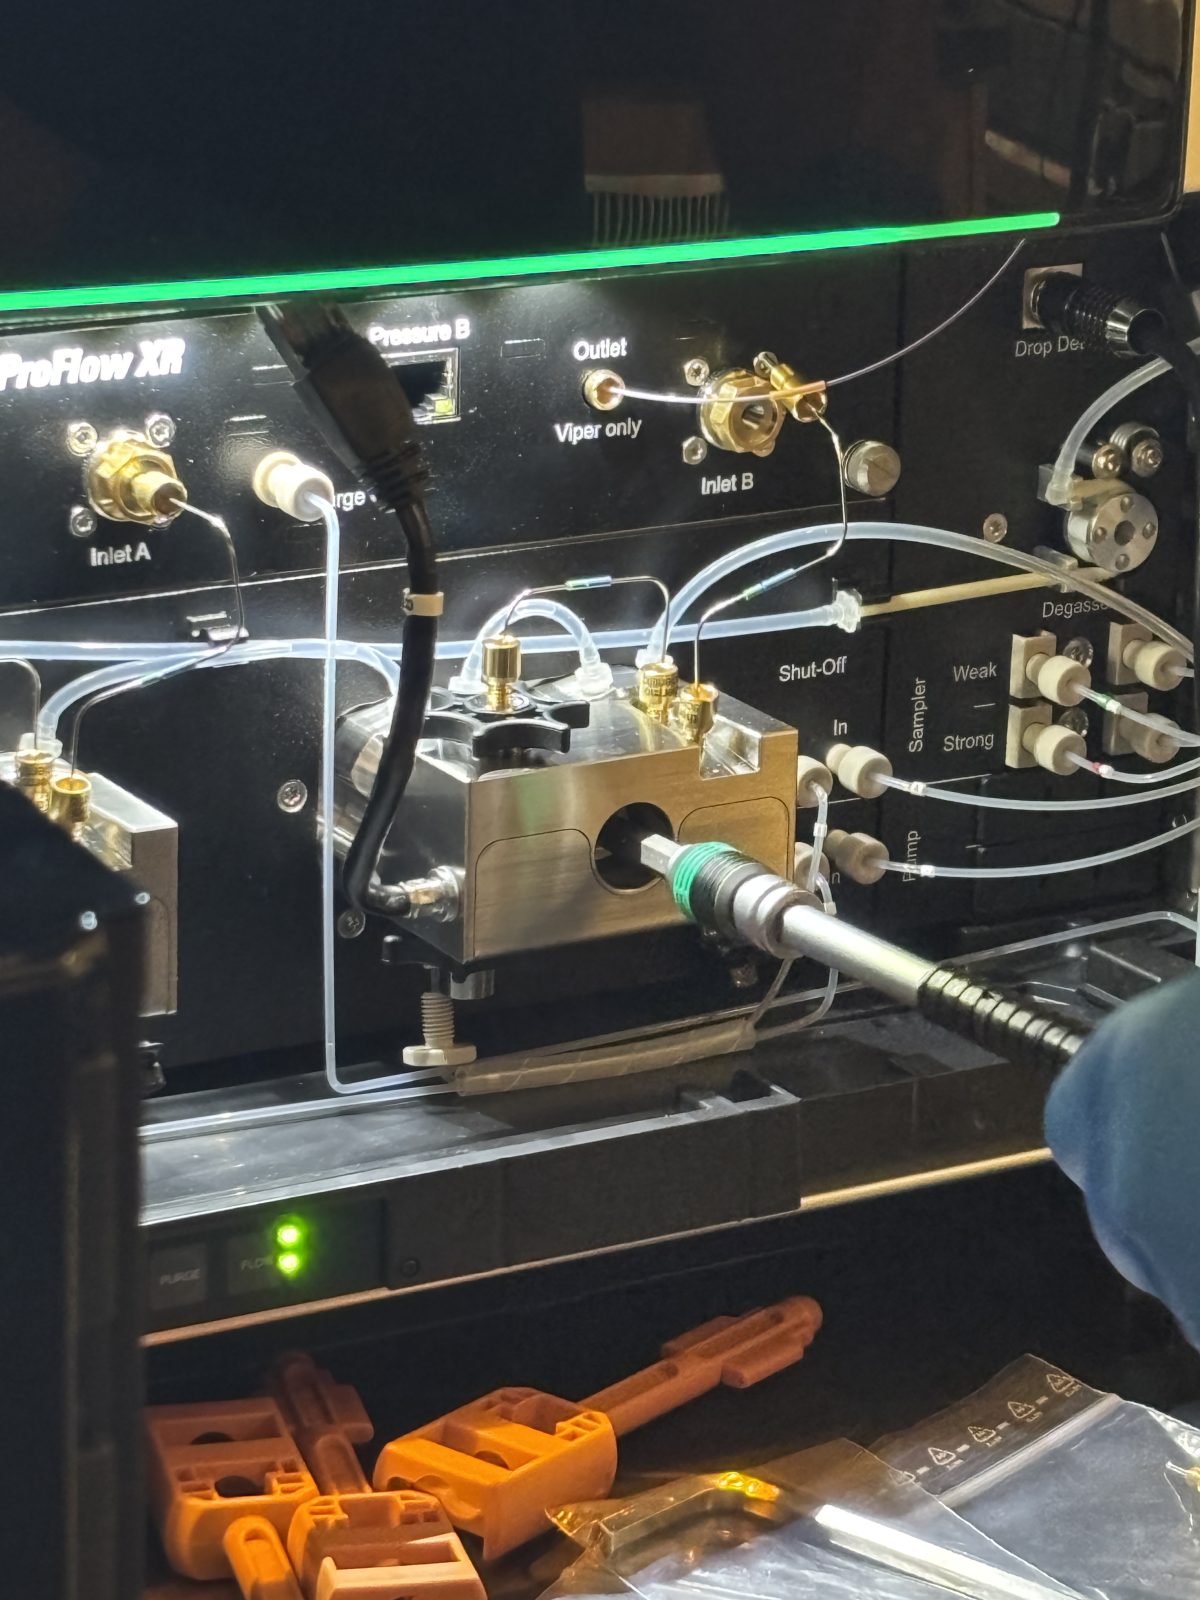
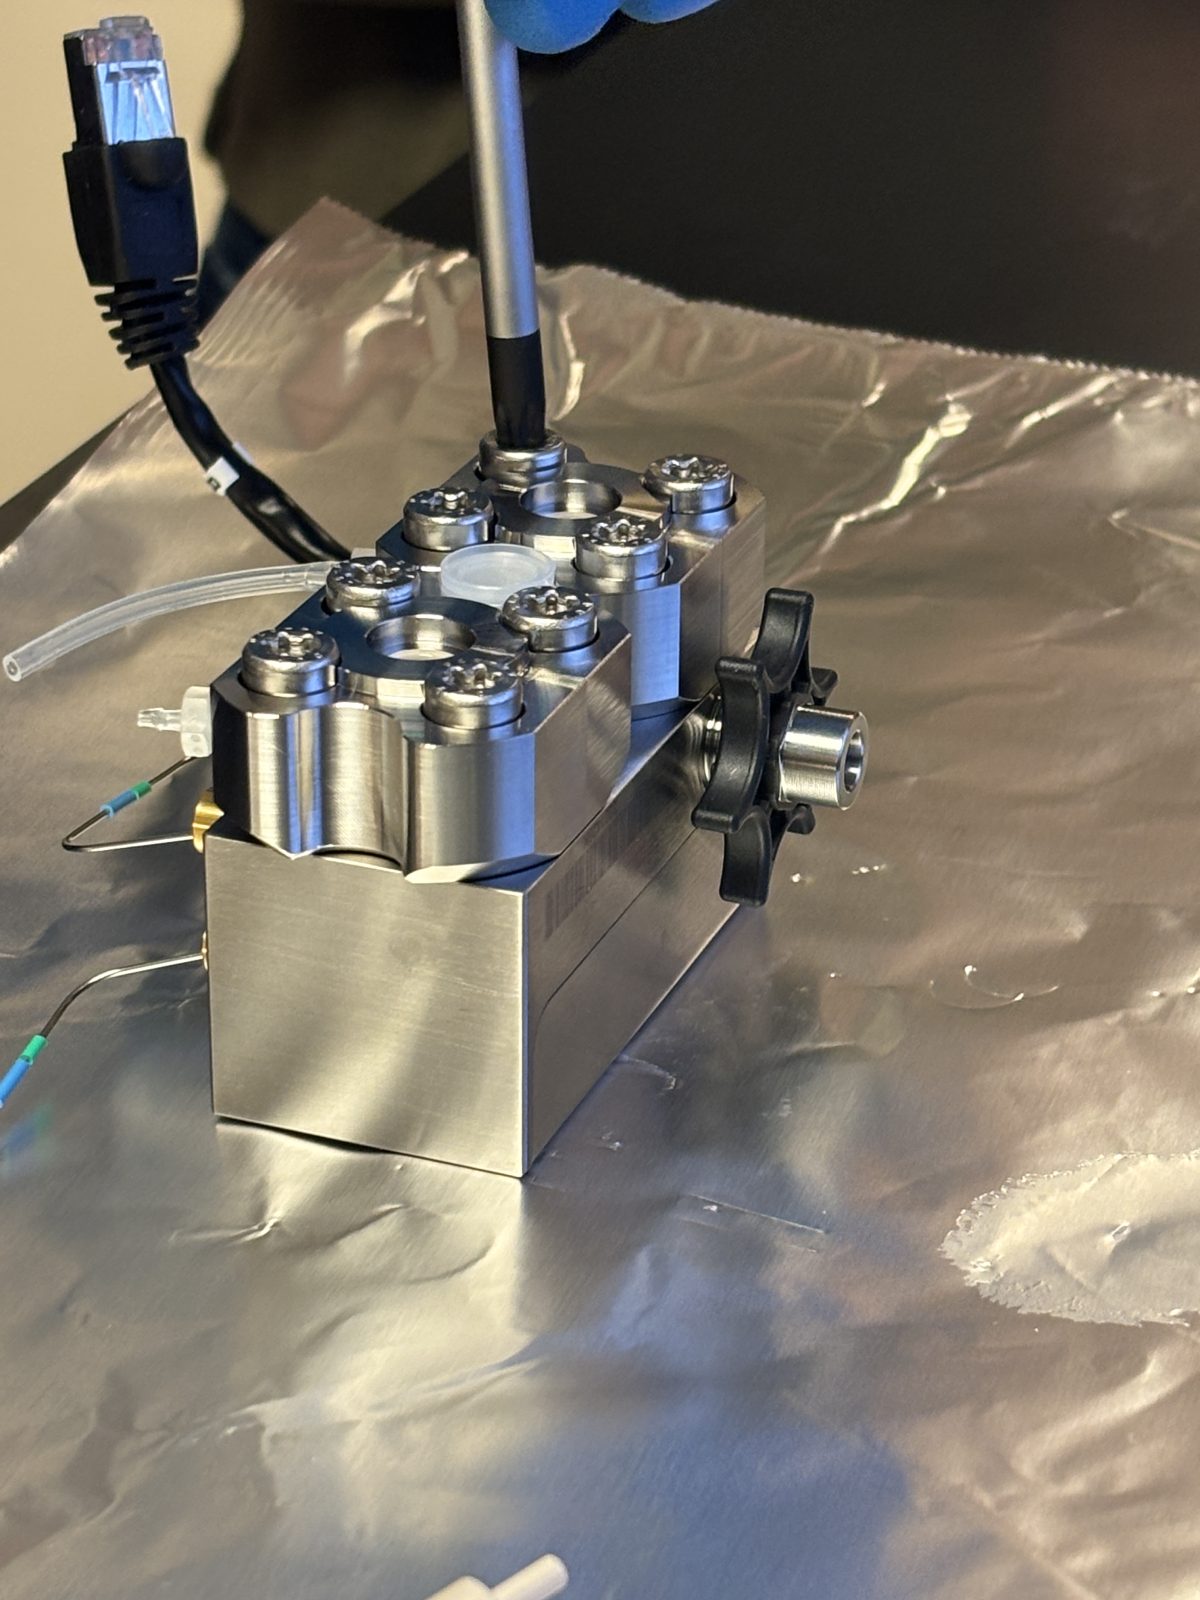
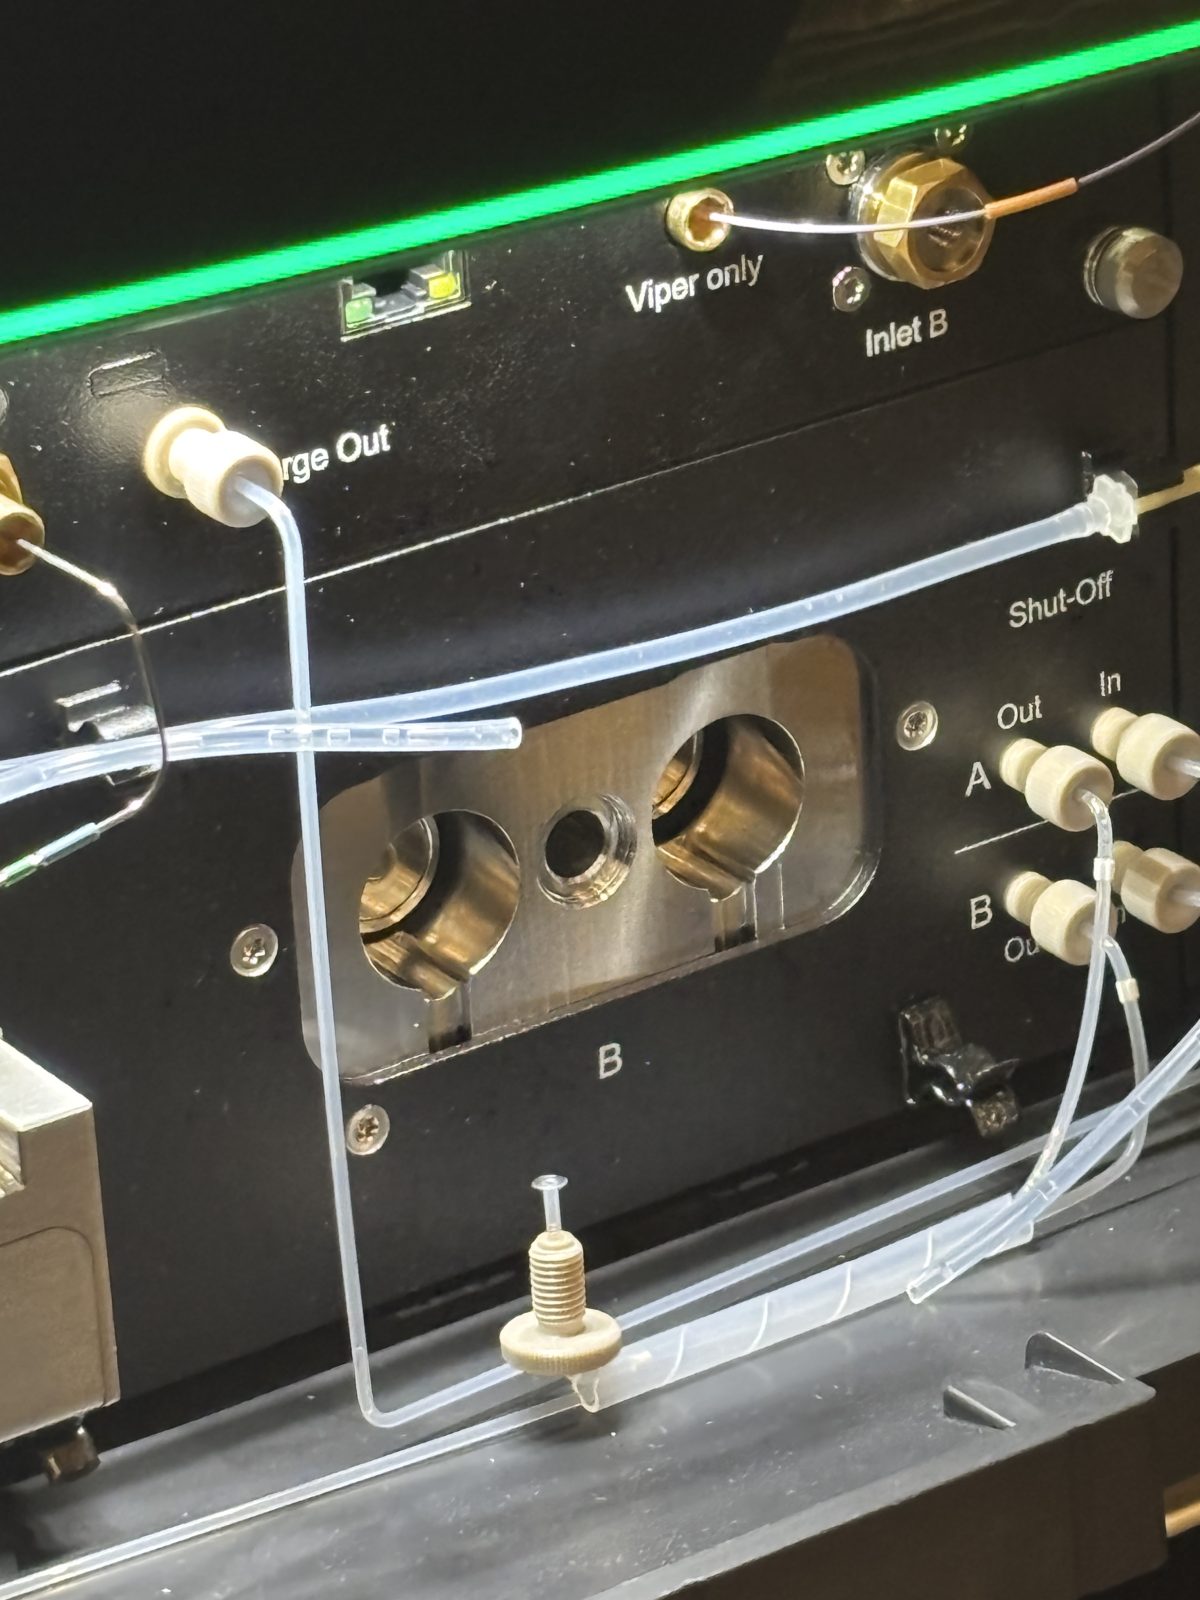
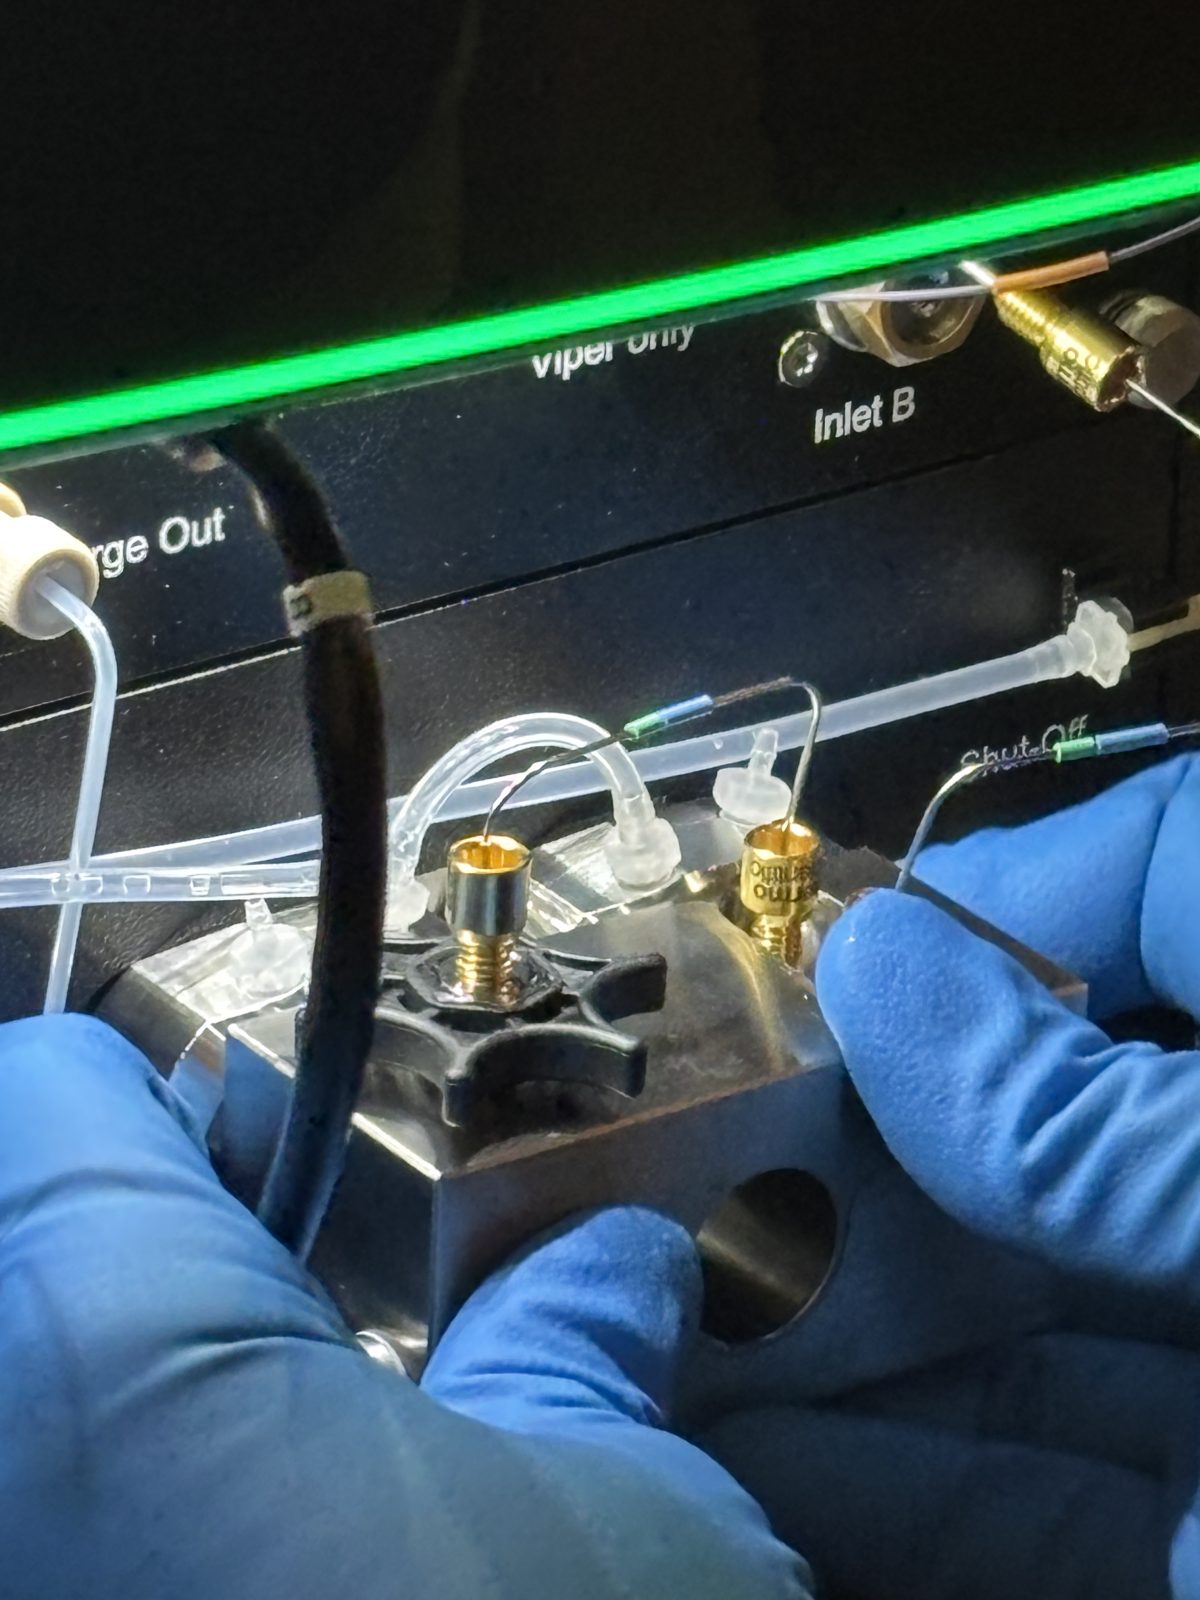
Remove Viper fitting screwed into inlet B (gold); unplug Pressure sensor cable (black ethernet)
2025-11-19 15:09:32
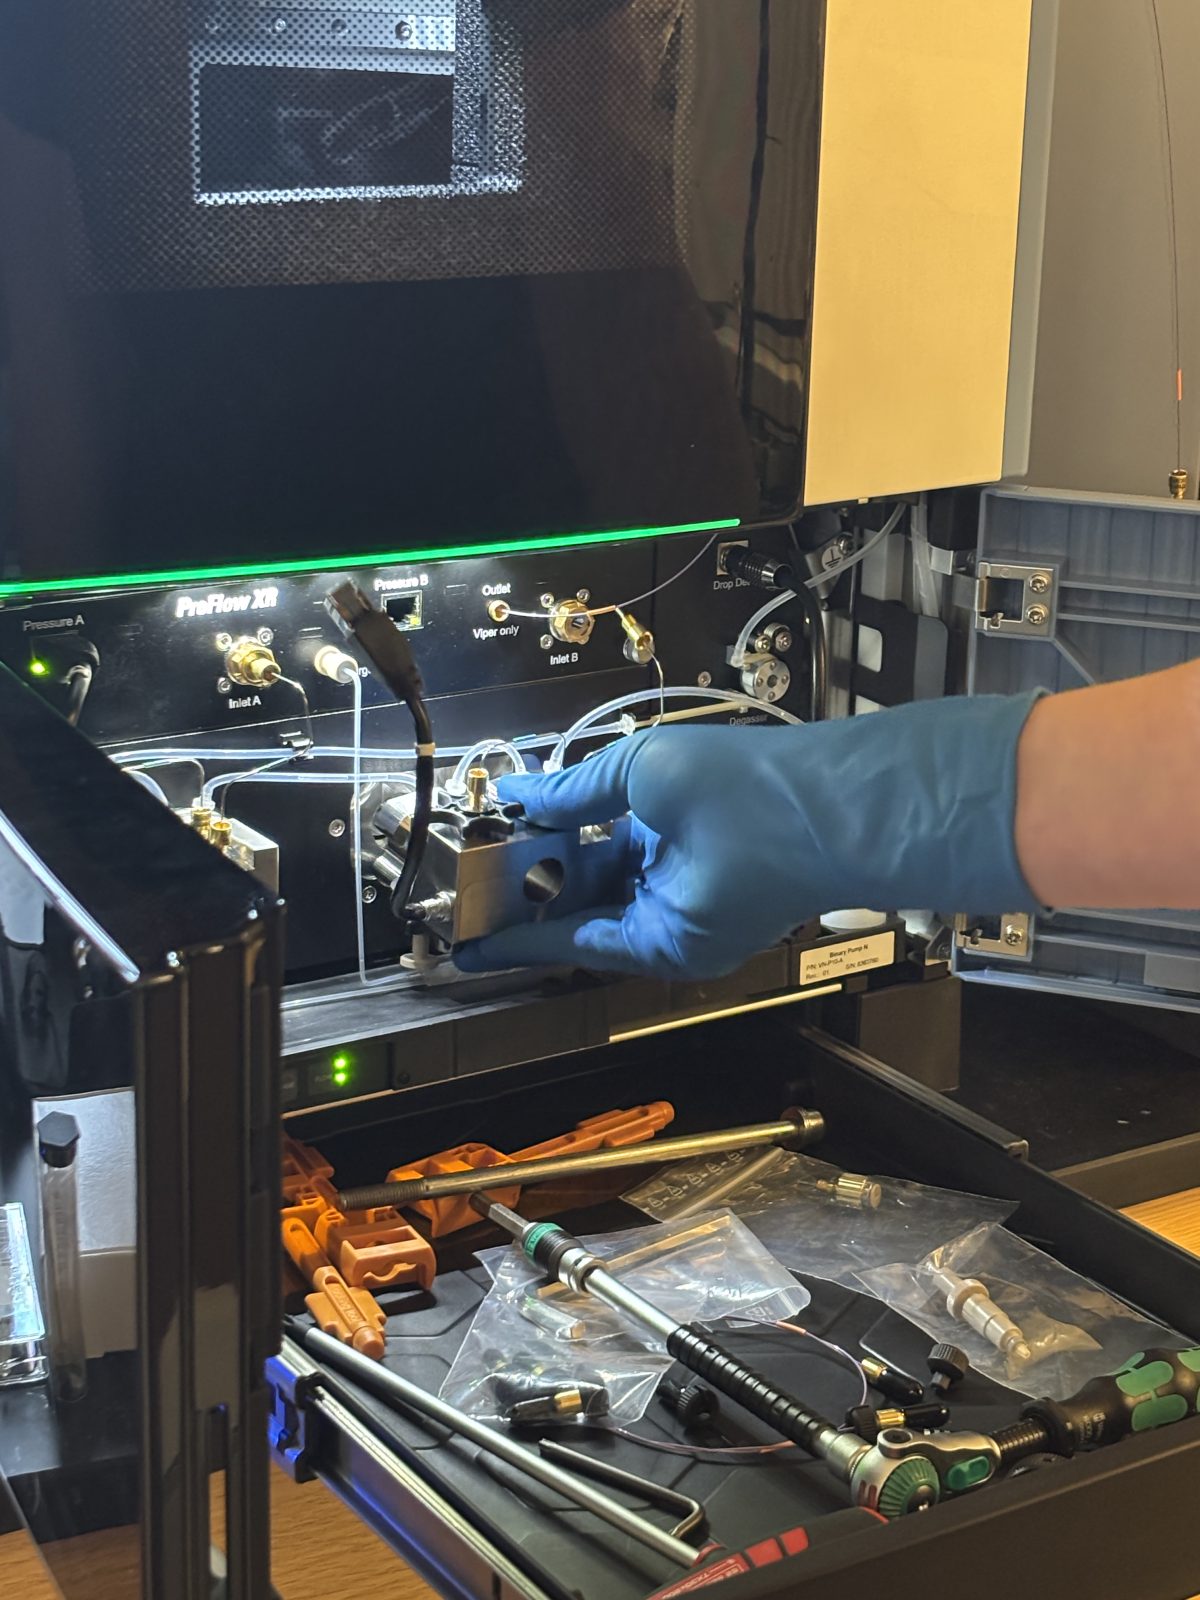
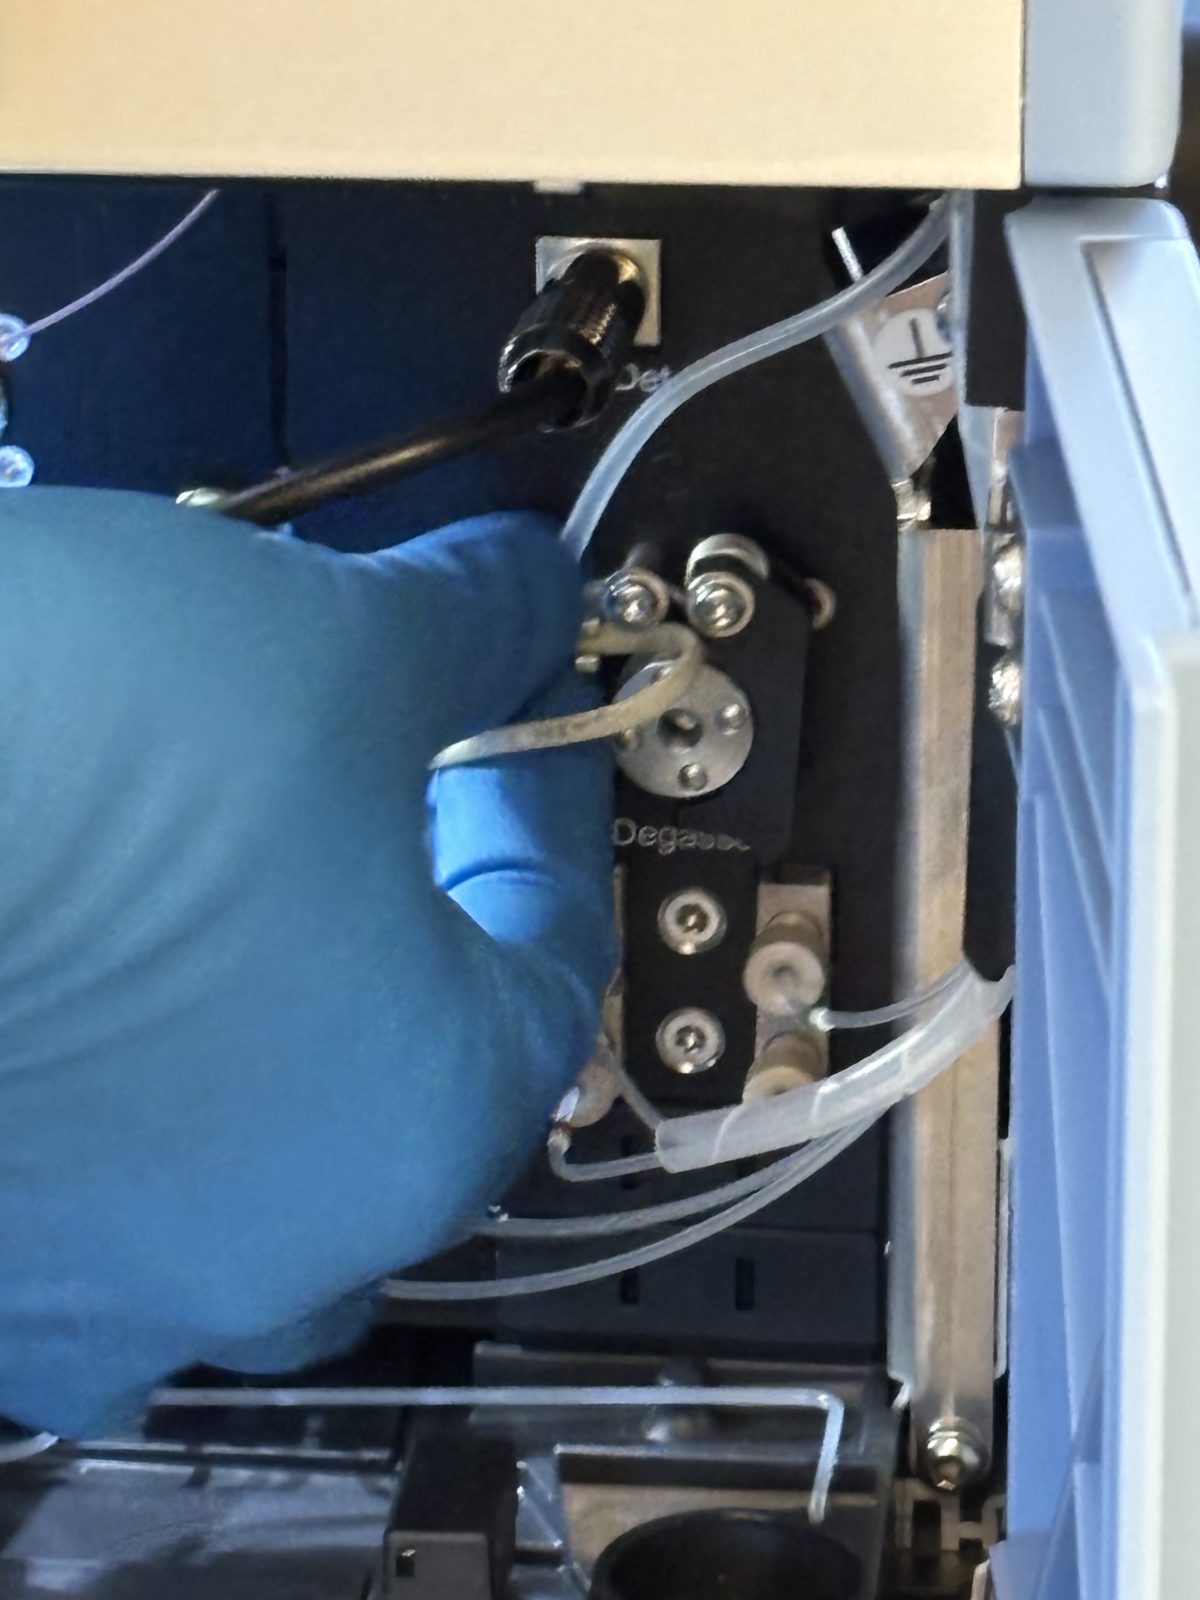
Unscrew (with red and black handled tool) pump head on right (big silver rectangle). Pull out rod. Remove pump head and magnetic parts that may not come out with it.
2025-11-19 15:09:562025-11-19 15:10:282025-11-19 15:10:502025-11-19 15:10:53
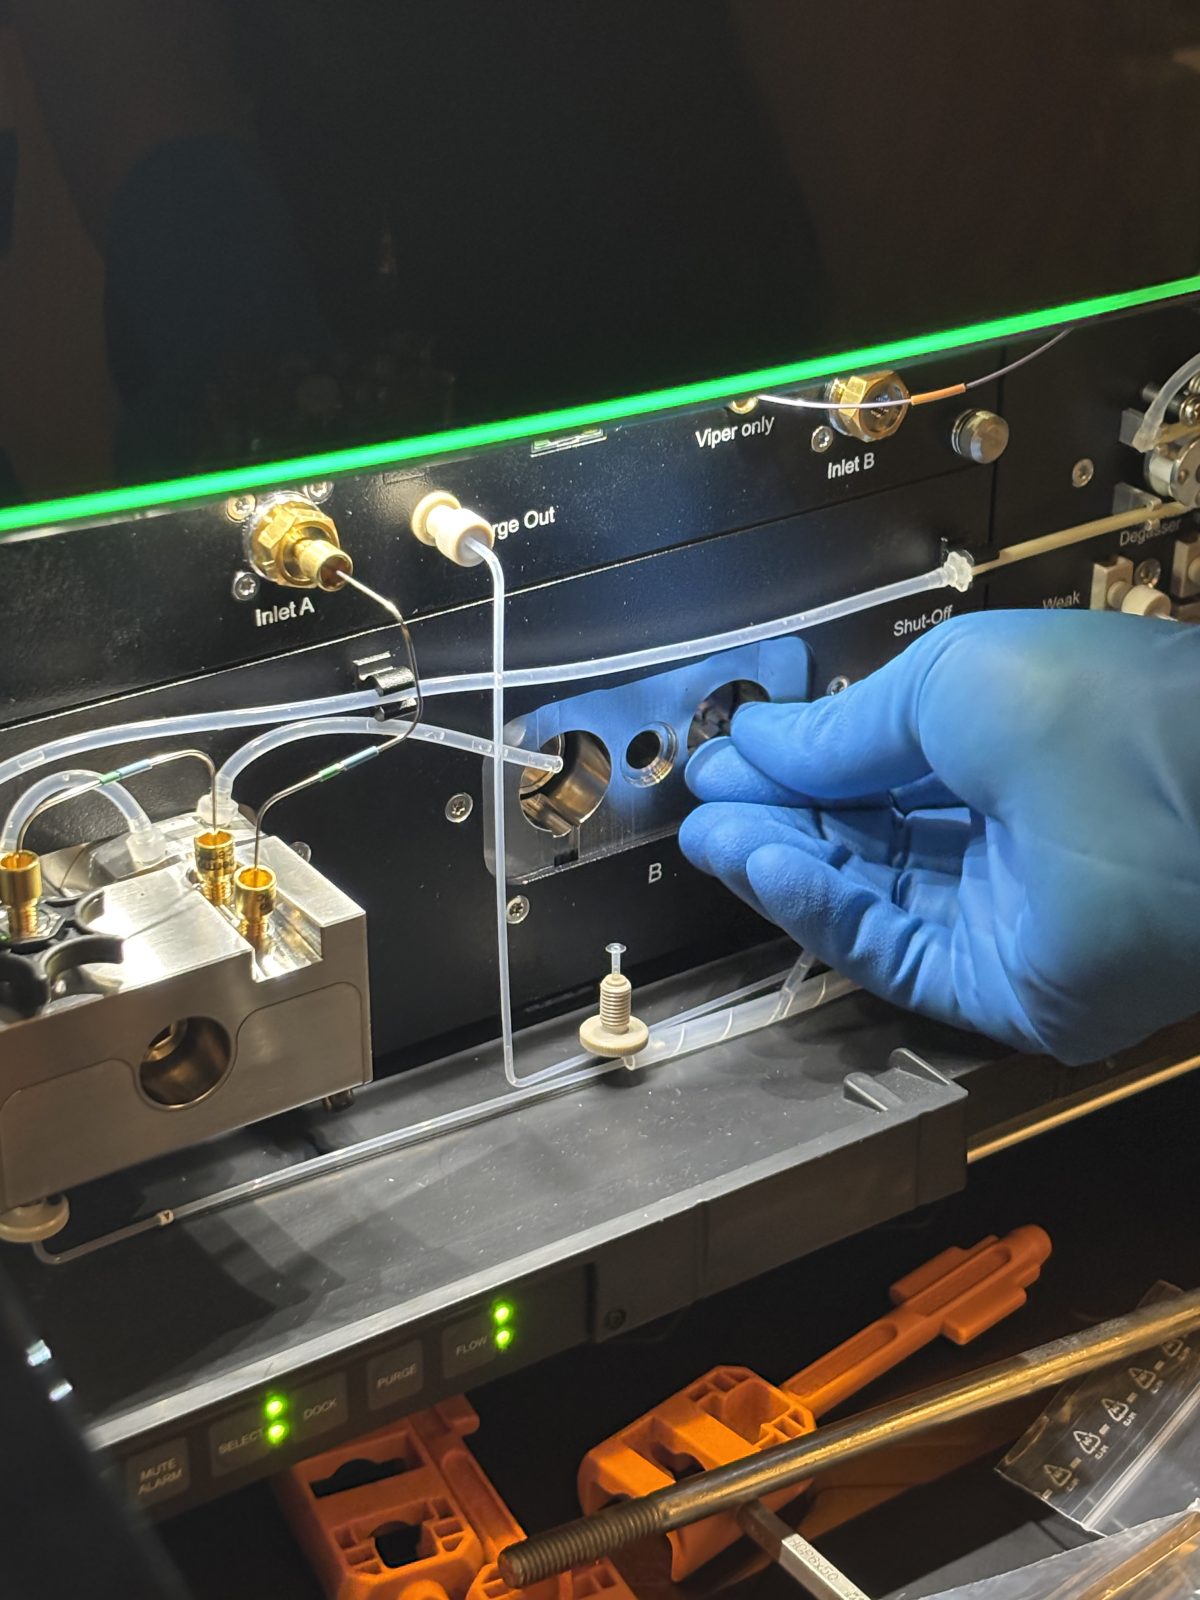
Remove seal wash lines (clear tubing). This seems like it could be done sooner but she did it at this stage. Perhaps it is easier to gain access to the small fittings after the valve block is loose.
Unscrew 8 screws and remove 2 pump heads. One was hard to pop off.
2025-11-19 15:11:462025-11-19 15:12:30
Remove ceramic support ring (white) and piston seal (brown) with special tool. Replace with new ones with special tool. One side of tool for pulling out (split tapered side) and the other for putting back in.
2025-11-19 15:19:092025-11-19 15:13:492025-11-19 15:15:39
Only replace black o-rings surrounding the bolts if needed.
Remove seal wash from head itself with same special tool. Replace with new ones using same beige tool in the correct orientation.
2025-11-19 15:17:502025-11-19 15:18:50
Put back together with screws. Tighten hard in star pattern.
2025-11-19 15:19:16
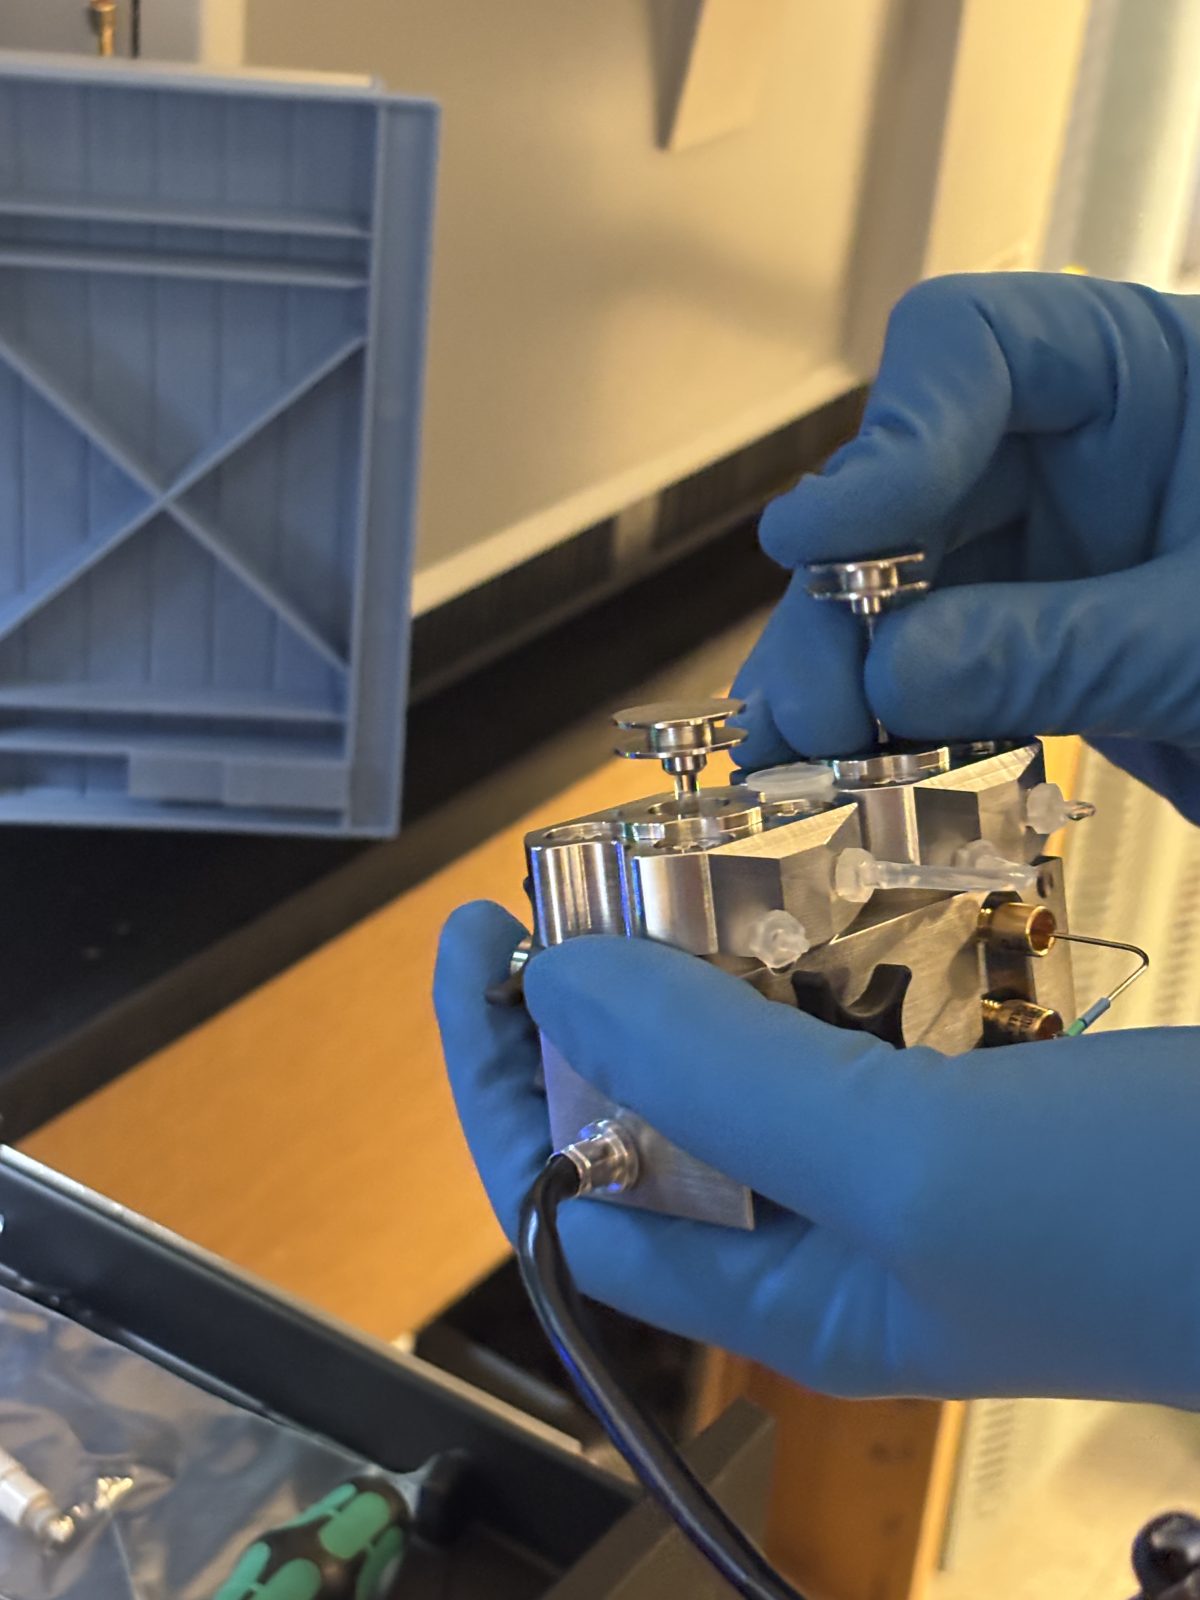
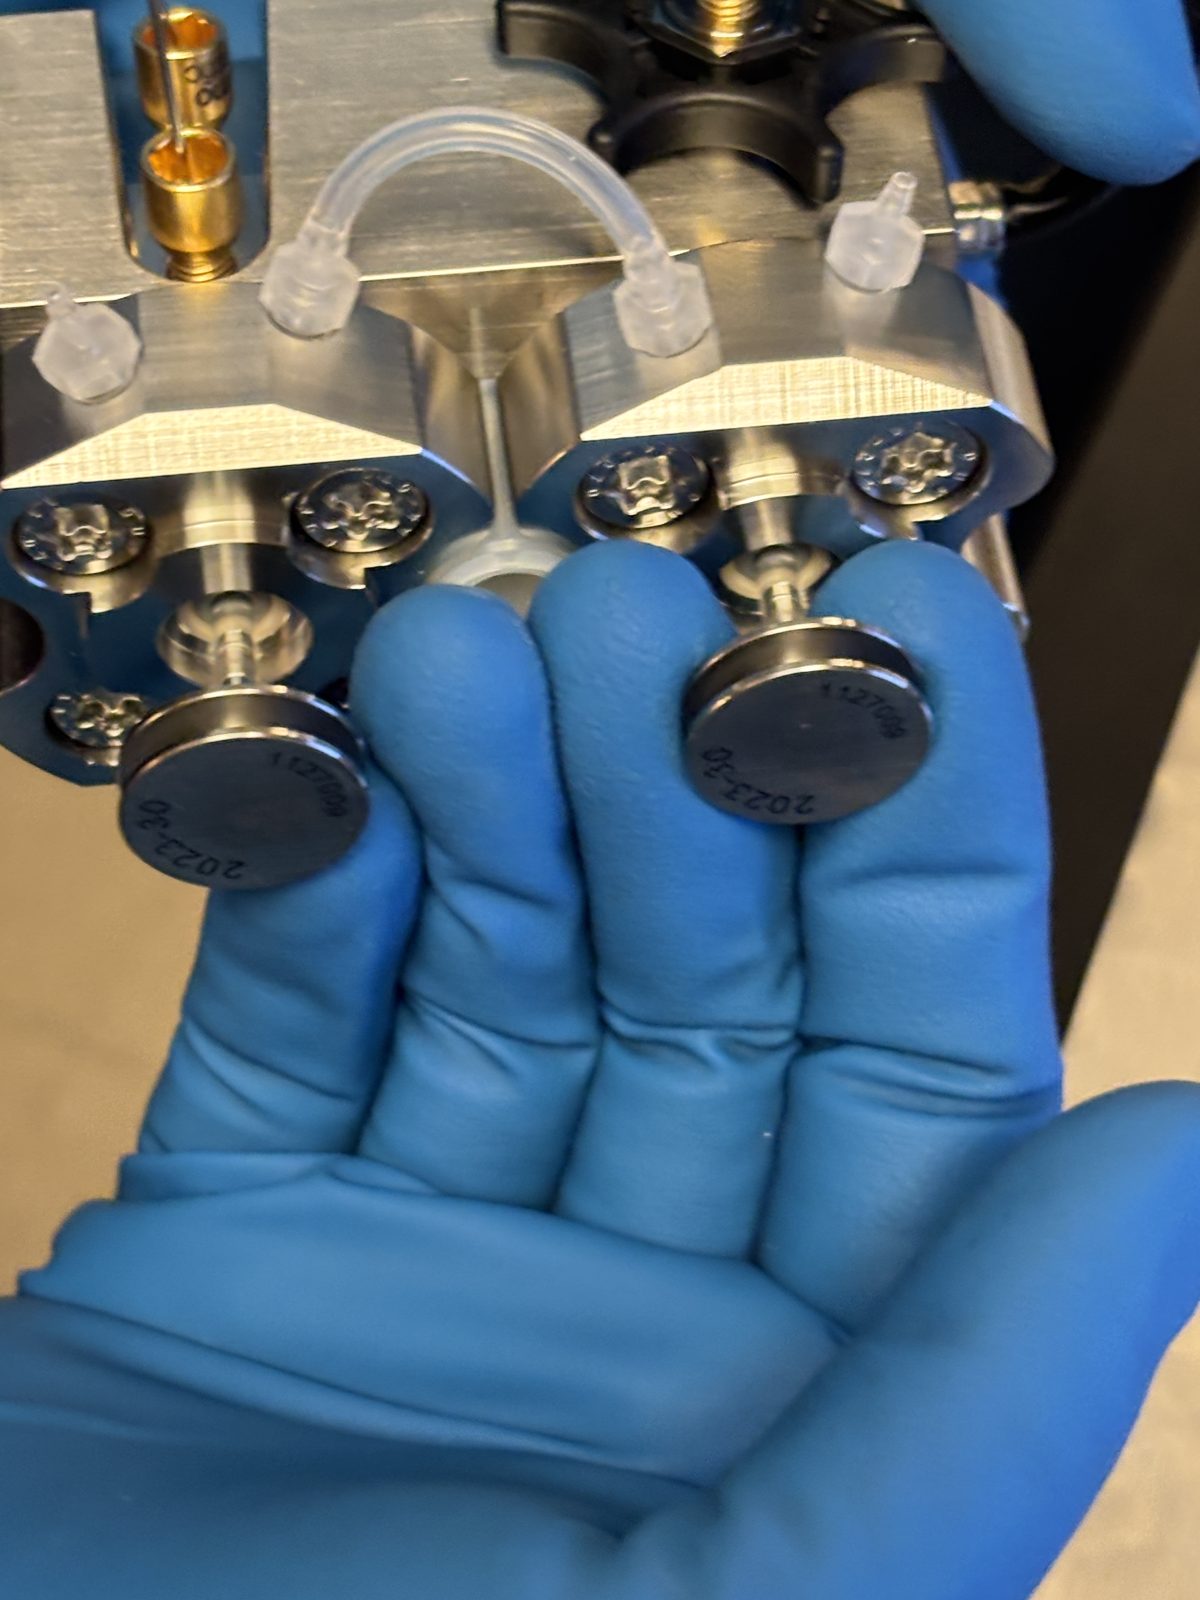
Check black part of magnetic piston valve for scratches before putting them back.
2025-11-19 15:20:562025-11-19 15:21:37
Make sure face is flush when putting back in (no gaps). Insert rod and screw in with torque wrench.
2025-11-19 15:22:412025-11-19 15:22:482025-11-19 15:22:55
Replace seal wash lines (clear tubing)
Repeat with pump head on the left.
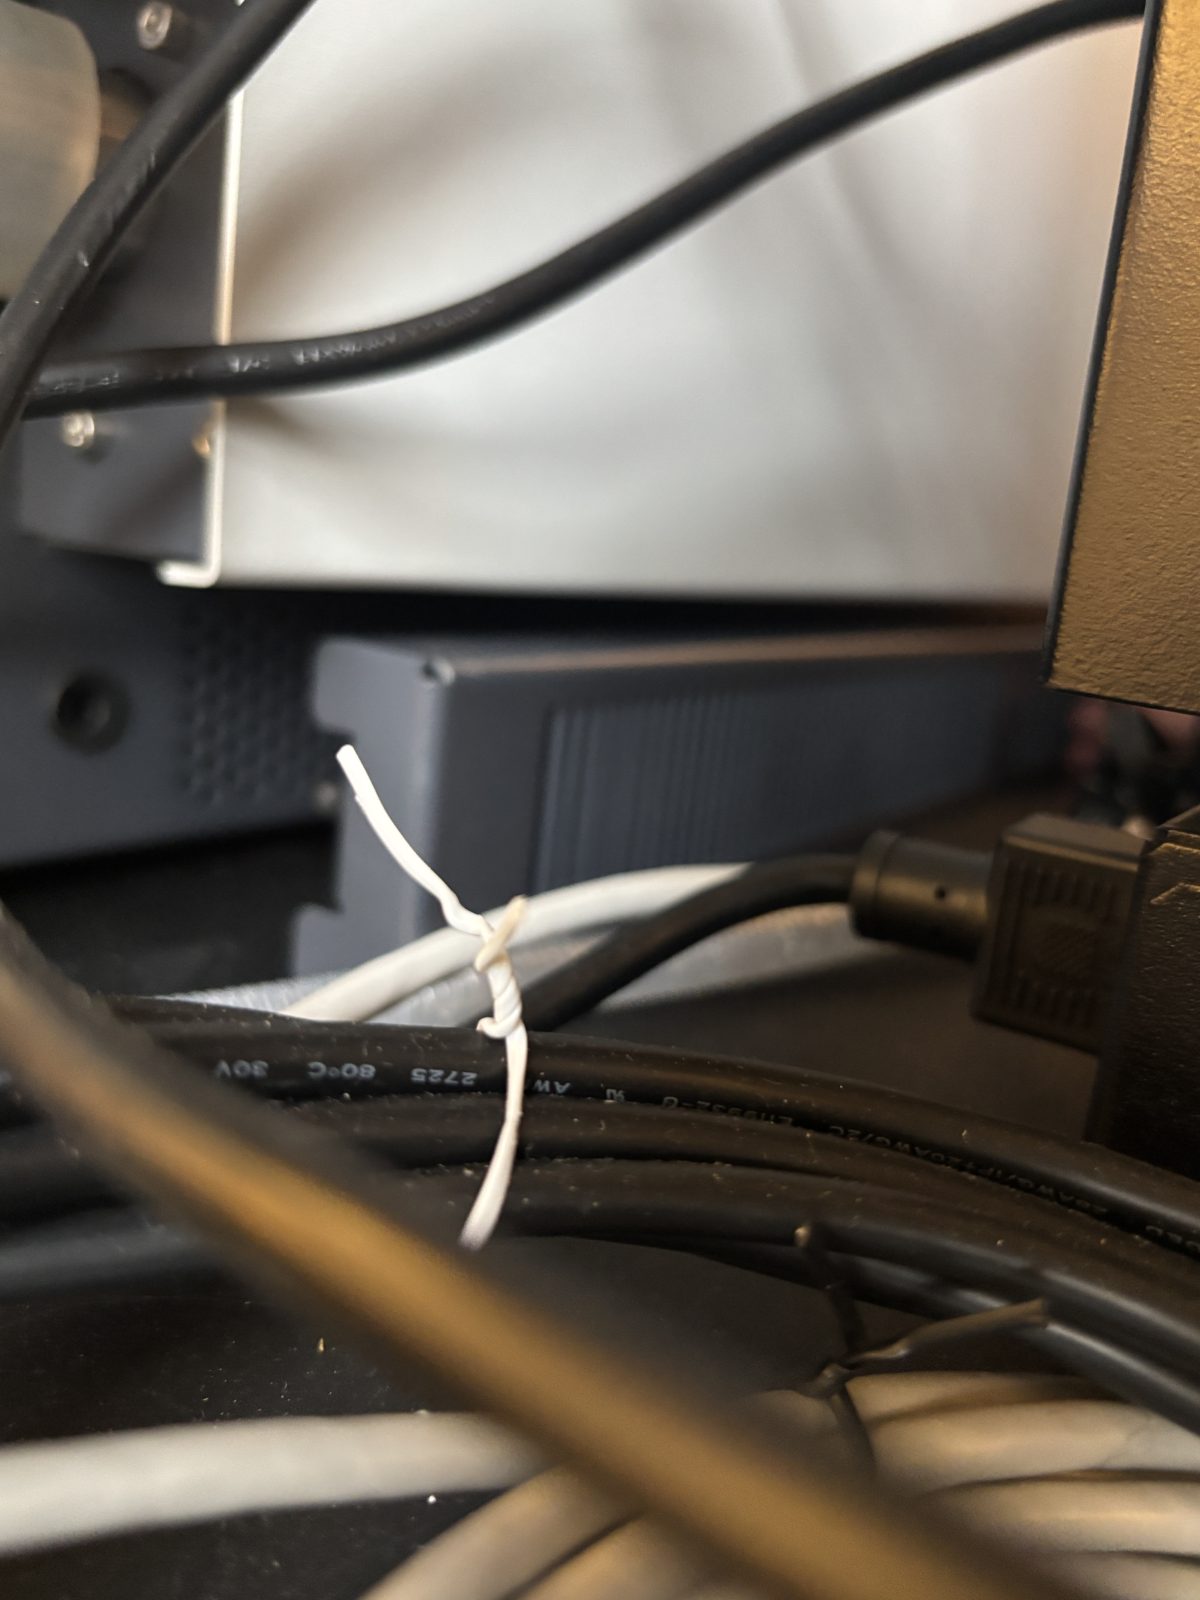
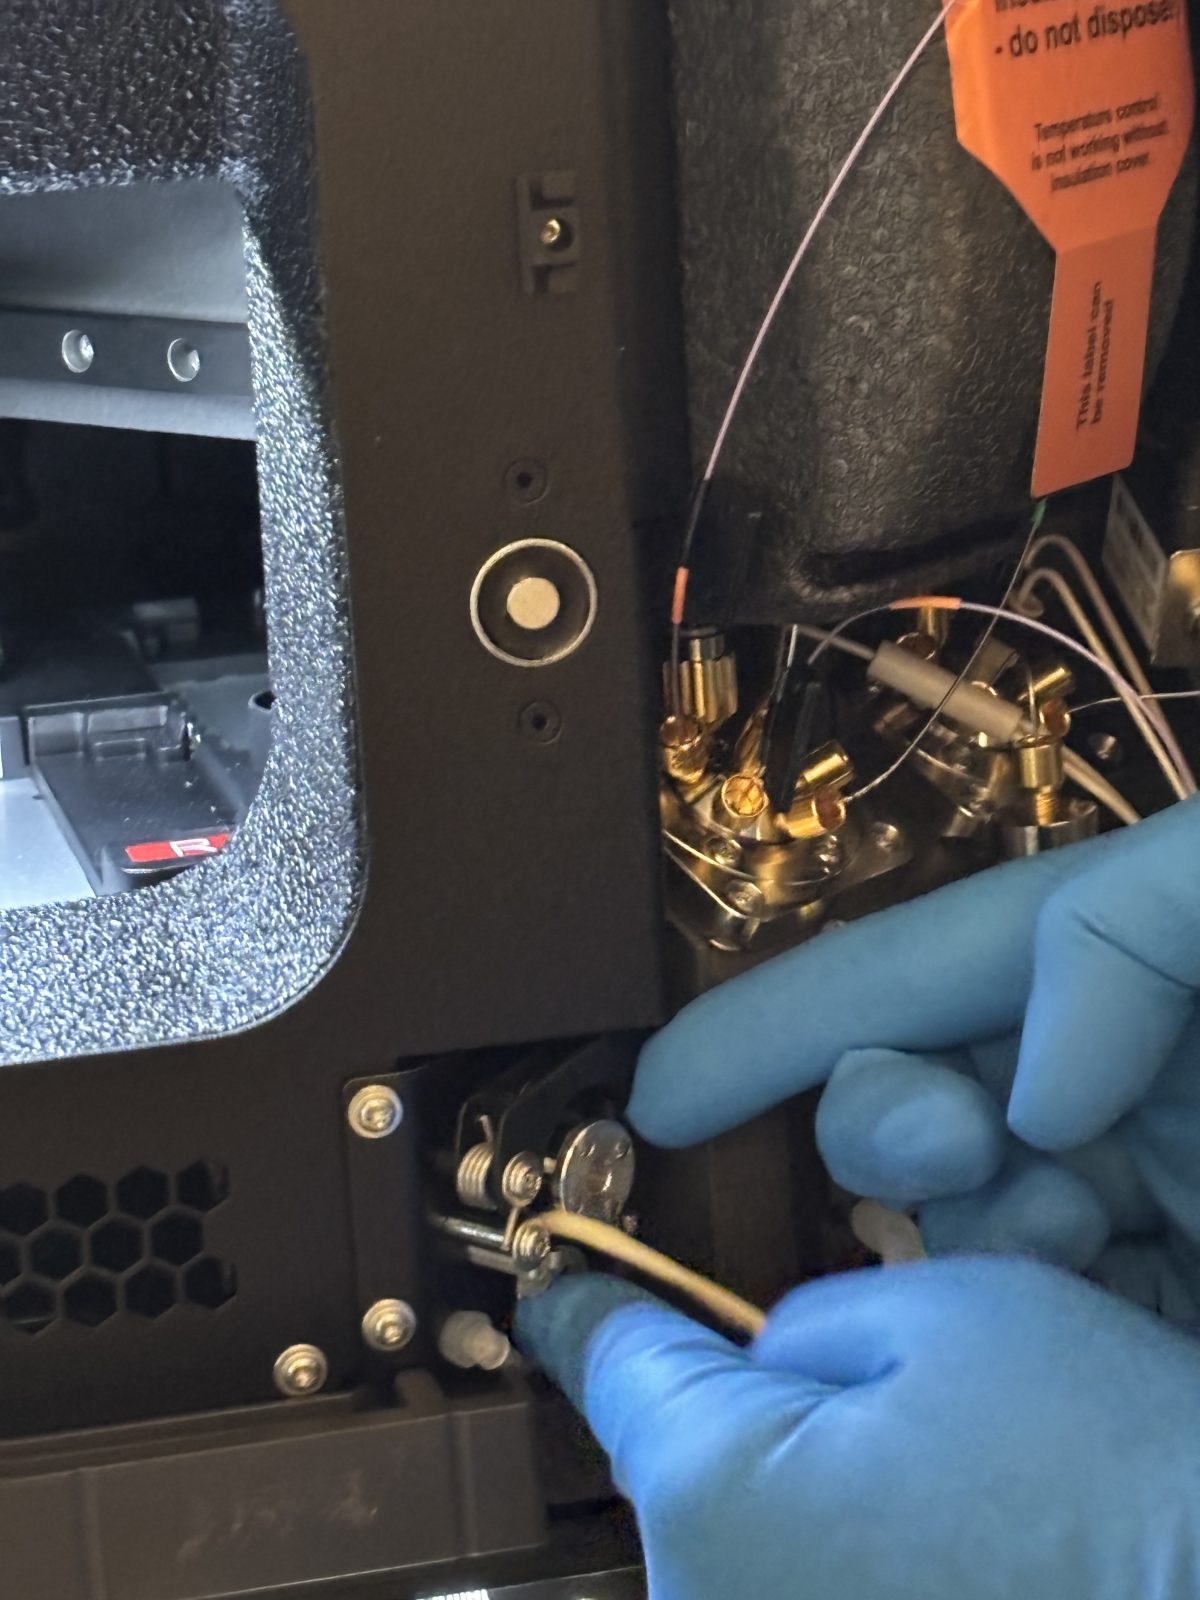
Replace peristaltic pump tubing in 2 places (bottom and middle). It is the off white tubing.
2025-11-20 10:11:502025-11-20 10:14:33
Run and test HPLC:
B04 – system self test. Pump error.
Run B01 – solvent change
After passing tests, first run at a flow rate of 5 uL/min. Then 10 uL/min. Then 15 uL/min. Then 17 uL/min. Keep slowing increasing flow rate until pressure reaches 1300-1400 bar. This is to seat the seals. When it reaches this pressure run for 20 min.
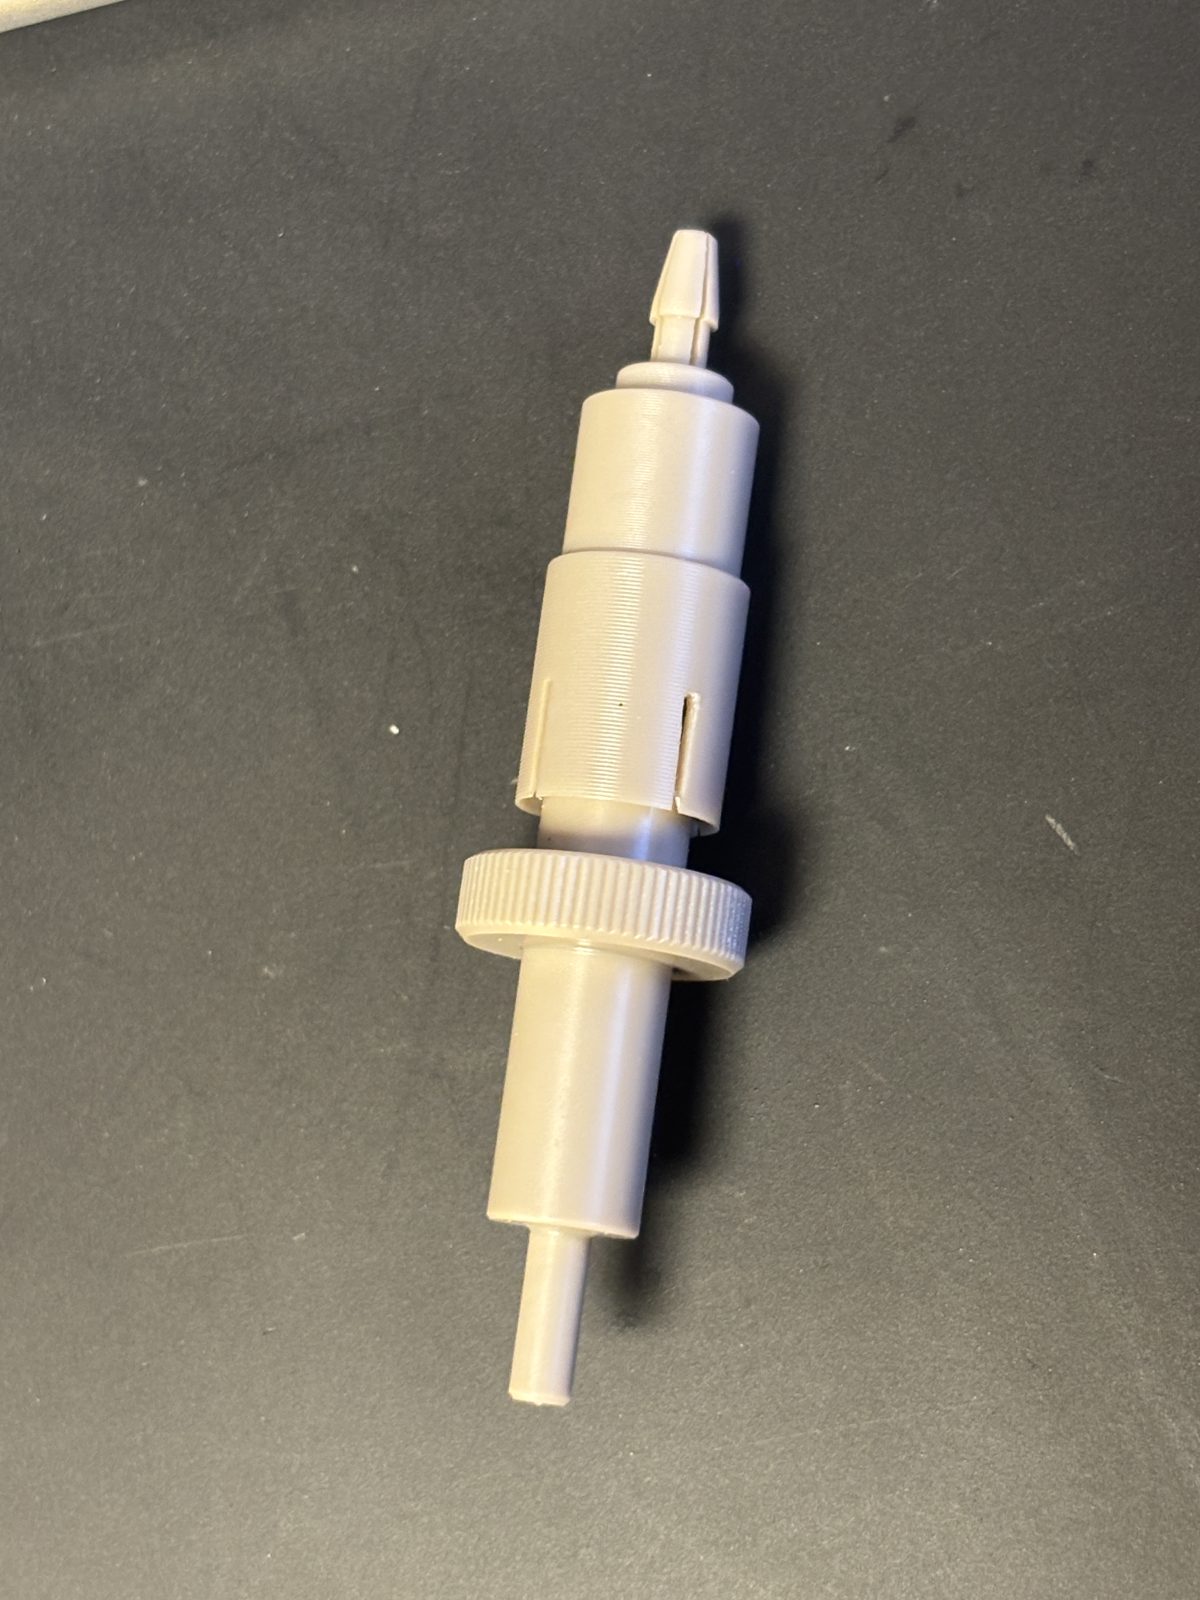
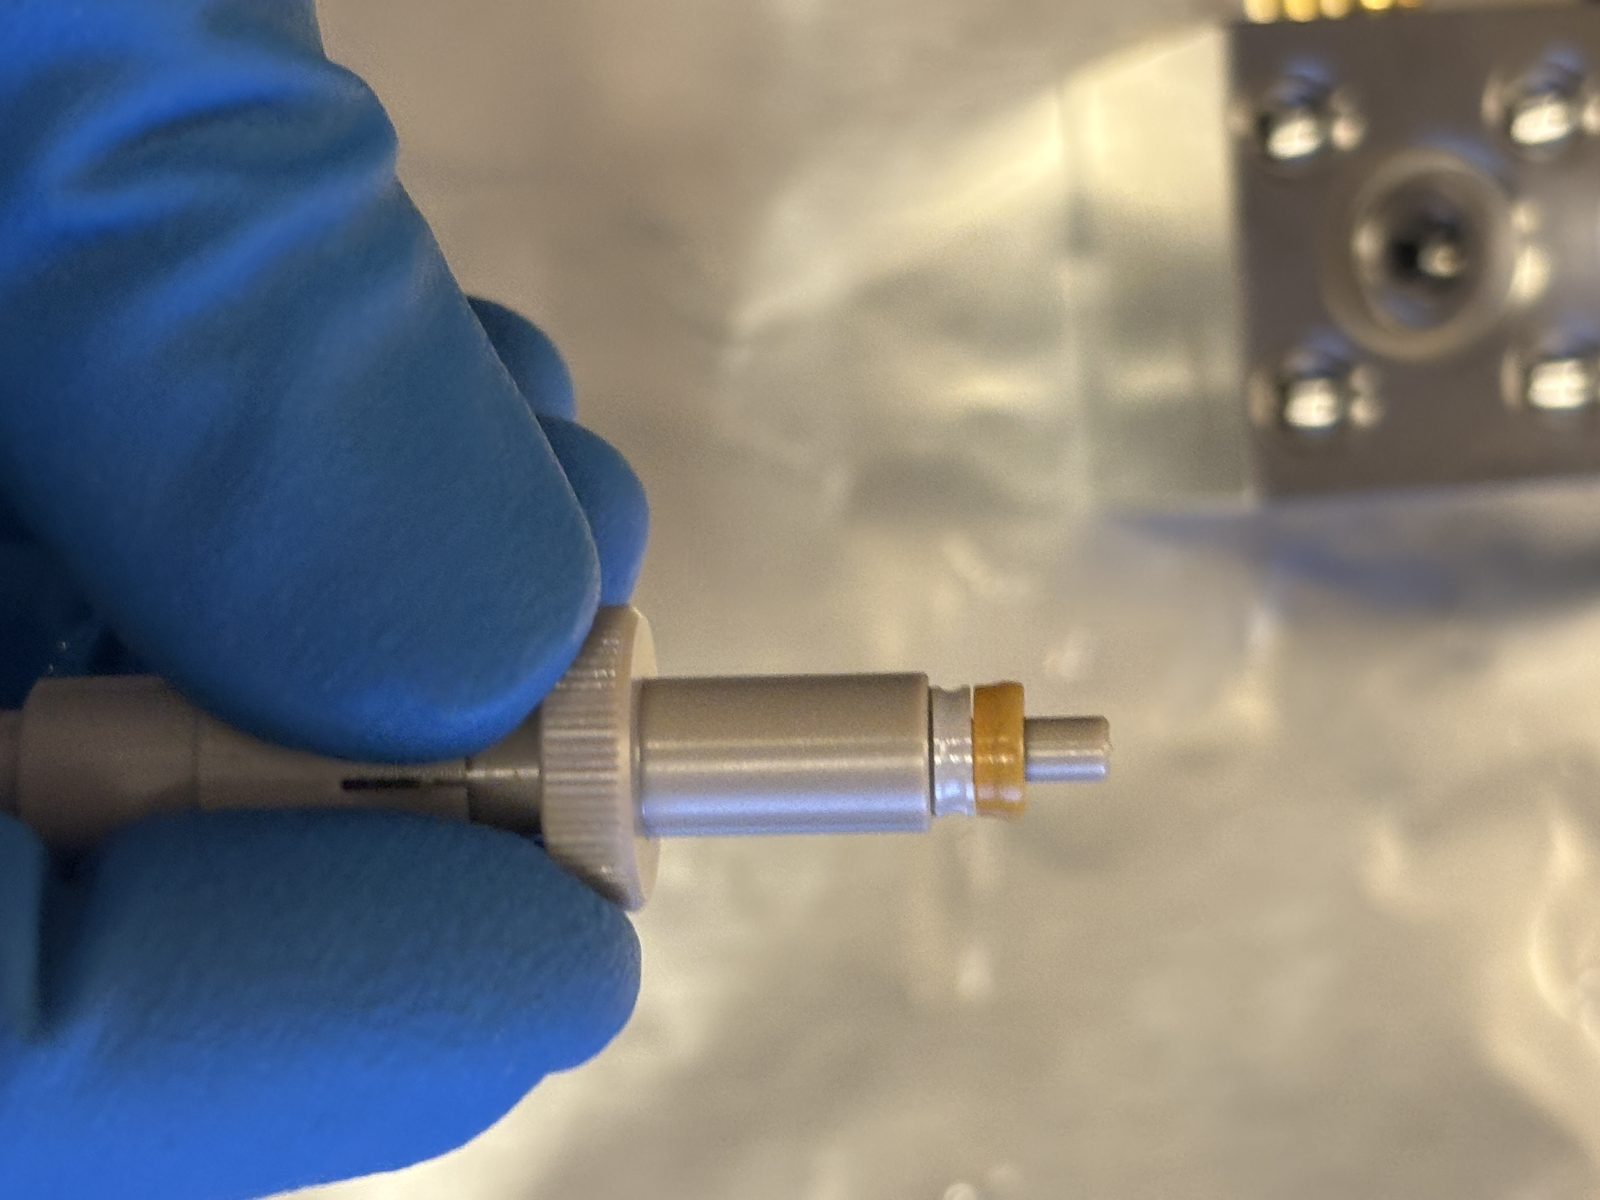
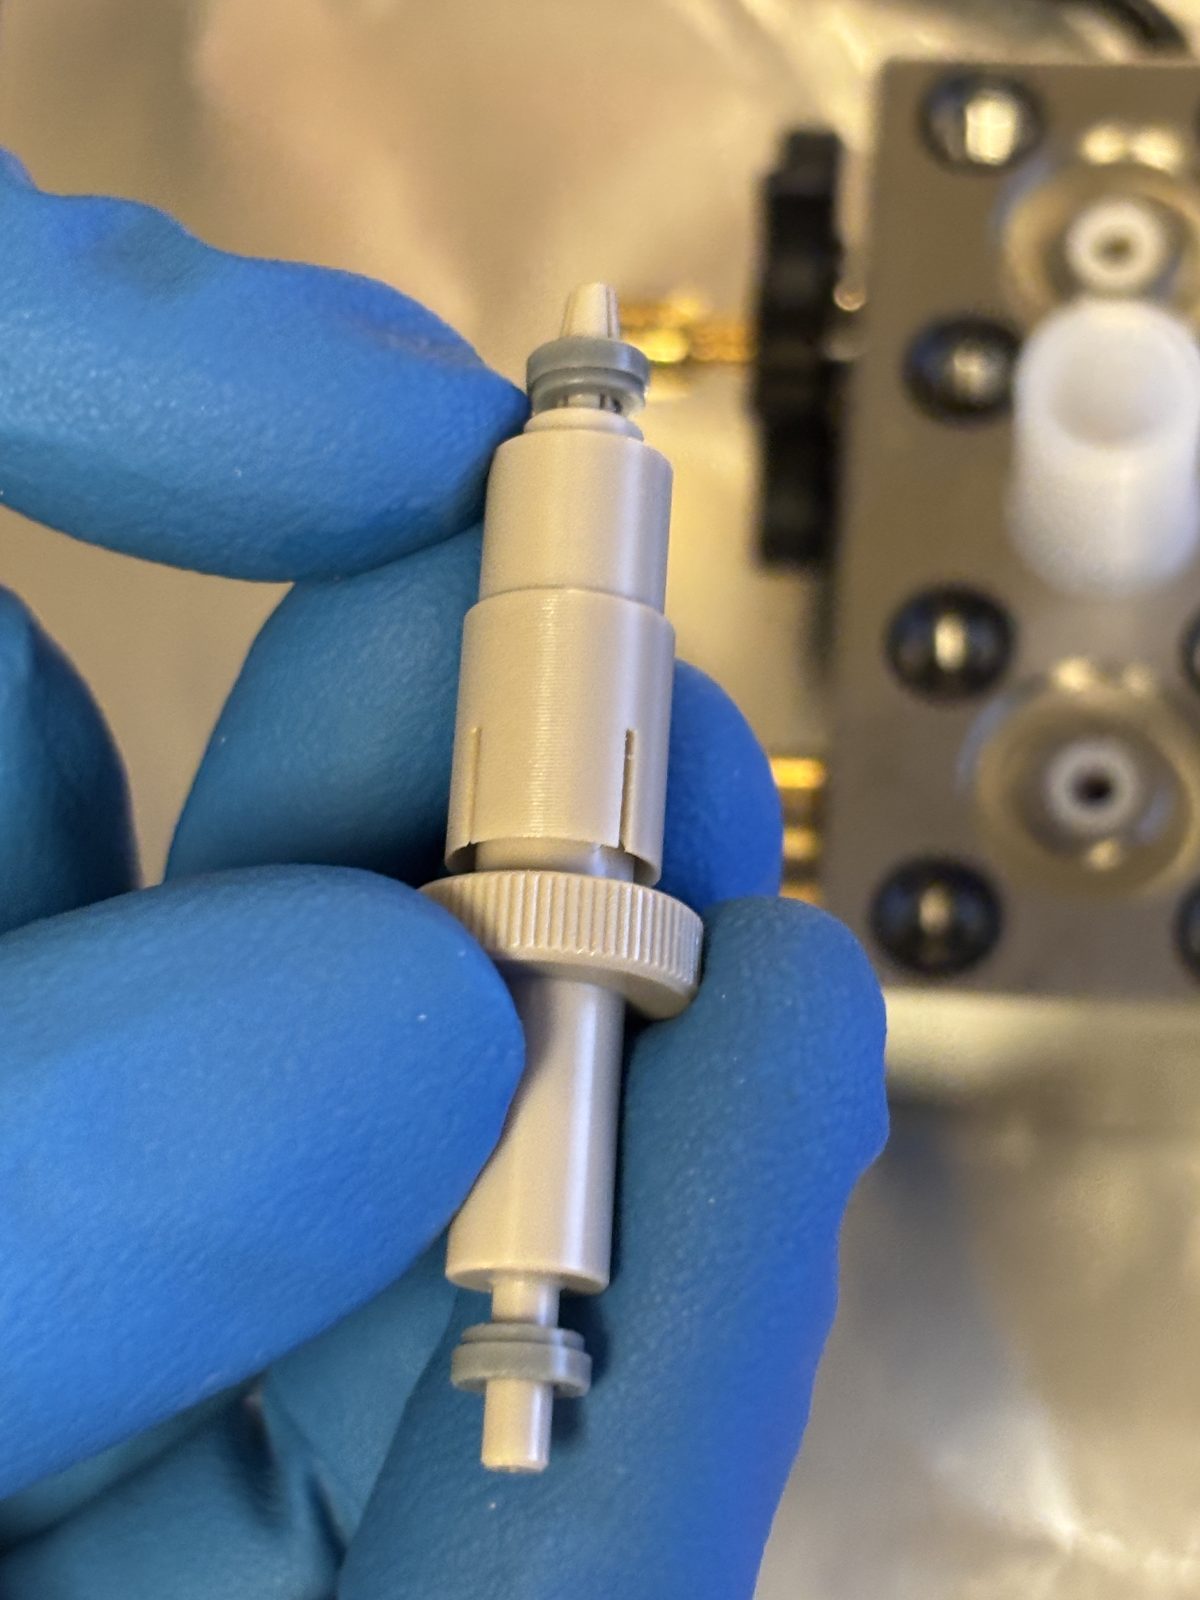
Error that needle seat is clogged. Run script C21. Follow instructions to replace needle seat. Need torque tool and connect a special black part to the end of it to replace the needle seat. We still have a spare needle seat. Passed.
Run test D01
Next day after baking out:
Attach flexmix
Run ion optics maintenance checks (in peptide mode)
Run transfer tube maintenance check (in peptide mode)
Calibrate in positive mode, mass. Passed
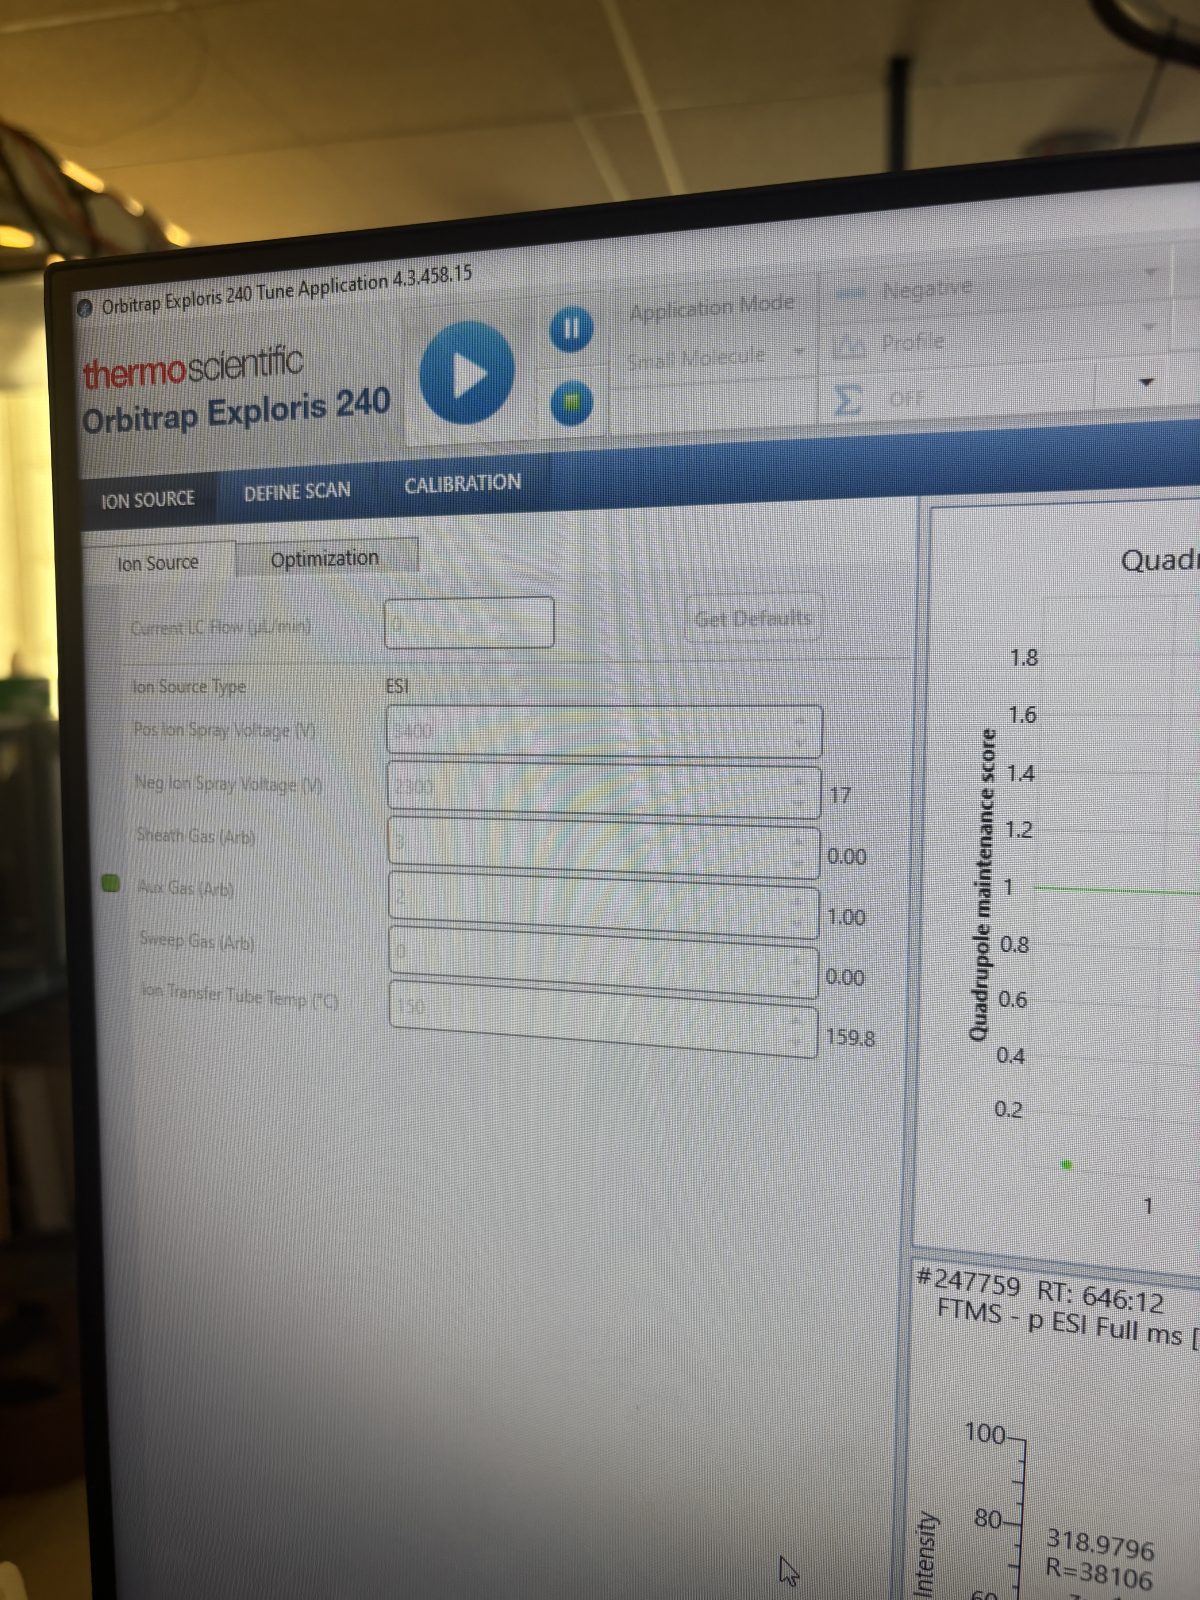
Then calibrate in positive mode, mass in system (takes 40 min). Failed.
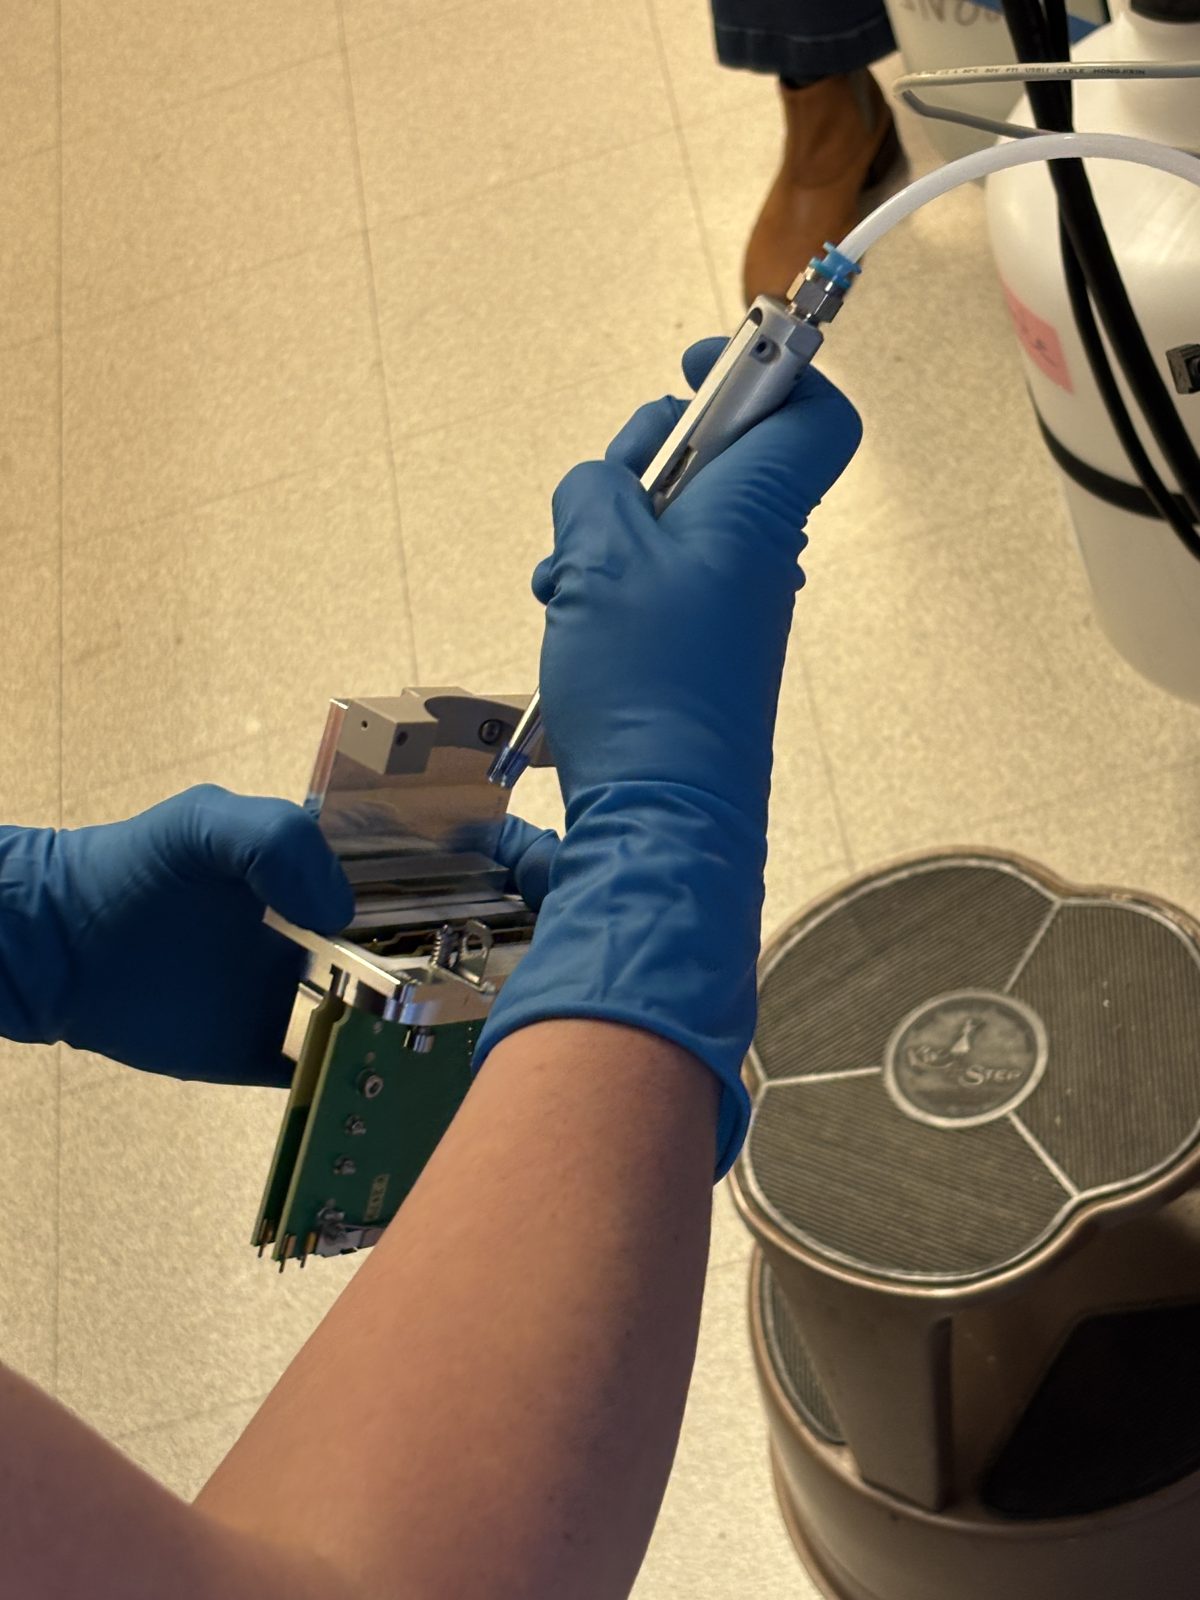
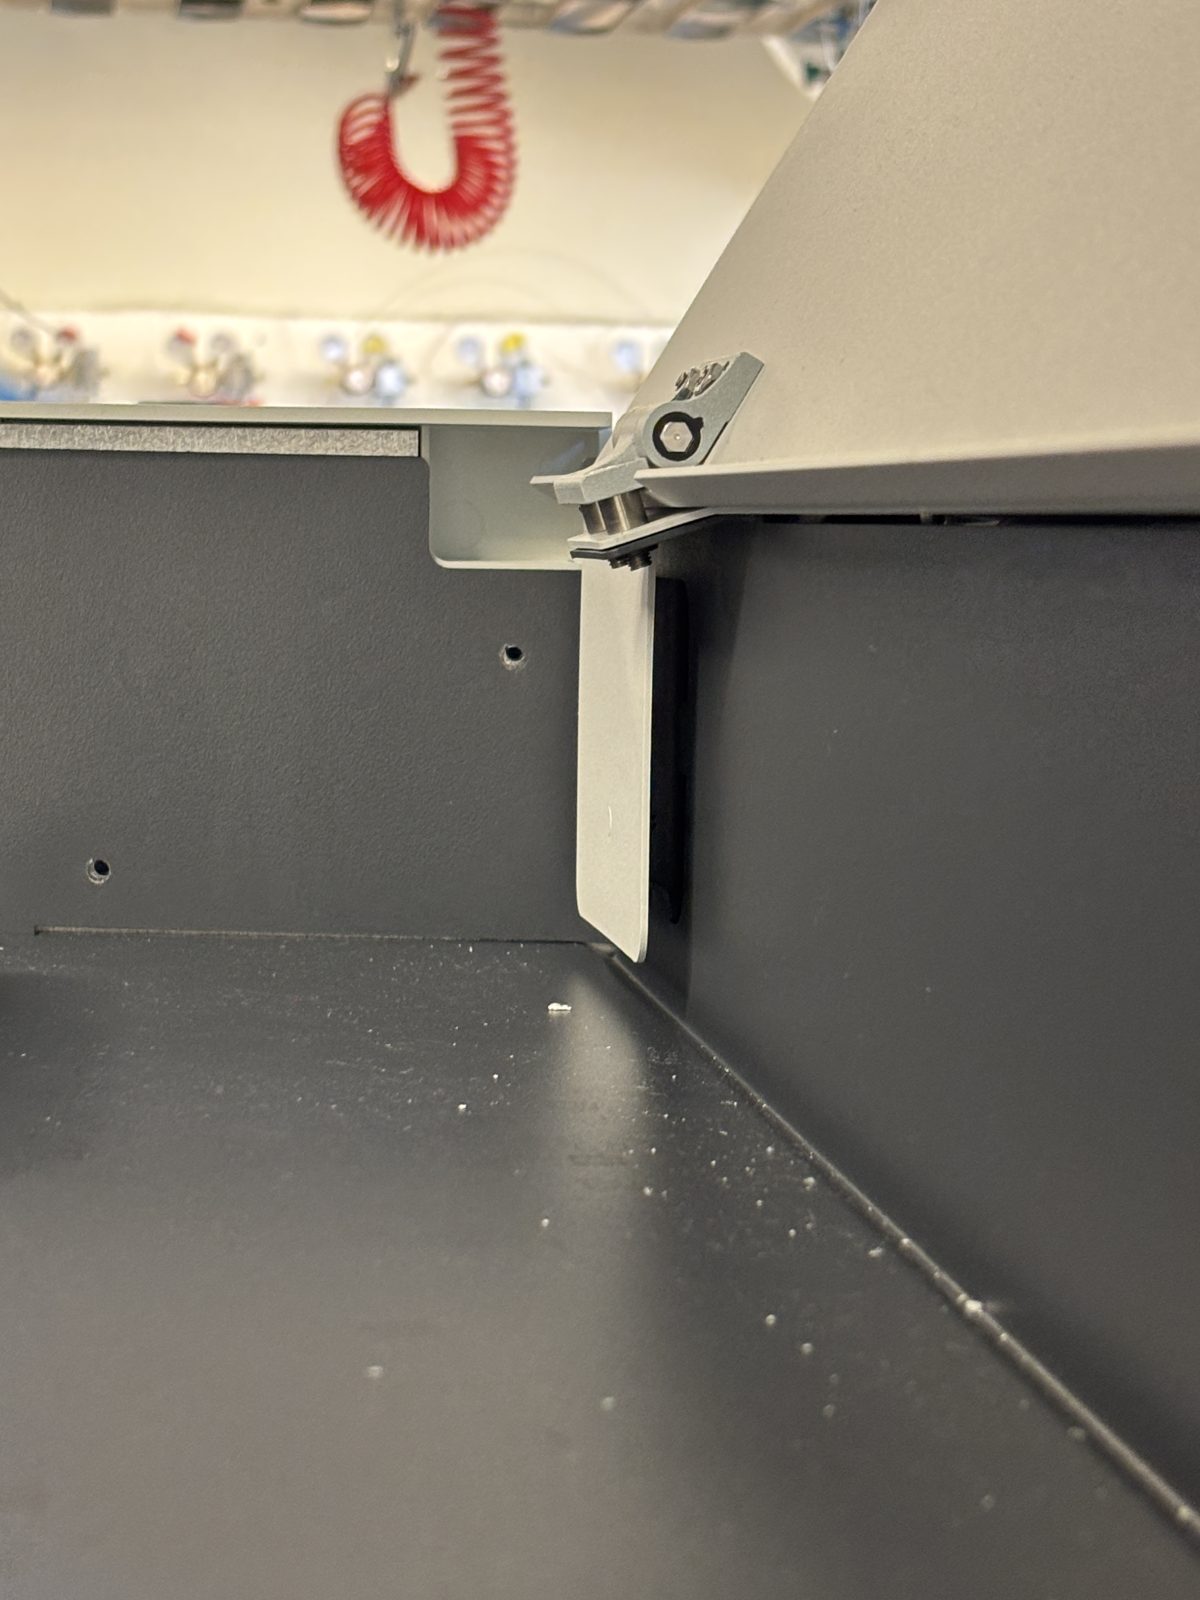
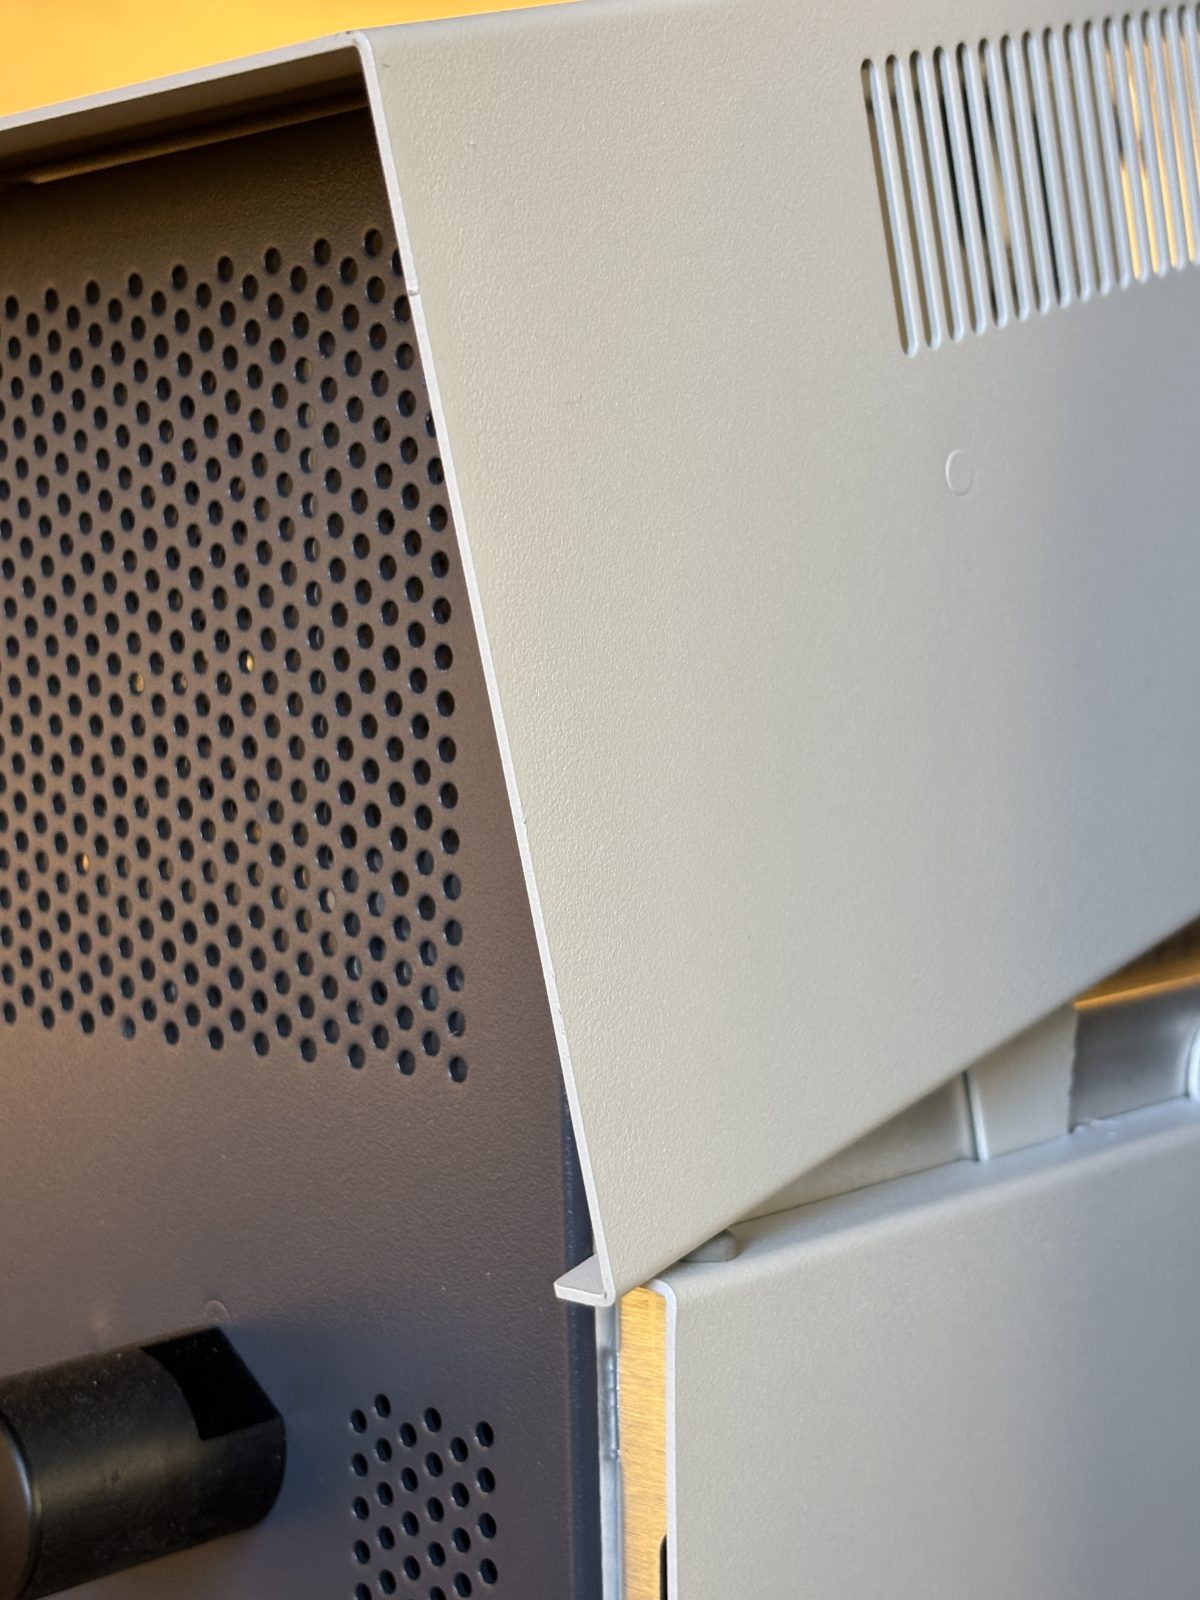
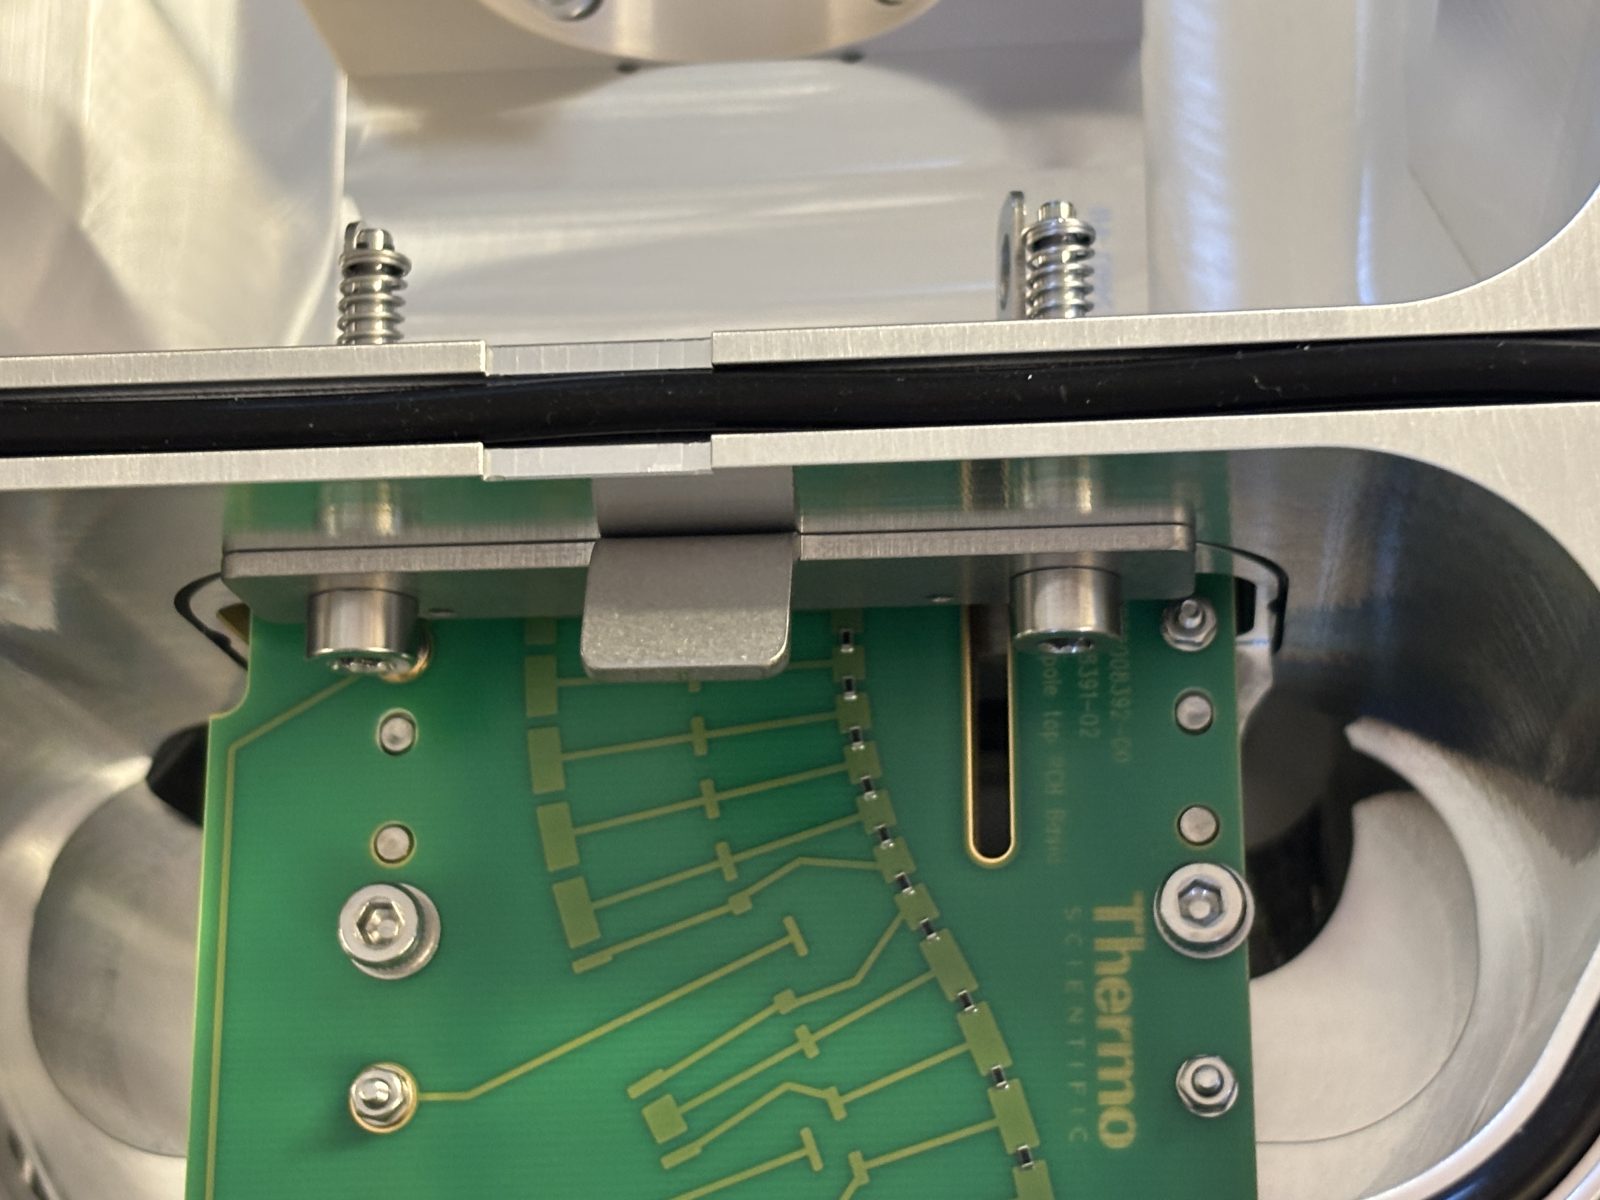
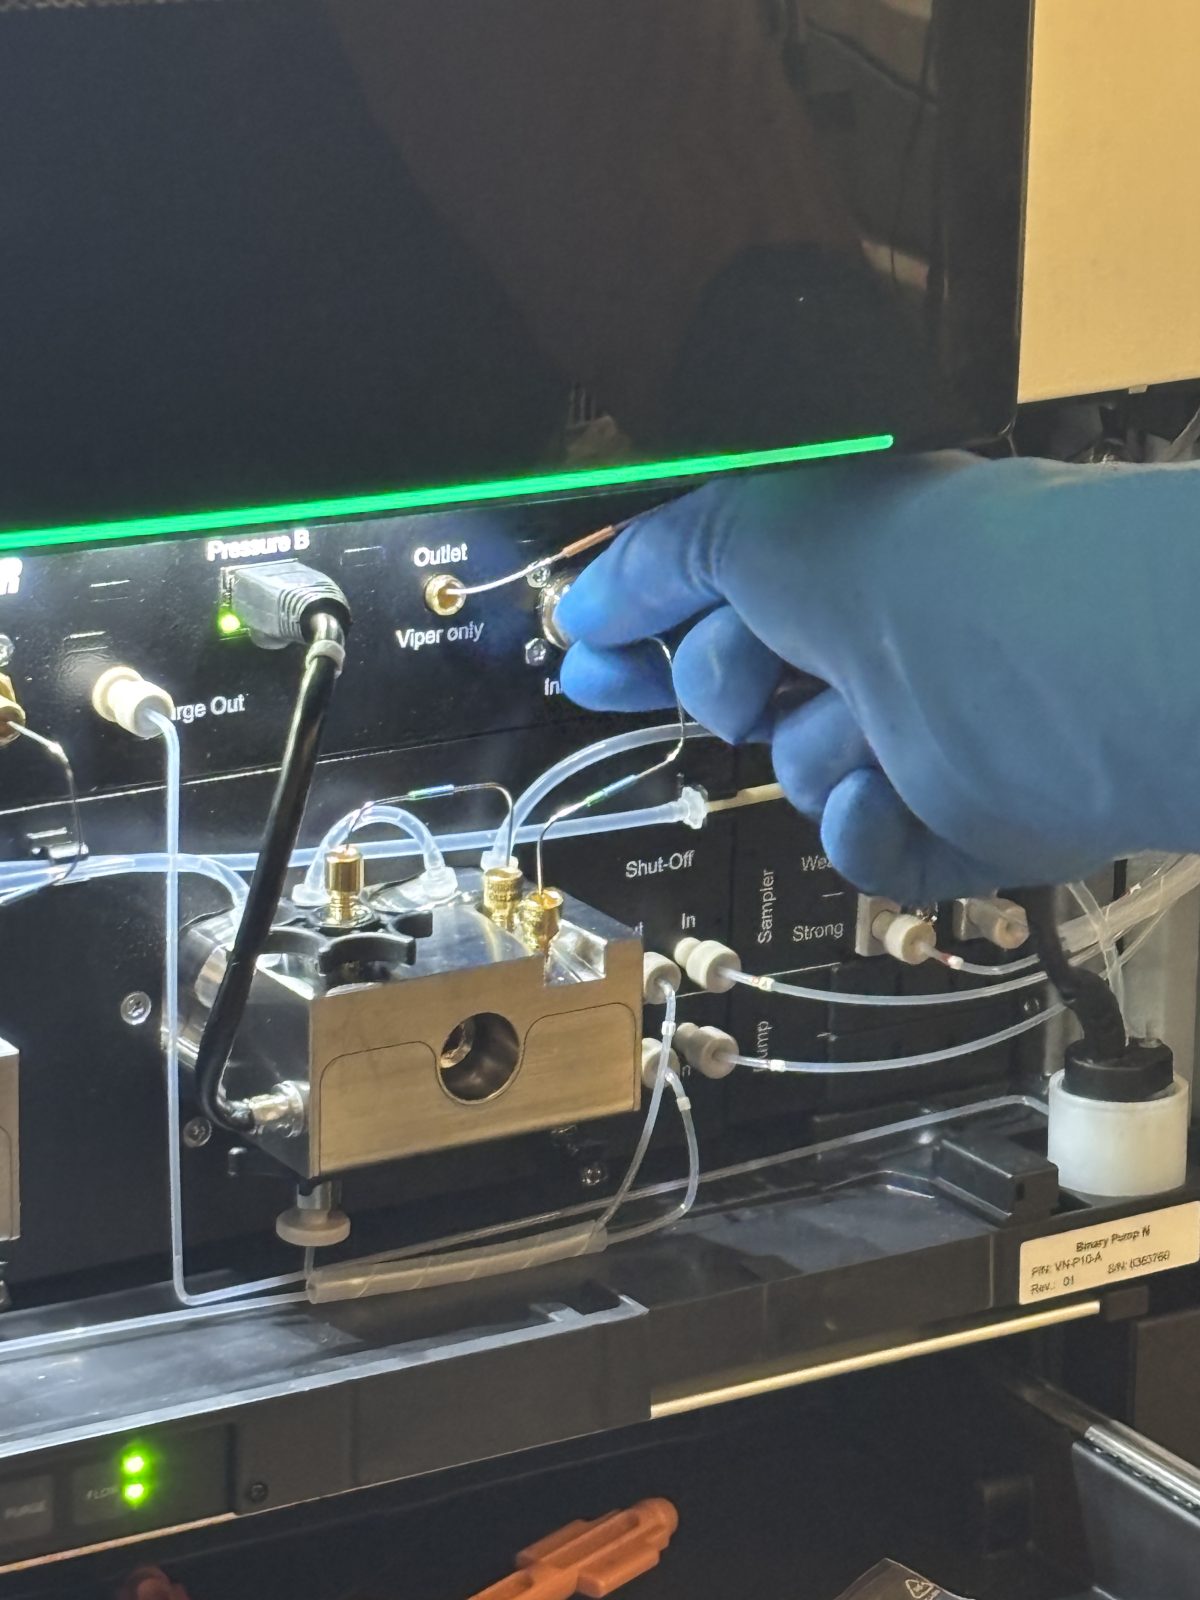
So need to calibrate with HCD gas. Taking off sides of instrument, including internal side. Orange arrow pointing to knob with gas supply. Calibrate with HCD gas supply. We do not have access to this test.
The problem appears to be the board for the source. It needs to be replaced.
Author: Becky Alexander, Andy Schauer - Last updated: 2025-12-04 19:28:35
